


Looking to build a fully customizable membership website without any code? Look no further. In this ultimate guide, you'll learn how I planned, built, and marketed my own membership business.
It all started with a tweet.
About a month earlier, I had written down an idea in my notes about a productized “swipe file” that would aggregate marketing examples with details and comments for each one.
In case you didn’t know what a swipe file is, it’s essentially a collection of marketing and copywriting examples to use for inspiration. A marketer “swipes” pages, ads, emails, and other examples into a file to draw from later on.
So when Sako tweeted that he was going to build a site for free, I decided to leap at the opportunity and pitch my idea.
Fate would have it that Sako decided to build multiple sites and ended up evolving the giveaway to launching the Nocode Rumble, where I joined 7 other makers in a challenge to build a no-code site in 3 months with Sako’s help.
More specifically, I’ll be showing you how I built Swipe Files, my membership site built entirely with no-code tools, so you can learn to do the same.
What is a membership site, anyway?
At its core, the membership model is a subscription-based model that lets you charge your audience a monthly or annual fee in exchange for access to exclusive content, community, services, or benefits
Given that a swipe file is a curated library of content, I had an inkling that it might make for a good membership site instead of just publishing to a public blog.
If I could package a curated collection of premium content, digital downloads, webinars, or online courses, that provided serious value to people and their businesses, maybe they’d pay for access and I could build a nice little business! All I would have to do is gate content between non-members and members.
In plain english, a membership site is just a website or part of a website that only members can access.
5 steps to creating a membership website
Here’s a simple 5 step tutorial to creating your membership website.
1. Plan out your vision for the membership site
Lewis Carroll once said, “If you don't know where you are going, any road will get you there.”
The same applies to building a membership site.
If you don’t know how the finished membership site should look like, any site will do.
So after deciding on the very literal name “Swipe Files” for the domain name, we began planning out what the membership site would actually entail.
I had lots of ideas in my head and bits and pieces written down, but it was still too ethereal to act on, especially given that Sako was going to be doing the heavy lifting to build it for me.
Explaining it to someone else acts as a great forcing function to define what exactly you want to build. Building without any plans of what the finished product will look like is a recipe for disaster.
Before you can begin the building process, you have to hash out a vision for what you want to build and lay out as many details as you can so that you don’t end up with a “frankensite.” It’s a step in the process that’s rarely talked about, but critically important, and what Ryan Singer of Basecamp coined as “shaping.”
You can watch Sako and I shaping the vision for Swipe Files in our first Nocode Rumble session.
This allowed us to answer five core questions that would determine a clear vision for what Swipe Files would become:
- Who is it for?
- What does it do?
- How will it be monetized?
- Why should people become members?
- Where will people learn about it?
Use these same five questions to plan out your membership site. To illustrate this process, here’s how I answered these questions for Swipe Files.
Who is Swipe Files for?
Given the nature of a “swipe file” I knew that the site would be focused on marketers and marketing-focused entrepreneurs. The idea came about based on my own frustration of having to manually seek out and analyze swipe-worthy examples. So I was scratching my own itch.
More broadly, the site could appeal to marketers and marketing-focused entrepreneurs in a variety of industries: SaaS, desktop/mobile apps, ecommerce, digital products, marketplaces, and services.
The key here is that I’m not trying to appeal to anyone and everyone. It’s specifically built for marketing professionals and marketing-focused entrepreneurs.
What would Swipe Files do?
As the author and chief curator, I would give members access to a library of examples with detailed teardowns of what made each example great.
The examples would initially focus on landing pages, emails, and ads, but then branch out to a variety of other categories.
One of the things I strongly believe is that inspiration can be found in unexpected places. And more specifically, sometimes the best source of marketing inspiration is from companies in completely different industries with completely different products and business models.
So the examples and teardowns would also represent the different types of businesses that someone might be marketing for, like mentioned earlier: SaaS, desktop/mobile apps, ecommerce, digital products, marketplaces, and services.
This way, members wouldn’t be stuck in an echo chamber of their own industry and limited to the ideas and practices of other people just like them.
Later on, Swipe Files could include other content formats like case studies, tactics, guides, audio, or even video. But for now it would focus on teardowns of examples.
How will it be monetized?
Will it be free? Paid? Lifetime membership plans? Monthly membership plans? A combination? What are all the membership options?
I wanted to make Swipe Files as inclusive as possible so that there would be a version for every level of interest, so I decided on four different membership levels and plans:
- Free: Anyone can subscribe to get the latest teardown in their inbox when it’s published, but then as soon as a new teardown is published, the old one becomes member-only.
- $29/month: Best for anyone looking to try it out or just wants to use it for a short time.
- $99/year: Best for anyone looking for the best deal and plans on using it long-term.
- $299/life: Best for anyone averse to subscriptions and doesn’t want to have to worry about renewals.
With each paid membership, members would get full access to the entire library and all future content, community, and benefits.
Why should people become members?
Again, speaking out of personal experience, I was frustrated with the lack of resources already out there. There are a few sites that curate marketing examples, but none of them go into detail about why they were selected. It kind of just seems like they’re not being selective at all.
My promise to Swipe Files members is that they’ll only get the best examples, and each example will have loads of detail, context, and analysis. Marketers and entrepreneurs would never have to start from scratch again — they can find relevant examples for whatever they’re working on at the time and new inspiration for future projects.
Where will people learn about it?
Over the years, I have built a decent Twitter following and email list of marketers and entrepreneurs across my other projects that I could cross-promote.
Later on, I could experiment with sponsoring podcasts and newsletters, partnering with other sites and bloggers, running ads, and creating referral loops to incentivize people to share Swipe Files with others.
If you need more help shaping your idea before you start building, I highly recommend The MVP Experiment Canvas to help you map your ideas and the No-Code MVP course for a more extensive exploration.
2. Choose your “no-code” membership site tech stack
There’s a lot of different tools out there that you can use today. We’re fortunate that today we’re in a boom of software that’s enabling everyday people to create, and customize, fantastic products without ever having to learn how to code.
That’s me.
And in terms of flexibility, customization, and overall customer experience, you can’t beat Webflow as the platform to build your membership site on. In the past, many non-technical individuals would use a website builder like WordPress to create membership sites. However, that would require hacking together a bunch of add-ons and WordPress membership plugins, making your business website prone to security issues and slowing down the overall site — all bad for SEO.
Paired with Webflow, there are several other software products that fill the gaps you need for a membership site:
- Memberstack for our membership software to gate content and create memberships
- Jetboost for adding sophisticated on-page search and filtering
- Zapier, Integromat, or Parabola for sending data and automating processes
- Airtable or Google Sheets for databases
With these core tools, you can create virtually any kind of membership site. There are other ancillary tools that I’ll mention later, but you’ll likely only need a combination of these tools to build the core of your site.
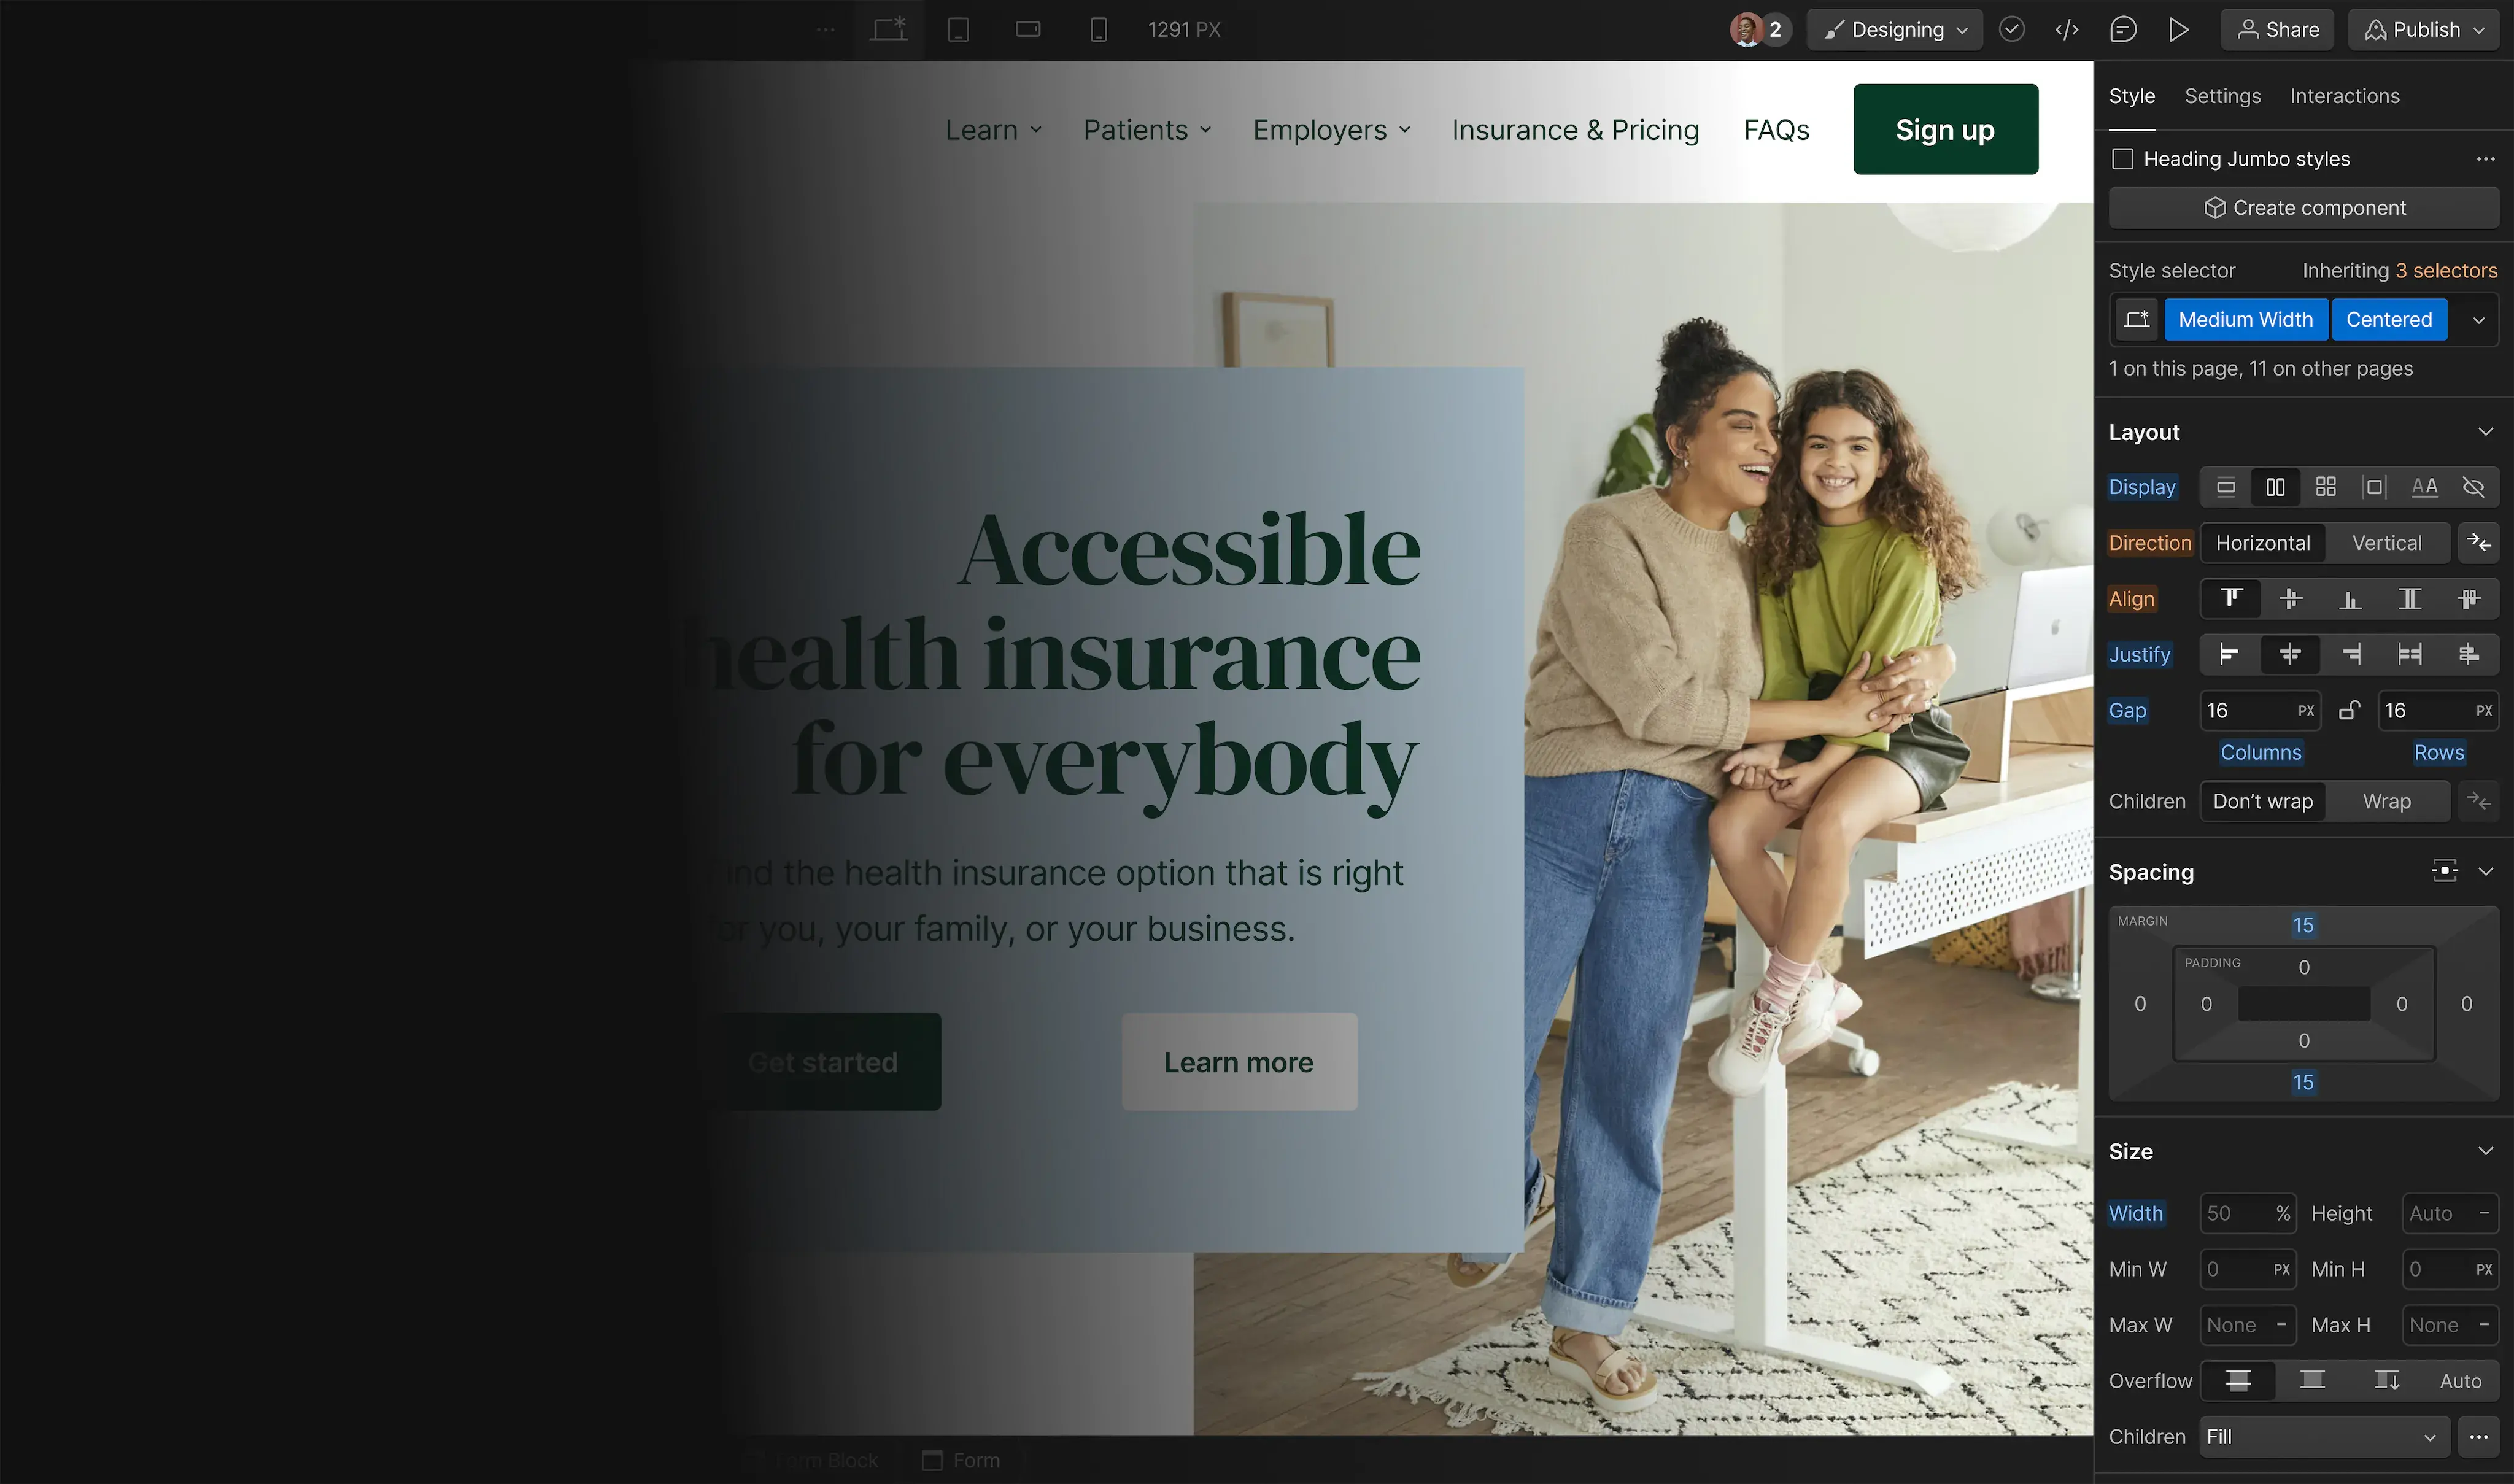
3. Design and build in Webflow
Now to actually start building.
Luckily, since I used Webflow, designing and building are the same thing using their advanced designer interface. You can start from scratch, from a boilerplate template, or from one of Webflow’s many great templates.
Sako and I found one template in particular, Panels, that exactly fit the aesthetic I was after and had many of the components we’d need if we were building from scratch. Purchasing the Panels template drastically sped up the process, as we were able to make minor tweaks and start assembling the site within minutes.\At a bare minimum, your membership site is going to need four pages:
At a bare minimum, your membership site is going to need four pages:
- Homepage to teach visitors about your membership site and convince them to sign up
- Signup page to tell visitors about the pricing and provide a way to join as a member
- Members-only page to direct members to the content, community, services, or benefits you provide
- Login page for returning visitors
Since I was building a “library” of content, I utilized Webflow’s CMS as well and needed an additional page: the CMS item template for each example.
In our first session building the site, Sako and I created the homepage to flesh out the site structure.
One of the interesting challenges was figuring out how to allow visitors to see a teardown for free. If you want to create a “freemium” version of your membership site to give visitors a taste of what they can expect to get as a member, this is for you.
What we ended up doing was creating two CMS collections: one that’s gated for members-only and one that’s free for anyone to view, which would essentially just be a copy of the members-only content but with a limited view.
As you can see in our second session, we went through a few different options before landing on this solution.
That’s the great part about Webflow, though, is that you have creative control and aren’t limited to a certain way of doing things.
4. Build the member-only section
This is where you’d now build out the part of your site where members can access their benefits.
In the case of Swipe Files, the members-only content is a directory of teardowns.
In order to search and filter the gated content on Swipe Files, I brought in another tool called Jetboost.
Funny story: Jetboost was created by my friend Chris Spagnuolo, who was hacking around with my marketing job board and wrote a dinky little script to make searching and filtering the jobs a lot easier.
After I wrote about how I created the job board, people kept messaging me asking how I created the search and filtering system, to which I pointed them to Chris. After a while, he figured there might actually be some demand for something like this and created Jetboost!
It took us a while the first time, but connecting Jetboost is actually fairly simple.
First, create a CMS collection for each filter you want and then add a multi-reference field for each one of those filters.

Then you create a “booster” for each filter in Jetboost and designate which CMS collection you’re filtering and which one is the filter.

Add the Jetboost JavaScript snippet to the Custom Code section of the project settings of your site and publish it.

Add a wrapper class to the Collection List you want to filter so Jetboost can locate it and embed a small snippet of code inside the Collection Item.

Here’s an example of what that looks like in Webflow.

You then essentially repeat that same process for the element that’s doing the filtering.
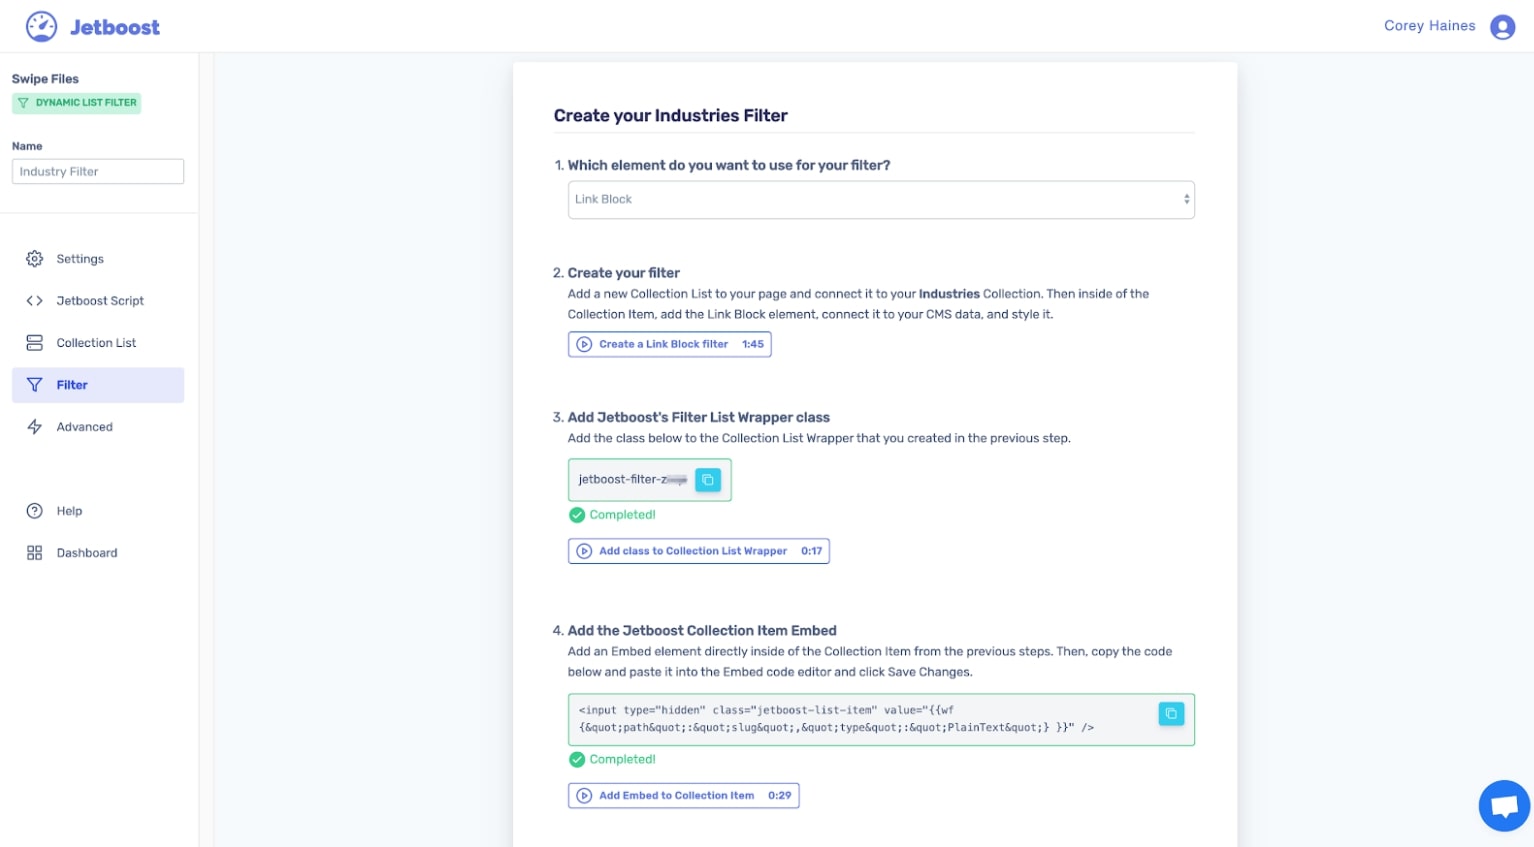
And finally, a few advanced options for what to do when no results are found and different buttons to manipulate the filters.

Follow this process for each filter, as well as a very similar process with creating the search bar, and you’ll end up with a list of boosters to power your CMS collection page.

The end result is being able to search and filter a large amount of CMS items on your newly minted members-only page.

5. Add membership functionality
Now to put the ‘membership’ in ‘membership site’.
Adding membership functionality to a site used to be a matter of hiring a developer and spending thousands of dollars to implement a custom solution.
Now it’s just a matter of signing up for an amazing membership platform like Memberstack.
Memberstack is a membership management solution that lets you add a membership functionality to almost any website — without heavy coding involved.
You can watch us go through the process for all the details, but I’ll also explain the simplified version as well.
After adding Memberstack’s JavaScript snippet to the Custom Code of your site like we did earlier, there are three essential steps to get up and running:
- Connect all forms and fields
- Create memberships
- Designate members-only content
Create the fields you want to capture for your members when they sign up.

Then add attributes for each form so Memberstack can capture that information when someone submits the form. Repeat this process for each form.

Since Swipe Files has three different plans, I created a form for each membership and then repeated the process of adding data attributes for each membership.

It’s as simple as giving it a name, price, and then telling Memberstack where you want to send someone once they become a customer.

Designate which content is members-only based on the URL and then Memberstack will deny access to it unless the user is logged in. You can add multiple URL paths or individual pages.

The rest of the set up is just details: colors, fonts, settings, etc. That’s it! Now new members can start paying you. However, note that currently Memberstack only has a Stripe integration for credit cards, but they have plans to add more payment gateways like PayPal, Apple Pay, Google Pay, and more in the future.
Bonus: More tools for your membership site
There are a few other tools I use to make Swipe Files run that aren’t absolutely necessary:
- ConvertKit for email marketing and hosting the email list, sending the free newsletter, and onboarding new subscribers.
- SparkLoop for powering the referral program in my newsletter to incentivize subscribers to share with friends.
- RightMessage to build an email list through personalized surveys and popups.
- Beamer to notify members of updates.
- Fathom to measure site traffic.
When visitors come to the site, I use RightMessage to build the email list and then personalize the experience based on where they are in the “funnel.”
For example, if someone isn’t a subscriber, I ask a few questions and then make a personalized pitch for the newsletter. If they are a subscriber, I then make an offer to become a member. And if they’re a member, I don’t bother them with anything!

By integrating ConvertKit and SparkLoop, I can send newsletters each week of the latest teardown. ConvertKit is built for creators and makes it easy to get started sending emails and setting up automations of email sequences. Paired with SparkLoop, subscribers can share Swipe Files in order to unlock rewards.

And with Beamer, I can send notifications directly to members on the site.

What now?
You should now have a working membership using nothing but no-code tools!
Once your membership site is live, you can start inviting people to become members and build your customer base.
Start with friends who can help you fine tune the experience and work out any kinks before you open it up to strangers.
Once you’re ready to open up the floodgates, launch it on social media, sites like Product Hunt and Betalist, and market your membership site with ads and content marketing.
And if you want to see the (ever-evolving) finished product of Swipe Files, subscribe to the free newsletter at swipefiles.co/subscribe and the library of content at swipefiles.co/files.
I also created an hour-long video that walks through how Swipe Files was built if that’s your jam.

Discover the impact the no-code movement will have for the future of makers and businesses.
Discover the impact the no-code movement will have for the future of makers and businesses.


