Clonable | Simple Before / After Slider

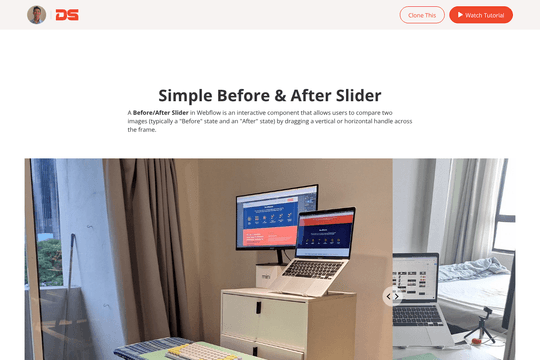
Learn how to build a fully responsive Before and After Image Slider in Webflow from scratch! In this tutorial, we skip the clunky third-party plugins and use native Webflow components (and a tiny bit of custom CSS) to create a high-performance comparison slider.
Whether you’re showcasing a website redesign, photo editing, or a product transformation, this UI element is a game-changer for conversion.
What you’ll learn:
Setting up the Webflow Slider structure correctly.
Using absolute positioning for image overlays.
Creating the "drag" handle with Webflow Interactions.
Ensuring the slider is touch-friendly for mobile devices.

