


If you’ve been around the world of web design for a while, you’ve heard of the concept of “content first.” In this article, we explore what it is, why it’s so helpful when you’re designing with Webflow CMS, and provide an example of content-first design in action.
What is content-first design?
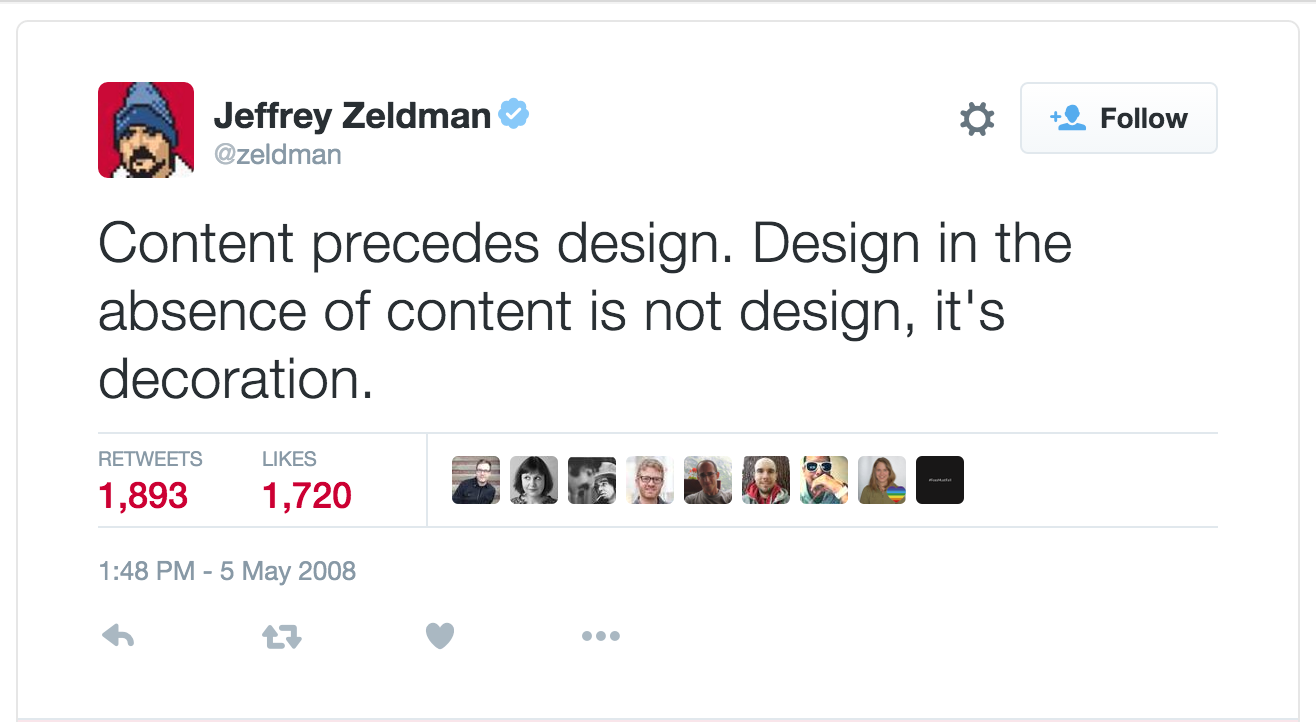
Content-first represents one of the major philosophical viewpoints on the design process. First advocated (in the world of web design) by A List Apart founder Jeff Zeldman back in 2008, it states that, in order to build the right design for any given project, you have to know what the content is before you start designing.
Makes sense, doesn’t it? After all, an editorial designer doesn’t start laying out a book before the book’s been written. And an architect doesn’t start drawing blueprints until they know what the building’s supposed to be for. For both of these professions, form has to follow function, and for most websites, function is achieved via content.
For example: A marketing site gets people to use a product or service with persuasive copy and visuals that illustrate what the product or service is and who it’s for. A restaurant site gets people in the door by providing info on the cooking style, types of food, and location information. Ecommerce stores offer product details and ways of ordering.
As should be obvious, content is not just copy. Content encompasses a variety of media, including graphics, videos, audio, and, yes, plain-old, super-sexy words.
In short, content-first design is all about knowing what your design’s purpose is, and how it’ll achieve that purpose, before you start designing.
Ideally, you’ll actually have content in hand before you design anything. But you don’t have to — even planning what types of content you’ll need (i.e., designing a content strategy) is better than skipping this step entirely. Plus, I’ll show you some handy tips on how to do it all better (and easier) with Webflow.
Benefits of content-first design
Taking a content-first approach offers several benefits that range from enabling a better overall design vision to catching problems in the design before they become problems.
Content-first design makes it easier to:
Build out a sensible information architecture: When you know what content you have and/or need, it’s easier to define your overall sitemap and build out a logical hierarchy.
Design to optimize the content: If you know your client’s bloggers use quotes a lot, you can design beautiful ways to showcase blockquotes and callouts. If they’re fans of listicles, maybe a card or gallery-based design would work better than a long list of numbered headings?
Create consistency across the site (and lighten your code): If you know your site will have a blog, help center, and marketing pages, you can design your type hierarchy to work across all three areas. That’ll help create a more consistent (and thus, easy to learn) interface and keep you from having to create a bunch of messy combo classes.
Avoid endless rounds of iteration: All too often, when design kicks off without content, the development process devolves into an endless back-and-forth between designer and stakeholders. Which usually means lots of tiny, frustrating text changes that the designer has to update mocks with, then save. (Granted, with Webflow, those changes are much less laborious, but still.)
Plus, if you’re designing with content first in Webflow CMS, you’ll find the process that much faster and easier.
Let’s see how.
Content-first design with Webflow CMS

The first step you’ll take in building a site powered by Webflow CMS is to create a Collection. A Collection is essentially a content type that you’ll define by selecting Fields from the following list:
1. Plain text
2. Rich text
3. Image
4. Video
5. Link
6. Number
7. Date/Time
8. Switch
9. Color
10. Reference
11. Multi-item reference
Most of these fields work independently — you just input whatever content matches the field, and you’re good to go.
But as soon as you create a Reference or Multi-item Reference, you’ll see why content planning is the real first step in designing with Webflow CMS. Because you can’t reference another Collection until you’ve created it.
Confused? I can’t blame you. So let’s ground this discussion with an example, shall we?
Example: Creating a food magazine with Webflow CMS
Let’s say you want to launch your very own food magazine powered by Webflow CMS. You know that recipes will be a key feature, because you’ve got your Grandma Cordello’s family recipe book to mine.
Now, you might be tempted to kick off your design by creating a “Recipe” Collection. So you create a Collection, title it Recipes, and start selecting fields. Naturally, you start thinking through the fields in terms of the visual design of an individual blog post:
Image: a big, bold closeup of the dish for the hero image.
Image: for the thumbnail version of the hero image that’ll display in the blog index.
Plain text: for the article title. You choose plain text for this field because you want titles to display consistently, without styling options on the CMS end.
Plain text: for the cuisine, which will link to a page listing all the recipes for a particular cuisine (and double as a category page)...
… And here’s where you realize you’ll have to create a Cuisines Collection before you can finish up your Recipes Collection. That’s totally fine — you can always tweak a Collection after you create it.
This might seem like a pain. But the benefit is that you’ll start thinking of your sites in terms of their small components — often called “modules” or “atoms” — and in terms of the relationships between those elements.
In other words, you’ll start thinking of your website design work less in terms of pages, and more in terms of systems — a collection of parts that you can combine, recombine, and remix as needed. That’s a useful mode of thinking in the context of the modern web, where content appears in atomic forms across the internet, from various locations on your site to mobile apps to cards on Facebook, Twitter, Pinterest, LinkedIn, and elsewhere.
This is also where the concept of content modeling becomes very powerful.
Content modeling for designers
Creating a content model for your site is like creating a sitemap, but focuses not on pages, but content types and their characteristics. It’s incredibly useful in helping you map out content types, their relationships, and requirements, but will also help you develop your site’s overall information architecture.
Content models come in two forms: one macro, and one micro. For your food magazine website, your macro-level content model might look like:
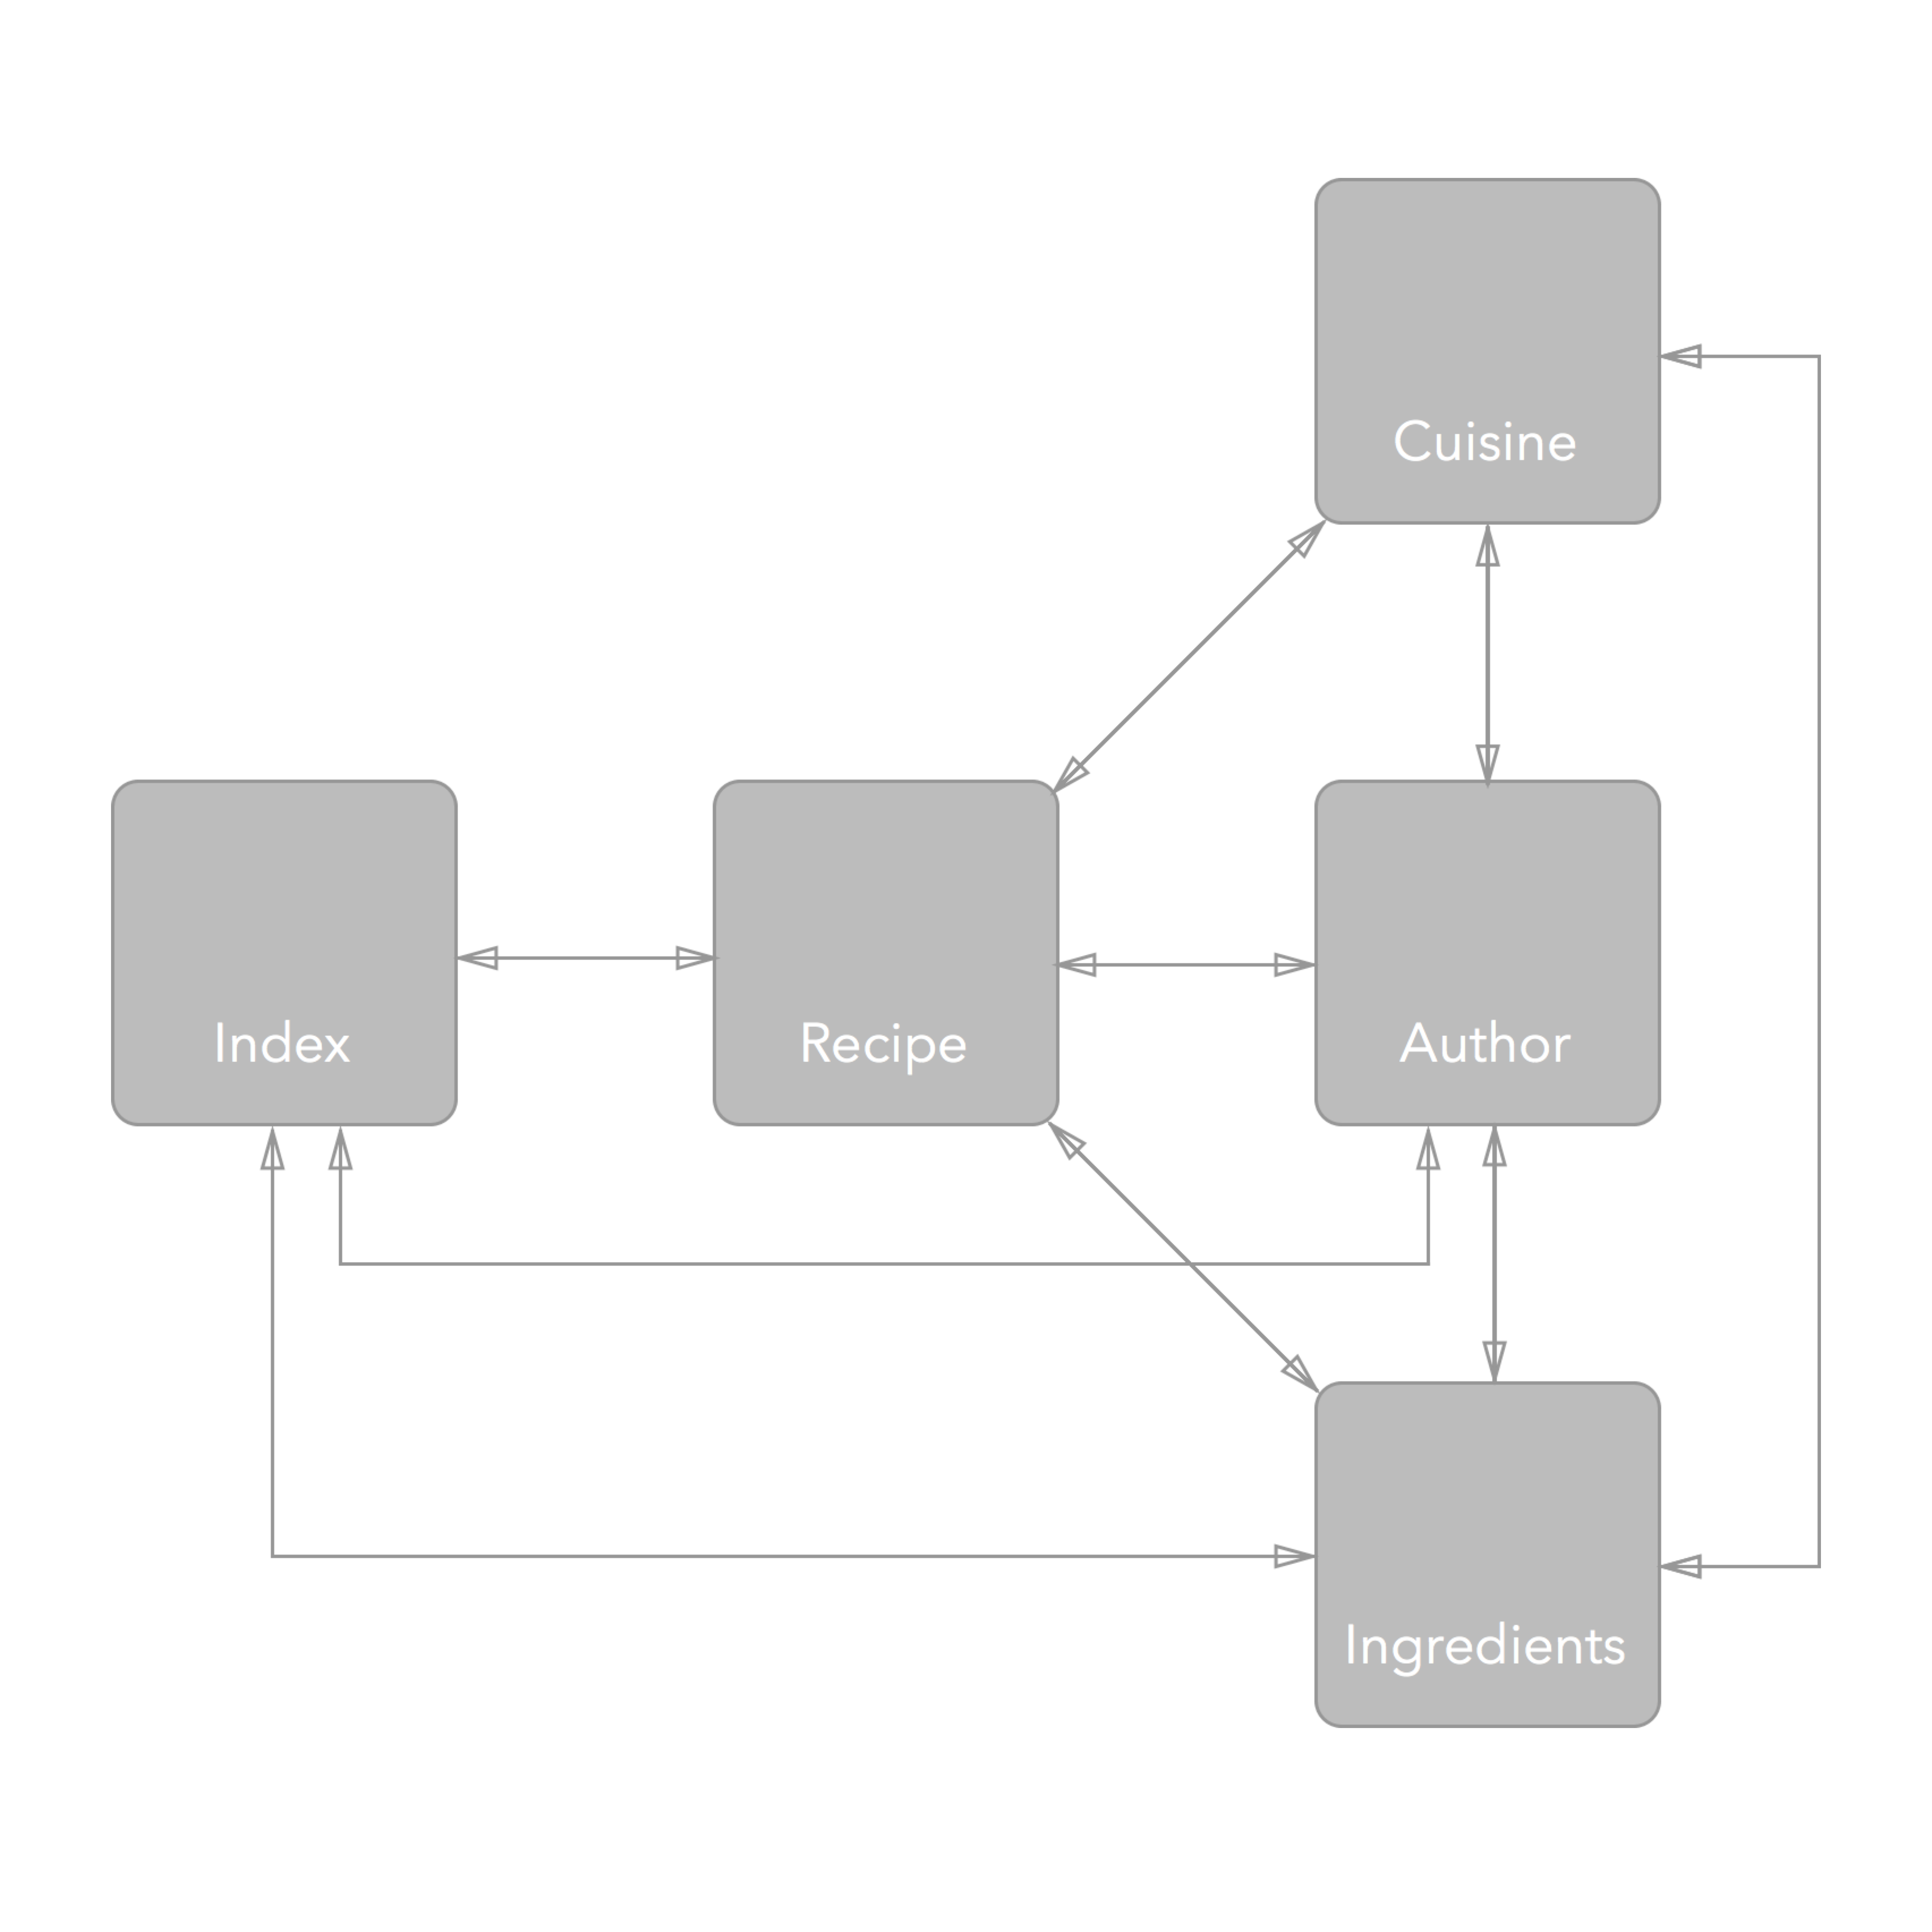
All you’re doing here is defining the content elements you want your site to feature, and indicating how they might link together. With Webflow CMS, you’ll create the links with a Reference or Multi-Reference field.
For the next step, you’ll zoom in to map the content of each of the content types above. The good news is that your map, along with the connections you drew between each, will help determine the content requirements of each block.
To zoom in on the individual content blocks, you might do something like:
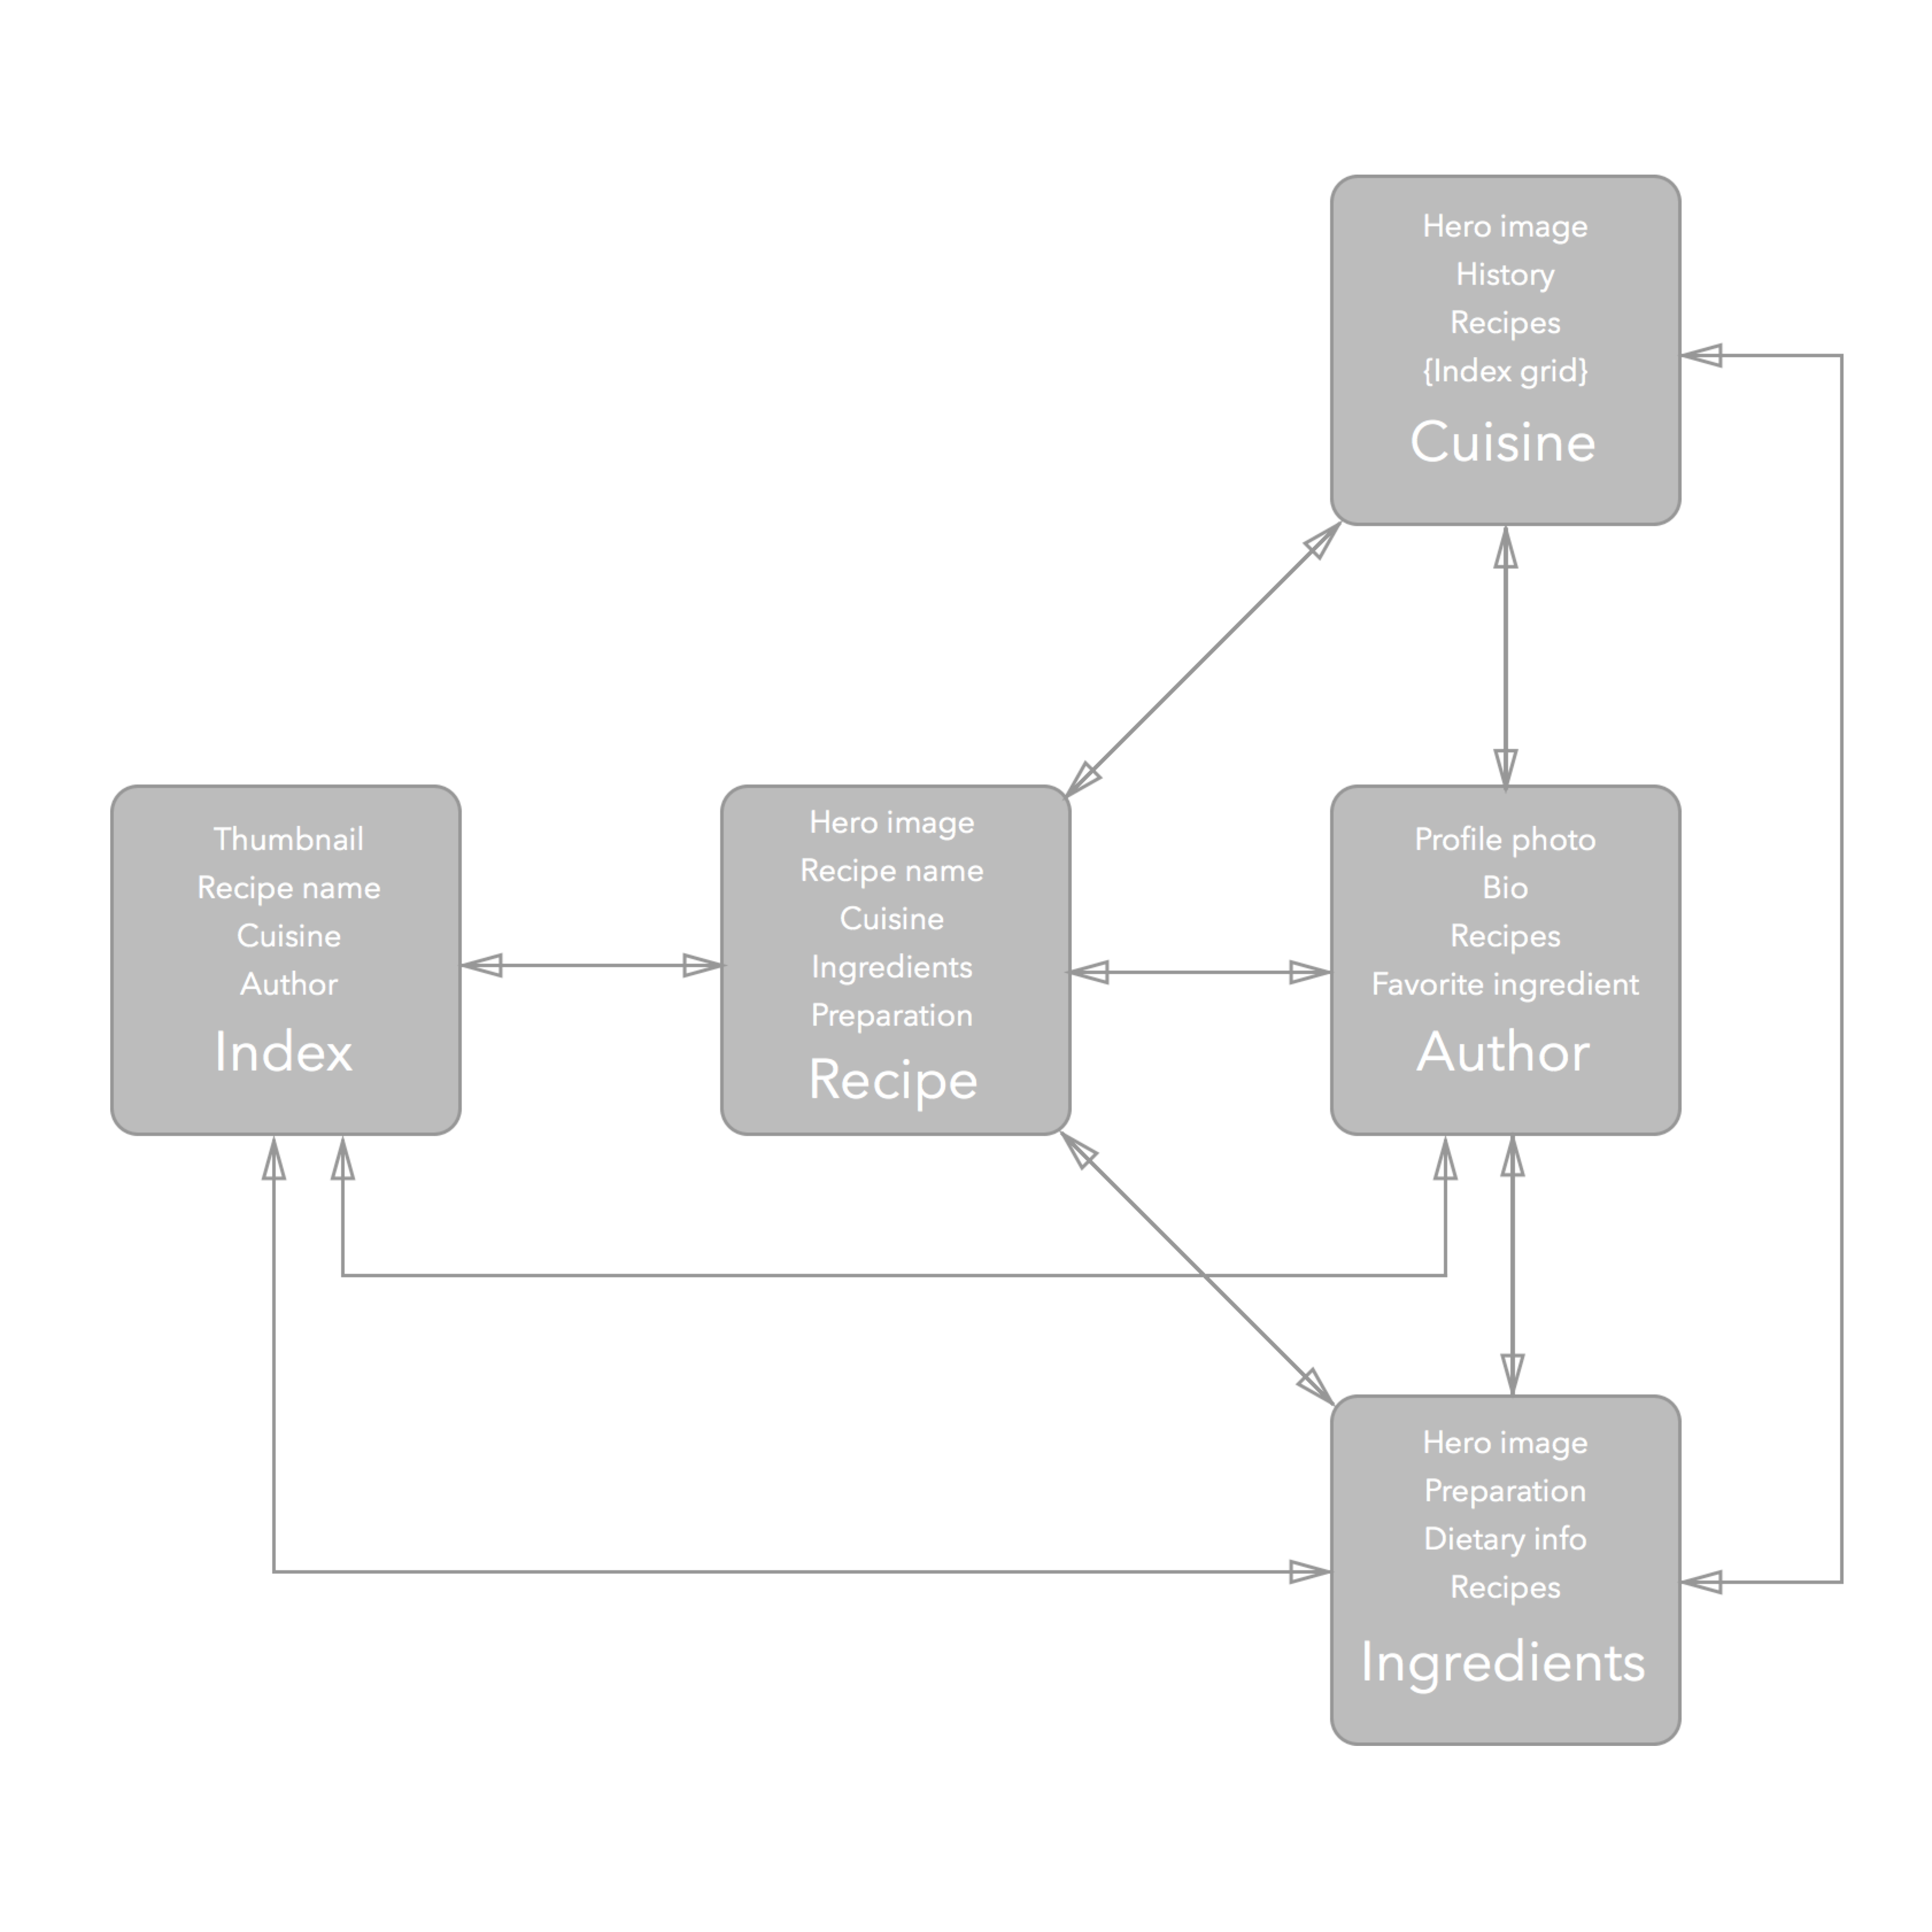
In many cases, simply defining the relationships between Collections will define the content of individual pages within Collections. For example, the bulk of the content for each Cuisine page will consist of a Dynamic List of recipes.
Now, as you go back to creating the Collections for your food magazine, it’ll be easy to translate your content model into fields for each Collection. Personally, my favorite thing about content modeling is the way it generates ideas. Just looking at the ways different content types might relate helped me get more creative about what those types might showcase. (It also made me realize there are more links between content types than I originally thought.)
For instance, in adding a history section to cuisines, I’m suddenly struck by the idea of creating an interactive timeline for each cuisine. And that could feature links to ingredients, recipes, and chefs.
Oooh. Chefs. Time to create another Collection!
Of course, that’s just one example: you’ll find this method useful for designing with any kind of content.
Building empathy by designing with real content
The unique thing about designing with a CMS is that you’re designing for two user groups:
1. The content creators who will use the content management systems you set up, and
2. The website’s end users, the people who will consume the content that creators publish
By taking a content-first design approach, you’ll develop a deep understanding of the types of content your creators publish. You’ll learn how they write headlines, how long they like their blogs to be, the types of content that show up regularly, and the outliers and edge cases.
Regular work with the most common content types will help you shape both how you customize the CMS and how you design its output--i.e., how that content appears on the page.
How you customize Webflow CMS
In terms of CMS customization, you’ll rapidly learn what fields your Collections will most often need, how to write the field labels, and how to provide stylistic and technical guidance on input types with help text.
Help text offers a great opportunity to get a content style guide in front of content creators, ensuring that they upload images of the right size, use consistent character counts for headlines and teaser copy, and otherwise encourage high-quality content. This is especially useful for users who haven’t spent years learning the ins-and-outs of the web (e.g., that baker you built a site for last year).
Visually designing dynamic (CMS) content
As Josh Pucketts points out in “Modern Design Tools: Using Real Data,” designing with real content also helps you recognize potential flaws in a site’s visual design. Long article titles might wrap, messing with the heights in your gridded blog index design. Headlines overlaid on photos with light backgrounds might become illegible. Button text might make those tidy CSS buttons you created huge.
Each of these challenges offers you an opportunity to do one or both of the following:
Make the design and/or layout more flexible: a list view might be better for those long headlines, while a text shadow or image overlay might improve legibility for text on photos.
Add an entry to the content style guide, and back that up with CMS functionality: using the character count limit, you could enforce a 3-words-for-button-copy rule, and you could add help text explaining the limitation. Adding explanation will help content creators understand not only the constraints, but the design thinking behind those constraints.
Do you practice content-first design?
If you’re an advocate for designing with content first, we’d love to hear your thoughts, experiences, and especially, your techniques. And if you’ve ever found content-first a challenge, we’d love to hear about that too.
And if your immediate thought on content-first is, “Sounds great. Good luck getting content from clients,” we’ll be following up soon with a post on ways to overcome that problem.
In the meantime, happy designing!

Discover the processes and tools behind high-performing websites in this free ebook.
Discover the processes and tools behind high-performing websites in this free ebook.


