


When to use interactions
Webflow Interactions cover a wide range of use cases for interactivity. In short, interactions enable you to apply dynamic changes to a page’s aesthetics, structure, and/or semantics, in response to an event. The most obvious example is a time-based animation, but Interactions can cover other dynamic behaviors, such as the site visitor toggling between light and dark color schemes.
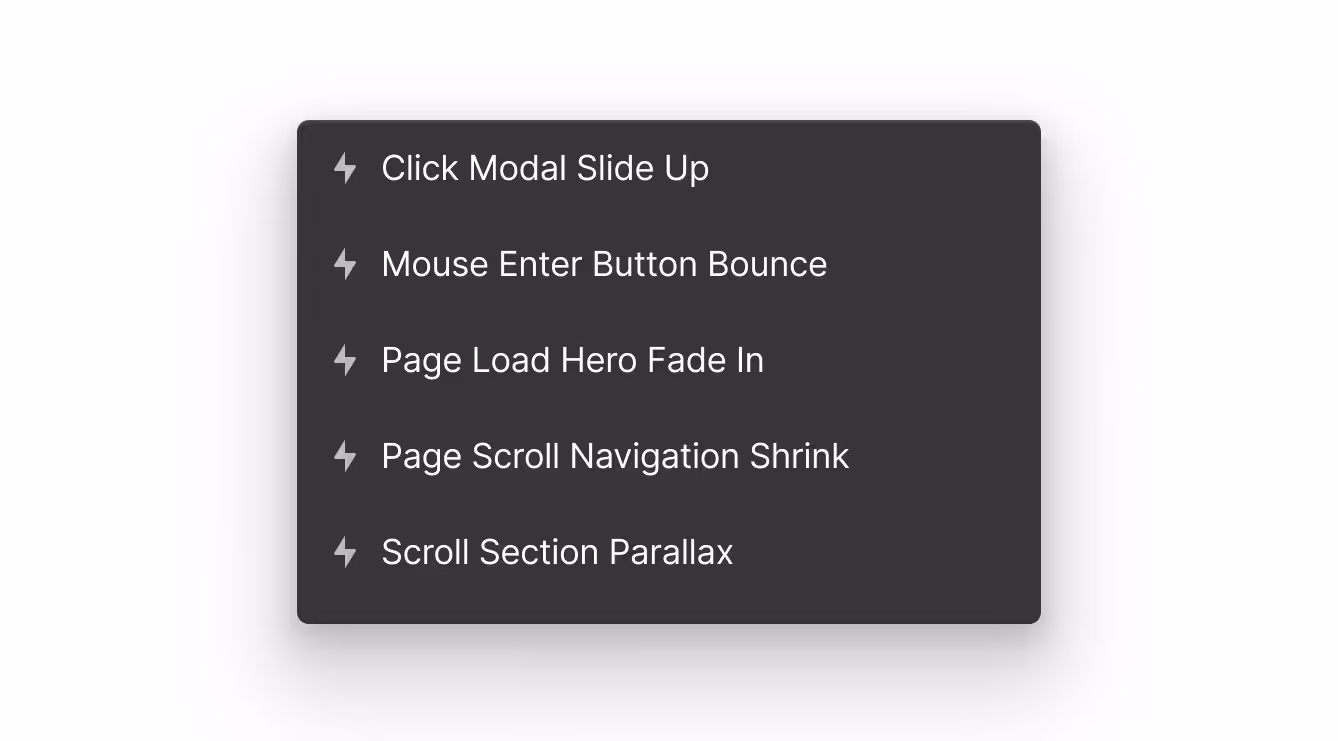
Some examples of events that can trigger an interaction include:
- Page loading states
- Page scrolling
- The user interacting with an element, such as clicking on it, hovering over it, or scrolling it into view
Interactions are especially well-suited to manipulating multiple elements on a page—or multiple aspects of a single element—in response to the site visitor’s actions.
Beyond just visual flair, interactions can serve an important role in the overall user experience. Consider the purpose of your interaction. Well-considered motion can provide feedback (e.g. confirming an action or showing a loading state), guide the user’s attention, and visually reinforce the structure or flow of the page.

Using interactions wisely
Try to use CSS transitions for simple animations
For example, if you want to animate a couple CSS properties between an element’s rest and hover states, you could simply configure a CSS transition for this from the Style panel. That said, if you anticipate that this animation might get more complex in the future an interaction would be better. For example:
- You anticipate that a client might request a more complicated animation
- The element is animated based on a page-level event, or due to the user interacting with a separate element
- The element’s semantics need to change, in addition to its styling
Generally, interactions are more appropriate for complex, multi-step animations.
Use other integrations for animated scenes and embedded motion graphics
Webflow Interactions shine best when animating or changing your site’s structure and styles in reaction to events. For an embedded animation, try using Lottie, Rive, or Spline (great for 3D scenes). Webflow Classic Interactions integrates with these animation tools, so you could play/pause an embedded animation or impact its settings on demand.
Webflow Interactions shine best when animating or changing your site’s structure and styles in reaction to events. For an embedded animation, try using Lottie, Rive, or Spline (great for 3D scenes). Webflow Interactions integrates with these animation tools, so you could play/pause an embedded animation or impact its settings on demand.
Don’t overdo it with animations
Well-placed animations draw the site visitor’s attention and excitement to important information, can reinforce behaviors, can provide visual feedback to the visitor based on their actions, or can seamlessly transition them from one state to another. Adding too many animations can distract your site visitors or detract from these benefits of well-considered animations.
How to name a custom animation
In addition to simpler preset animations, Webflow Interactions enables you to create your own custom animations. Like other parts of a design system, these should be named with care for discoverability and reusability.
Animation names follow these conventions as a best practice:
Do not mix casings, word separators, or internal naming structures. Animation names do not impact your published site’s code (with the exception of matching your class names to component names), so effective naming practices are really about discoverability and organization.
Names should be economical, to reduce overhead for your team. However, don’t sacrifice clarity of purpose for brevity—this will help prevent team members from creating multiple animations that serve the same or similar purpose.
Language that your team members and clients understand. Use your design system to reinforce this shared language consistently.
Animation and individual action names should use title casing, separating words with a space. This ensures that names are human-readable.
Naming an interaction or custom animation
For an interaction—or child animation—the default name in Webflow is “{Trigger event} Interaction”. Your custom name should be configured as follows:
Trigger (Optional)
The event and/or element that triggers the interaction. Use this only for the top-level interaction, which contains the trigger and resulting actions. Don’t use this for child animations, which can be reused inside of multiple different interactions. Example: “Page Scroll” or “Page Load”.
Target Element
The element that will be influenced as a result of this animation. If you are naming a complex, top-level interaction that includes multiple targets which cannot be described succinctly, you may omit this. If the target element is a component, match the component name here.
Action, which may include a state
A brief description of what happens when the animation runs. Along with the target element, this could summarize a few steps or could be a more evocative visual descriptor.
This can include the state of the target element as a result of this interaction, if needed to clarify the animation’s purpose. This state descriptor is best used when configuring two different animations whose to/from states are reversed. For example, “Modal Show” and “Modal Hide”, or “Section Scroll To” and “Section Scroll Away”.
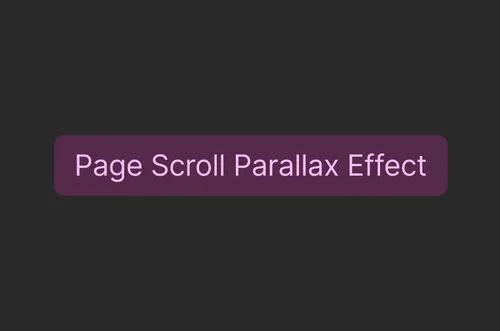
Examples names could include:
- Page Scroll Parallax Effect
- Call to Action Mouse Enter Wiggle
- Key Points Sequential Load
At the end of the day, your interaction names need to indicate generally what they’ll do. If a team member can understand the purpose without consulting you, you’ve done a great job naming your animations!
That said, it never hurts to document in your design system how you’ve chosen to name interactions and other building blocks. This helps all design system maintainers uphold its paradigms consistently, and helps team members find the interactions they need—quickly.
Achieving rich animations
Start with intent
Think about why something is animating. Is it to draw attention? Communicate the brand personality? Indicate a change of state? Show hierarchy? Does motion assist or detract from the intent?
Easing is everything
Easing controls the rate of change in animation over the course of its duration; that rate of change could be consistent, or it could slow down or speed up over the course of the animation. It’s how you give your animation personality: avoid perfectly linear motions unless you're deliberately being mechanical.
When building with GSAP—or the new version of Interactions, which is powered by GSAP—use ease options (power1, expo, back, elastic, etc.) to evoke emotion and character. Play around and experiment with different eases: how do they make you feel? Try to match the feeling the ease gives you to the purpose of the animation. It can help with consistency to stick to one or two ease types.
Use subtle secondary motion
Little overshoots, squashes, or delays can give animations a sense of life. Don’t overdo it, but a touch goes a long way!
When in doubt, speed it up
Most motion on the web should be kept short and snappy; this helps site visitors perceive your site as fast. People are task-focused on the web: they’re on your site to do or find something. Animation that lingers too long can make your interface feel sluggish or unresponsive.
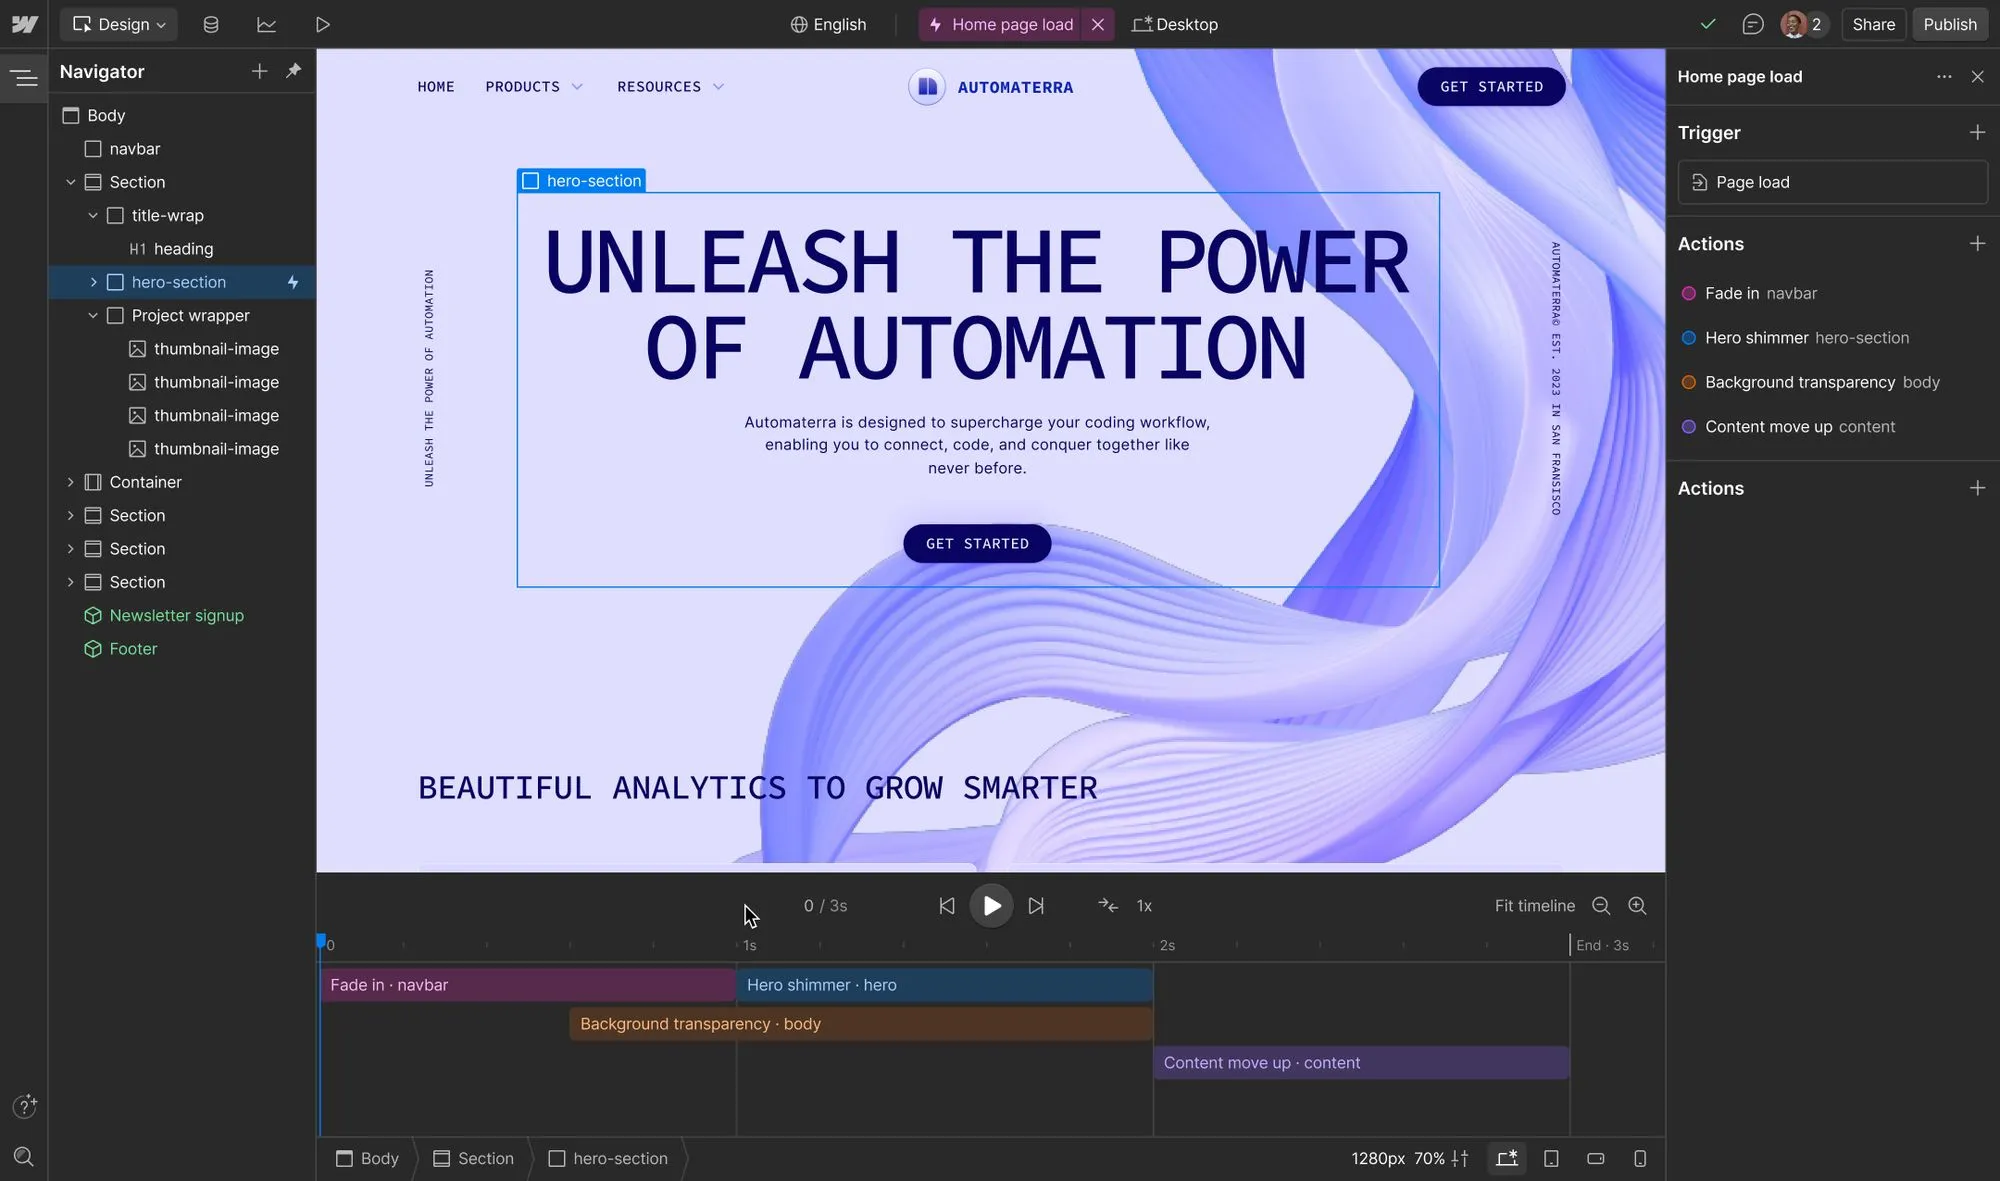
The new release of Webflow interactions, powered by GSAP, introduces a new horizontal timeline.
As a general rule of thumb, use these durations for your animations:
Duration
(hover, click, toggle)
150ms–300ms
(modals, navs, screen changes)
300ms–600ms
500ms–800ms—if they serve a purpose and don’t block visitor interaction with the site.
Custom—these can be longer as they exist more for delight than function. Be careful though—animations that are infinite or play for a long time can be a performance drain as well as an accessibility issue. It’s best if your site visitors can pause, restart, or skip long animations—particularly those that might block whatever they came to your site to do.
Don’t be afraid to go even shorter than these recommendations! If you’re unsure whether something is dragging—speed it up and see if the experience feels tighter and more responsive.
Accessibility, performance, and browsers
Accessibility considerations
Designing for accessibility ensures as many people as possible can use your site without barriers or roadblocks. Not only is web accessibility the most inclusive way to build for real customers, it’s also crucial in ensuring your brand has the broadest possible reach.
Accessibility must be considered throughout your site’s structure, semantics, content, style, and animations. Learn more about accessible motion.
Performance considerations
- Test your animations on real devices and in different browsers.
Especially since mobile browsers have stricter limitations. To account for this, optimize image sizes and avoid animating too many elements at once. - Consider what can be achieved with transforms and opacity.
When you’re animating DOM elements on the web, these are your best friends. These properties are hardware accelerated on the GPU, which means they’re smooth to animate.- Transform: move and scale your elements
- Opacity: great for fade-ins/outs
- Avoid animating top, left, width, height.
Or anything that triggers layout/reflow unless you have to. These are expensive operations and can lead to janky/jerky animations. - Avoid animating filters, box shadows and blend modes.
These are likewise very expensive for browsers to render. - Watch out for flickering elements.
Settingbackface-visibility: hidden;on this element in the Style panel can help.will-change: transformused wisely can help boost the performance of your animations. Again, test in real browsers! - Minimize the area of change.
Imagine drawing a rectangle around the total area that pixels change during your animation: the bigger that rectangle, the harder it is on the browser to render. Be strategic about how you build your animations and try to keep the areas of change as small as you can. - Use custom code on Webflow to lazy-load embedded animations. Consider lazy loading any Lottie or Rive animations, or Spline scenes.
Browser quirk considerations
The GSAP library handles browser quirks intelligently for you. If you use the latest version of Webflow Interactions to build your animations—or leverage the GSAP library in custom code—you’ll get the benefits of this handling.
As with your sites’ style and structure, it’s best practice to test your animations on real devices and in different browsers.
Building interactions with custom code
Our goal is to empower you to create rich, dynamic animations with GSAP—whether you prefer to build visually or write your code by hand.
- As of April 2025, Webflow enables developers to load the GSAP library and any plugins from our CDN. You can then use custom code to write animations with GSAP.
- In July 2025, we launched the foundation of Webflow Interactions with GSAP. This next generation of visual animation building is entirely replatformed on the GSAP library, and will be increasingly integrated with the Website Experience Platform.
We’re just getting started with next-gen Interactions and can’t wait to bring more of the power of GSAP to visual builders!
Whether you prefer to write custom code, visually build animations, or both, the choice is up to you. We do recommend leveraging Webflow Interactions as much as possible, so that any trusted team member can create and update interactions—not just those who can write code. Visual building empowers cross-functional team members to deliver value to market more quickly.


We recently launched the foundations of this new visual animating experience.
Next up: Components
Components are reusable and composable building blocks that encapsulate structure, styles, and motion. Any adjustment you make to a component’s definition will cascade across all instances of that component, making brand updates much more efficient to pull off.
More ways to level up
- Webflow University
Explore courses and pathways to grow your skills or prepare for a Webflow-verified certification.
Go to University - Help Center
Find solutions to your Webflow questions and get help from our expert customer support team.
Go to docs  Community
Connect with other designers and developers to share tips, ask questions, and show off your work.
Go to Community