One mistake I’ve seen recently in the no-code community have been creators diving into a Webflow project from scratch.
This isn’t to say that it’s a bad thing — creating from scratch allows you to make a site that is completely your own with custom elements. However, when it comes to speed and efficiency, templates are the way to go.
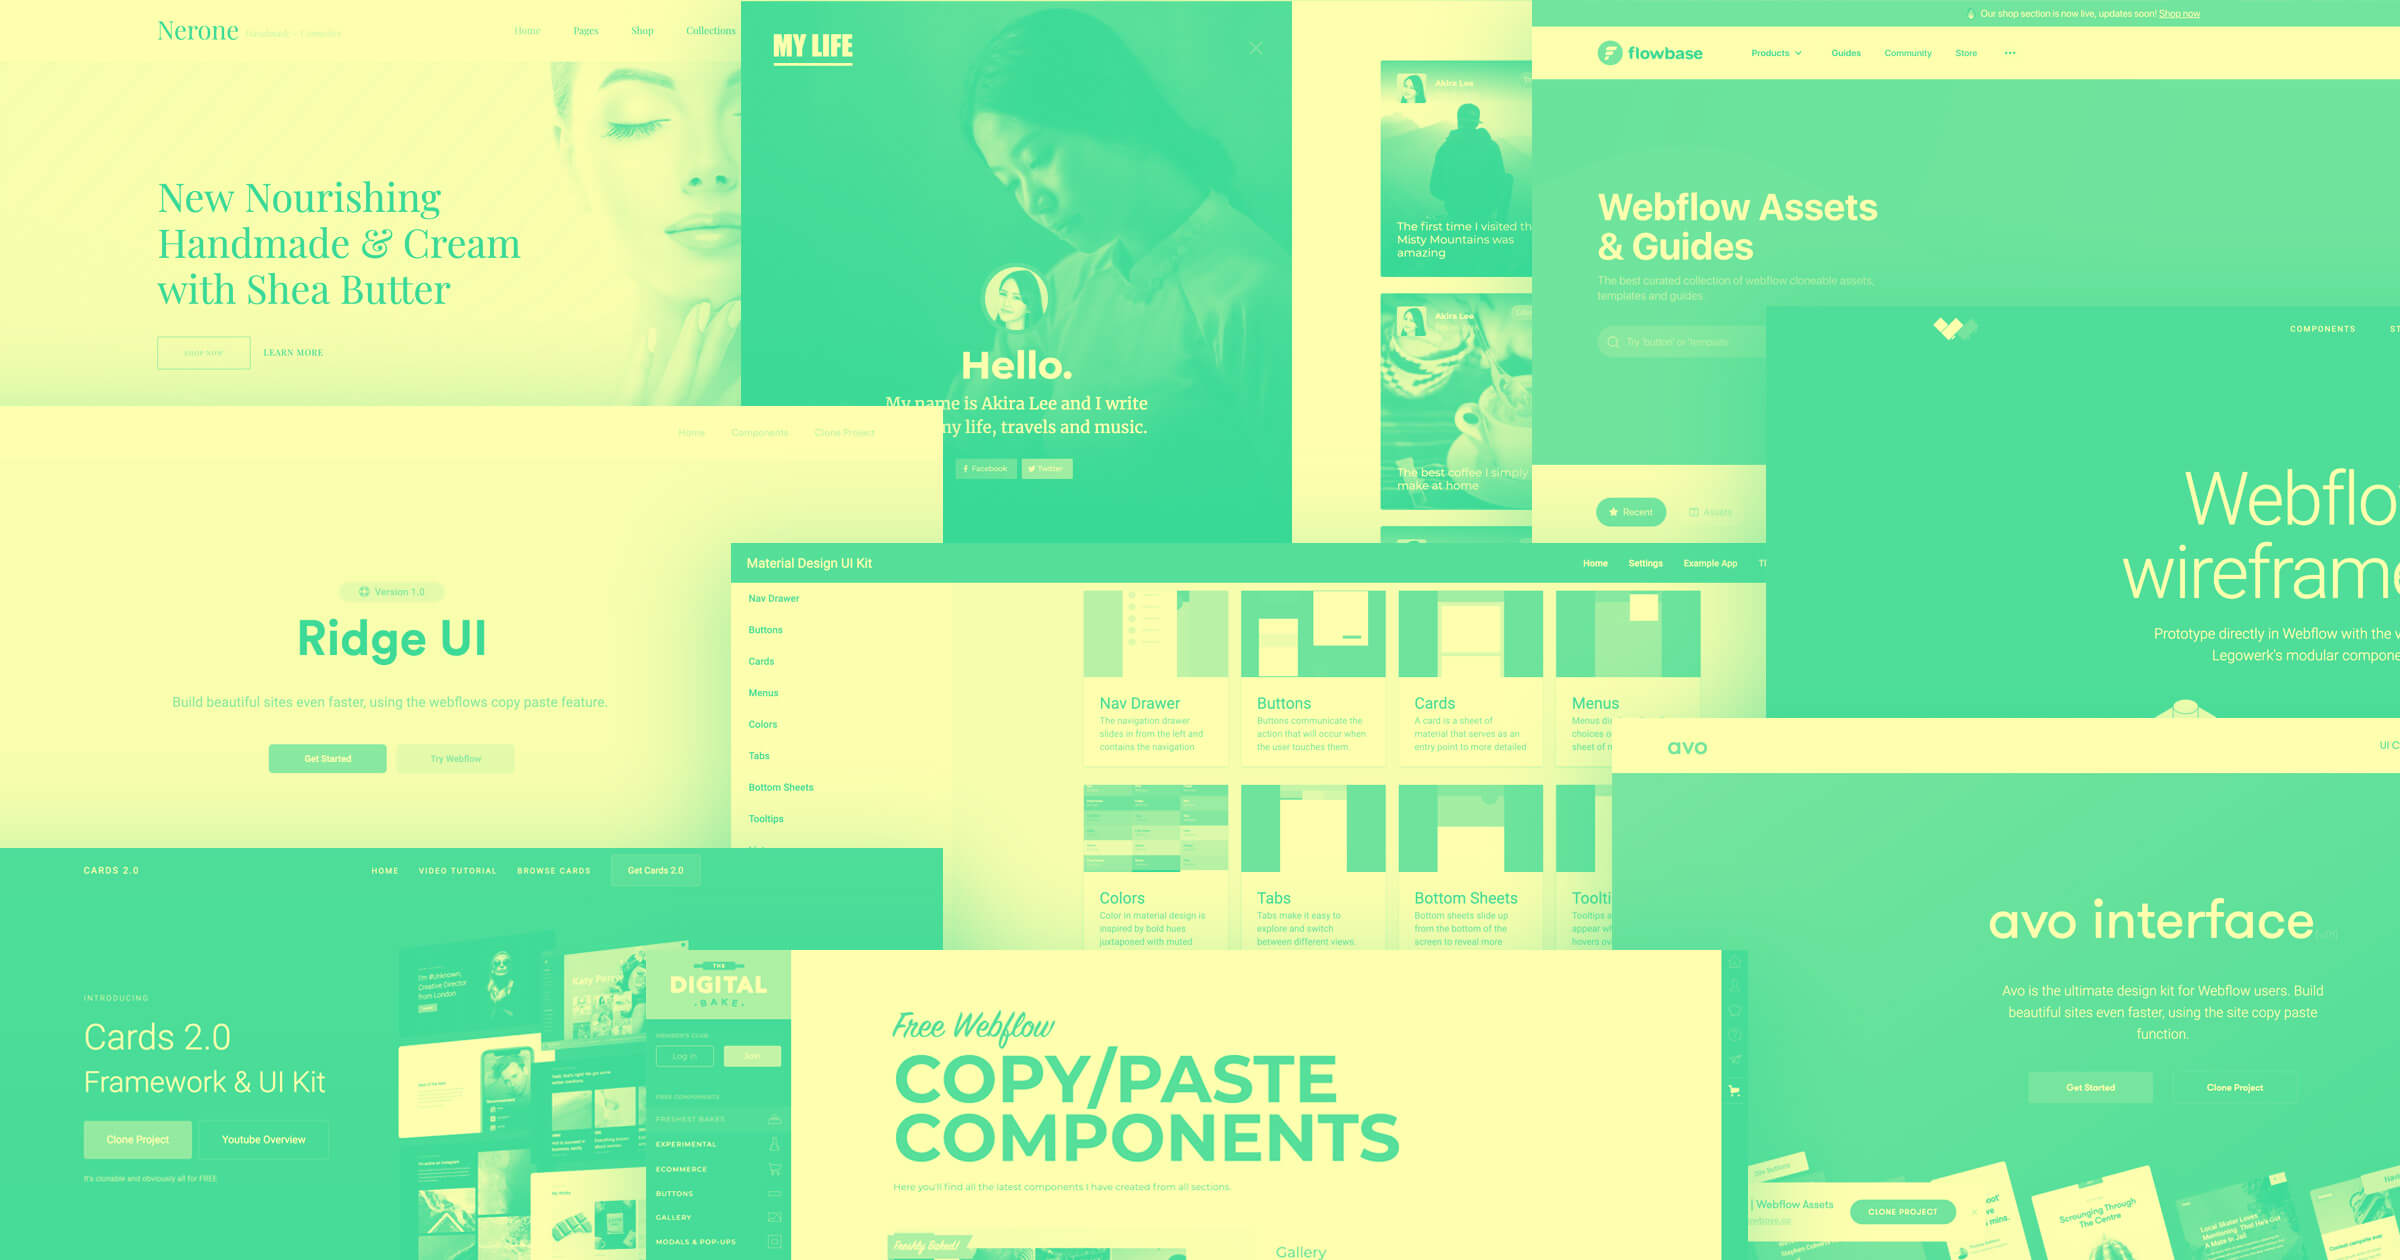
Webflow's templates have redefined how we design and develop websites. They feature predefined components that are easy to adjust and edit to meet your needs, and allow you to use very little time and energy on your site, allowing you to focus on other priorities.
Here, I take you deeper into how templates can speed up the design process and kickstart your business. I’ll also guide you through the process of creating a fully customized, SEO-optimized website with a template as its base.
The issue with custom design
Don’t get me wrong. Custom design is great, and we do a lot of fully-custom builds at Flow Ninja. But if you’re working on a new idea and want to test the market really fast, a blank canvas can be a little scary. All of the sudden, the following questions start popping up in your head:
- What wireframe kit to use?
- Where do I find the wireframe kit?
- How do I write copy without a design?
- Where’s a good place to get inspiration?
- Is this a good font? How will it look on the web?
- Are margins & paddings correct?
- Is this layout going to work for mobile?
- Should I think about mobile design too?
And the list goes on …
Answering these questions is actually quite easy if you’re a professional designer and don’t have to work under tight deadlines. However, if you’re designing as a side hustle or a hobby — or design isn’t your primary role — finding the right answers can take what feels like an eternity.
The worst part is that you get to see your competitors launching new features and refreshing their designs while you’re still working on your most viable product (MVP).
Get to market faster with Webflow templates
What if you don’t have to answer all the questions above? What if you could only focus on your core business features but still make your site look professional and trustworthy — and not to mention, good?
When you kick off a project using a Webflow template, you’ll get a set of predefined components at your fingertips. It’s like having the best possible wireframe kit ever. Everything you want to include in your design is already developed and easy to edit.
Even better: If you use a template that fits your specific needs, it’s probably going to have all the sections and functionality that your business requires to go live. This way, you’ll know exactly what icon to buy (or design,) which images to get, and how much copy you need to write.
You don’t have to worry about web development at all anymore. You can just focus on your business.
How we use templates at Flow Ninja
At Flow Ninja, we have a specific process we follow when we want to launch a client project as fast as possible and use a template as a base. I’ve outlined our process below as a cheat sheet for the next time you're building a Webflow site from a template.
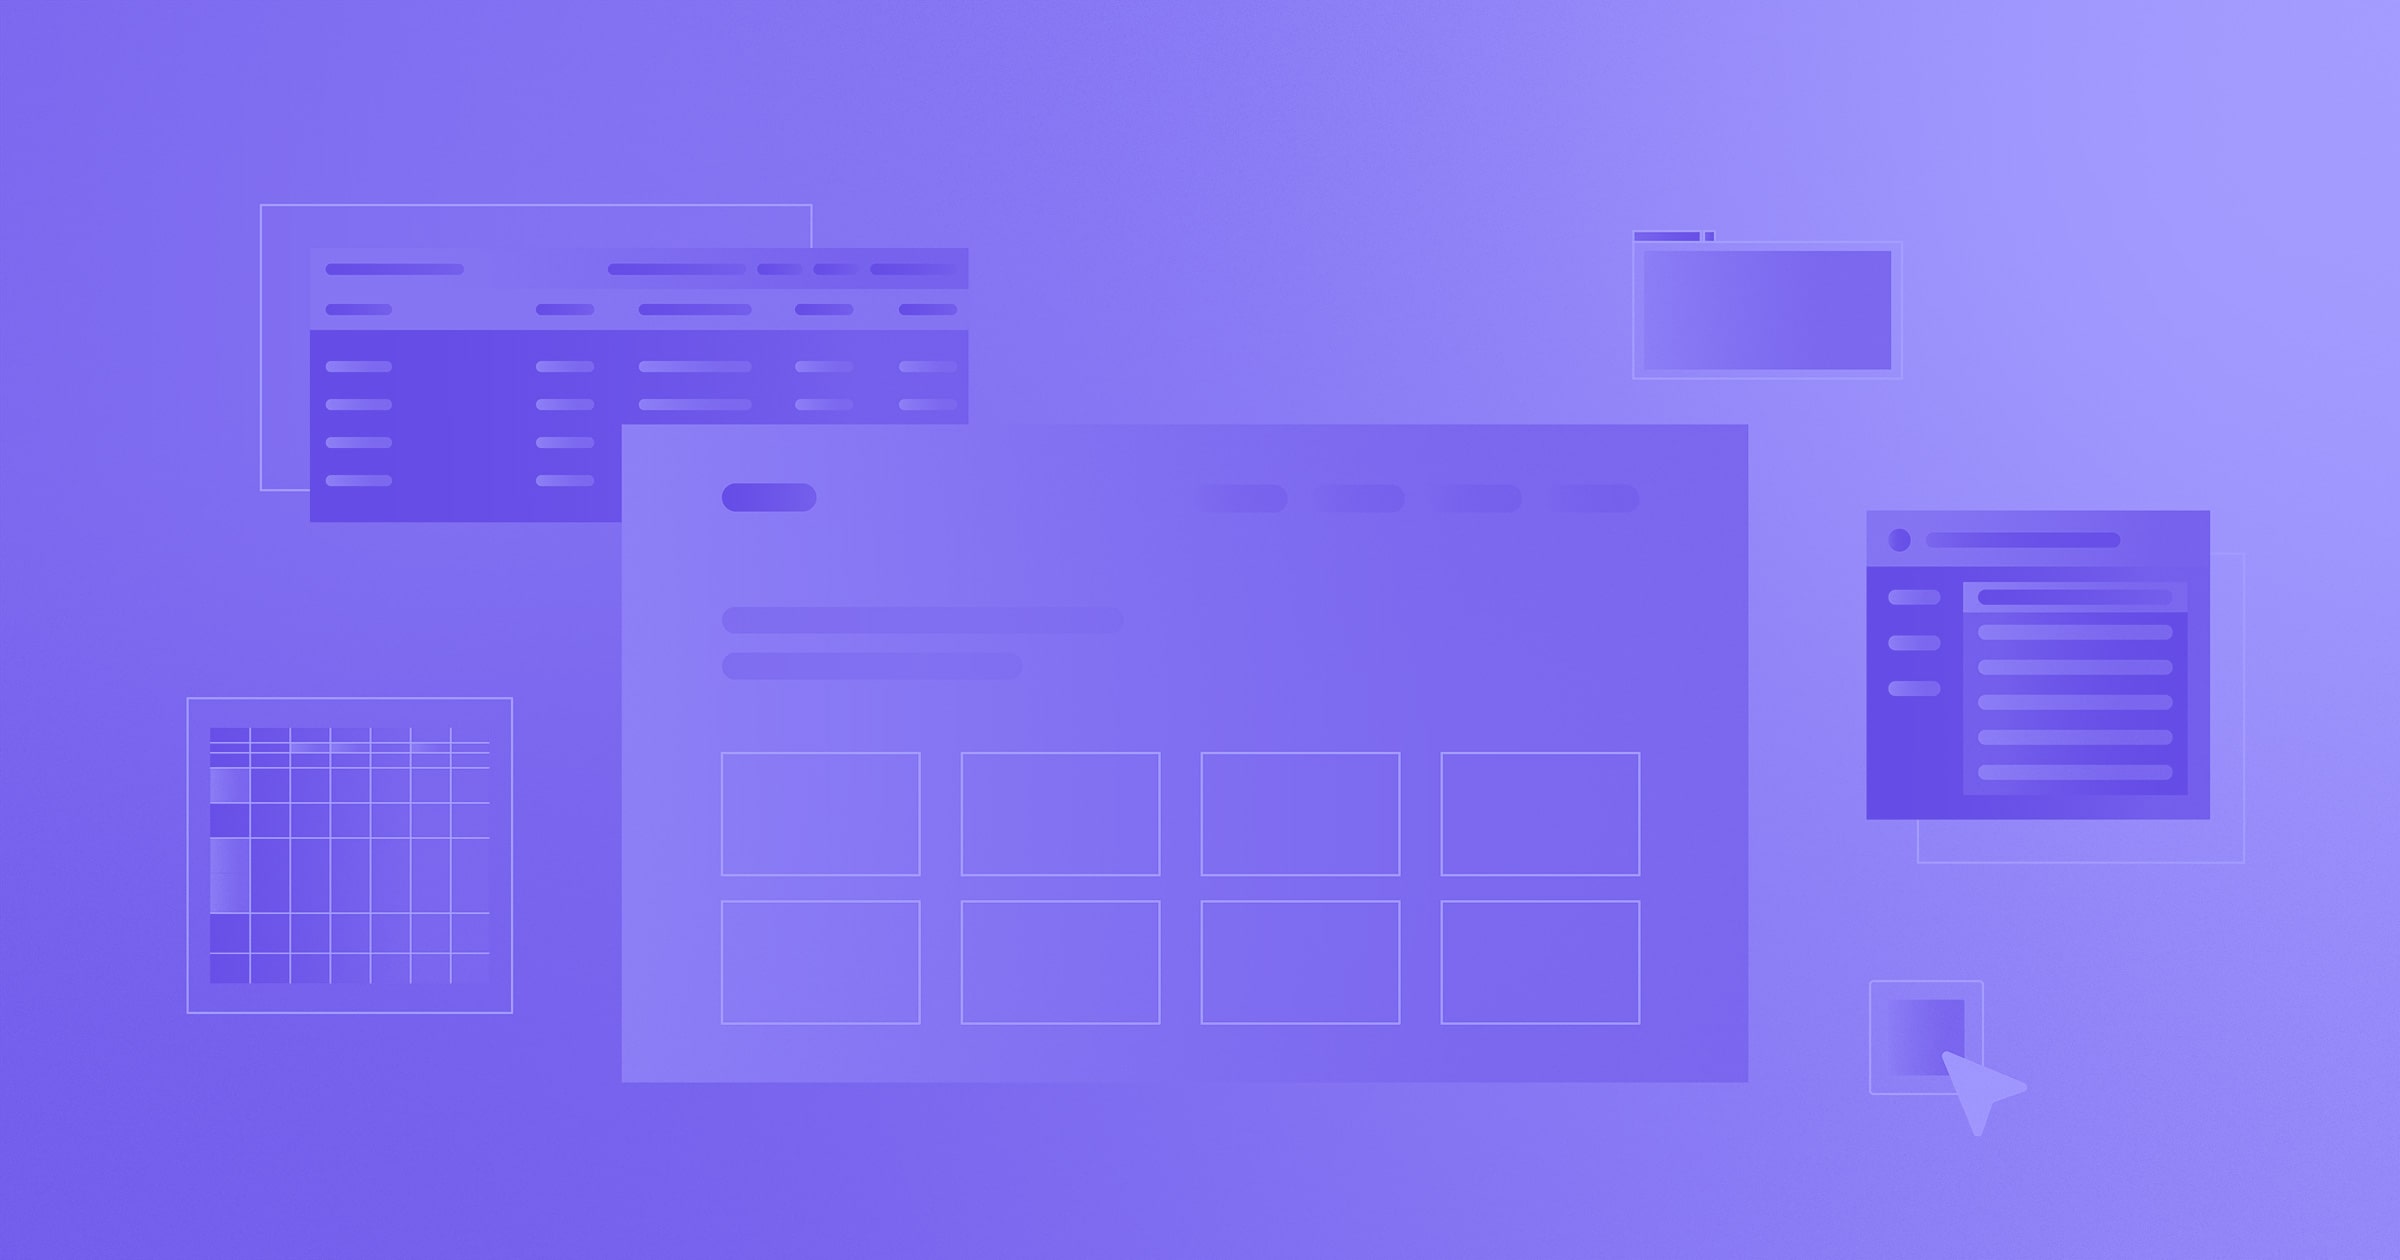
Sitemapping
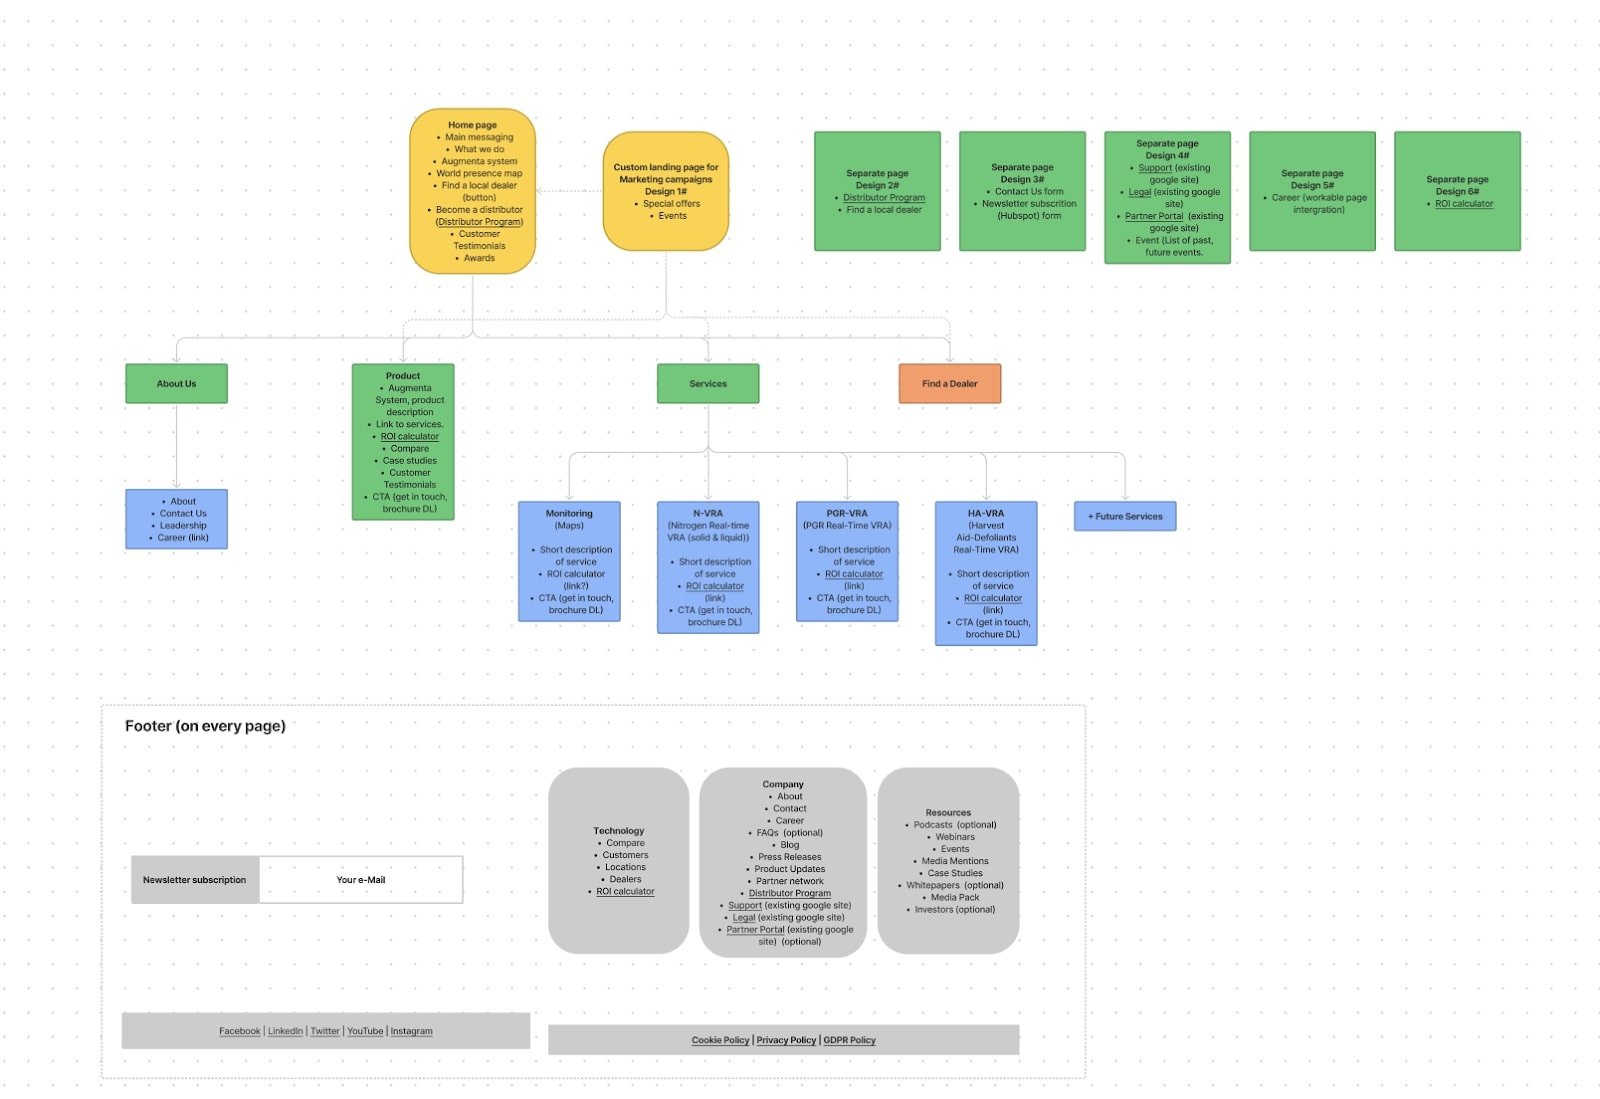
Start by using tools like FigJam to outline your website sitemap. This step is crucial to make your website work. We usually try to keep the sitemap as MVP as possible, but when you’re migrating from WordPress or another platform you should probably migrate all pages.
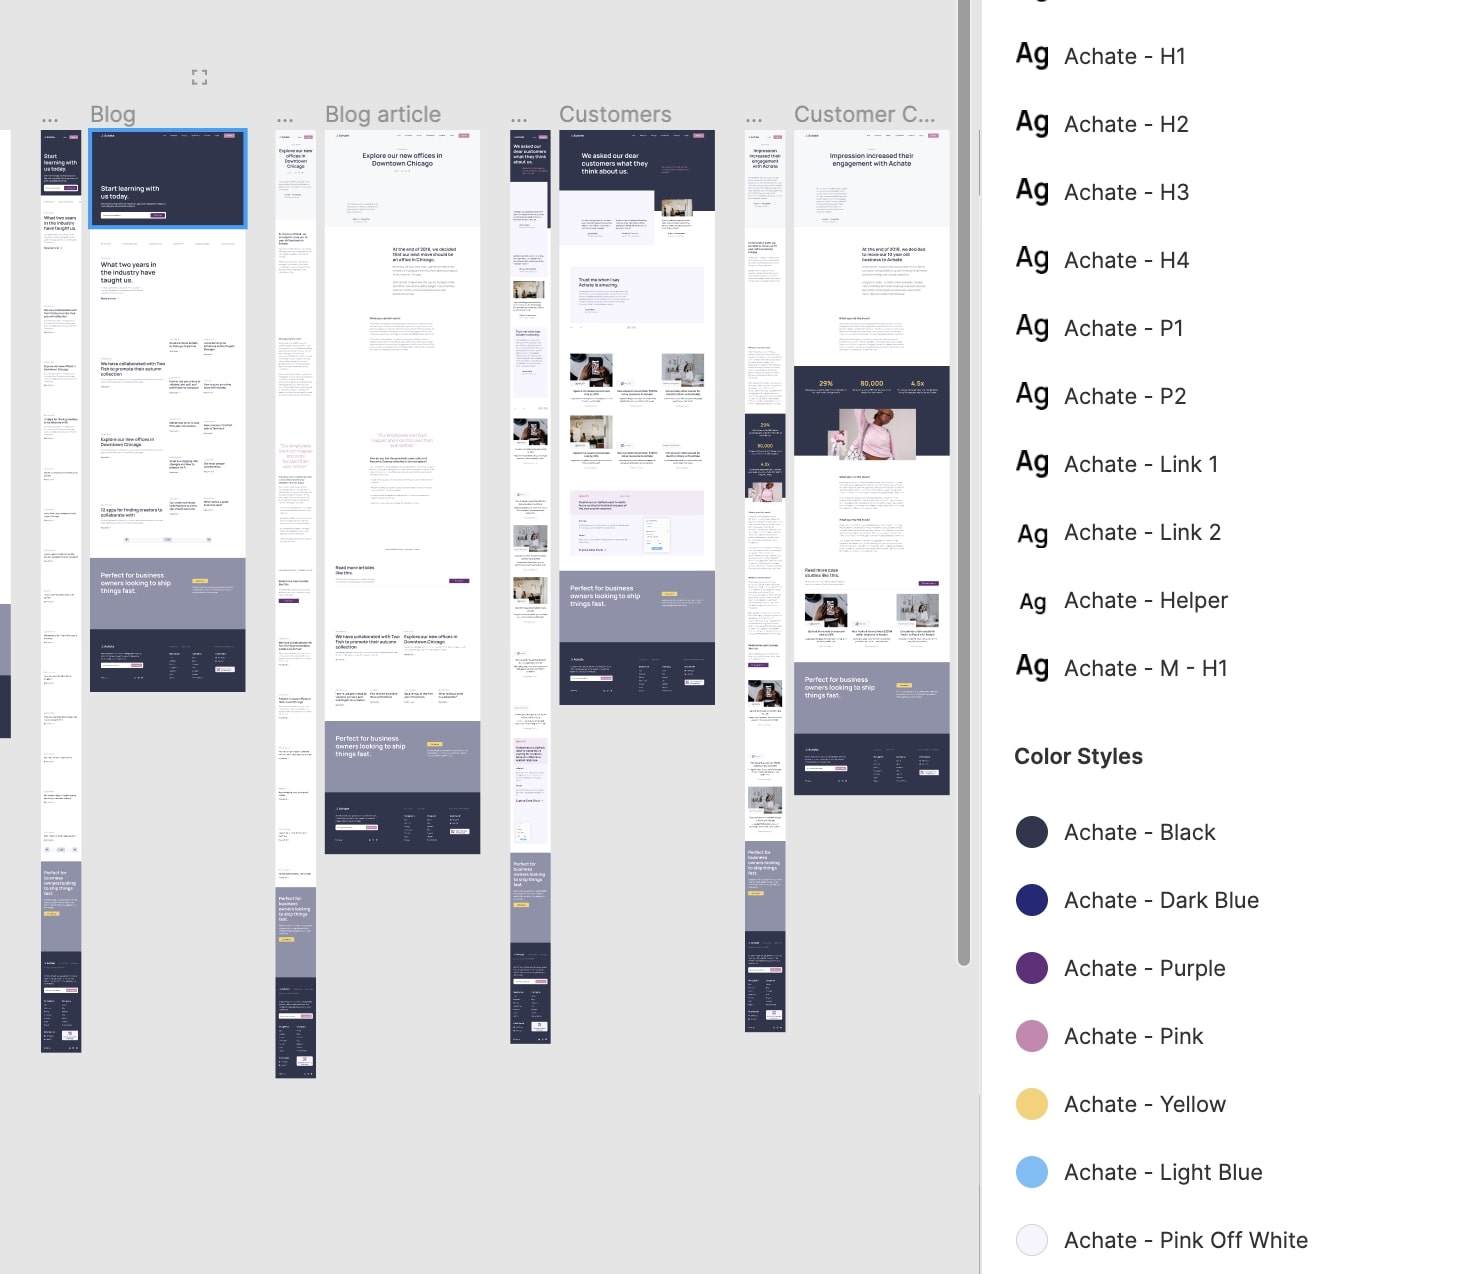
We recommend color-coding each page like in the example above. Here’s how we do it:
- Give core pages their own color — in the example above, the pages are yellow.
- Give pages that are P2 priority another color — above, we use green.
- Give CMS collections their own color — above, these are blue.
Once you have a high-level overview of the site in a sitemap like what’s pictured above, it’s going to make planning out your site possible and will reduce the overall amount of work you’ll have to do. Plus, you’ll be able to easily identify where you can use Webflow CMS to convert pages to templates, making it easier to develop your site later on. If you’re under a time crunch with deadlines, you can remove less important pages to accelerate the launch (and come back to them later).
If you want to go one step further, you can outline the individual sections you want to add to each page. This will prepare you for the next step and make searching for the right template easier.
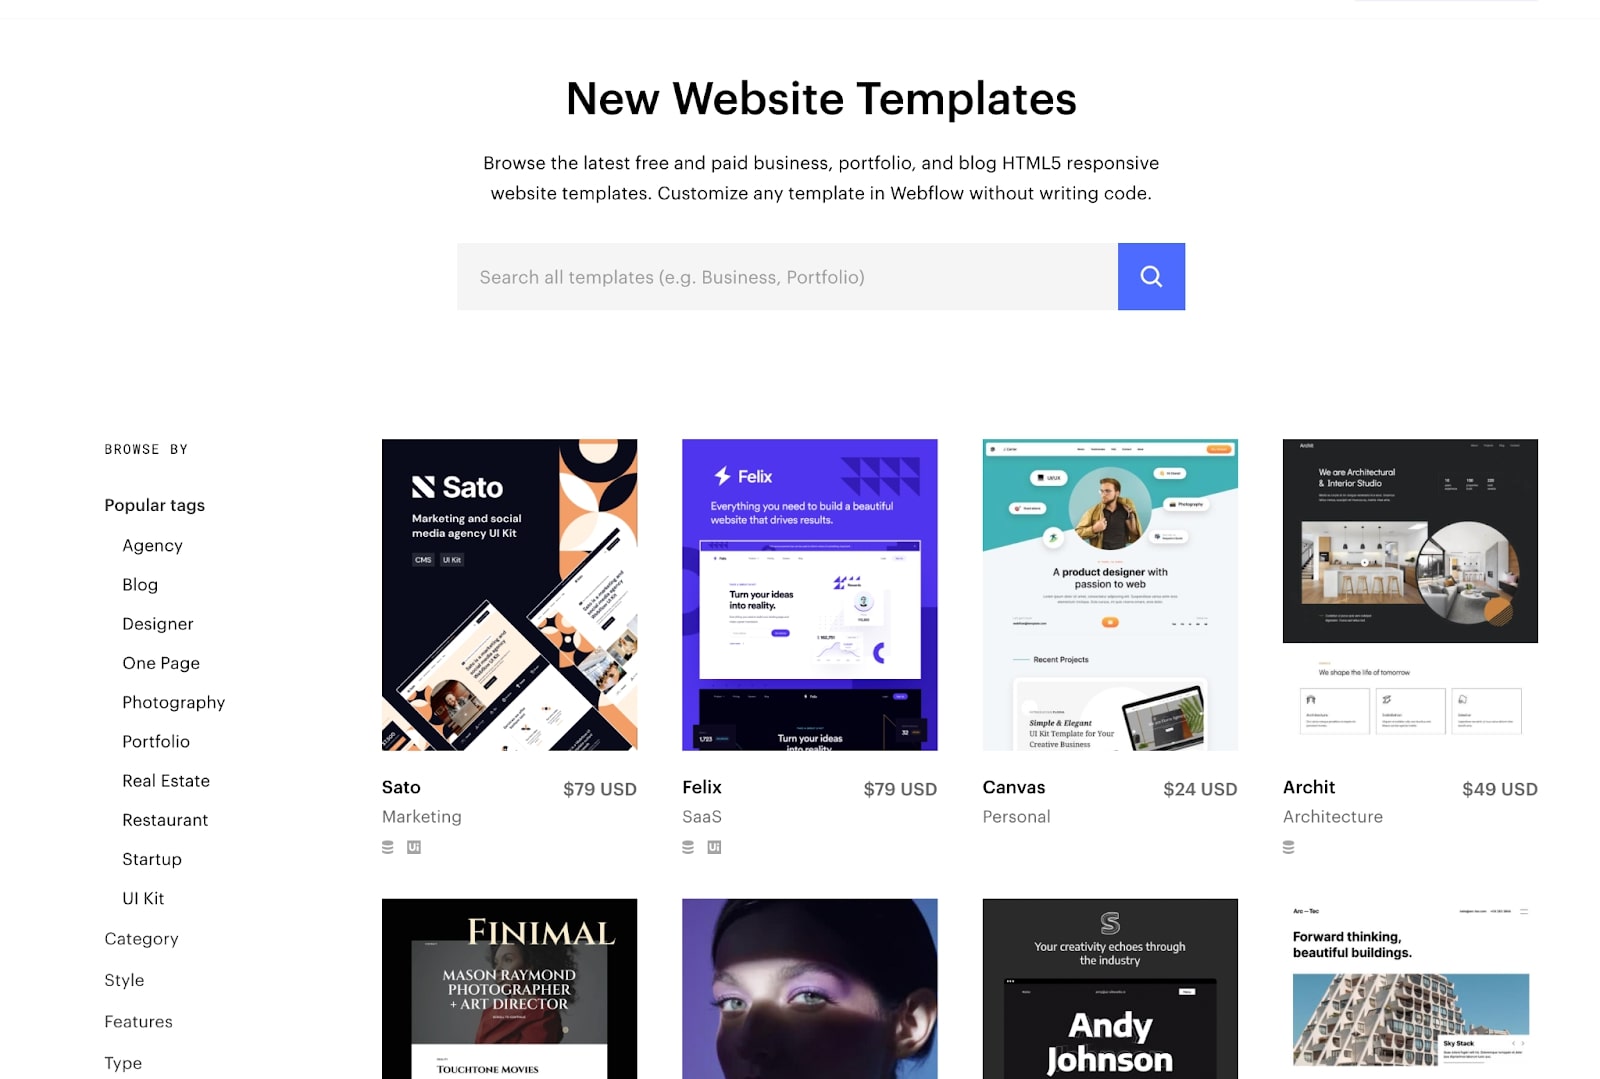
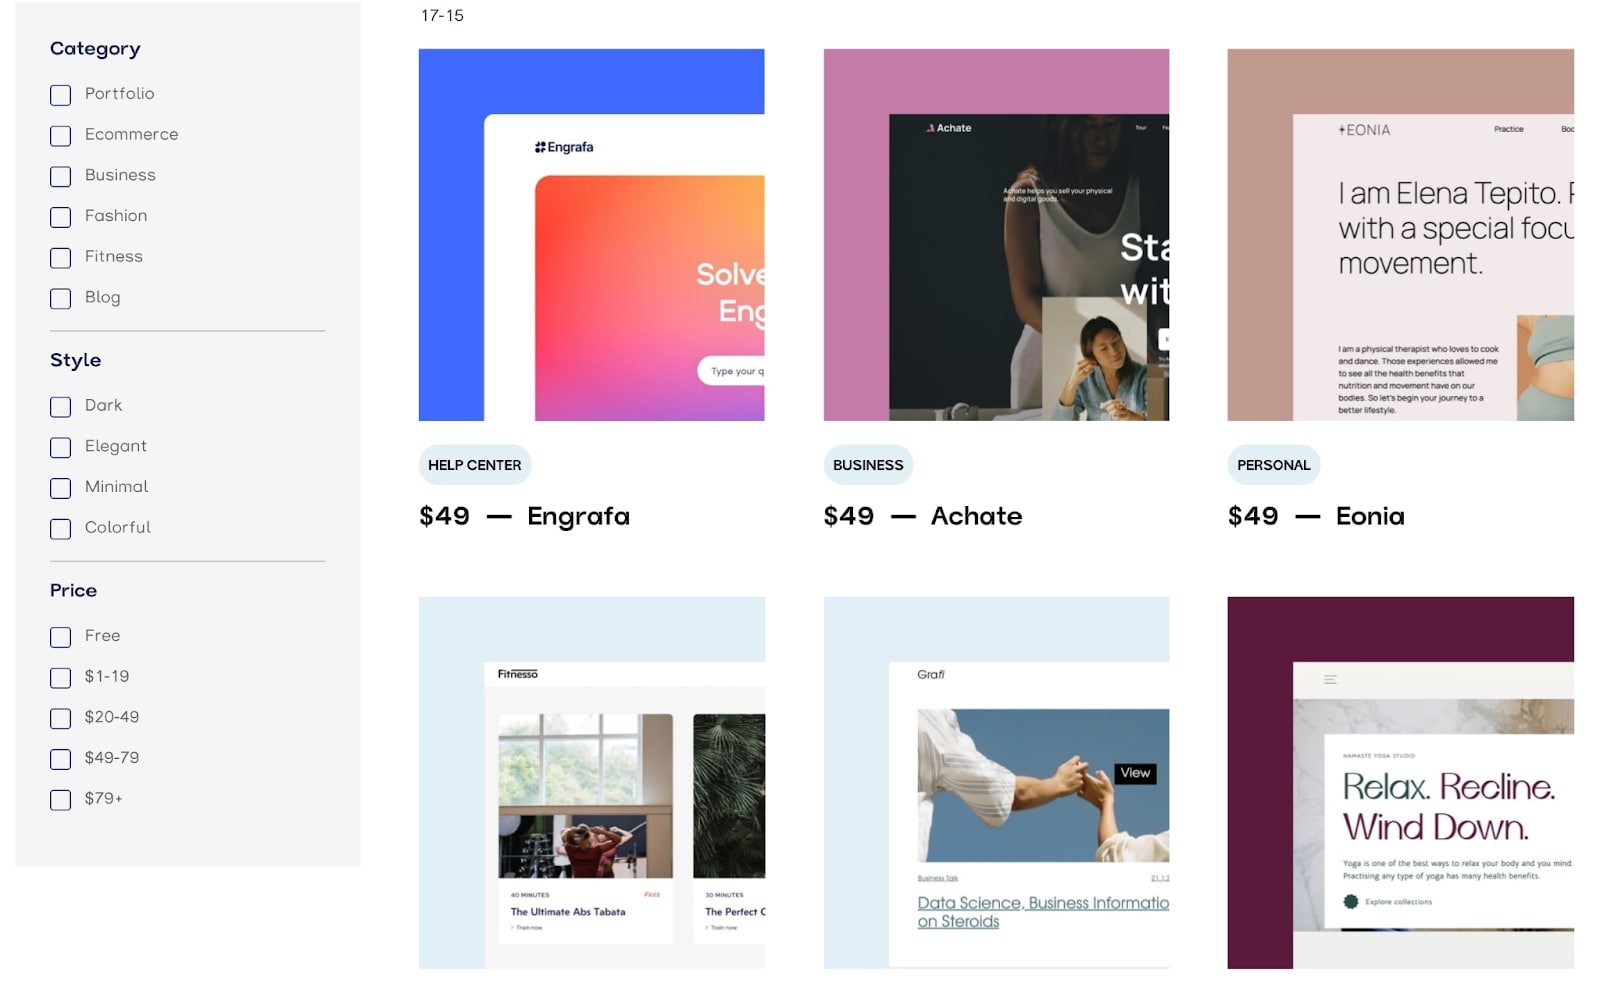
Finding your template
First, go to the Webflow template marketplace. When starting a search, I recommend browsing by Category, as there are more than 15 categories to choose from. Also, templates are usually built with a specific category in mind, and each category features sections suitable for your needs.
Alternatively, you can use a UI Kit. These also include all of the sections and components you need to build your website.
Asking for a Figma file
If you’re really in a rush, you can always start building your site directly in Webflow. However, we encourage everyone to begin with the interface design tool Figma — or something similar — so your classes and styles in Webflow aren’t messed up while testing possible solutions for the site.
Depending on the vendor, when you purchase a Webflow template, you should be able to ask for a Figma file and receive it within 24 hours of purchasing. If you decide to buy one of FlowNinja's templates, you’ll receive a free Figma file after sending us your proof of purchase from Webflow Marketplace.
To get ahead of it, you can always reach out to a specific vendor before buying a template to ask if they offer a Figma file after purchase.
Outlining the site in Figma & writing copy
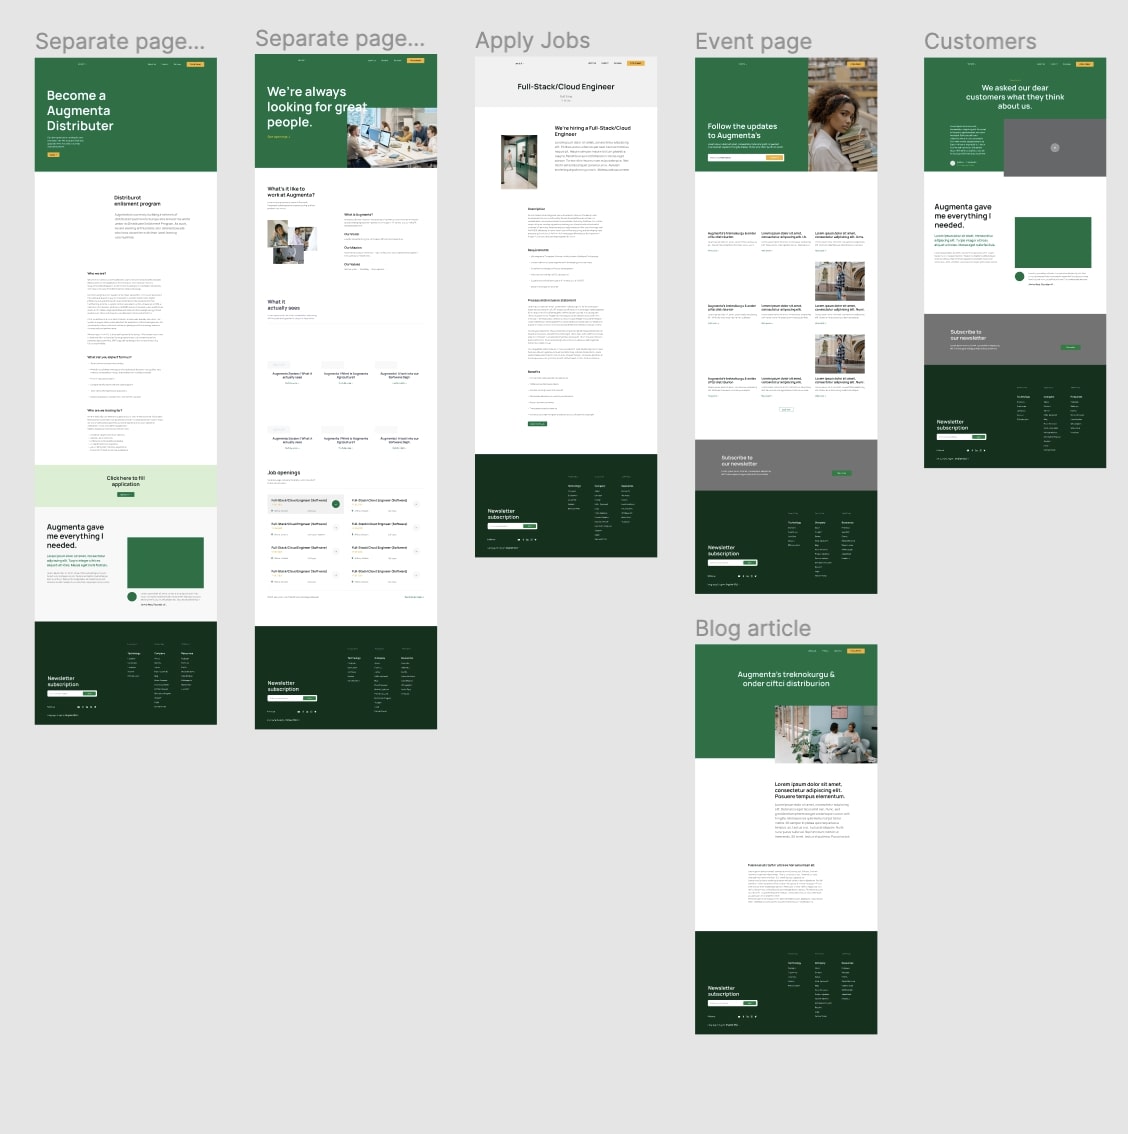
Once your sitemap is completed, you can start poking around the template and find components to use. After just a few hours, you should have a mockup for every page with the corresponding components.
This is going to come in handy once you start writing copy for the site. Instead of writing countless heading variations to fit your page, the template will give you the exact paragraph length.
If you have a copywriter in your team, we recommend you send them the Figma mockup and have them write copy in Google Docs. However, if you’re the only one in charge, you can write the copy directly in your design.


Get started for free
Create custom, scalable websites — without writing code. Start building in Webflow.
Customizing your template
Here comes the best part.
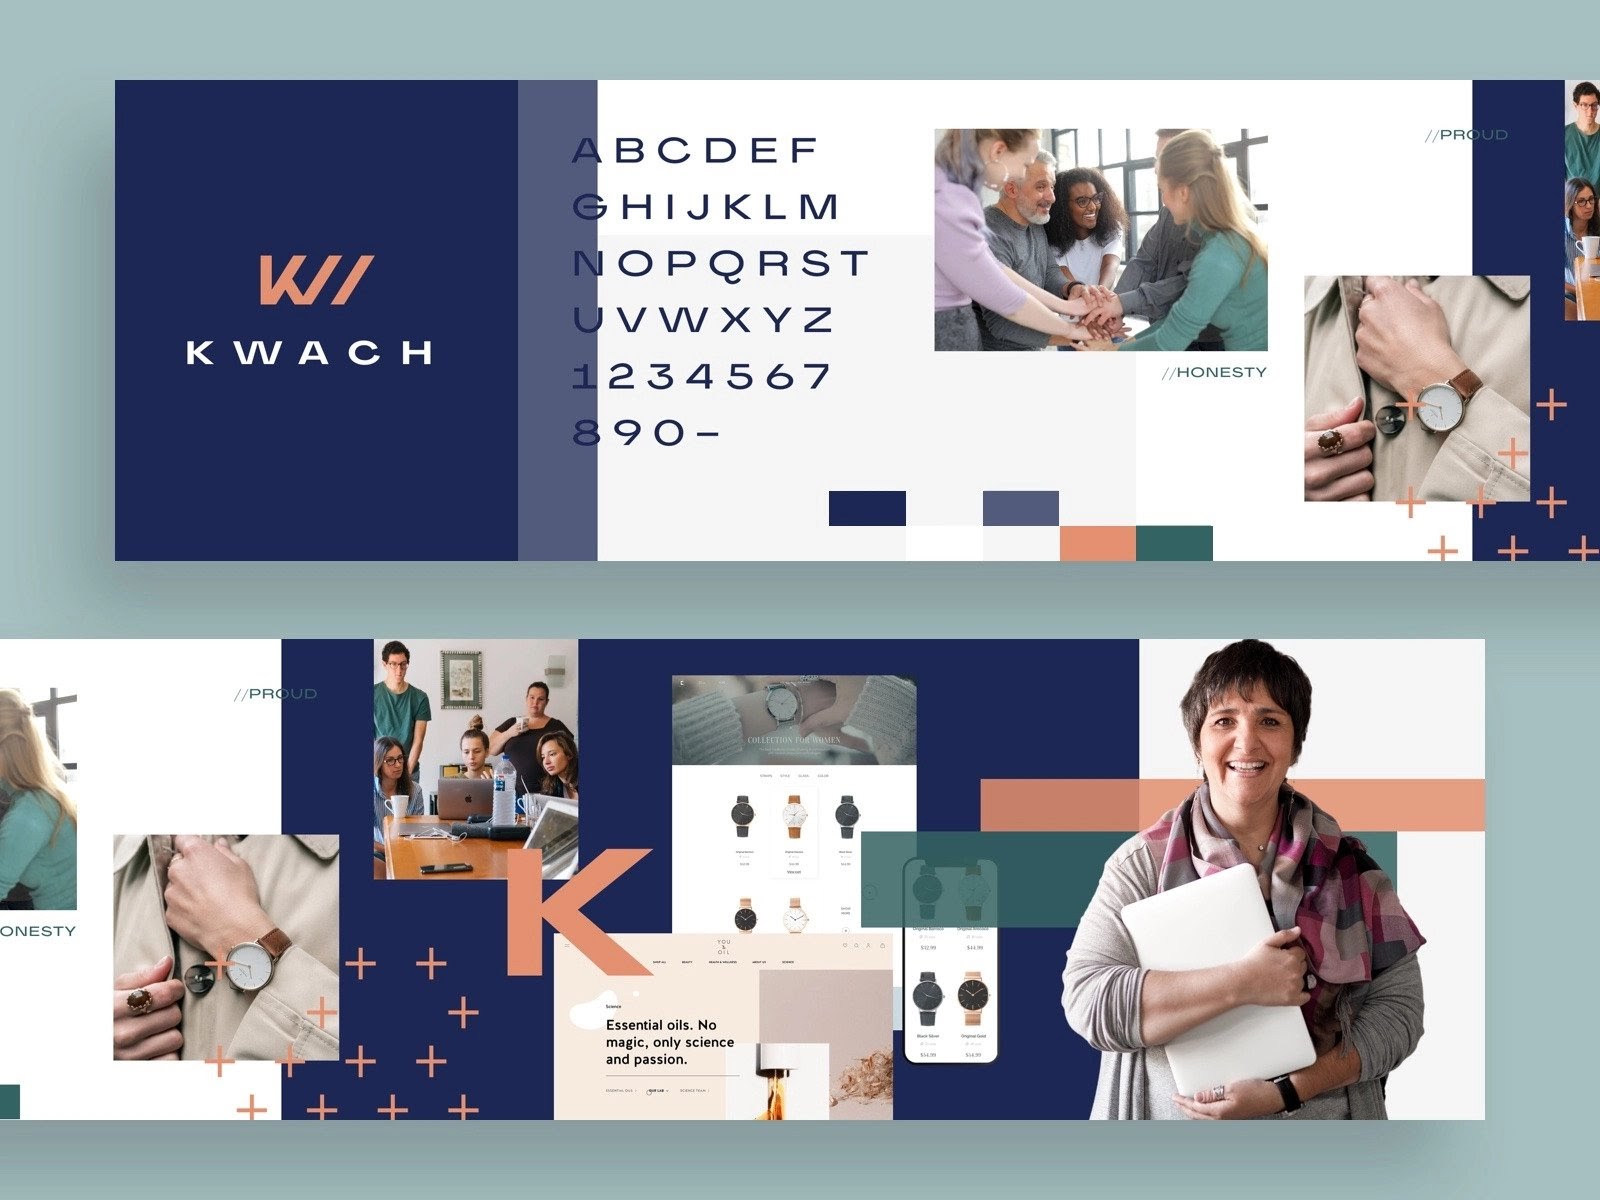
Since Figma also allows changing global components, you can start playing around with the styles. Testing various fonts, color schemes, or image approaches will be really easy, and you won’t have to worry about breaking and restoring the template to its initial state.
We recommend changing the following styles to customize your template:
- Fonts
- Colors
- Button designs
- Icons
- Images
By just changing these few items, you’ll end up with a custom website that’s unique from the original template.

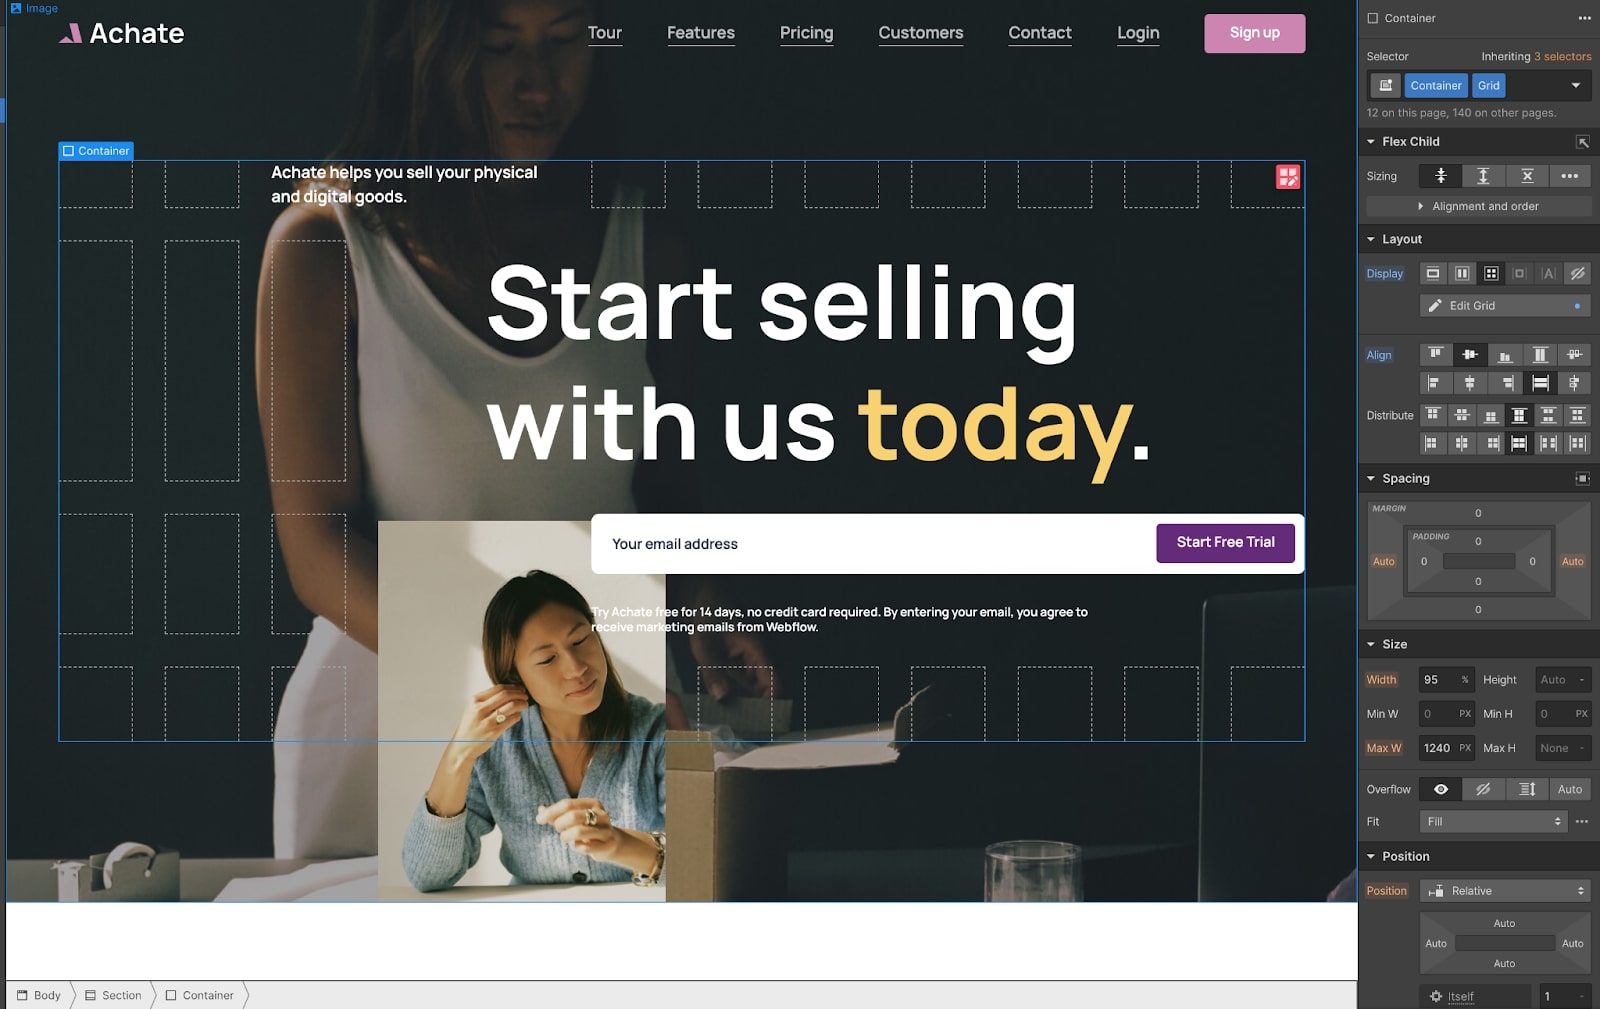
Applying global styles in Webflow
After you have the final copy, styles, images, icons, and colors in Figma, and you’re happy with how the site looks, you can start building it in Webflow.
One of many things that make Webflow stand out from the pack is that ALL Webflow templates have global style guides. We’re going to show an example of Flow Starter that's added to all of our templates.
- Change the Global Body Font
- Change All Headings Font
- Style Rich Text
- Change All Paragraphs Fonts
- Change All List Styles & Fonts
- Change All Links Styles & Fonts
- Apply New Global Colors
- Update Button Styles
You can find most of the tutorials for these items at Webflow University.
Create all pages, apply copy, images, and icons
We’re almost done. After creating global styles, the template should already look branded.
Now it’s time to replicate everything you have in Figma, insert adequate copy into all pages and components, and add images and icons in the Webflow Designer.
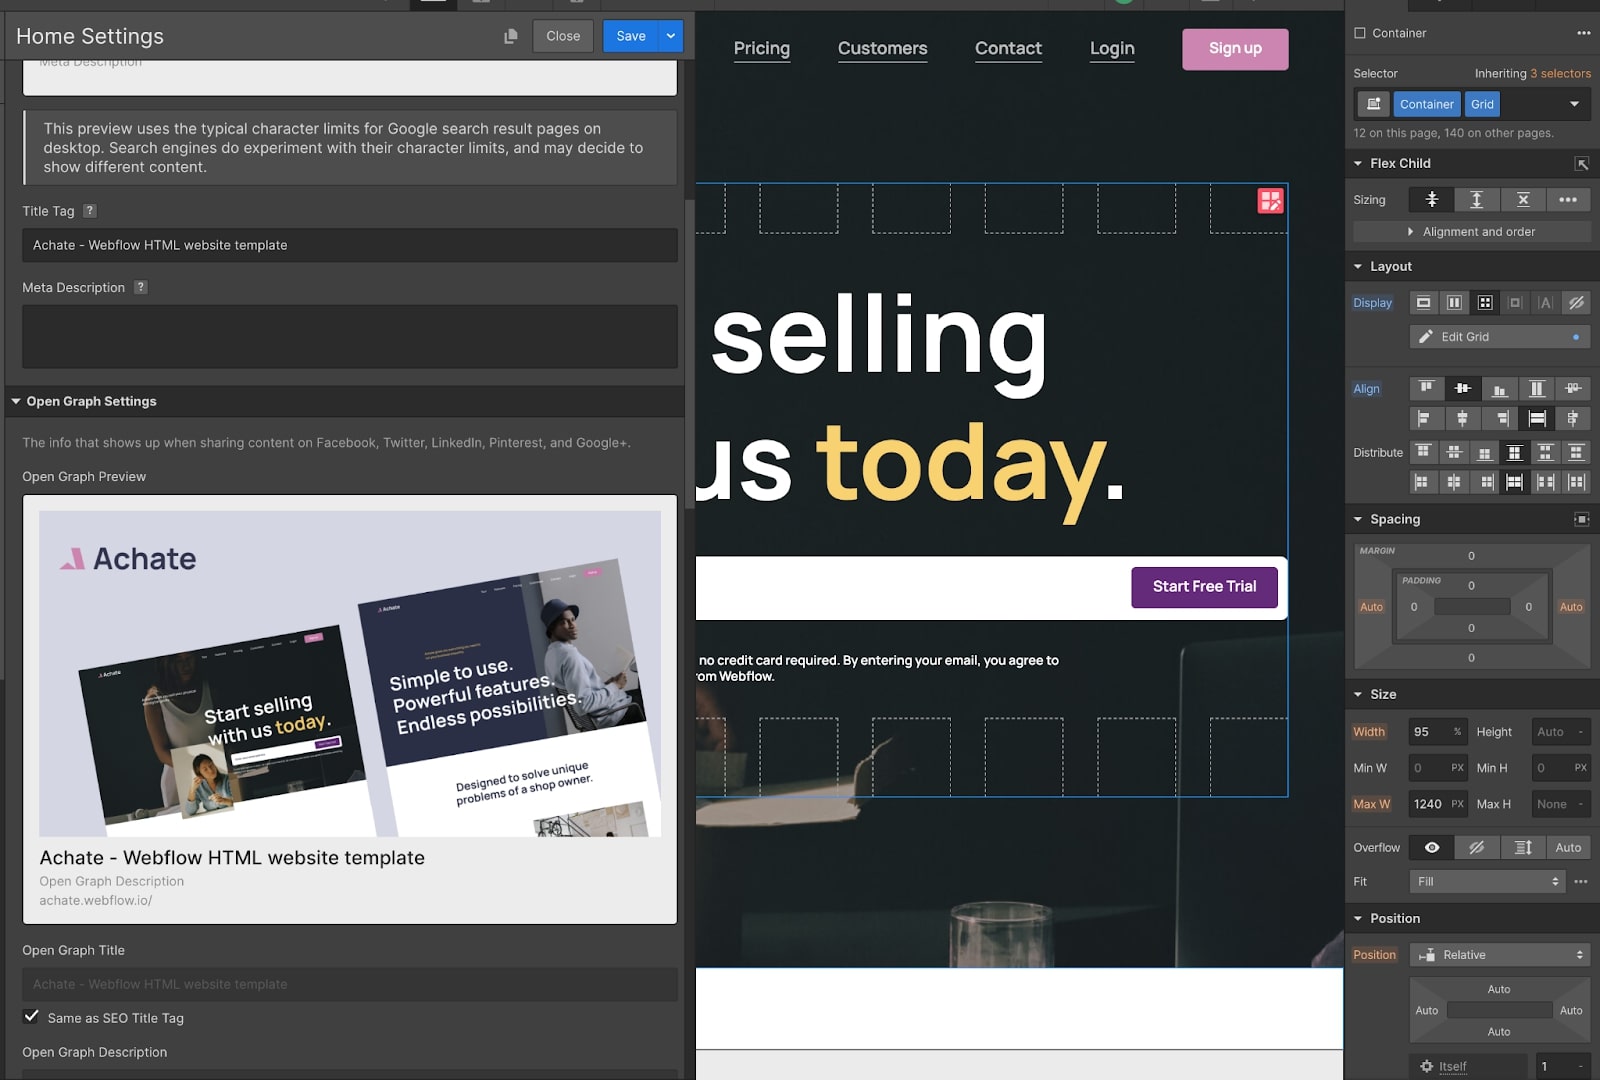
Change SEO titles, descriptions, OG images, alt texts, and the favicon
By offering support to more than a thousand of our template customers, we’ve noticed that most of them forget this crucial step to finalize their website.
In order to make this template completely your own you’ll have to override the template’s default SEO title, description, and OG image. This is crucial, as you don’t want to end up sharing your site and having people see something that shows that it’s a template.
We recommend using a simple “Page Name — Company Name” pattern for the page title and keeping SEO descriptions between 50 – 160 characters.
Other things to consider include the OG image that needs to be exactly 1200x630 pixels; the favicon which needs to be a 2:2 ratio; and writing proper alt texts to all images you’ve uploaded. You can find a really good tutorial here.
Go live!
Your site is now ready to accept visitors. Depending on the size of your site and your skill, the entire process can span from a day to a couple of weeks. One thing is certain — your project won’t be dragging for six months or longer.
To sum up...
Templates at Webflow are a powerful tool. Once you understand the basic principles behind them, you'll step up your designing process by skipping a lot of the planning stages while still having complete creative control. We hope our short introduction to templates and how we use them has inspired you to create a new site using a Webflow template.
Who is Flow Ninja?
With over 50 happy clients and over 1000 template customers, we’ve worked with an array of businesses — from small firms to enterprises. Our team members are always ready for a new adventure, using Webflow tools as our weapon of choice.
If you have any questions feel free to send us a Support ticket, we’re going to make it free for everyone, not just people that bought our templates for the next month.
If you want us to help you in a fully custom build, or create a site from scratch, feel free to get in touch with us here.