The Webflow Editor stands apart from most content management systems (CMSs) for its ease of use. But that doesn’t mean an introductory guide won’t help your clients.
So I built a guide to using the Webflow Editor, with content crafted for clients, right inside Webflow.

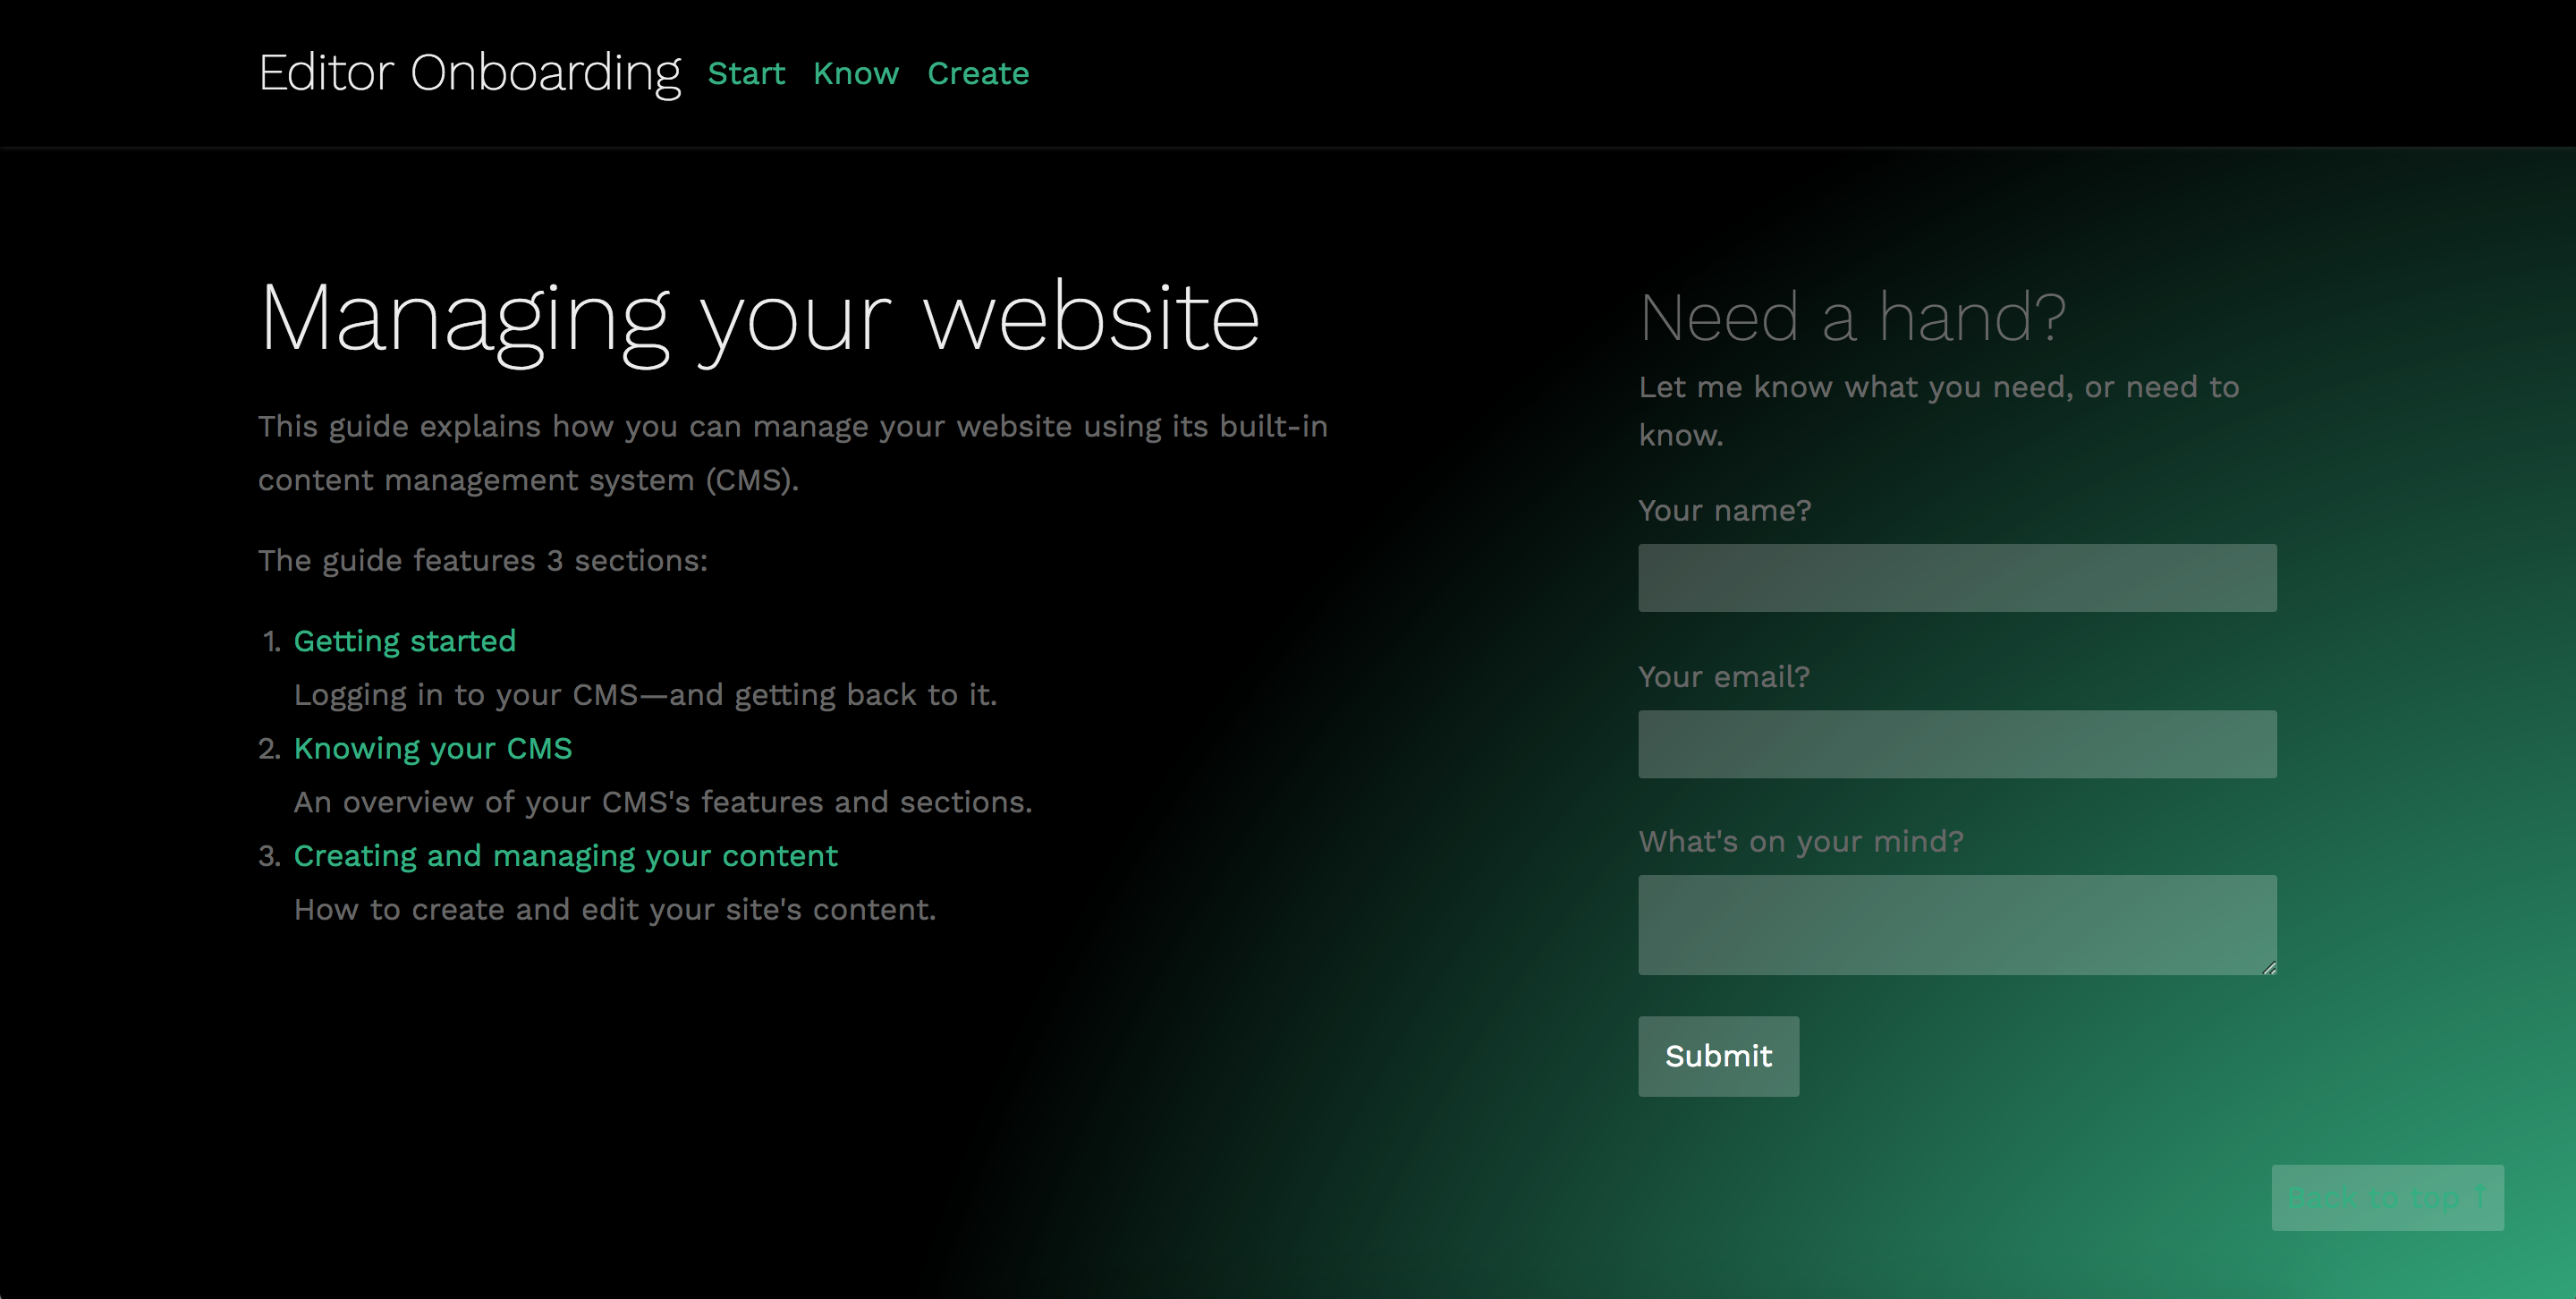
The website walks clients through the process of creating an account, then covers the UI in detail, and finally dives into creating and editing content with the Editor. And getting it ready for your clients is as easy as 1, 2, 3:
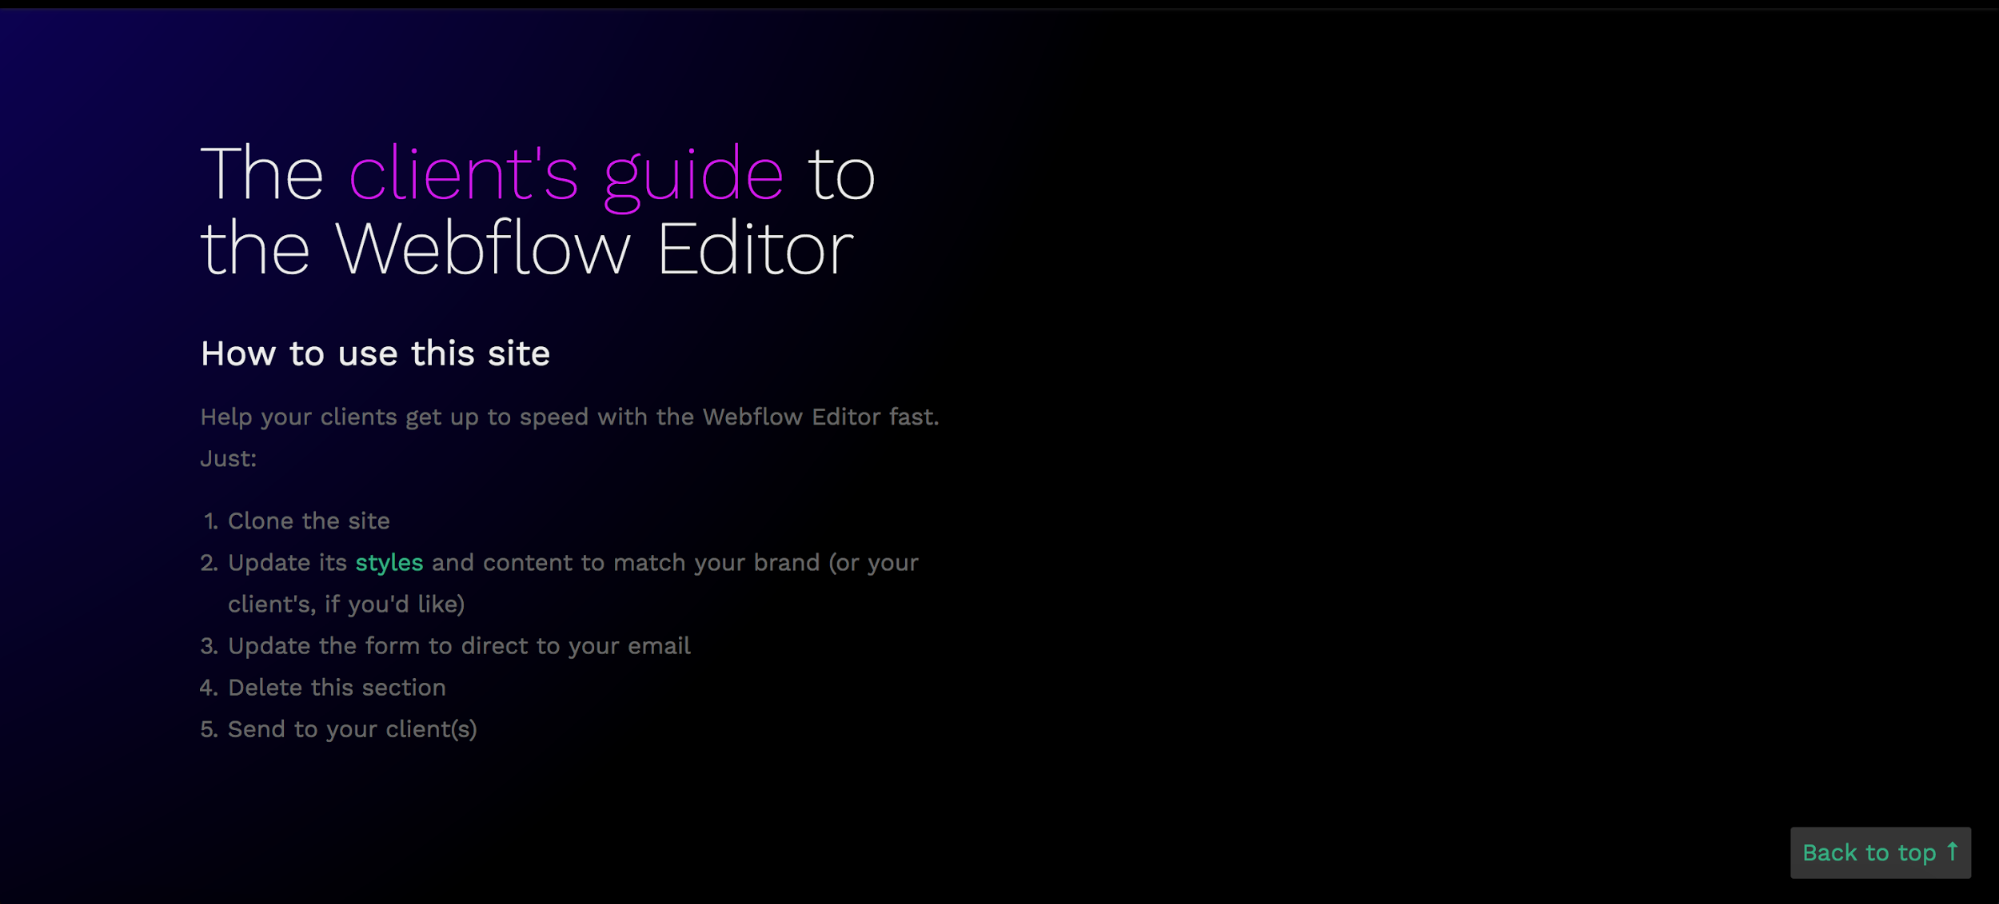
- Clone the site
- Customize the design and content
- Send the link to your client(s)
If you’re sold, go clone the site, and let us know what you think!
If you want to know a little more about the hows and whys, keep reading.
Why build a client’s guide to the Webflow Editor?
We’re in an interesting position when it comes to those who use Webflow. The types of folks who use Webflow range widely. But two of the largest groups are:
- Freelance / agency designers
- Their clients
And while we’re constantly communicating with and building tools for you freelancers, your clients are another story! Because we’ve built our tools for you, we don’t have many opportunities to hear about your clients’ experience of Webflow CMS and the Editor.
Still, we want you to succeed with your clients. Hence, the client’s guide to the Webflow Editor.


The missing guide to the freelance designer's life is here
Learn everything you need to know about making the leap to freelancing, from how to find clients to how to price your services.
How to use the client’s guide to the Editor
Once you’ve cloned the site, the next step is to make sure it meets your client’s needs. I’ve done my best to provide comprehensive guidance, but the content is necessarily general — after all, I don’t know what elements your client’s site includes!
With that in mind, there are a few things to note about this site:
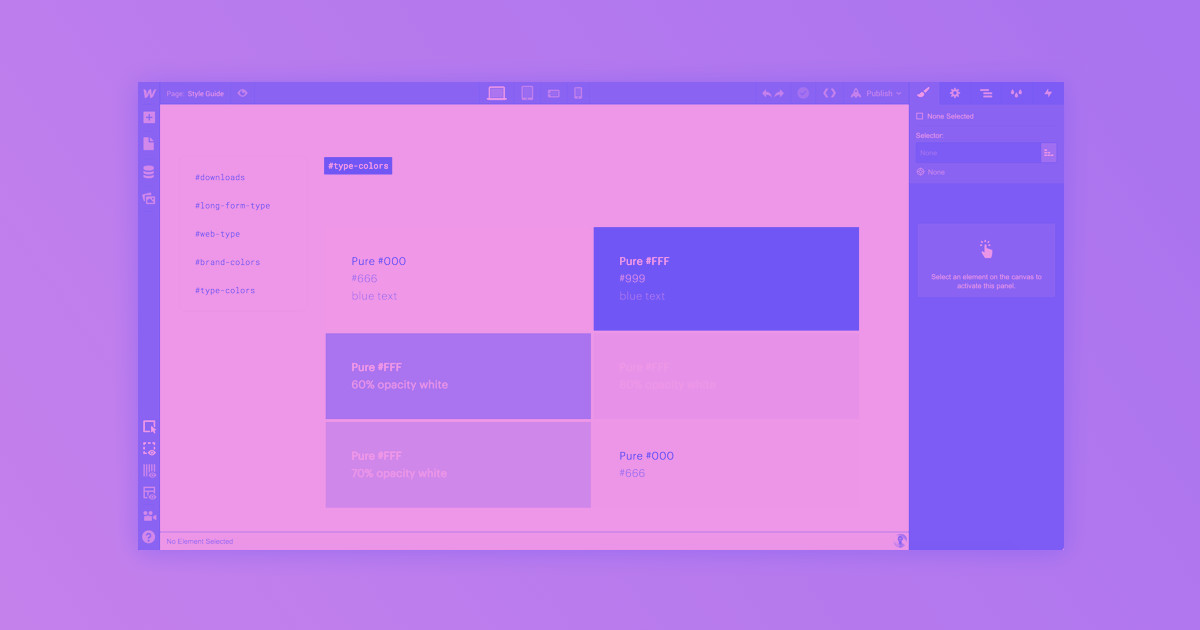
- The site includes two pages: one for the guide itself, and a second for a style guide, so you can easily tweak the appearance to suit your brand, or your clients’.
- The site has two hero sections: one for you, and one for clients. Be sure to delete the first one before sharing the site with your clients.
- I wrote the content from the first-person perspective, so that it feels like it’s coming straight from you. That means you’ll see several instances of “me,” “I,” and “contact me” in the content. If you’d like to change that, just Command/Control+F to find “I” and “me” and edit accordingly.
- I included a contact form to make it easy for clients to get in touch with you right from the site. You’ll just need to set up your form to ensure you get submissions.
- I included several screenshots of the Editor. I labeled these, and obscured any instances of the Webflow logo. But you may want to customize these for your clients, perhaps with screenshots of their own sites.

How to share the client’s guide to the Editor
Obviously, sharing the guide is as easy as sending your client the link. But you do have options for what you’re sharing.
For simplicity’s sake, you may want to just clone and customize one version of the site to share with all your clients. But for larger clients, or those with unique Collections, you might want to fully customize the content to match their website. It’s up to you!
Let me know what you think!
I’ve already given several members of the Webflow community a peek at this, and incorporated their feedback. But I want to be sure it’s a helpful, living guide for all of you, so please share your feedback in the comments!


