

I love Webflow’s ability to transform my web designs into something special — without requiring me to code. But before any of that transformation happens, most designers work in their design tool of choice. Mine is Adobe XD. Let’s walk through how I go from layers to divs.
Prefer to watch?
We've got you, with a full video version of this post from Martin Perhiniak, a certified Adobe design instructor and host of the Yes I'm a Designer YouTube channel:
Designing with experience
Before I start designing the next unicorn tech company’s website, I want to think through the components, pages, and flows I’ll need to design. Each step transitions easily from XD to Webflow.
I break my website design process into five sections:
1. System
This is where I create my design system, all in one artboard, including branding elements like:
- Colors
- Logo
- Typography
I also include more web-centric elements:
- CTAs (buttons and/or text links)
- Components (cards, hero sections, forms, etc.)
- Symbols (recurring elements like the main nav and footer)
This allows me to think about the foundation I want to build my site on. Once I’ve designed all these, I save them to XD’s Assets UI.
The assets panel is your friend
When I start any project, I build a moodboard as a basis for my design system. I add my logo, colors, icons, and headings, levels one through six.
Next, select a color or character style (or, an artboard full of either), open the assets panel, and click the plus sign beside the corresponding asset type. This will add all your colors and/or text styles to the asset panel, making it much simpler to apply them across your design.
Don't believe me? Behold the GIF:

In Webflow, I follow the same steps. I add my font family and global colors, and upload images to the assets panel, before I do anything else. It’s a match made in heaven. Here's how to select and add Google fonts.
Once added, I’ll set up up my h1-h6, body and paragraph text.
Here's how I make global colors:

- Create a div (don't give it a class name)
- Give it a background color
- Save the color as a global swatch
Repeat this for each brand color. I suggest uploading in bulk before you start your project. Adobe has a handy breakdown on how to export design assets or artboards.
2. Sitemap
Here I create a map of the site, showing all the necessary pages and the hierarchical relationships between them. This helps me see how many artboards I’ll need in the last three sections.
3. Wireframe
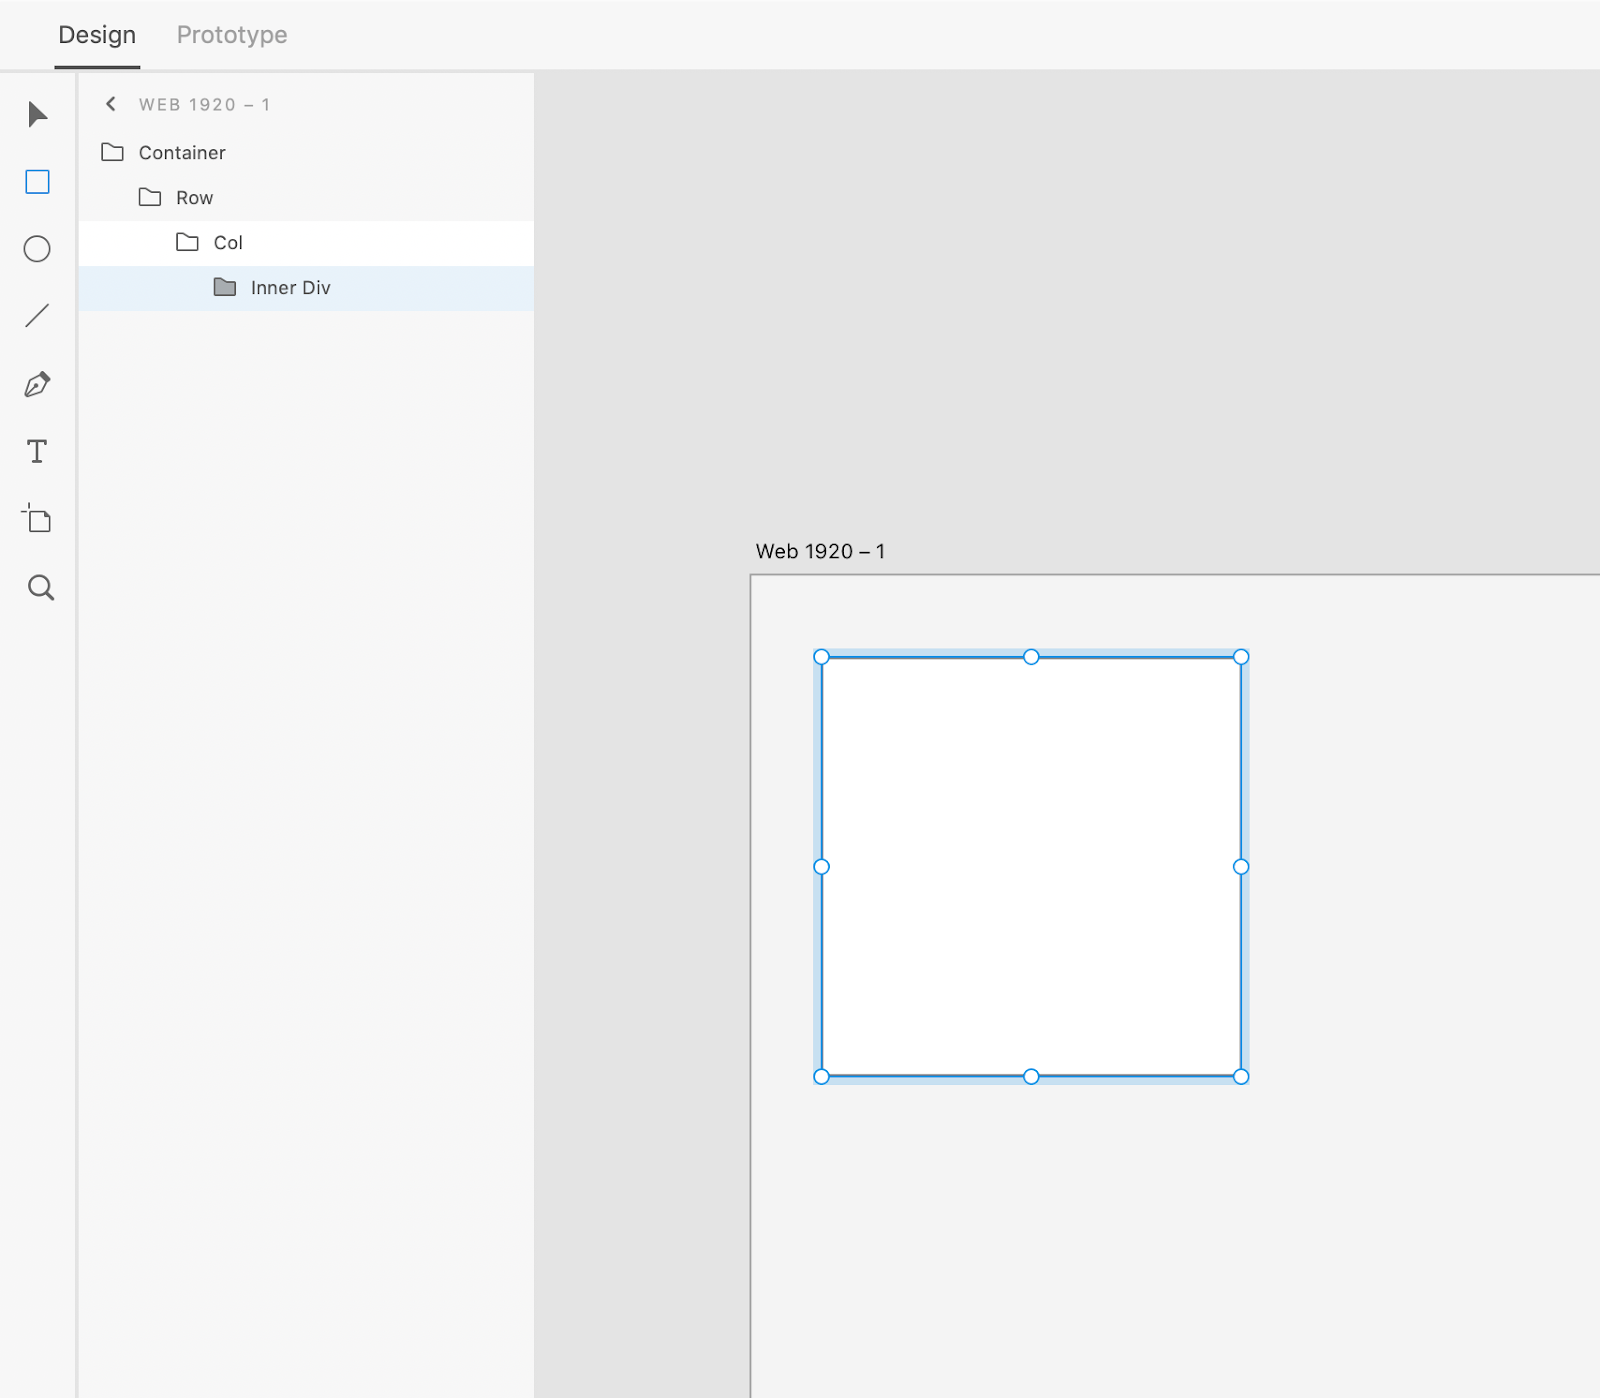
Wireframing helps me set up content and define the site’s evolving user experience while I’m still working in XD. Here I create each container, row, and div, then group them to ease the transition to Webflow.
In other words: I try to keep thinking in terms of the web’s box model so the relationship between mockup and website is as one-to-one as possible.
Artboard layout
Next, I want to set up my layout on my artboards. I use the settings I need for the given website project, but my default is 1200px with 15 columns. To do this, select the artboard and pick the layout you need from the properties panel.
Replicating this in Webflow is quite easy. Check out this Webflow template — cloning it would be a great way to learn how to set up your website.


Design interactions and animations without code
Build complex interactions and animations without even looking at code.
4. Hifi
Here’s where I start applying the elements of my system to my wireframe, fleshing out its skeleton with production-level visuals.
Next, I want to break out some magic. No, I won’t make you invisible — I’ve seen what that does to people.
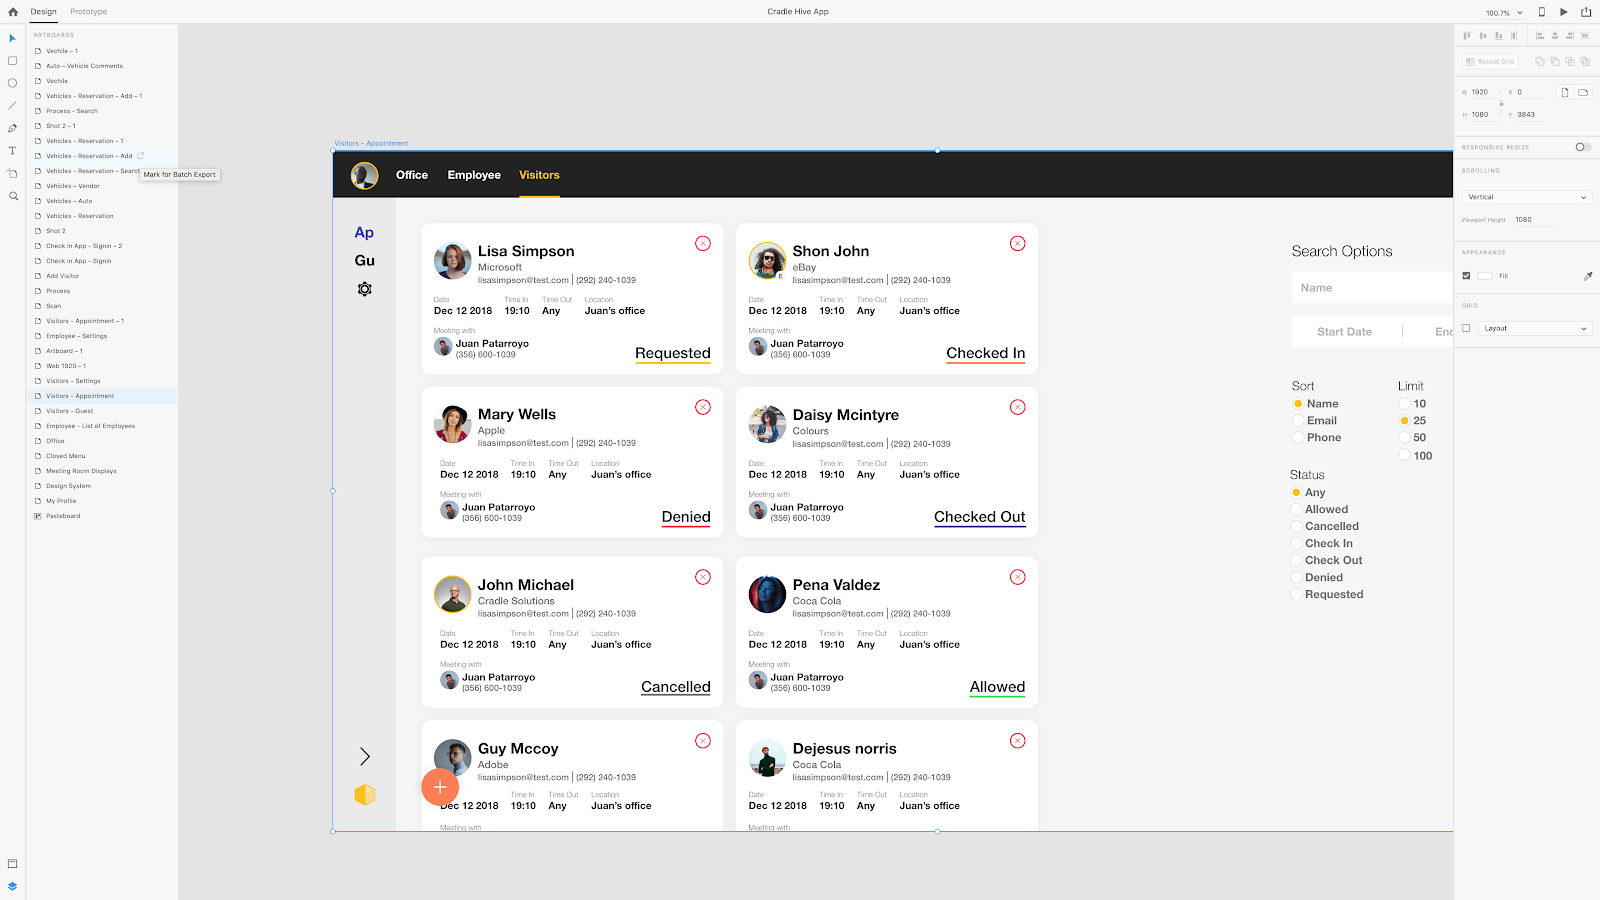
525,600 minutes in a year. How do you measure, measure a year?
With repeat grid. It will save you that much time.
Design is all about repetition. Which is why it’s so great to take something like a grid of repeating layers of images and just duplicate it — over and over and over. Oh, and over. Which actually isn’t so great.
With repeat grid, all that is gone. History. Welcome to the future of design. This workflow has saved my marriage — true story — because now that I don’t have to repeat elements over and over again, I have time to go on dates. The GIF above shows how I do this.
The best part? This helps you model the sorts of designs you’ll create in Webflow using Collection Lists.
5. Prototype
In this final stage, I start applying XD’s prototyping toolset to link pages, add transitions and states, and polish the design preview before I bring it to life in Webflow. This last step is optional, but helps maintain that one-to-one relationship between mockups and site that I mentioned before, and it’s great for illustrating things for clients, if needed.
Bringing it all back to Webflow
The final stage of this process is, of course, bringing all my XD work over to Webflow. Following the steps I’ve detailed here will help ensure you’re set up for success — and a fast development stage — in Webflow.
With that, I bid you farewell. Go — build a better web experience. I need a nap. This blogging is for the writers.