Can a vector graphics tool meet a web development tool? The short answer is no…
Abstracting web development can be super challenging! Since the 90s — remember Dreamweaver? — developers have struggled with its intricacies. For instance, every HTML element naturally stacks vertically, from top to bottom.
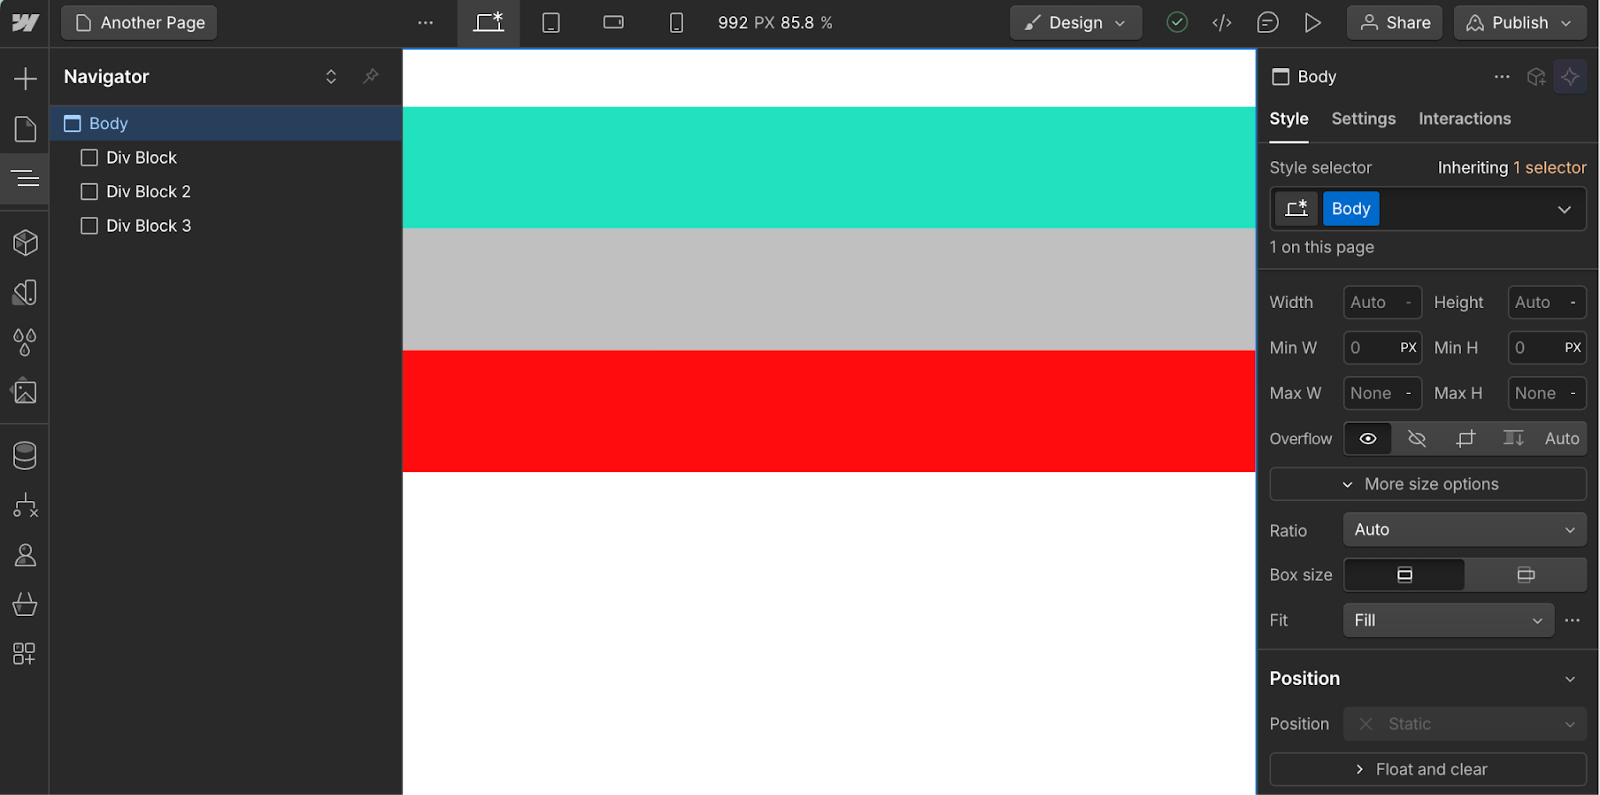
Besides this unnatural positioning, it’s human nature to want to place items freely on a canvas, like you would on your desk. And to complicate things, what's a 'Div Block' or a 'P'? These small, unfamiliar details can be major demotivators, creating a steep learning curve in web development.
On the other hand, adding shapes, text, and images to a canvas feels natural for anyone — my grandmother could do it! Familiar names like 'Rectangle,' 'Circle,' or 'Text' make it even easier. These are the basic building blocks of vector graphics tools like Figma, Sketch or Adobe XD.
Definitions:
Web development tool: A software application that enables users to create, design, and develop websites visually – without needing to write code manually.
Vector graphics tool: A software application designed for creating and editing vector-based designs like vector paths and anchor points, enabling designs that are scalable without loss of quality.
However, vector graphics tools don’t capture the dynamic and interactive nature of the web. For example, elements have hover, active or focus states on the web, influencing how users interact with buttons, links, and other components. Similarly, forms go beyond placeholders — they require error handling, validation workflow, and accessibility to ensure they function properly in a production environment.
Besides that, the web is responsive. Websites often incorporate dynamic data – content that can change and must be designed to adapt to different lengths, structures, and types. The web is accessed on different devices, phones, tablets, large monitors, and more. Interactivity can be highly complex on the web, involving asynchronous data loading, responsive animations, and intricate user interactions. In essence, understanding and embracing the web’s unique environment is fundamental for creating functional, responsive, and accessible sites in a real-world context.
Web development – but visually
Enter Webflow.
Webflow is a visual development platform that gives development superpowers to everyone. This means you can build websites without needing to write code yourself. What makes Webflow so powerful is that it’s super close to the web development primitives allowing you to build scalable, secure and beautiful websites.
This visual power comes with a small caveat: Webflow users still need to understand web development standards like HTML and CSS to take full advantage of the platform. This makes Webflow the perfect platform for anyone interested in creating for the web.
A website journey – from idea to published
Building a website is an adventurous journey: creative, fun and challenging. It usually starts in a vector graphics tool. Such tools are perfect to quickly iterate ideas, to collaborate with your team and for creativity explorations. Since they are simply a collection of recognizable shapes, it’s way easier and convenient to start there.
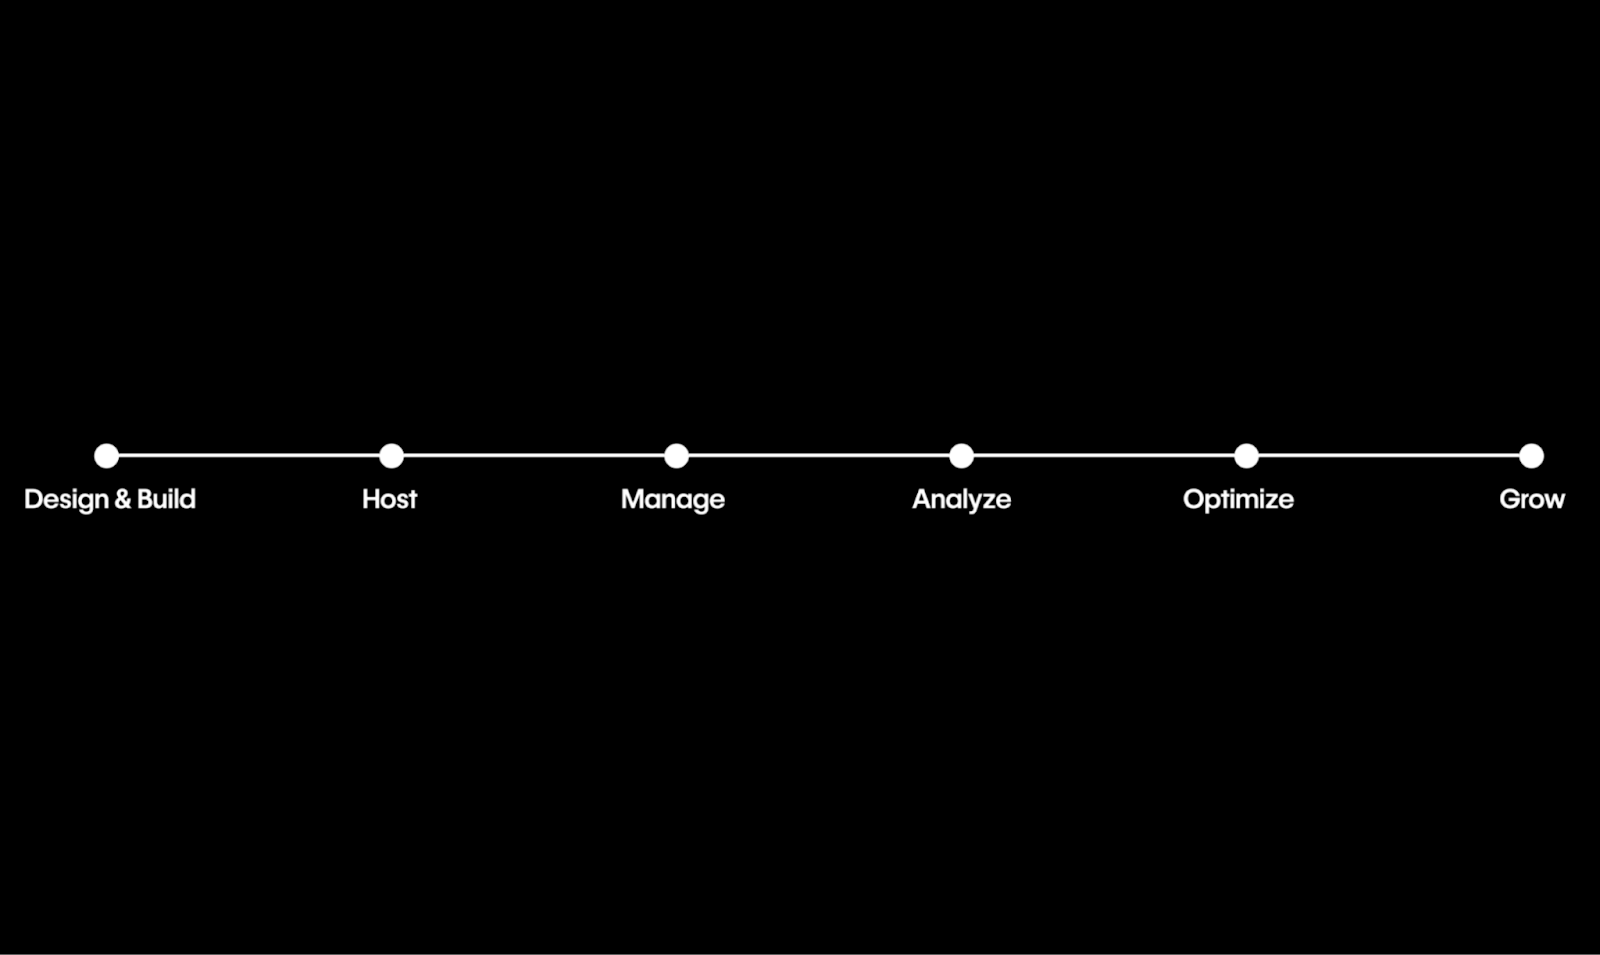
The practical result of starting in a vector tool is that all ideas, website structure, content and assets are already present. Once all stakeholders are happy with the designs, it’s time for the next step. This means transforming the static designs from the vector tool into a fully functional website. It involves adding responsiveness, accessibility features and interactivity — all elements that make a website a dynamic and engaging online experience.
Next step – start web development
In the past, web development meant “start coding”. Basically converting static designs to code. Today, most often than not web development means converting Figma to Webflow. This means Webflow users will have to manually convert Figma designs into Webflow websites.
This is boring. Super boring! Tremendously boring. Extremely… you get the point.
Our solution to this boring task was to build a translation engine that automatically converts Figma designs into Webflow websites.
The translation engine
It turns out that building a system that reliably translates two different “languages” is an interesting engineering challenge. To start, both building blocks' primitives are fairly different. One tool is laying shapes on a canvas and the other tool is laying HTML elements in a canvas for the browser to interpret.
For the purposes of this blog post we are going to call shapes and HTML elements "nodes".
This means a node representation for Figma is completely different from a node representation for Webflow.
As an example here is a partial JSON representation of a Figma node:
{
  "id": "node_id",
  "parent": {
    "id": "parent_id"
  },
  "name": "beautiful node",
  "visible": true,
  "opacity": 1,
  "blendMode": "PASS_THROUGH",
  "maskType": "ALPHA",
  "effects": [],
  "fills": [
    {
      "type": "SOLID",
      "visible": true,
      "opacity": 1,
      "blendMode": "NORMAL",
      "color": {
        "r": 0,
        "g": 0,
        "b": 0
      },
      "boundVariables": {}
    }
  ],
  "strokes": [],
  "strokeWeight": 1,
  "strokeAlign": "OUTSIDE",
  "strokeJoin": "MITER",
  "strokeCap": "NONE",
  "x": 0,
  "y": 0,
  "width": 1275.33056640625,
  "height": 590,
  "absoluteBoundingBox": {
    "x": 7430.74609375,
    "y": 1338.5733642578125,
    "width": 1275.33056640625,
    "height": 590
  },
  "type": "TEXT"
}
And here is a partial JSON representation of a Webflow node:
{
  "id": "node_id_1",
  "tag": "div",
  "classes": [
    "class_id_1",
    "class_id_2"
  ],
  "children": [
    "node_id_2"
  ],
  "type": "Navbar",
  "data": {
    "tag": "div",
    "navbar": {
      "animation": "default",
      "collapse": "medium",
      "docHeight": false,
      "duration": 400,
      "easing": "ease",
      "easing2": "ease",
      "noScroll": false,
      "type": "wrapper"
    },
    "attr": {
      "href": "#"
    },
    "link": {
      "mode": "external"
    }
  }
}
Quite different… right? They are different because both tools are solving different problems. Notice how the Figma nodes have properties like `absoluteBoundingBox` and `blendMode` – relevant for a graphics tool – while Webflow nodes have properties specifically for web development like `classes` or `navbar`.
To solve this challenge we first need a way to read nodes from Figma. For that, we developed our own Figma plugin. Our first approach was to use the simple concept of copy/paste.
First approach: copy/paste
Copy/paste is arguably your most used shortcut. How many times have you copy/pasted something today? Go on, count them. Using copy/paste means we are leveraging a very common workflow to translate two completely different languages. We need some guardrails.
The user experience is simple: open the Figma plugin, select a layer on the canvas, click “Copy to Webflow” and paste it on your Webflow site. Boom! There you have it: Your designs directly in Webflow.
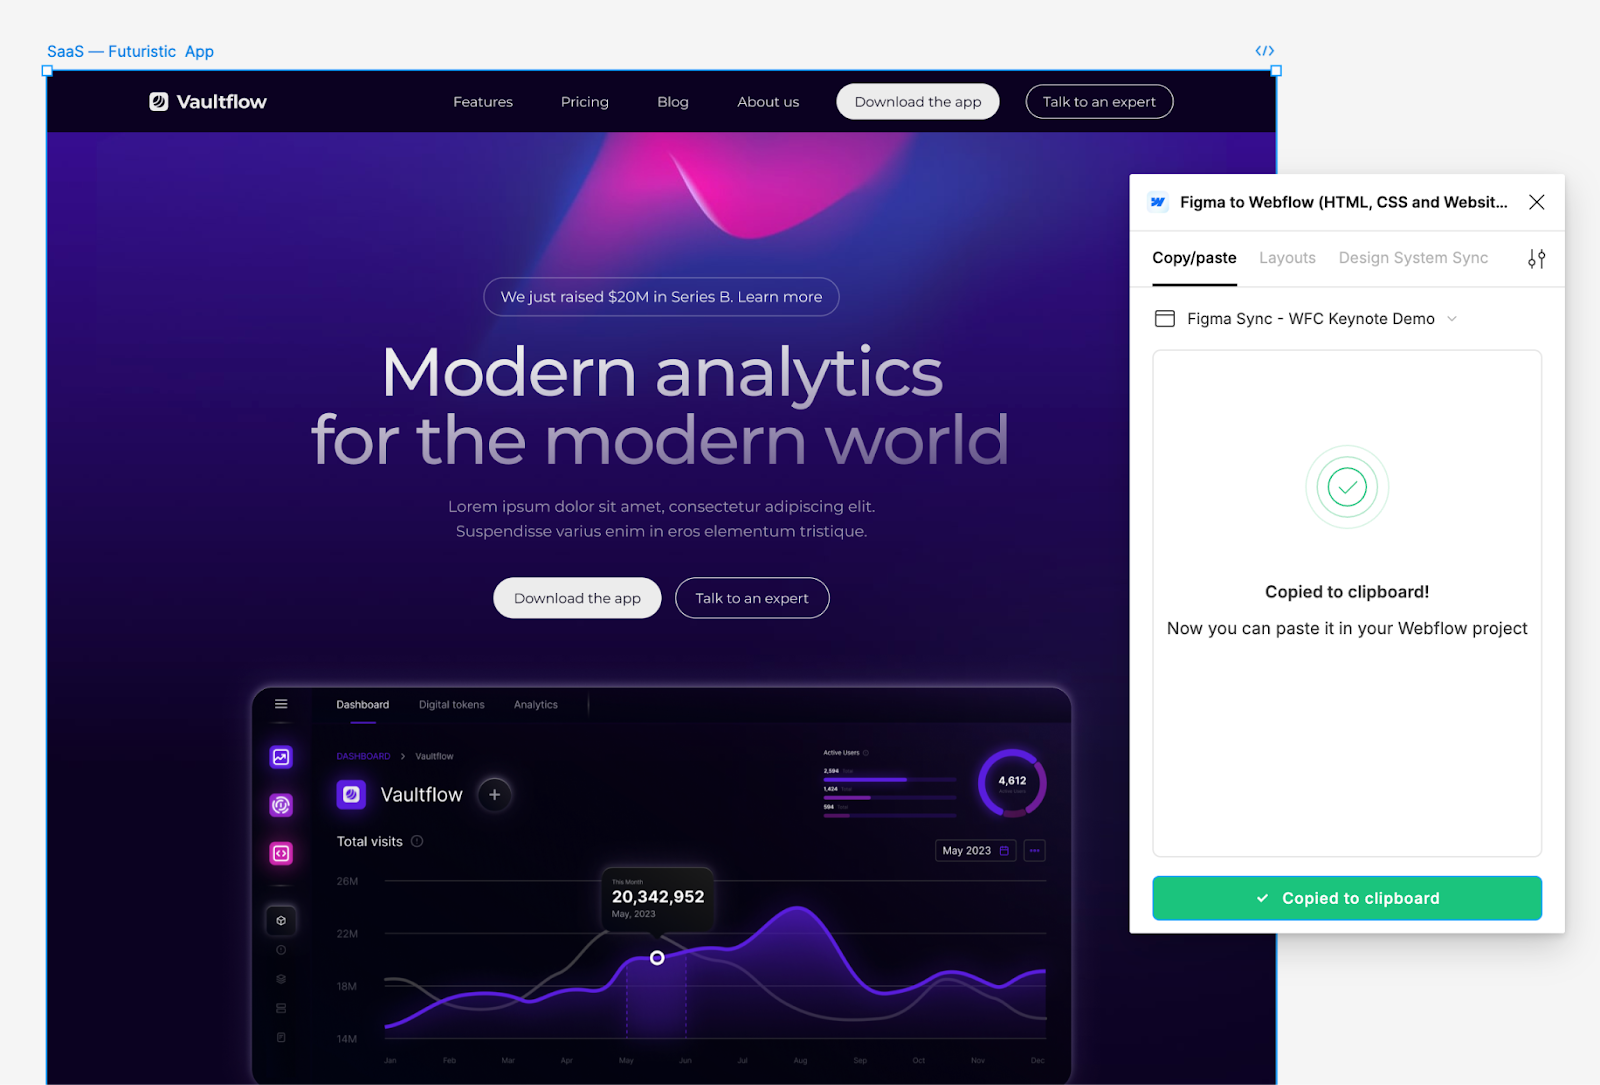
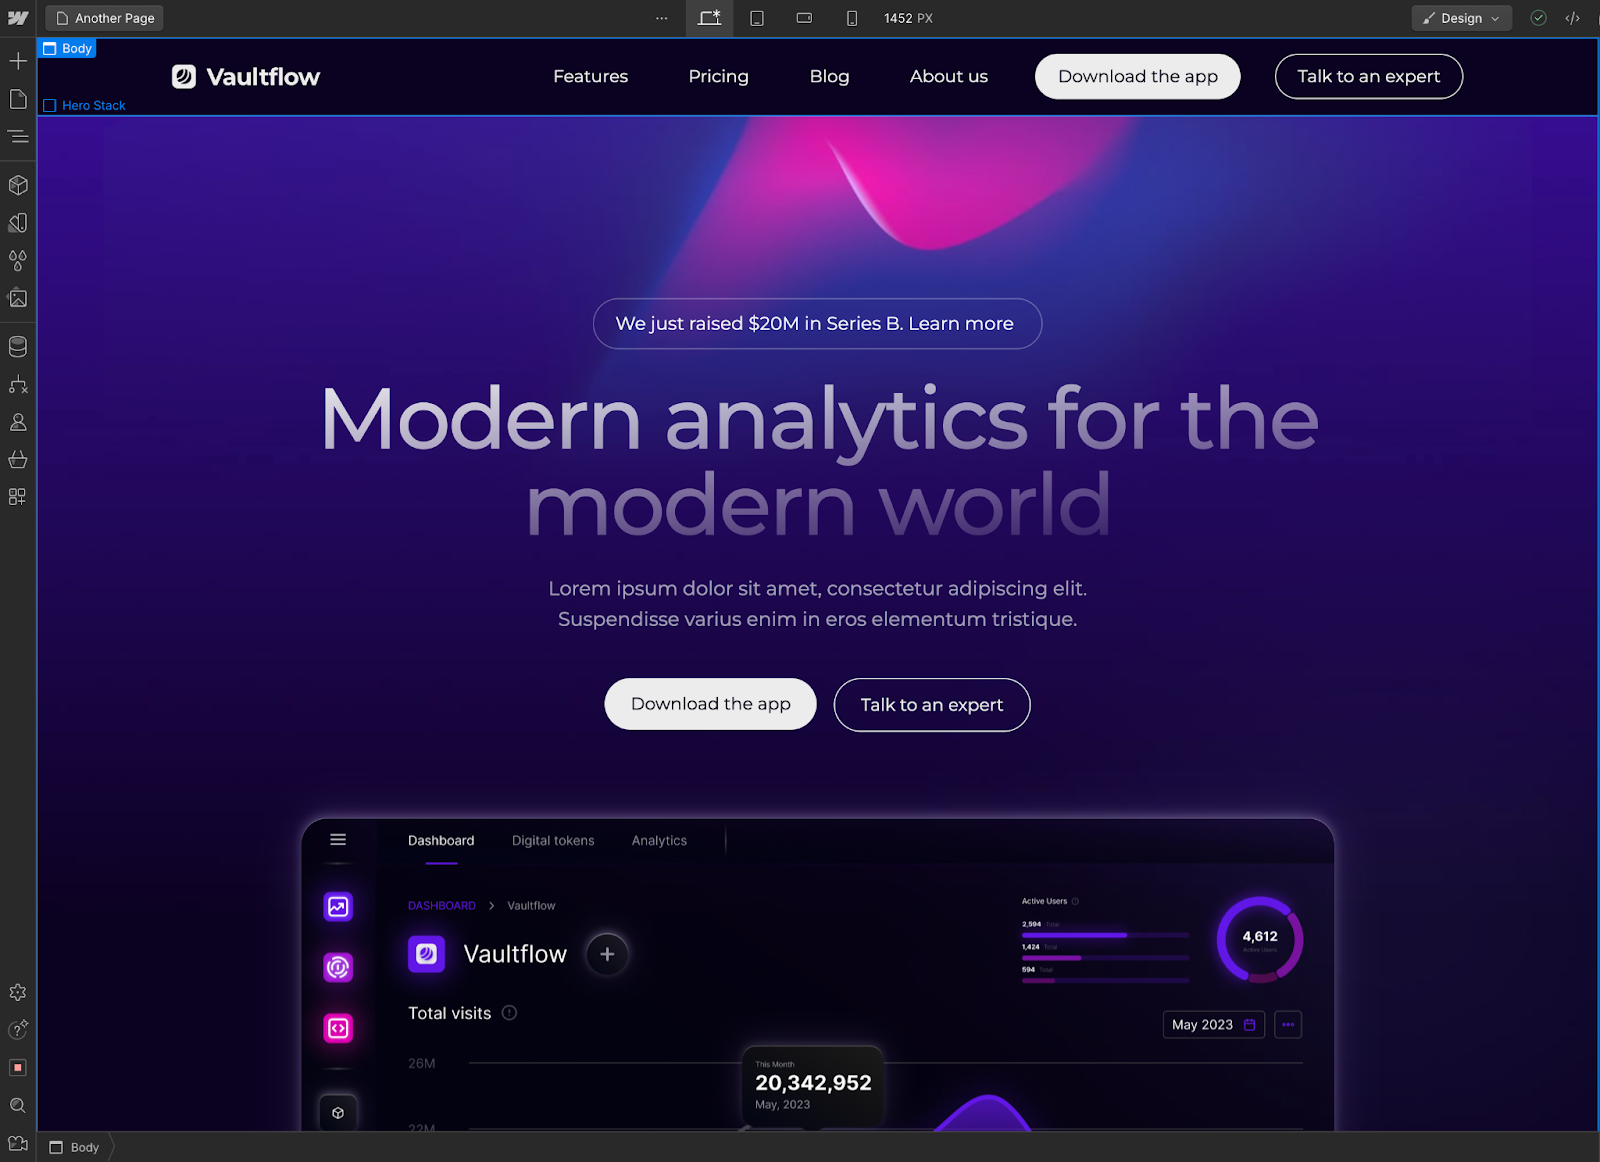
This looks simple enough. However we found three main challenges that are clear indicators that marrying a vector tool and web development tool is hard.
Class duplication
To make this a reality, our main hypothesis is that every Figma layer will be converted into a CSS class. This means that whatever name you give to your layers it will correspond to the class name in Webflow.
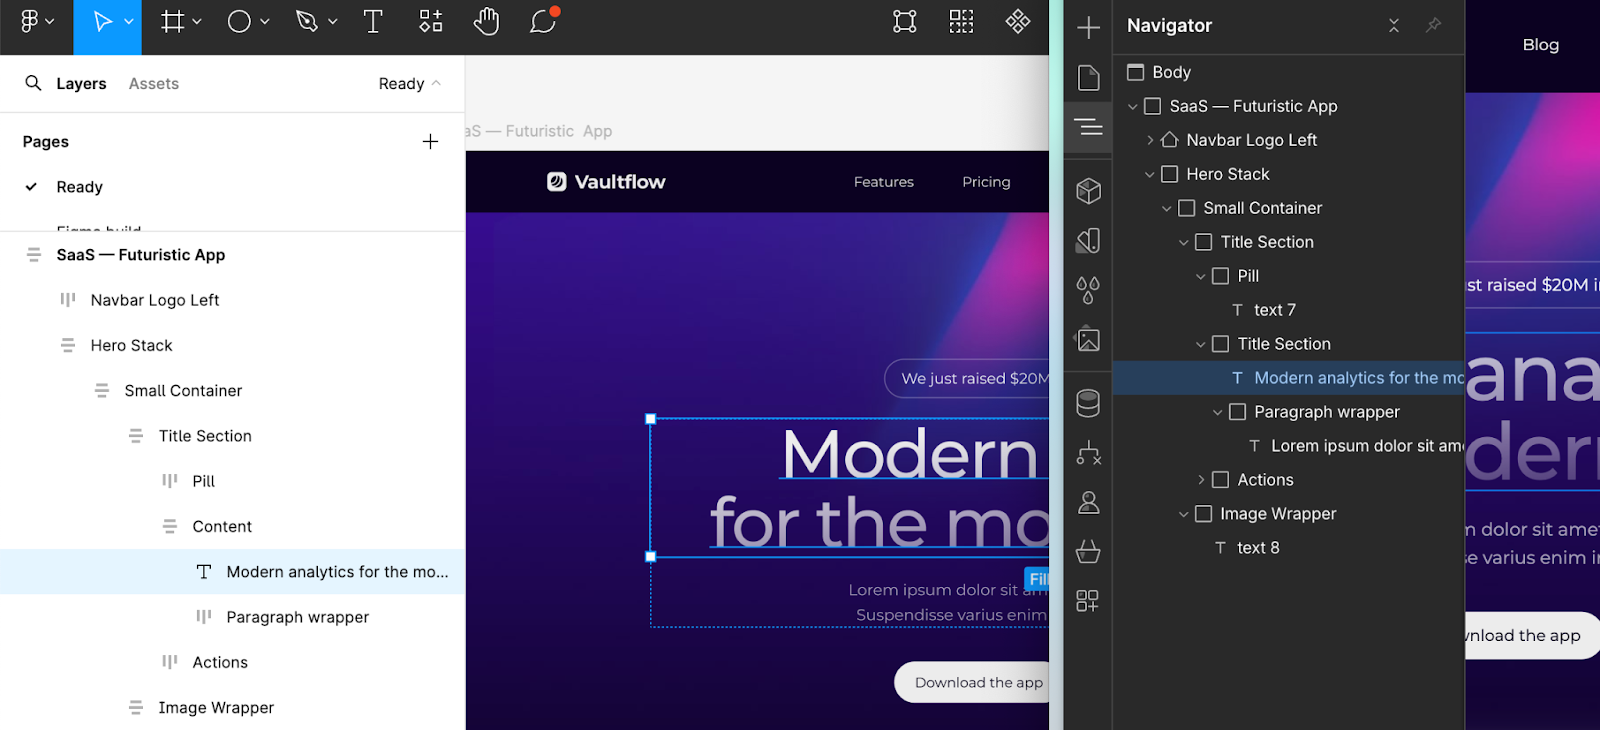
A side effect of this decision is that you can easily duplicate and bloat your CSS classes on the Webflow side. Mainly because if two Figma layers are named “Button” but have different styles – e.g. one has background red and the other background blue – Webflow will duplicate classes and generate a new one called “Button 2”. CSS classes need to be unique – one class, one set of styles.
Layout elements
Another interesting challenge is how to layout elements coming from Figma. To avoid non-deterministic output, we decided to only translate layers with auto layout – a way to reproduce the CSS Flexible Box Layout module (Flexbox) inside Figma. This means we can easily translate the layout properties from auto layout to CSS Flexbox providing a clear expectation of the output.
Without this guardrail, it would be extremely difficult to correctly infer how to position nodes in the webpage. Again, vector tools have an inherently freeform positioning engine, where web development has the stack context.
Shapes and vectors
Figma’s nodes foundation is based on simple shapes like Rectangles, Circles or Stars. You can also add your own custom shape by using their ‘Pen’ tool. All these primitives have an implicit type of `Vector`. Well, in web development these shapes are usually represented as SVG.
This means, we have to explicitly transform all `Vector` nodes to SVG while translating nodes from Figma to Webflow. To add more complexity to the translation, Figma users often “Group” their layers. For consistency, we decided to invite users to turn their Group layers into “auto layout” otherwise we will have to turn them into SVG.
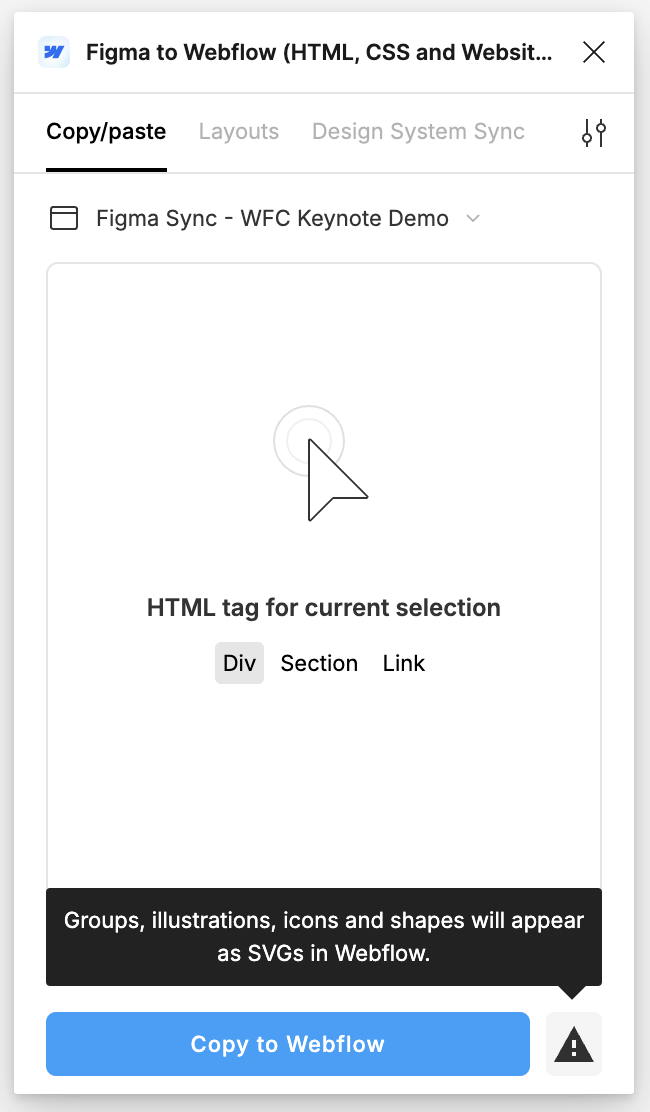
To mitigate some of the challenges above, we decided to take advantage of the design system primitives Webflow and Figma provides – components and variables – and developed a new way to bring your designs into Webflow: Design System Sync.
Second approach: Design System Sync
At Webflow, we are always actively launching new products. About one year ago we launched Variables and revamped Webflow Apps with new Designer APIs. This was the perfect time to evolve our Figma to Webflow product and allow our users to sync their Design Systems directly to Webflow.
We set out to create a new way to bring your design system primitives, like components and variables, to Webflow. The goal was to have Figma as the source of truth and easily update components and variables. To make this a reality we released a new Webflow App called “Figma to Webflow”.
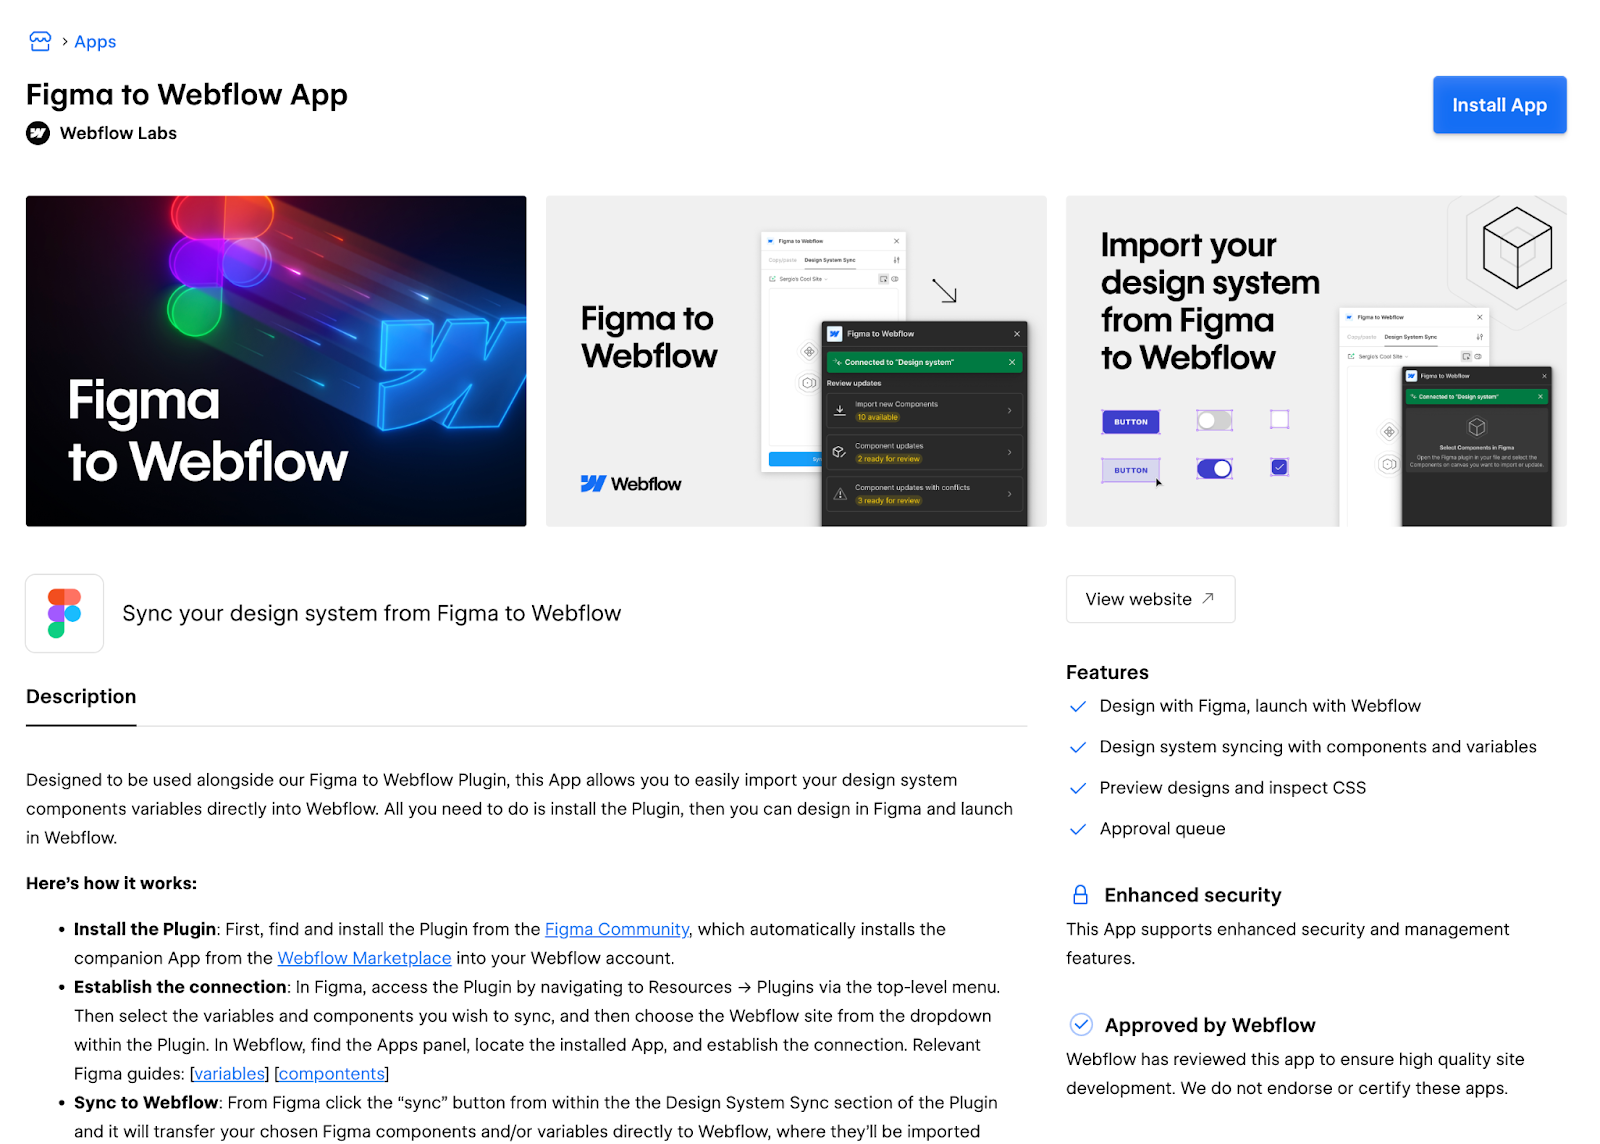
The translation engine for the Design System Sync is an instance of the one we use for copy/paste. This means that heavy lifting of collecting data from Figma is already done.
The biggest engineering challenge with this product was to manage the state of the data being transferred. We want to know if your components or variables already exist to avoid duplication on the Webflow side. We also want to make this experience as streamlined and real-time as possible. For that, we created a system to connect both Apps – Figma plugin and the Webflow App – in real-time.
Real time synchronization
To connect both Apps we use WebSockets. WebSockets are a communication protocol that provides two-way communication channels over a single TCP connection between a client (like a web browser) and a server. Unlike traditional HTTP requests, which are one-way and require constant re-requesting for updates, WebSockets allow for continuous, real-time data exchange.
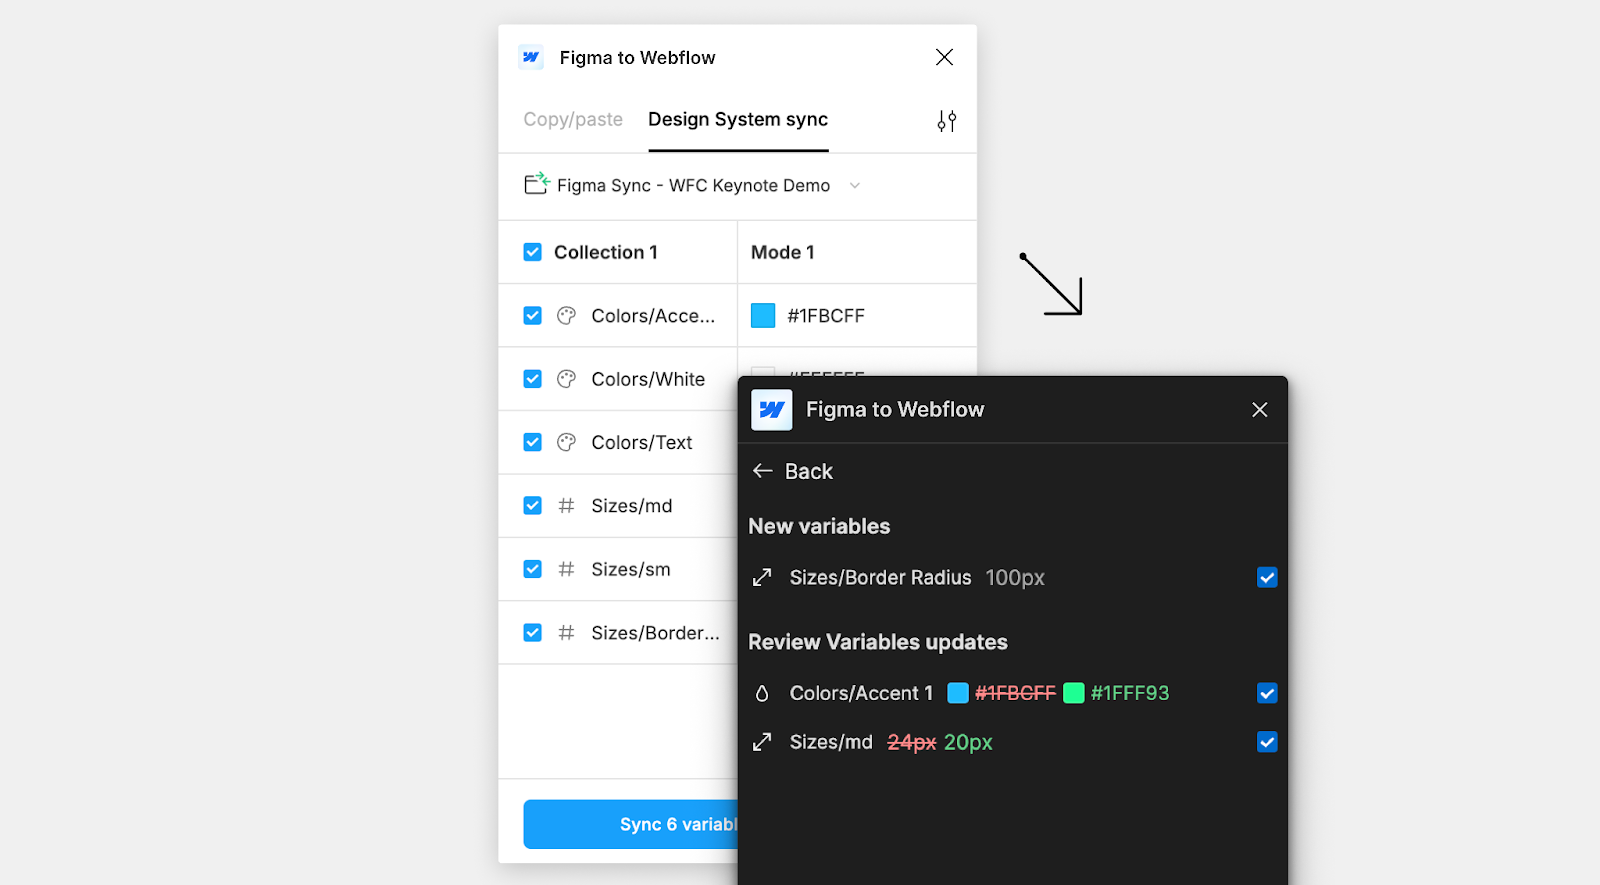
The real time synchronization of data is done using websockets. Specifically, by using the messaging – publish/subscribe – feature allows for the distribution of messages from a publisher to multiple subscribers in real-time. We also use presence detection to track the online status of users in real-time, letting us see who is connected, disconnected, or offline. This feature is usually used in applications like chat apps or multiplayer games. We try to leverage these technologies to create a unique experience for our users.
Importing your Design System
When a user syncs a component or variable to Webflow, we first need to determine if that component or variable already exists in Webflow. If it does, we then check for any changes or updates to its styles or properties. Essentially, we map the existing Webflow data to the incoming data from Figma, allowing our users to control what they will import by highlighting the differences.
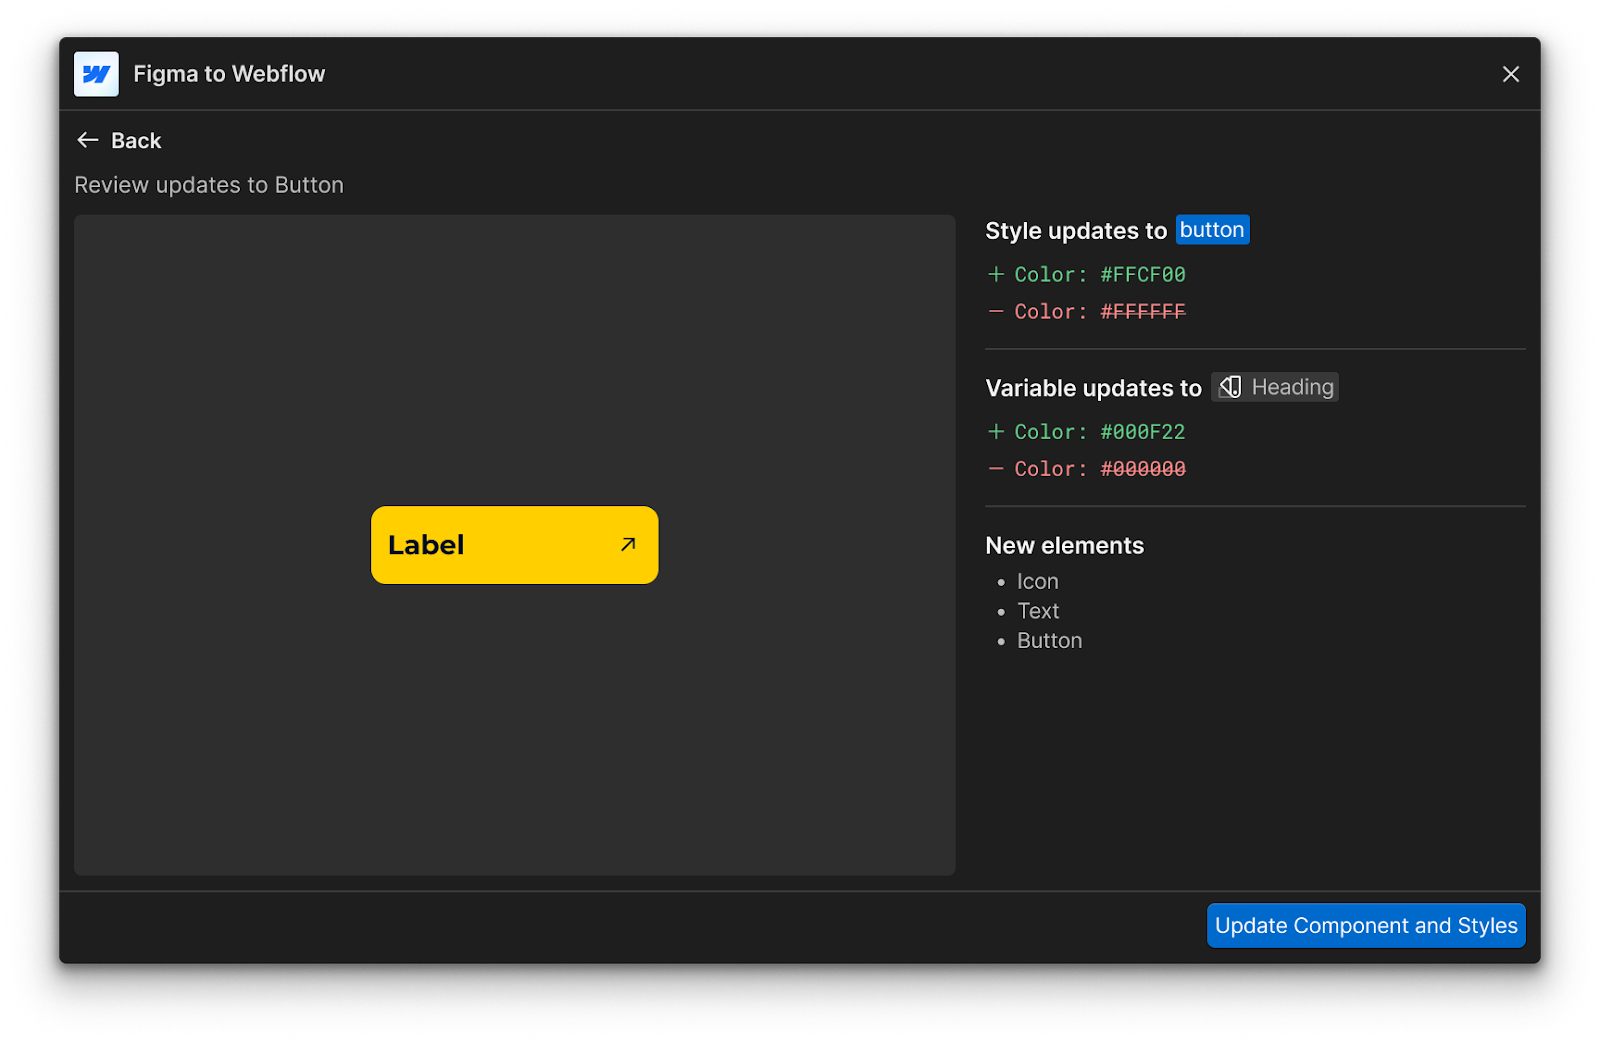
Building this 'style differences screen' required comparing each node from Figma with the corresponding nodes in Webflow. However, since the data structures of these two tools are quite different, we needed to create a common structure that could represent data from both environments.
The structure we use is as following:
{
  "id": "",
  "name": "",
  "styles": {},
  "isInstance": false,
  "imageUrl": "",
  "assetId": "",
  "variables": {},
  "children": []
}
We parse the data from both Figma and Webflow to fit this common structure. The result is an array of nodes from Figma and another array of nodes from Webflow. The next step is to compare these arrays to identify which nodes differ for each component. The same process is applied to variables as well.
This process allows us to inform users of the updates they are going to import, ensuring they have full control over the changes being made to their Webflow project. By highlighting differences in styles, properties, and variables, users can make informed decisions about what to keep, modify, or discard. This level of transparency and detail ultimately enhances the efficiency of this whole process.
Next steps
This whole process of translating a vector graphics tool into a web development tool involves merging two fundamentally different paradigms: static visual design and dynamic web development. Vector graphics tools focus on design iteration, color, and typography, creating high-fidelity visual representations. On the other hand, web development focuses on building functional, interactive websites that adapt to various devices and perform well across different platforms.
We built this translation engine to help our users merge both worlds and accelerate their path to production, giving them development superpowers sooner. As I finish writing this blog post from the comfort of my kitchen, I find myself eager to get back to coding. We're actively working on the second version of this product, which we call 'Figma to Webflow.'
Figma to Webflow is the evolution of both approaches discussed earlier. After feedback from our community and thousands of daily users, we've simplified the UI/UX and consolidated features into a streamlined interface.
You try it out here.
If you’re interested in joining our growing product and engineering organization, check out our careers page to learn more about Webflow and explore our open roles.


We’re hiring!
We’re looking for product and engineering talent to join us on our mission to bring development superpowers to everyone.


