

Datadog
Connect Datadog with Webflow to monitor real user performance, track frontend errors, and run synthetic uptime checks on your published site.

Webflow handles hosting, CDN distribution, and SSL automatically. What it does not include is visibility into how those pages perform for real visitors, like which scripts are slowing load times, where JavaScript errors appear after a publish, or whether a third-party widget breaks the checkout flow on a specific browser.
Datadog adds that monitoring layer through client-side instrumentation. Its Real User Monitoring (RUM) SDK collects page load times, Core Web Vitals, and errors from actual browser sessions. Synthetic Monitoring runs scheduled checks from global locations against your published Webflow pages without any changes to the site itself. Session Replay records user sessions for debugging. When something breaks or degrades after a publish, Datadog surfaces it before visitors report it.
This integration is most useful for marketing operations teams tracking Core Web Vitals for SEO, frontend engineers debugging JavaScript errors in production, agency owners monitoring client site uptime, and e-commerce teams watching checkout flow performance.
How to integrate Datadog with Webflow
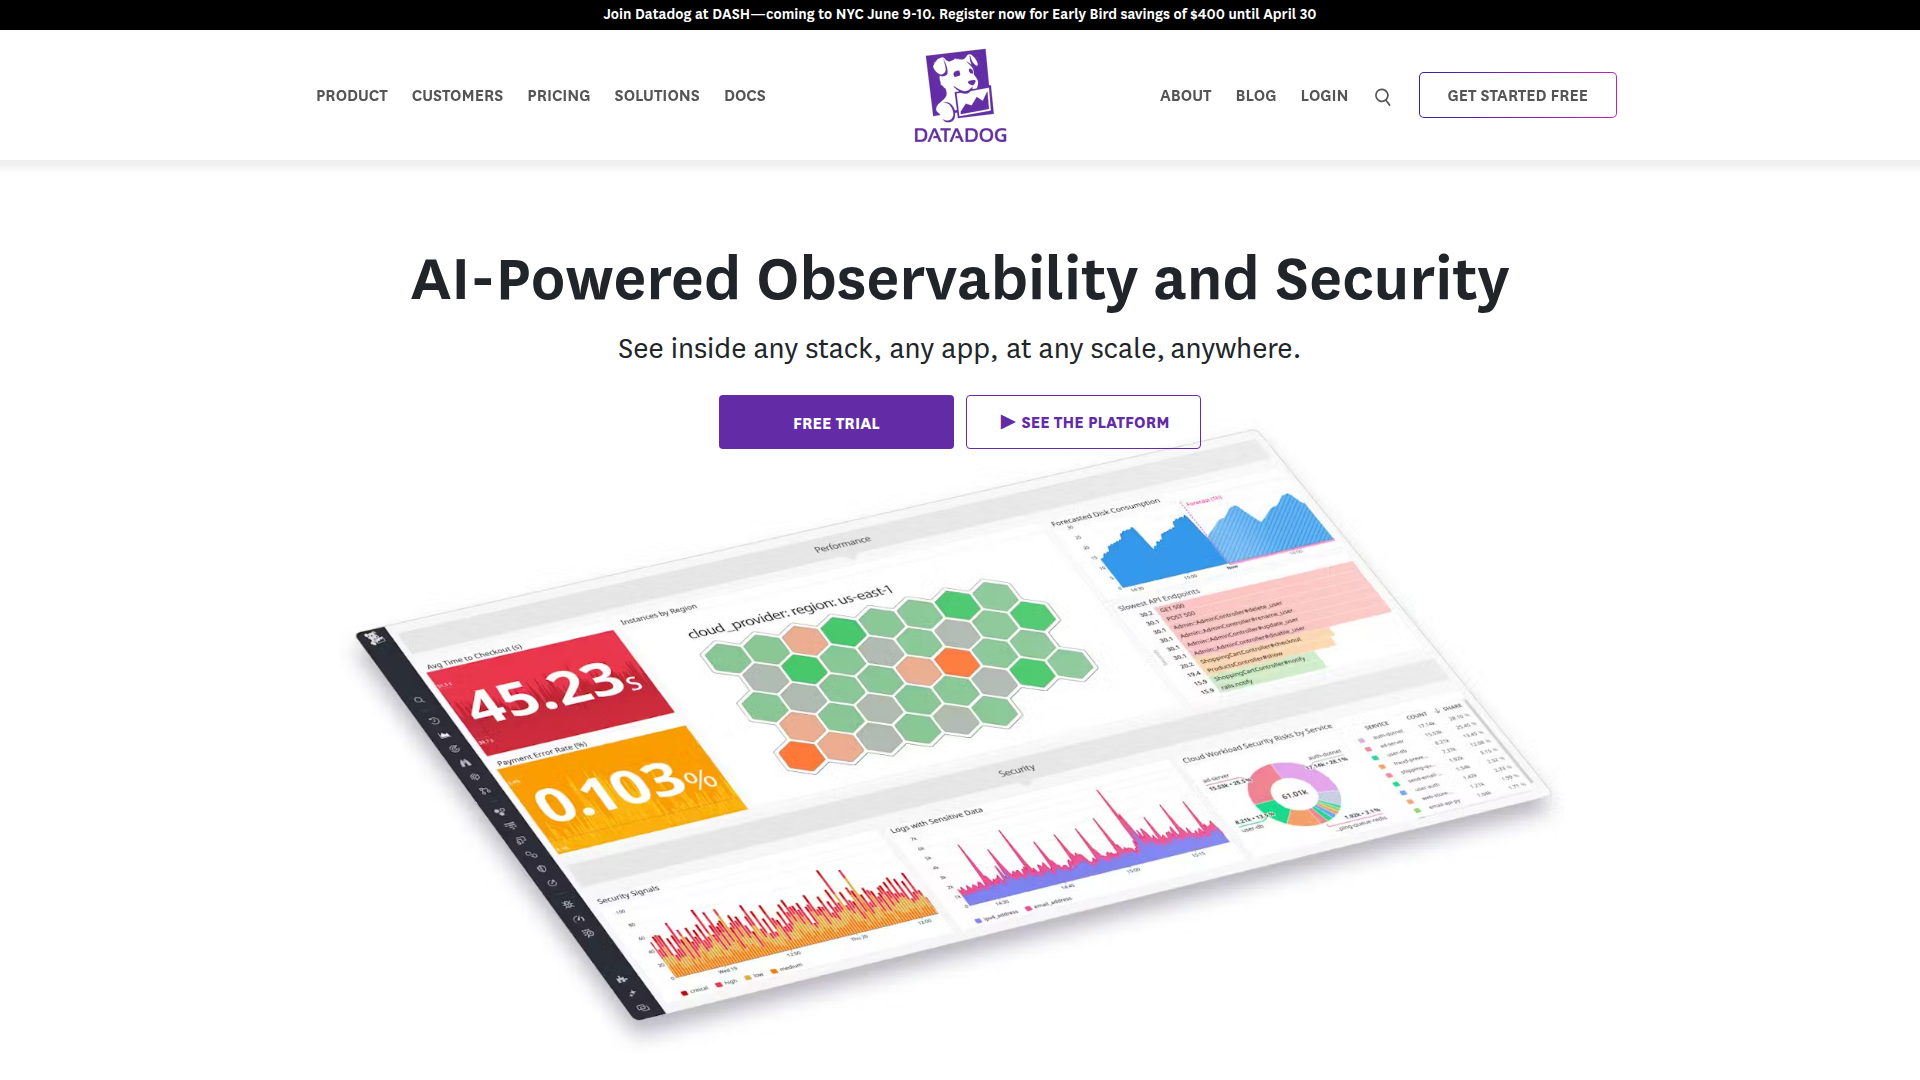
What is Datadog? Datadog is a SaaS observability and security platform for cloud applications. It provides infrastructure monitoring, application performance monitoring, log management, and digital experience monitoring across a unified platform. For Webflow sites, the relevant products are Real User Monitoring (RUM), Synthetic Monitoring, Session Replay, and Error Tracking.
Engineering and marketing operations teams use Datadog and Webflow together when they need visibility into browser-level performance that Webflow's native hosting tools do not provide — Core Web Vitals trends across page templates, error rates after CMS publishes, and uptime verification from multiple geographic locations.
The Datadog-Webflow integration supports four approaches:
- The Datadog RUM SDK collects real visitor session data — page load times, Core Web Vitals, JavaScript errors, and interactions — added to Webflow via custom code in head and body tags.
- Datadog Synthetic Monitoring runs scheduled browser tests against published Webflow pages from Datadog's interface with no code changes to Webflow.
- Zapier, Make, or n8n route Webflow events like form submissions and site publishes into Datadog as custom metrics or log entries.
- The Webflow and Datadog APIs support webhook-driven workflows, CMS-powered status pages, and programmatic test management.
Most Webflow sites start with the RUM snippet and Synthetic tests, then add automation or API-based workflows as monitoring needs grow.
Add the Datadog RUM SDK with custom code
The Datadog Browser SDK is the primary way to monitor real visitor sessions on a Webflow site. Pasting a JavaScript snippet into Webflow's custom code in head and body tags section lets you collect page load times, Core Web Vitals (LCP, INP, CLS), JavaScript errors, user interactions, and Session Replay data. The SDK runs entirely in the browser — no server access or build pipeline required. Datadog's client-side setup guide walks through the full configuration.
The SDK supports several monitoring capabilities:
- Track Core Web Vitals and page performance metrics with RUM Browser Monitoring
- Capture JavaScript errors with browser Error Tracking, which collects errors alongside the RUM SDK
- Record user sessions with Session Replay by setting
sessionReplaySampleRateto a value above 0 - Track user interactions such as clicks and taps by setting
trackUserInteractions: true - Collect browser-side logs independently with the Browser Log Collection SDK
Adding custom code requires a paid Webflow site plan. The free Starter plan does not support custom code injection.
Set up RUM for all pages
Create a RUM application in Datadog first, then add the generated snippet to Webflow's site-level custom code.
In Datadog, navigate to Digital Experience > Add an Application, select JS, name the application, and click Create Application. Datadog generates a snippet with your applicationId and clientToken pre-filled.
The CDN async loading method is recommended for Webflow sites because it does not affect page load performance, per the client-side setup docs. The snippet pattern looks like this:
<script>
  (function(h,o,u,n,d) {
    h=h[d]=h[d]||{q:[],onReady:function(c){h.q.push(c)}}
    d=o.createElement(u);d.async=1;d.src=n
    n=o.getElementsByTagName(u)[0];n.parentNode.insertBefore(d,n)
  })(window,document,'script','https://www.datadoghq-browser-agent.com/us1/v6/datadog-rum.js','DD_RUM')
  window.DD_RUM.onReady(function() {
    window.DD_RUM.init({
      clientToken: '<YOUR_CLIENT_TOKEN>',
      applicationId: '<YOUR_APPLICATION_ID>',
      site: 'datadoghq.com',
      service: 'my-webflow-site',
      env: 'production',
      sessionSampleRate: 100,
      sessionReplaySampleRate: 20,
      trackUserInteractions: true,
      trackResources: true,
      trackLongTasks: true,
    });
  })
</script>
In Webflow, go to Site Settings > Custom Code and paste the snippet into the Head Code field. Click Save Changes, then publish the site. Custom code does not run in the Webflow preview. It only executes on the published site. CMS template pages are covered automatically when using site-level custom code.
Always copy a fresh snippet from the Datadog UI. Older guides may reference deprecated parameter names like sampleRate or trackInteractions, which were renamed in SDK v5 and cause silent failures. The SDK upgrade guide documents all deprecated-to-current parameter mappings.
Set up RUM for a single page
When monitoring a specific landing page or pricing page without tracking every page, use page-level custom code instead.
Open the page in Webflow, click the gear icon next to the page name in the Pages panel, and scroll to Custom Code. Paste the Datadog RUM snippet into the Inside \ tag field, then save and publish. Do not add the snippet at both the site level and page level — this initializes the SDK twice and produces duplicate data.
Add browser log collection
The Datadog browser logs SDK collects JavaScript console errors and custom log events independently of RUM. It can run alongside RUM or on its own, per the browser log collection docs.
Add the browser logs snippet to Site Settings > Custom Code > Head Code alongside the RUM snippet. Setting forwardErrorsToLogs: true automatically captures browser console errors. To generate a client token, refer to Datadog's current documentation for the exact navigation path, as the UI layout may vary by account type.
Session sampling and cost considerations
The sessionReplaySampleRate defaults to 0 in SDK v5 and later — Session Replay does not record unless you set a value explicitly, per the sampling configuration guide. The two sample rates are multiplicative, not additive. With sessionSampleRate: 60 and sessionReplaySampleRate: 50, 30% of total sessions get RUM plus Replay, 30% get RUM only, and 40% are dropped entirely. Start with sessionSampleRate: 100 and adjust downward after reviewing session volume.
Run Datadog Synthetic Browser Tests
Synthetic Monitoring tests your Webflow site from the outside — no code changes, no SDK, nothing added to Webflow. Datadog runs scheduled browser tests from global locations that load your pages, execute recorded user flows, and alert when something fails. This approach catches downtime, broken forms, and performance regressions before visitors report them. The Synthetic Browser Test docs cover the full configuration.
Synthetic tests support several monitoring patterns:
- Create browser tests that simulate user flows like form submissions, page navigation, and CTA clicks using the visual test recorder — no code required
- Run tests across Chrome, Firefox, and Edge on multiple device sizes
- Set up API tests for HTTP uptime checks against your Webflow domain
- Build uptime dashboards with the uptime percentage widget to track SLOs
To create a test, navigate to Digital Experience > Tests in Datadog and click New Test > Browser Test. Enter your Webflow site URL as the starting URL, select browsers and device sizes, choose test locations, and click Save & Edit Recording. The visual recorder lets you click through your site to capture the user flow. Configure the test schedule and alert conditions, then save.
This gives you a no-code monitoring path for uptime and critical user journeys, independent of any code on the Webflow site.
Connect with Zapier, Make, or n8n
Automation platforms route Webflow events into Datadog as custom metrics, logs, or deployment markers. This is useful when you want to correlate business events — form submissions, CMS publishes, new orders — with performance data inside Datadog dashboards. Zapier, Make, and n8n all support connectors for both platforms; check each platform's connector UI for current supported triggers and actions before building a specific workflow, as available combinations vary.
Some common patterns include:
- Sending form submission counts as time-series metrics to Datadog using a Webflow New Form Submission trigger
- Logging site publish events as deployment markers by routing Webflow's
site_publishtrigger to Datadog's Events API - Tracking Webflow e-commerce order values as custom Datadog metrics to correlate revenue with site performance
- Updating a Webflow CMS "System Status" item when a Datadog monitor fires, using Datadog's native webhook output as the initiating trigger caught by a Zapier webhook or n8n node
Automation is most useful after browser monitoring is already in place — it adds business context to performance dashboards rather than replacing the RUM or Synthetic layers.
Build with Webflow and Datadog APIs
For teams that need programmatic control, both platforms expose REST APIs that connect monitoring data with site content and events. Webflow's Data API v2 provides access to sites, CMS collections, forms, and webhooks. Datadog's API covers RUM event queries, Synthetic test management, event ingestion, metrics submission, and log collection.
API endpoints for common integration patterns include:
- Register Webflow webhooks with
POST /v2/sites/:site_id/webhooksto push site events to a middleware endpoint - Forward form submission data to Datadog as log entries with
POST /api/v2/logs - Query RUM performance data with
POST /api/v2/rum/events/searchto build custom reports - Create and manage Synthetic tests programmatically with
POST /api/v1/synthetics/tests/browser - Write Datadog alert status to Webflow CMS items with
POST /v2/collections/:collection_id/items/live
Both APIs require authentication. Webflow's webhook creation endpoint requires a bearer token from a Data Client App — see the Webflow API docs for setup details. Datadog uses DD-API-KEY and DD-APPLICATION-KEY headers. All new integrations should use Webflow API v2, as v1 property names like _id have been renamed to id in the current version.
Track site publishes as Datadog deployment events
Every Webflow site publish can be logged as a deployment event in Datadog, making it possible to correlate publishes with performance changes or error spikes on dashboards.
Register a webhook in Webflow for the site_publish trigger type using the Webhooks API. Point the webhook at a middleware endpoint — a serverless function or automation platform — that receives the payload and forwards it to Datadog's Events API with POST /api/v2/events. The site_publish payload includes siteId, publishedOn, domains, and publishedBy. Map these to event tags in Datadog, and deployment markers become visible alongside performance data on the same dashboards.
Build CMS-powered status pages with Datadog alerts
Datadog monitor alerts can automatically update Webflow CMS items, creating a status page that reflects real-time system health without manual edits.
Set up a Datadog webhook notification on your monitors using @webhook-<name> in the notification field. Configure the webhook to POST a JSON payload to your middleware endpoint. The middleware reads Datadog's $ALERT_TRANSITION variable (Triggered, Recovered, Warn) and calls Webflow's live items endpoint — POST /v2/collections/:collection_id/items/live to create, or PATCH /v2/collections/:collection_id/items/:item_id/live to update — to write a status entry to a Webflow CMS collection. The live items endpoints bypass staging and publish immediately.
Monitor form submissions as Datadog logs
Webflow form submissions can be forwarded to Datadog as logs or custom metrics for conversion tracking and form health monitoring.
Register a Webflow webhook with triggerType: form_submission via the Webhooks API. The form_submission trigger is the only type that supports a filter parameter, so you can scope it to a specific form by name. Your middleware receives the submission payload, verifies the webhook signature, and forwards the data to Datadog's Log Intake API at POST /api/v2/logs. Tag entries with ddsource: webflow and form-specific tags for filtering in Datadog's Log Explorer.
What you can build with Datadog Webflow integration
Integrating Datadog with Webflow lets you monitor frontend performance, detect errors, and automate status reporting without adding backend infrastructure to your Webflow site.
- Core Web Vitals dashboard for SEO: Track LCP, INP, and CLS across all pages using RUM data, then set threshold-based alerts that fire when a CMS publish or template change causes a regression before Google re-crawls the site.
- Automated incident status page: Create a "System Status" CMS collection in Webflow with fields for incident name, severity, and status. When a Datadog monitor transitions to Triggered or Recovered, a webhook updates the CMS item through the live items API so visitors see current status on a Webflow-hosted page without manual editing.
- Multi-site uptime monitoring for agencies: Set up Synthetic Browser Tests for each client's Webflow site running from multiple global locations on a schedule, then build per-client uptime dashboards in Datadog to track SLOs and share regular reports.
- Form conversion tracking alongside performance data: Push Webflow form submissions into Datadog as custom metrics or log entries via webhooks, then overlay conversion rates on the same dashboard as page load times and error rates to surface whether performance problems are reducing form completions.
For teams building more advanced monitoring pipelines, Datadog's API documentation and Webflow's Data API reference cover the full range of available endpoints.
Frequently asked questions
Yes. Datadog's Browser SDK supports all browser-based applications via client-side instrumentation. Webflow generates standard HTML pages, so the SDK snippet works when pasted into Webflow's custom code head section. Client-side instrumentation is the only method compatible with Webflow. Auto-instrumentation requires server access (Nginx, Apache), and agent-based onboarding requires a JavaScript framework codebase.
CDN async is recommended for most Webflow sites. Per the client-side setup docs, CDN async does not affect page load performance but may miss events triggered before the SDK initializes. CDN sync captures all events from the first moment but may affect load performance. For marketing or e-commerce sites where Core Web Vitals scores affect SEO, CDN async protects those metrics. If capturing every error from the earliest moment matters more than load performance, use CDN sync and place it in the Head Code field via Site Settings > Custom Code.
Yes. The
clientTokenis designed for browser-side use and is distinct from the API key and application key, which must stay secret. Datadog's setup documentation instructs you to place the generated snippet, including theclientToken, in the head tag of every public HTML page. The token authorizes the browser SDK to send data to your Datadog account but does not grant read access to your monitoring data.Start by configuring the
trackingConsentparameter at SDK initialization. Per Datadog's RUM browser setup docs, the SDK accepts a tracking consent value at initialization to support GDPR, CCPA, and similar regulations. Set the initial consent state topending, then callDD_RUM.setTrackingConsent()after your cookie consent banner captures a response. You will need a separate cookie consent tool on your Webflow site — added via Code Embed or custom code — to capture visitor consent before Datadog begins collecting data.No marketplace app was found for Datadog at the time of publication. The integration uses custom code snippets for RUM and browser logs, Datadog's own UI for Synthetic tests, and API-based workflows using Webflow webhooks and the Datadog API. Automation platforms like Zapier and Make also offer connector workflows between the two platforms.
Description
Connects Datadog's Real User Monitoring and Synthetic Monitoring to Webflow sites via custom code snippets and API-driven workflows.
This integration page is provided for informational and convenience purposes only.

Gemini
Connect Google Gemini to Webflow to add AI text generation, image analysis, and automated content pipelines to your site.
Algolia
Connect Algolia with Webflow to add real-time search, faceted filtering, and content discovery to CMS-driven sites.
Braintrust
Connect Braintrust with Webflow to monitor AI-powered features on your site and sync evaluation data into your CMS.
Sentry
Connect Sentry with Webflow to monitor JavaScript errors, track performance, and replay user sessions on your published site.
Graphite
Connect Graphite with Webflow to audit and optimize your site for SEO and AEO using the Graphite app, CMS templates, and the Webflow CMS API.
SchemaRabbit
Connect SchemaRabbit with Webflow to generate and maintain JSON-LD schema markup across your site using the official Webflow app or manual code implementation.
Linknavigator
Connect Linknavigator with Webflow to automate internal linking, monitor link health, and improve SEO across content-heavy sites.
PixelFlow
Connect PixelFlow to Webflow for sending conversion data directly through PixelFlow's servers to Meta.
Schema Flow
Connect Schema Flow with Webflow to add structured data markup across your site using a no-code interface with AI suggestions and CMS collection mapping.
Related integrations
Get started for free
Try Webflow for as long as you like with our free Starter plan. Purchase a paid Site plan to publish, host, and unlock additional features.
