

At the height of the pandemic, I decided to quit my successful content strategy position and go back to school.
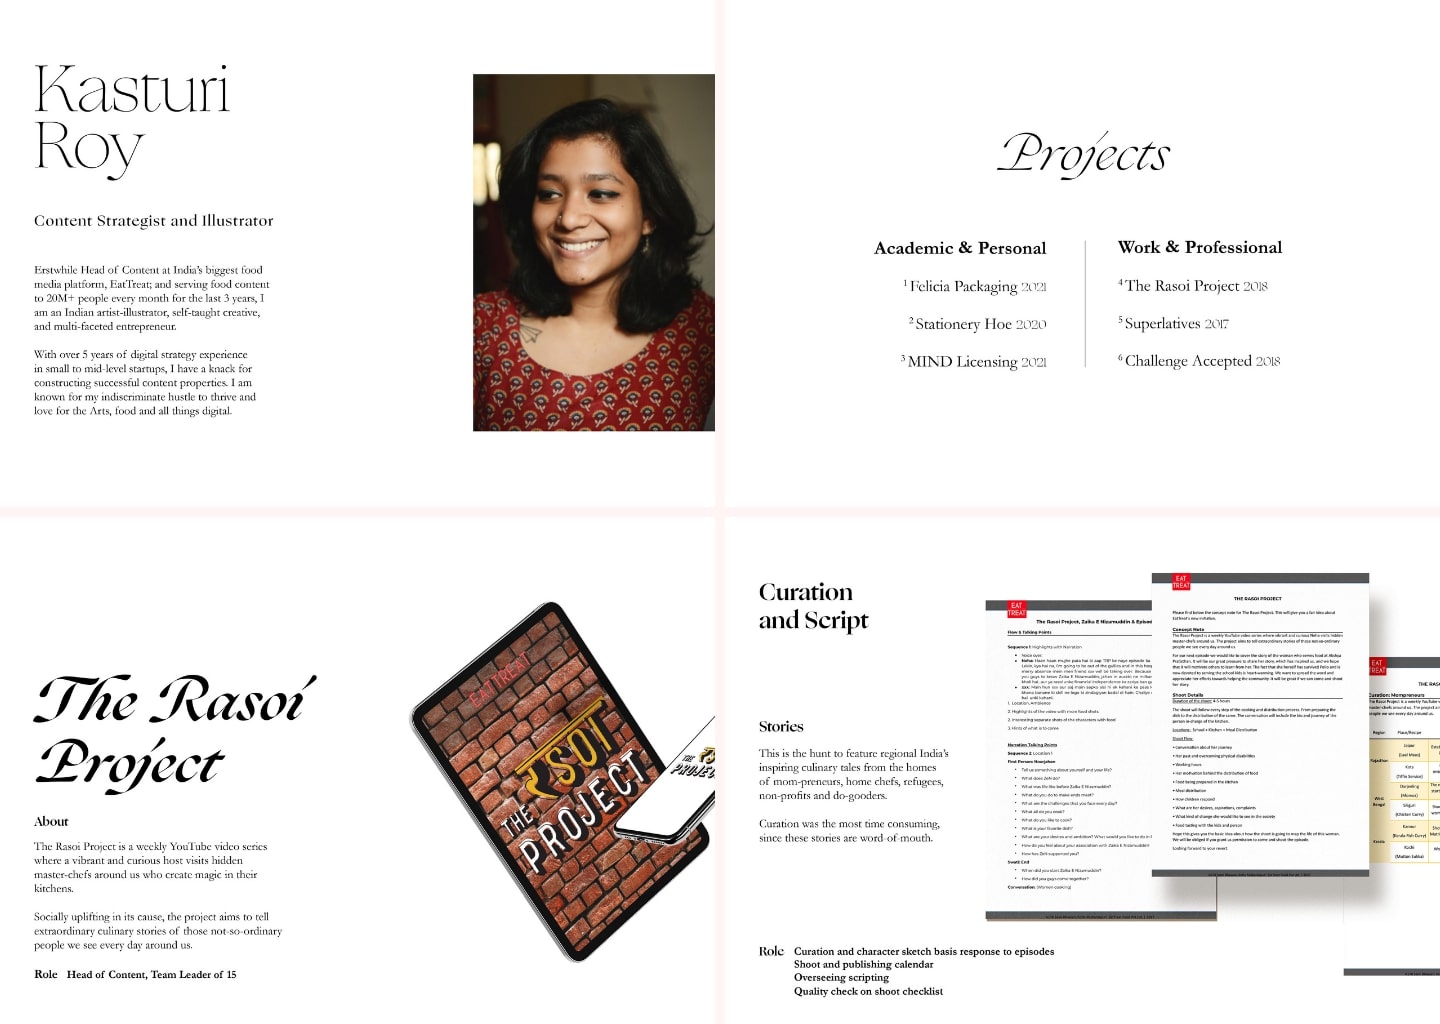
Before resigning from my Head of Content position at EatTreat (India’s largest food media platform), I didn’t have a need for a portfolio. My liberal arts education with a specialization in English Literature allowed me to talk my way into editorial jobs.
That was no longer the case when I was at the tail end of my Master’s in Strategic Design in Milan. I was an Indian-raised designer trying to find work in a totally new country and industry.
I put together a PDF with a mish-mash of various projects in hopes of finding a job in the European Union (EU), but was unfamiliar with the hiring process for content design jobs and constantly trying to prove myself to hiring managers who had plenty of local candidates to choose from.
My PDF portfolio held me back
After uploading my PDF portfolio to Issuu and Behance, I applied to approximately 1,000 jobs in 6 months. Of those 700 jobs, I received only 3 callbacks, which eventually petered out into nothing. Struggling with imposter syndrome, a huge confidence gap, and just pure misery, I decided to take a break.
Once I chatted with friends, family, and other designers, I took their feedback into consideration and decided to invest some time into making a better portfolio. This time, instead of a PDF I wanted a website that would wow recruiters and get me to the initial hiring conversation.
A portfolio website felt like the perfect vehicle to showcase my range of abilities — from strategy to communications to design. Instead of trying to explain my projects with a static PDF, I could create a narrative and insert my personality into the portfolio. Plus, a well-designed website would show potential employers that I made the extra effort to carve out a corner of the internet for myself and prove my savviness as a designer.
Spoiler alert: after building my portfolio website with Webflow, I landed 36 interviews and a couple of job offers in only 3 months — a major improvement from the 1,000+ applications that got me only 3 interviews in the 5 months before building my site.
Along the way, I documented all my work and research, and now I’m thrilled to share my experience to show how you too can turn things around.
From a blank page to a website in 45 days
Starting from scratch is hard. Breaking the process down into these key steps helped me create a quality site in only a month and a half.
Research and planning
I began where all design processes start – with research. This bit was messy, and overwhelming in the beginning with endless scrolling while in bed. Within a couple of days, however, I had a crowded Miro board and a whisper of a plan.
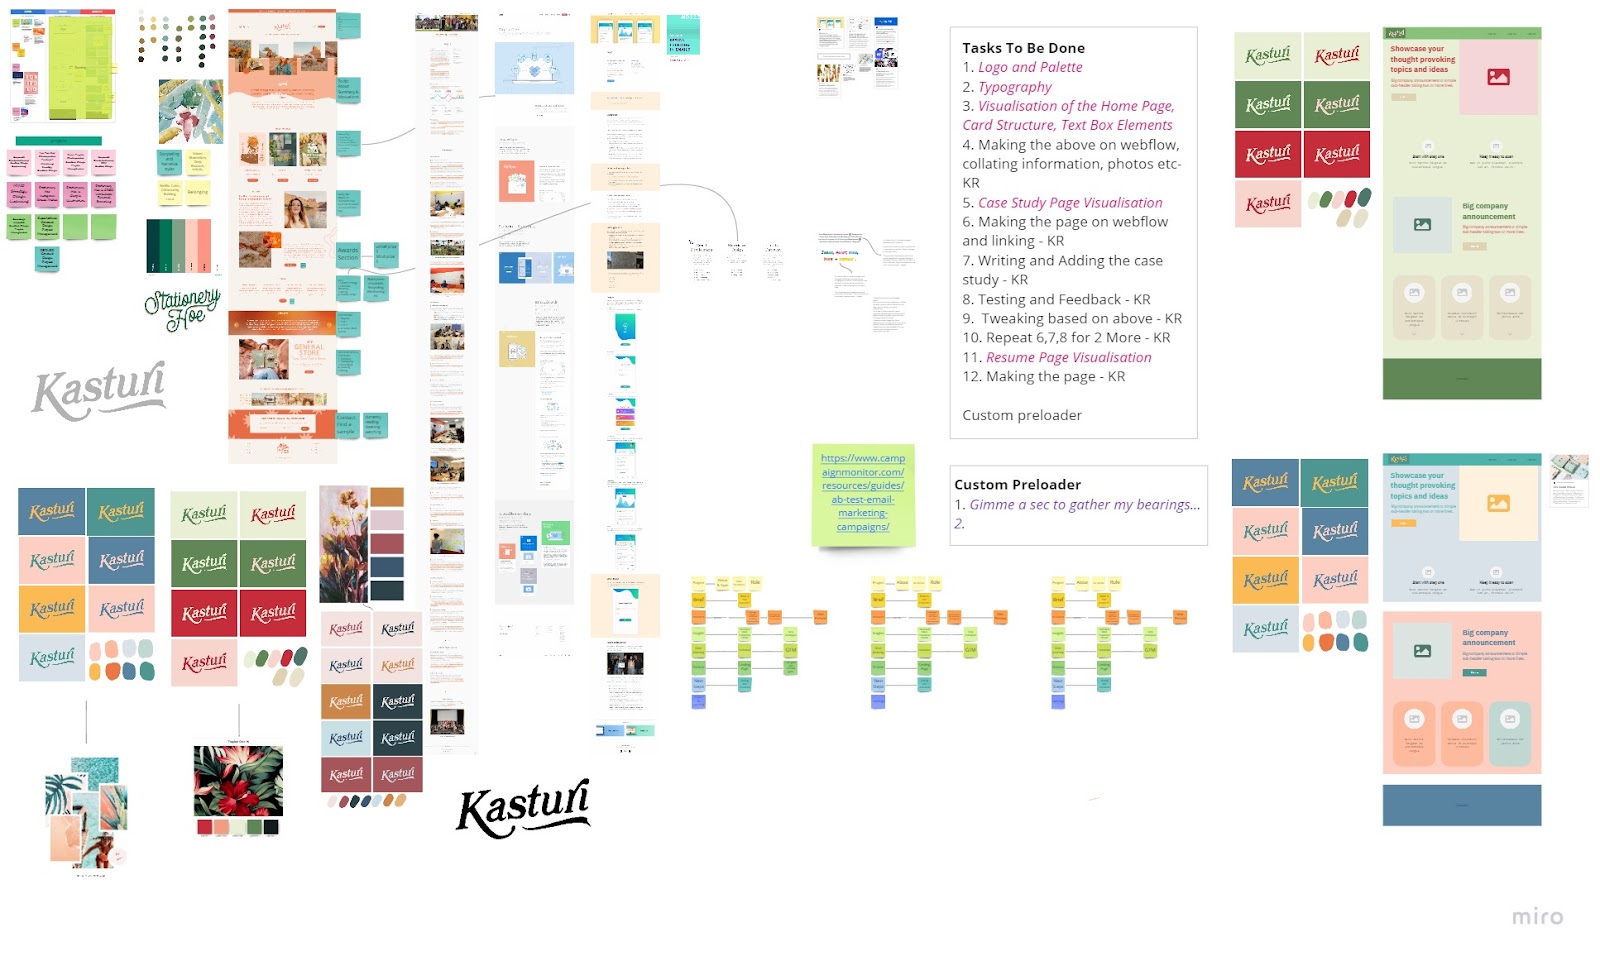
I broke down my data into 3 major groups:
1. My own experiences
I reviewed all the feedback from my interviews, friends, and professors from university and determined my portfolio needed to:
- Be targeted towards a singular goal (a specific job, role or industry)
- Be valuable for the user (recruiters and hiring managers)
- Contain projects that aligned with that goal and peaked the interest of my target employers
2. Learnings from others
I read countless blogs, Medium articles, and LinkedIn posts to learn about other people’s experiences building their portfolios. I discovered design best practices that both saved me time and helped me troubleshoot usability issues on my own website.
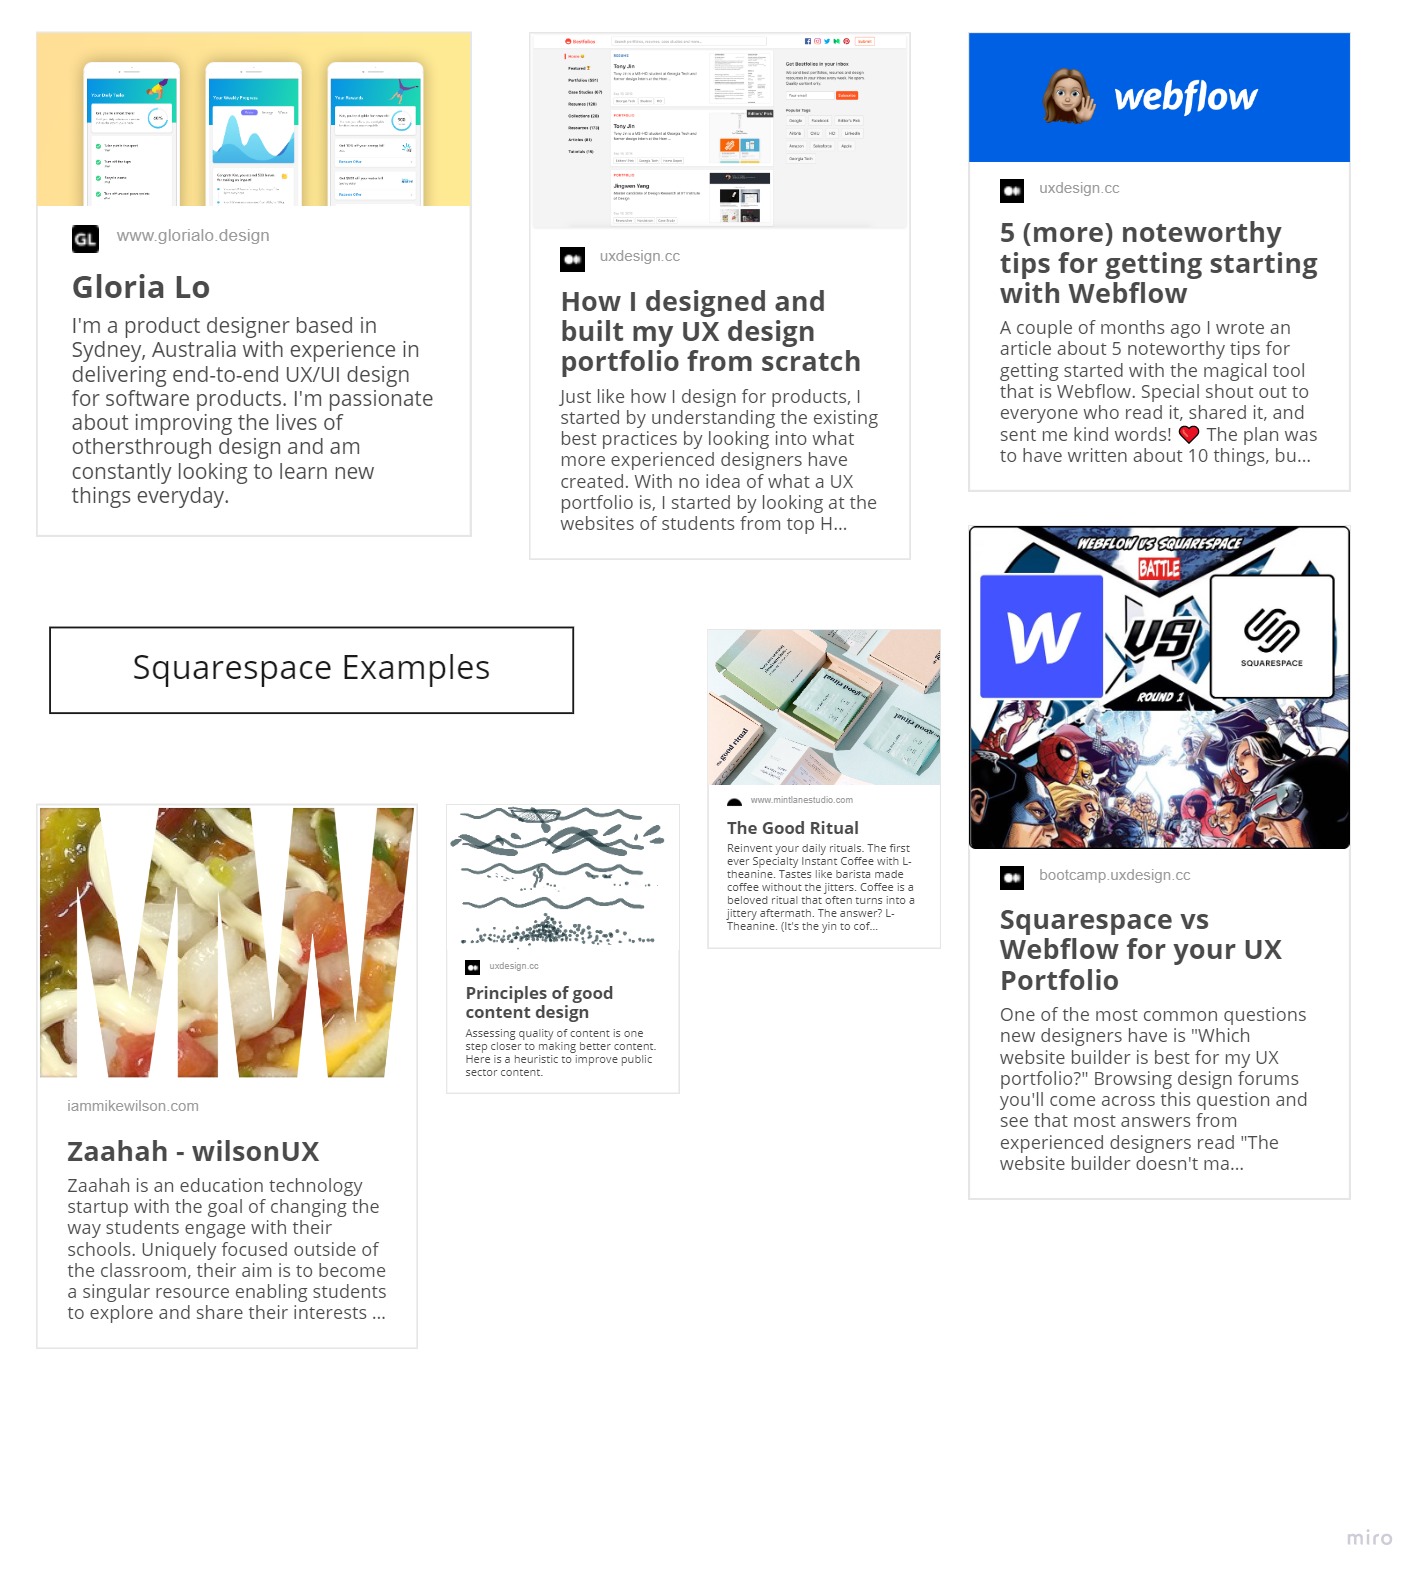
Here are a few of the resources that were extremely helpful for me:
- Tony Jim’s piece on how he built a UX website from scratch
- UX Writing Hub’s exhaustive list of best portfolios
- Another UX Writing Hub List of Inspirational Portfolios (Mine made it on this list!)
- Hubspot’s Jonathan Colman on what they look for in CD portfolios while hiring
- Creative Bloq
- Bestfolios
- Cofolios
3. Observations & inspirations
Apart from the very obvious content design-specific research, I also looked outside of the field, drawing inspiration from graphic designers, boutique brands, and homegrown businesses. I wanted this portfolio to be a space where I could showcase my other talents; add the flavor of my culture, heritage, and background; and above all, stand out from other content design portfolios.
I was heavily inspired by: Ueno, Abby Leighton, Tobogang, Rafael Varona, Cacao 70, and The Good Ritual.
Picking the platform
With these insights, hopes, dreams and wants, I looked into my options. I didn’t know how to code and was hoping to churn something out in a couple of weeks (I was naive!), so I looked for drag-and-drop templates from Wix, Squarespace, and Kargo.
After a couple of days, I realized I needed to build a site that would stand the test of time and be able to adapt along with the changes of the design industry. The website needed to be customizable for each of my differently structured projects without me needing to write custom code.
For a platform to fit my needs, it needed to be no-code yet customizable, have a CMS that allowed me to easily publish new projects, and cater to accessibility and responsiveness needs.
And since I was still a student, it also needed to be free.
These really specific conditions and this article led me to Webflow. I loved the idea of not having to code yet still being able to customize my design. I had heard of Webflow before, but I noticed that they had just introduced the Figma to Webflow functionality which made it feel even more accessible for me because I was familiar with Figma.
Once I signed up for their free for students and educators program, went through Made in Webflow and looked at the many cloneable projects, it was an easy choice to just create a project and start working on it.
Getting started with strategy
At this point, all my work hadn’t really involved any actual creation or content production and putting pen to paper was terrifying to me.
To help with this, I spent quite some time with the videos in Webflow University, hanging out with Grimur and McGuire. These videos were not only entertaining AF, but super educational, builder-friendly, and totally free to use.
From my research I knew that, at a glance, my landing page needed these high-priority sections for recruiters and hiring managers:
- Short bio
- Role & industry of interest
- Resume
- Projects
- Contact information
Lower in priority, I wanted to add sections for achievements, testimonials, skills, and interests. I hypothesized that recruiters needed to visit two specific links to be interested, once they were on the landing page: the resume page and first project page. In order to procure that data, I set up heatmaps, Google Analytics, and tracking links.
Then, I used University videos to guide me to set up a very basic landing page. Within a week, I got the hang of Webflow, or at least enough to start adding content. I definitely wanted to keep creating content as I was building the website so that both the UX and the UI worked hand-in-hand.
My initial task and page list looked something like this:
.jpeg)
I also had the additional task of selecting the projects and deciding which ones were most relevant, recent, and impactful. I asked the following questions:
- Which projects show my process?
- Which ones have the most challenges?
- Which insights would tell a good story?
- What is the right number of projects?
In the end, having four projects featured was the sweet-spot for me — two related to content design and two showcasing process and strategy.


21-day portfolio
Design and build a custom portfolio website, visually, within 21 days.
Creating the site structure
This brought about five weeks of building the website, restructuring my projects, creating the brand language, illustrating all the pages, and setting up data collection.
Here’s a breakdown of my timeline:
- Landing Page (Structure, Sections, Formatting): 5 Days
- Case Study Page: 5 Days
- 4 Case Studies: 3-4 Days each
- Resume Page: 2 Days
- Preloader, About Me, All Projects Page: 2 Days
- Linking, Alt Texts, Responsiveness, Animations: 2 Days
- Tweaks, Tests, Personalisation: 7 Days
- Google Analytics, SEO, Microsoft Clarity: 1 Day
My site structure priorities covered four main areas: content strategy, user experience, content design, and visual branding.
With templatized websites, it’s easy to hyper-focus on the content and forget about how users move through your site. When building my portfolio site, I was strategic about the flow — nudging site visitors to move from the hero section to my resume. From there, visitors can click through to specific projects. I also included my contact details on every page so that visitors can reach out from any area of the site.
Structuring the site this way serves a dual purpose — it shows recruiters that I know how to apply content strategy to a site structure while still creating a great user experience.
As a content designer, the writing was key for me. Because I’m firmly in the anti-Lorem Ipsum Squad, I started writing while I was designing the website.
Placeholder text cannot tell a story and labels cannot identify the emotions you want to incite. Lorem ipsum text just fills space that you’ll eventually have to redesign based on the final content.
Designing and writing content simultaneously slowed me down, but it’s true to the practice of content design.
I made sure to write like I speak in real life in order to allow recruiters to get to know my personality. Throughout my site, I kept my voice and tone fun and warm while still clear and knowledgeable.
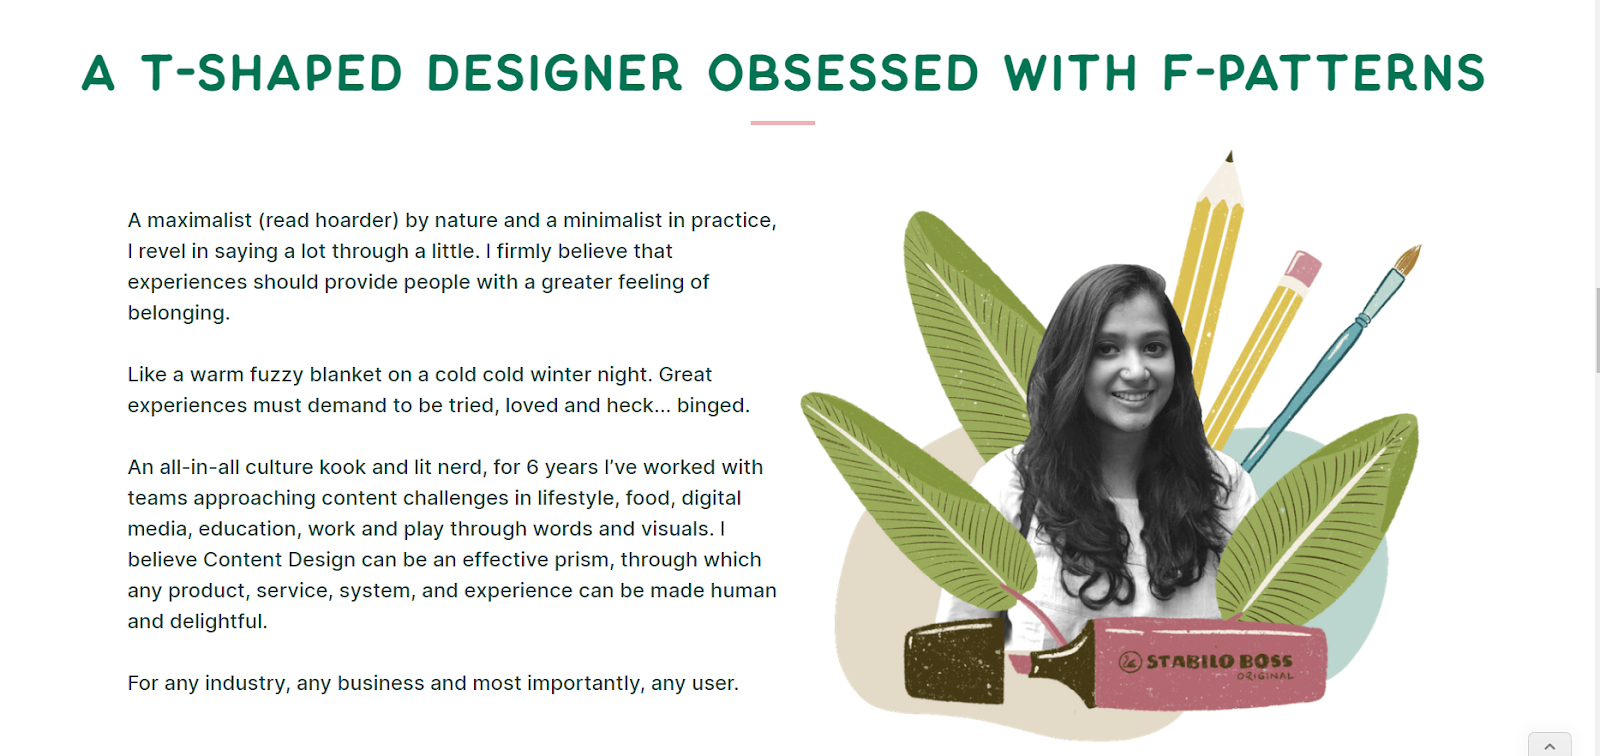
Inserting my style into the written content helped me weave it into my visual design as well. I didn’t want my website to just be a repository of projects, but rather a well-rounded expression of my personality that linked together art, photography, writing, and my professional milestones.
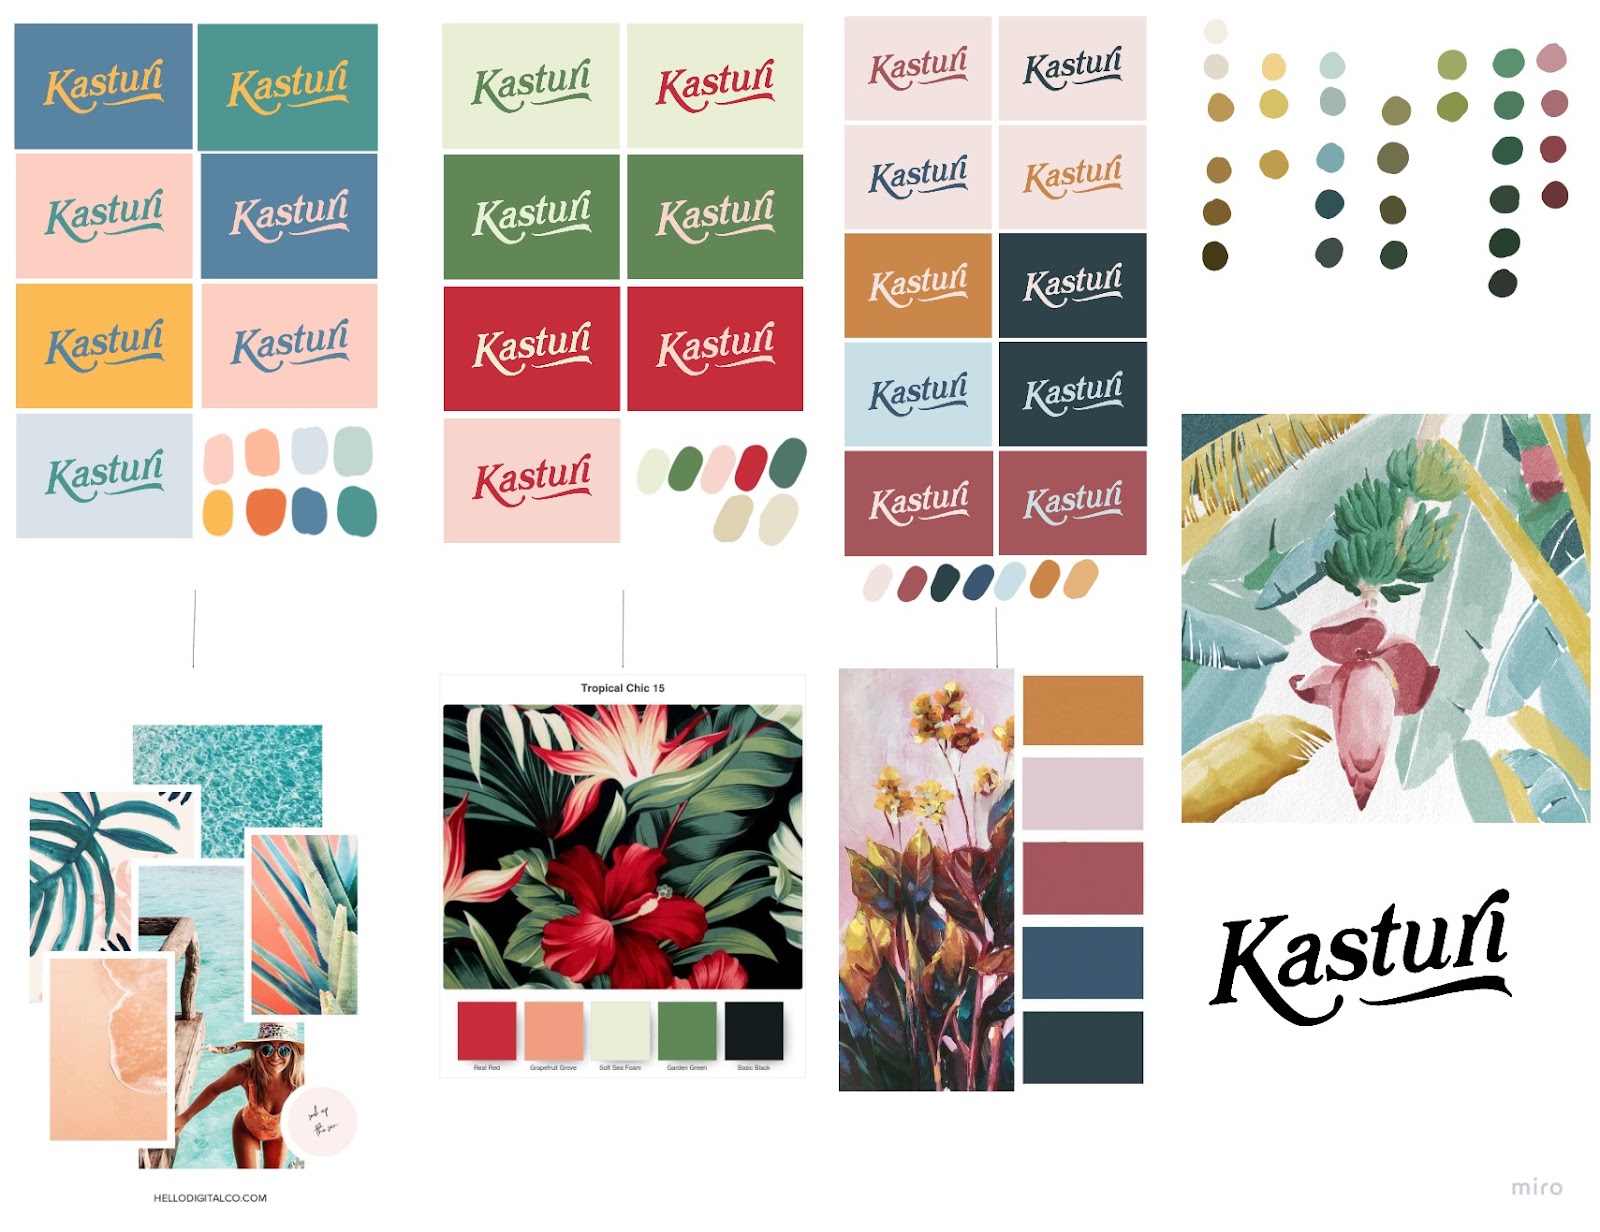
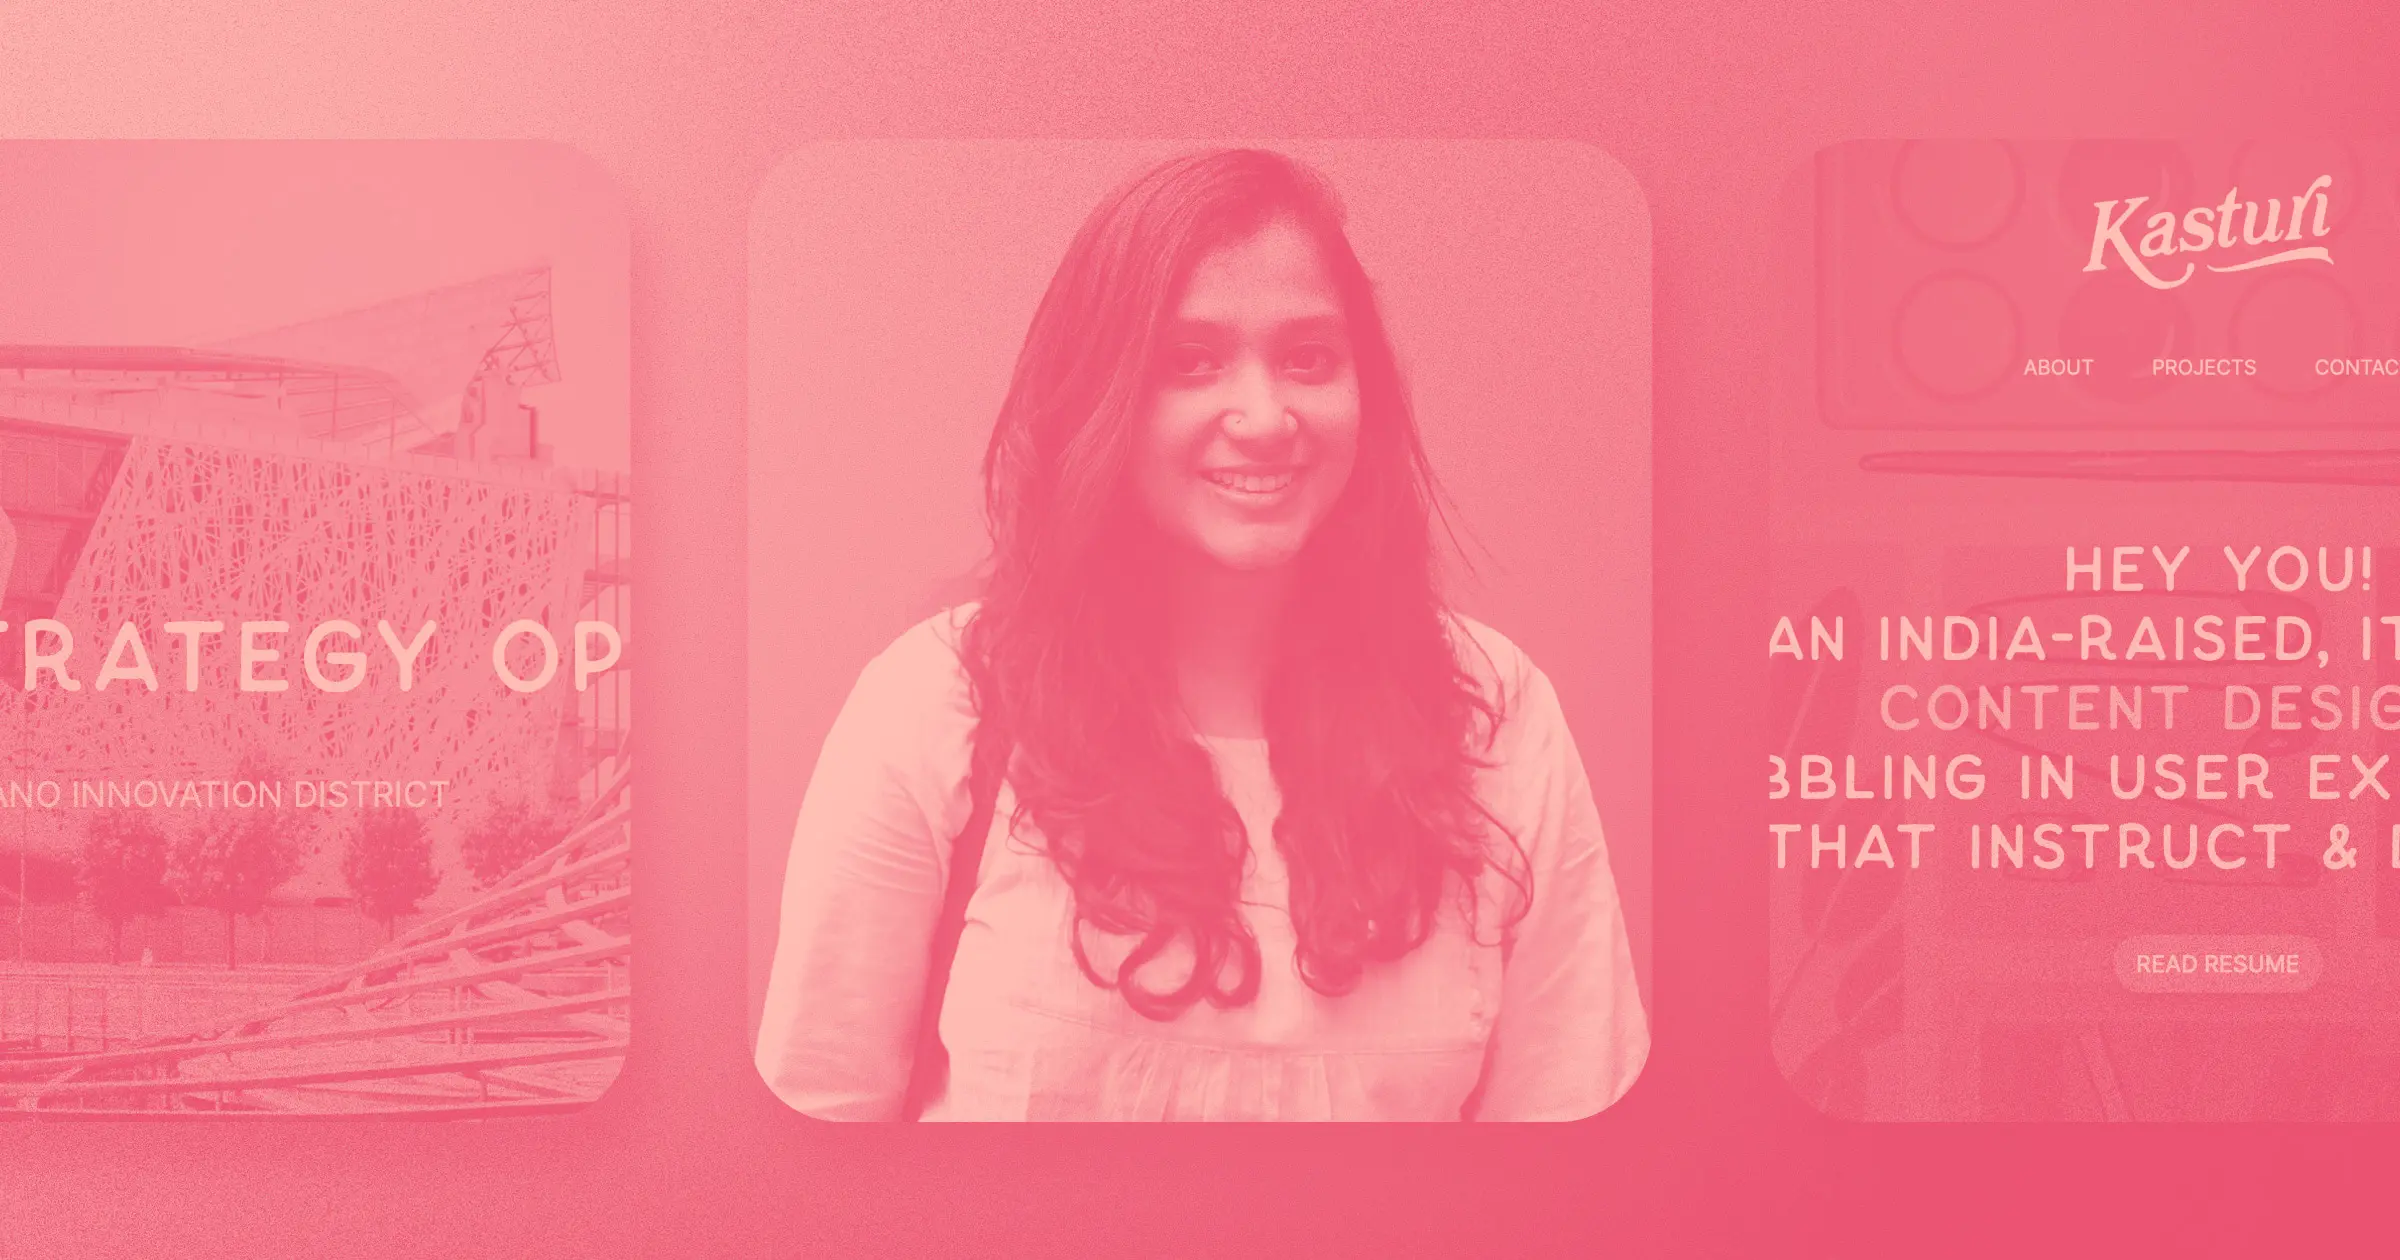
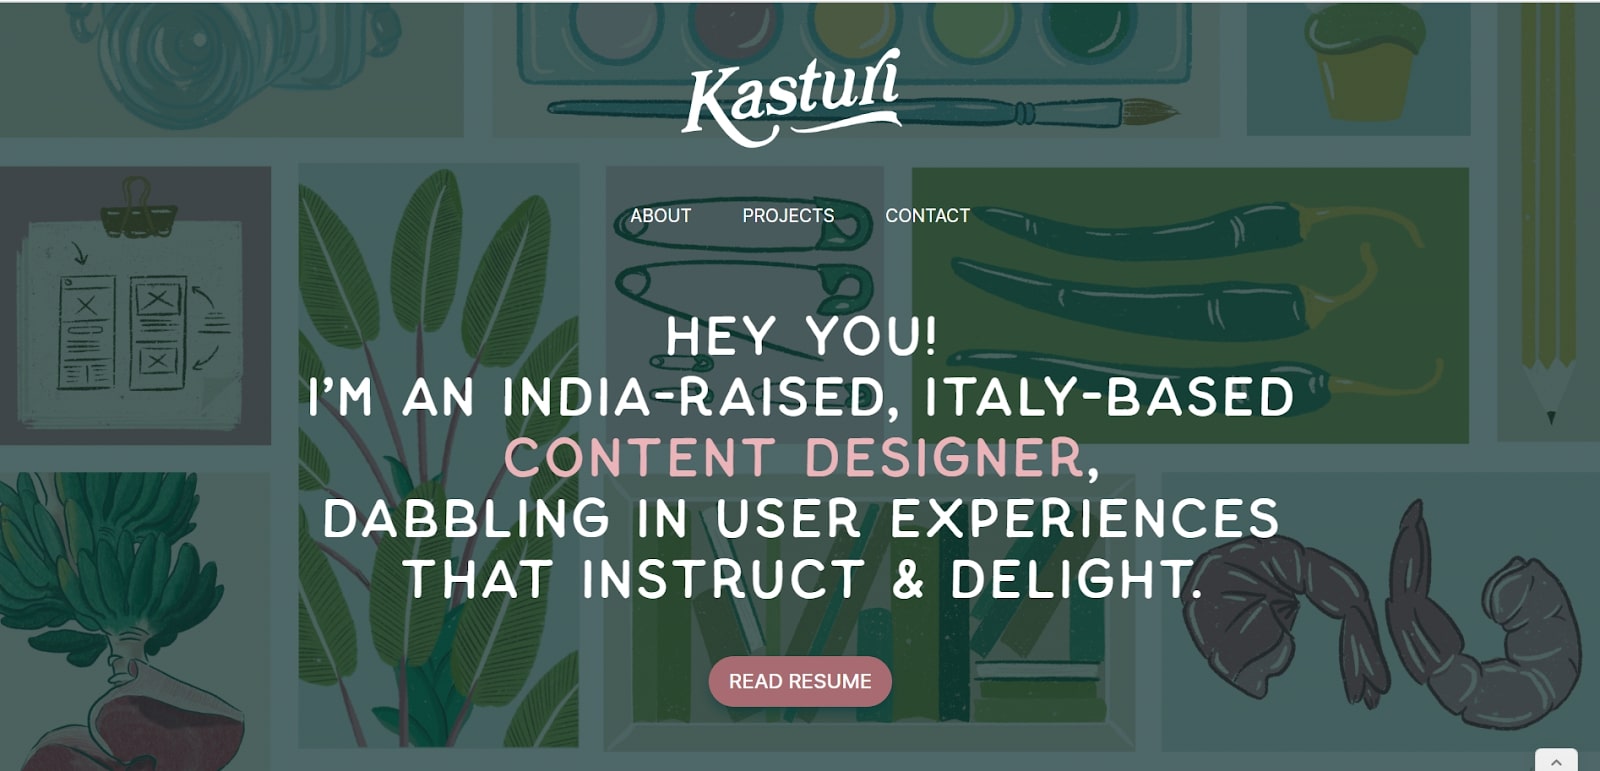
For my visual branding, it was important to me to create something that stands out and feels uniquely me — an Indian living in Italy that works in tech but loves the arts.
I used color and illustrations to add that Indian flavor while keeping my projects structured and straightforward. Visually, my portfolio is fresh and different, but the flow and presentation of my work feels familiar and intuitive. After looking at hundreds of portfolios, my portfolio definitely stands out with its clear and recognizable branding due to the logo, color, typefaces, and formats I chose.
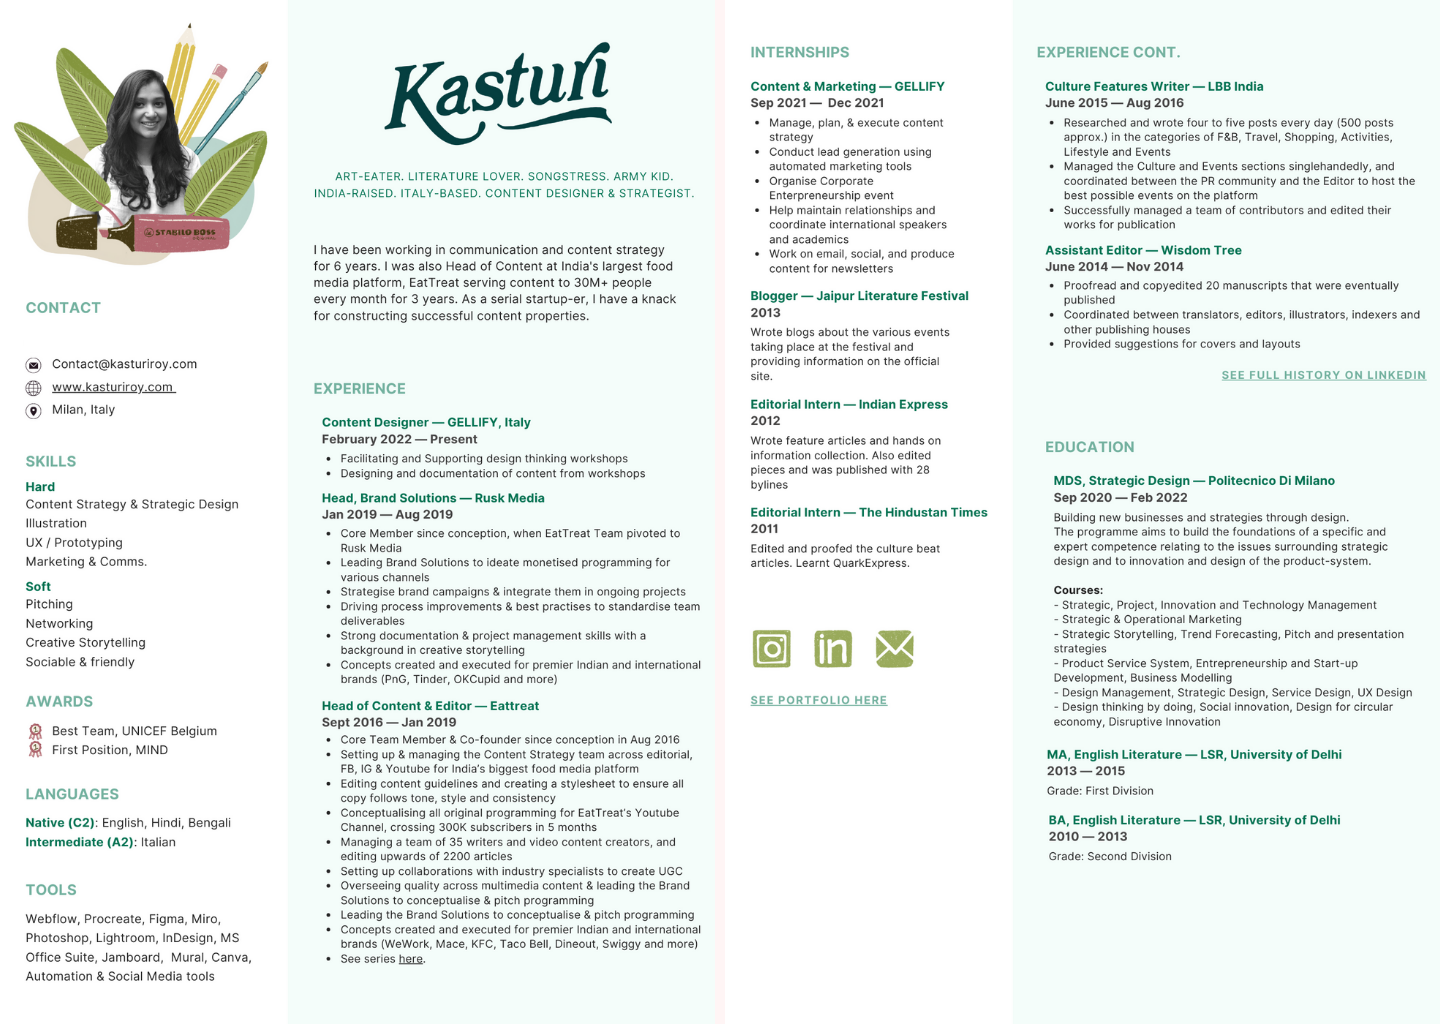
And that branding carries over to my resume, which is meant to be an extension of the site itself. Every element on my resume follows the scheme and visual language of my portfolio website.
Research, revise, & repeat
Once this laundry list of tasks was completed, I hit publish. I didn’t want to. I wanted to keep tweaking it until it was perfect. But at some point, you have to put yourself out there.
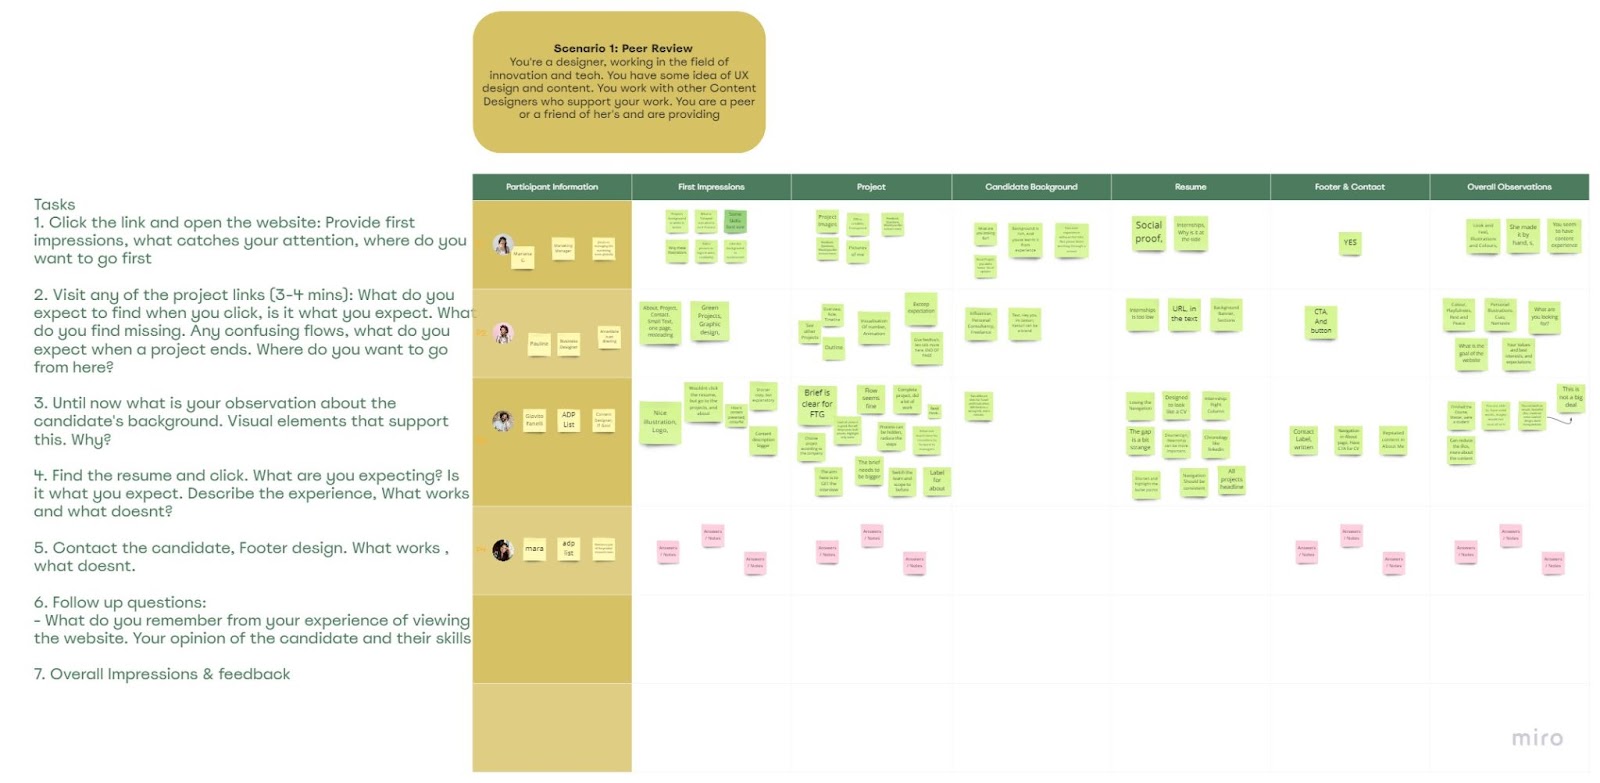
But publishing my site doesn’t mean it’s finished! Now, I’m focused on gathering feedback and revising. To get started on my post-launch usability tests and research, I set up two different groups of people:
- Peers and fellow designers (friends and family)
- Recruiters & hiring managers (recruited from LinkedIn and ADP list)
As of right now, I’m focused on running usability tests and talking to my test groups so I can create a list of changes to make in the next iteration of my website.
Reaping the benefits of a content design portfolio
Before building my portfolio in Webflow, I applied to 1,056 jobs in 6 months total. Yes, I counted. All those applications led me to only three interviews and zero job offers.
Designing my content design portfolio website completely changed my career prospects. Not only did my portfolio help me get more interviews and job opportunities, it also helped me believe in my skills and abilities. I’m incredibly proud of the work I’ve done for my portfolio website, and rejection has become easier to handle because I know that I’ve chosen the right platform and done my best work.
Of course, it doesn’t hurt that I’ve gotten ten times as many interview requests since building the site.
I’m still on the lookout for the perfect content design job (does it exist?) but the recruiter response to my portfolio website has been very positive and I’ve had much more meaningful conversations. I’m confident that this portfolio gives me the best possible chance of landing my dream job.
After writing this article, Kasturi chatted with the Webflow team about how her new portfolio dramatically improved her interviews and job prospects. Stay tuned for an update, coming soon!