.jpeg)


I was often jealous of other people that had sleek websites. I thought that there was no way for me to have the same.
I created my first website in WordPress more than a decade ago, for some personal blogging. Eventually, I added a custom domain and over the years, I added things like social links and navigation menus to keep up with common features I saw on other websites.
Then in late 2020, I decided to embark on a new career journey. Call me an early arrival in The Great Resignation — I wanted to leave my job as a product manager at a fintech company and pivot into content marketing. I realized quickly that no one would hire me as a writer without a portfolio, so I created a second WordPress website to host sample work – but it wasn’t sufficient. Through much deliberation, and trial and error, I chose to completely transfer my site to Webflow from Wordpress.
Here’s my story.
My journey to Webflow
I created my first website in 2009 using Blogger from Google. I was a new parent on maternity leave and thought that blogging about my days with my infant son would be fun. Blogger was easy to set up and in no time I was recapping my days to my three followers (two of which were my parents).
A few years later, I migrated my Blogger website to WordPress. This was mainly due to aesthetics. I was still only blogging for personal reasons but wanted to incorporate cool features that Blogger didn’t have.
But by 2020, my needs changed, and I was looking for a professional-looking website that would enhance my career. As I scoured the internet looking at portfolios from other writers, I was embarrassed by my own website. Other websites had interesting layouts and animations that I wanted to incorporate in my own site, but I knew that I didn’t have the skills to build anything outside of the standard block layout that WordPress offered.
Somehow, despite my clearly homegrown website — with sorry excuses for buttons made from Canva images — I managed to land a job in content marketing. It was in my new role that I was first exposed to Webflow. With Webflow, I was able to easily upload blog posts directly to my client’s CMS, and the site itself was intuitive, aesthetically pleasing, and incredibly smooth.
As I began to get even more inbound inquiries about my work — I knew that I had to immediately make a change. I decided to switch to Webflow with the encouragement of a friend who was a freelance writer and also used Webflow. I felt confident that the combination of my previous experience working with client’s Webflow projects and Webflow University tutorials — I could figure it out.
Step 1: Building out my new website
Since I had already transferred my site from Blogger to Wordpress, I had a sense of what was involved in a site migration. I knew to start by building out the main pages of my new site before transferring all my blog posts.
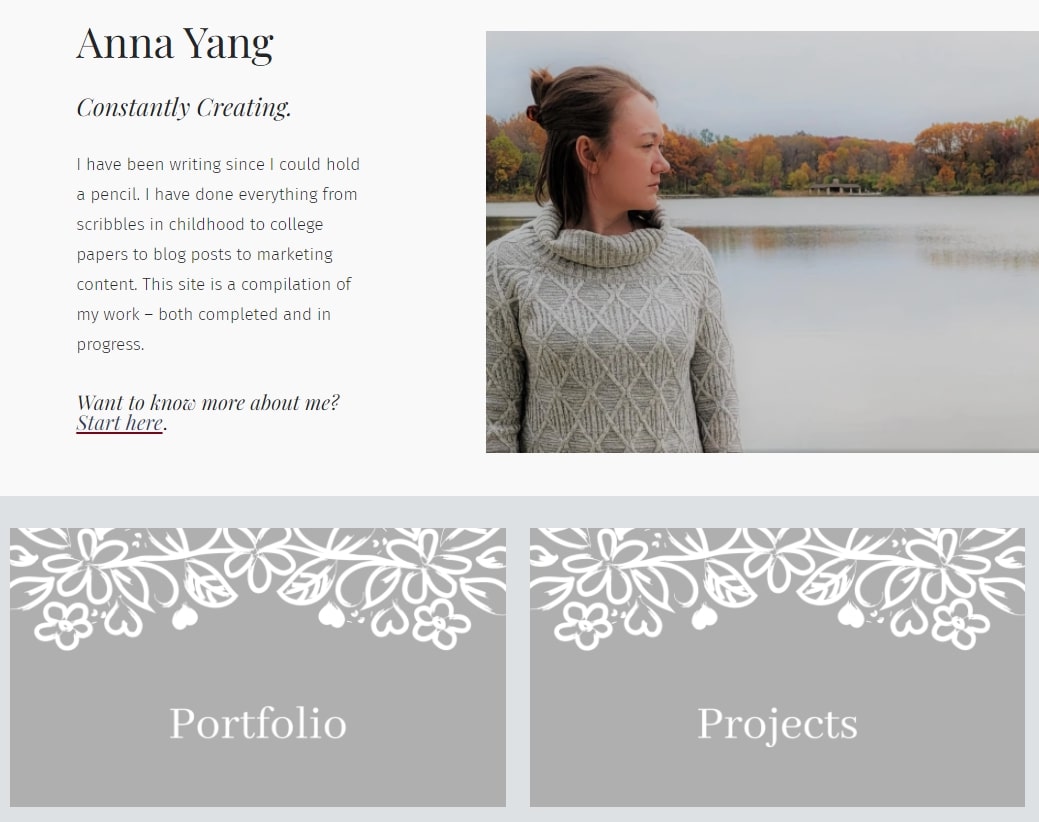
I wasn’t ambitious enough to build a Webflow website completely from scratch, so I used a template instead. After browsing through the Webflow template library, I found one that both matched my style and had everything I needed to create my portfolio website..
A trial-and-error approach doesn’t faze me, so I was happy to dive deep into Webflow’s functionality by poking around and exploring. For more complex functions, like building a form, I watched videos from Webflow.
I created many of the individual pages from scratch and didn’t need to use my previous website as a guide because the options for designing in Webflow were so much better than Wordpress.

The structure of my CMS probably took the most planning because I have two different collections: my portfolio of blog posts and projects I’ve worked on.
To get started, I created sample posts to put myself in the visitor’s perspective. As a result, I decided I wanted to control the order in which the posts were displayed, so I created a custom field in my Webflow CMS collections where I could input a value, and used that field for the sort order within the container.
Another critical component I found was the ability to exclude my posts from search results. I did some freelance writing for a content marketing agency that allowed me to repost the content in my own portfolio as long as the content was excluded from search results. In WordPress, I had to install a plugin for this feature because I didn’t know how to add custom code. Webflow allowed me to do this directly in the template for my blog posts. All I had to do was add the content to a CMS collection that included my agency work and exclude it from the CMS collection for my own projects. WordPress had no way for me to make this differentiation — it was all or nothing.
Step 2: Transferring my website blog posts from WordPress
Once I had my homepage, About Me page, Contact page, and CMS structure created, it was time to migrate my 150+ posts from WordPress to Webflow.
To prepare, I read the instructions in the Webflow tutorial, then did an export from WordPress using a plugin that would extract the post data as a CSV. It’s worth noting that plugins are only included in certain tiers of paid WordPress plans. Fortunately, mine had this option.
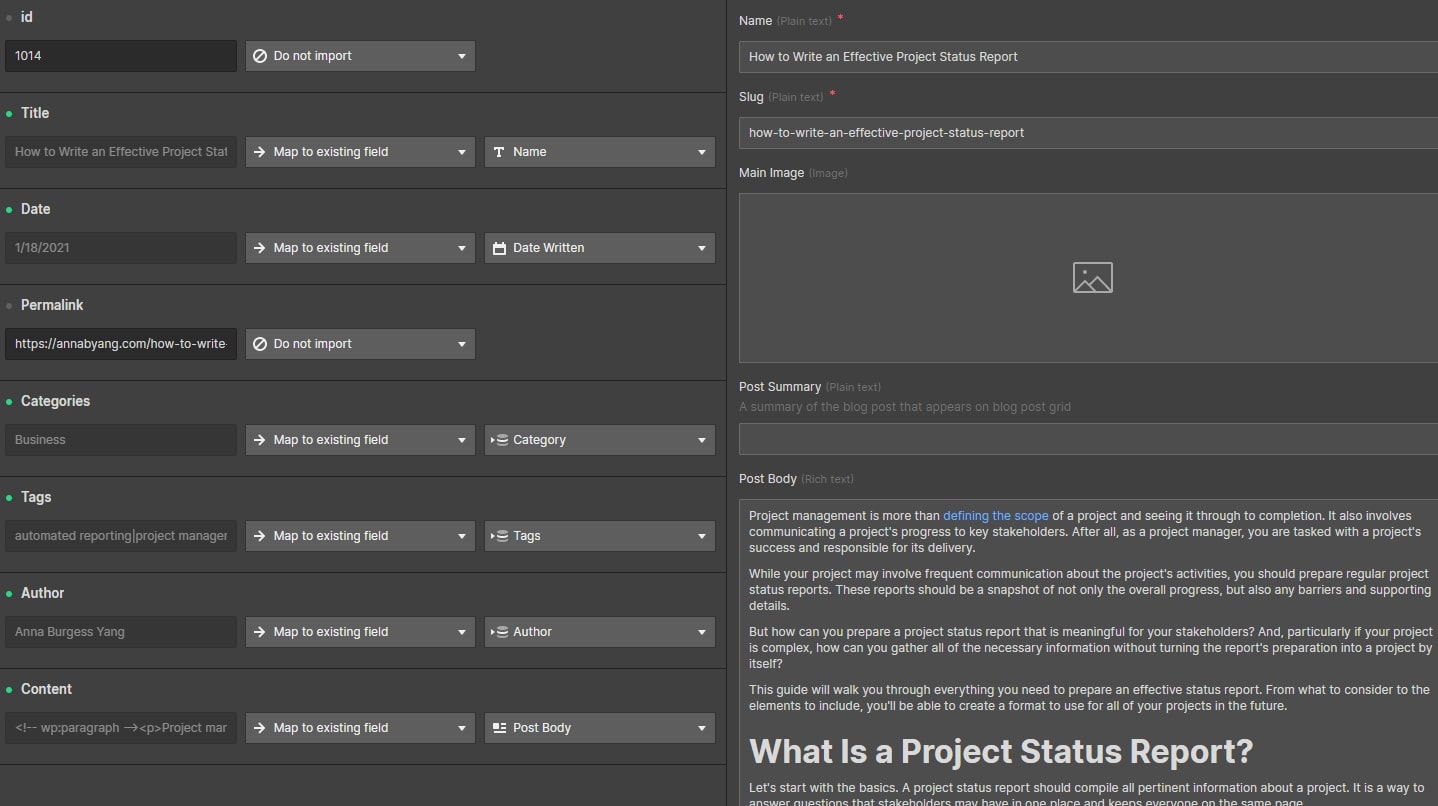
I ended up doing the export of my blog posts from WordPress a few times. The first time, I didn’t include my Categories. Once I started doing the import into Webflow, I realized that I could map my Categories, provided that I had matching Categories set up in my CMS.
Unfortunately, the WordPress export included multiple Categories in a single field, separated by a Pipe within the field. This caused the Categories to not match the Webflow Categories I had set up. I did some cleanup in my .csv file, removing Categories when my post had more than one.
From there, the mapping was easy: I matched the fields in my WordPress .csv to the corresponding Webflow fields.
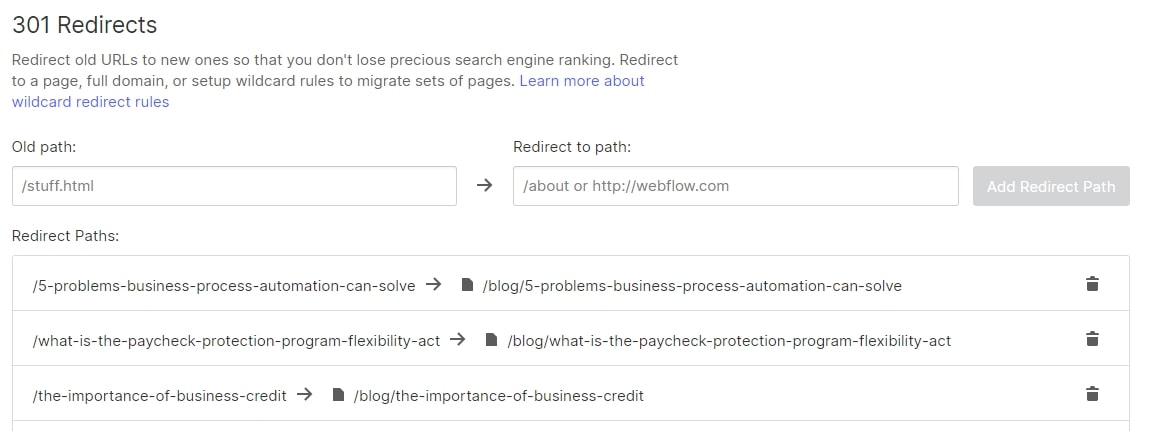
I needed to create some 301 redirects since the URL for my posts had changed. I read the Webflow info on wildcards but my old posts were not located in a folder so I had to map each post individually.
I used my WordPress .csv file to easily create a list of the 301 redirects. A quick “find and replace” got me the Old URL and New URL I needed for Webflow. Then it was simply copying and pasting the paths —an easy activity to do with Netflix on in the background.
Step 3: Making the switch with my website domain
This was the hardest step in the process. I knew just enough about domain names to follow directions, but I’m certainly no expert. And since my existing domain was live, I waited until everything was ready to publish in my new Webflow site before looking into it.
WordPress was hosting my domain. I moved this to GoDaddy, which was hosting the domain of another website I have. Once I started this process, I realized that I should have read the Webflow documentation first, and would have maybe selected a new hosting provider that allowed the managing of DNS records.
But at that point, I was stuck. A domain transfer can only be done once every 60 days, so I needed to either stick with GoDaddy or wait it out until I could do a transfer. I was itching to get my new website live and had already paid for the GoDaddy domain, so I plowed ahead.
I watched the Webflow tutorial and read the instructions on connecting a custom domain. Turns out, setting it up was more seamless than I expected. I was prompted in Webflow to connect my GoDaddy domain and didn’t need to do anything manually.


Webflow — the modern WordPress alternative
Empower your team to visually build the most custom, responsive, and secure sites — in a fraction of the time.
A new website is a chance for a fresh start
Overall, I spent about a month setting up my new Webflow website. Since I juggle a full-time job, a family of five, and freelance work, I had to work on it in the small chunks of time that I had free. I knew step-by-step what I needed to do and was determined to get it done.
Moving my website from WordPress to Webflow was not only a chance to improve the design, but also to think about the content I had included. After all, how often do people update the “About” page in their portfolios or really review past blog posts?
While importing the WordPress content was important to me, most of the posts are still sitting in Drafts. I’ll work back through them over time, slowly making sure that the content I’ve written lives up to the beautiful website I created.
Ready to get started with your own migration from WordPress to Webflow? Check out these instructions.
Build with Webflow
Break free from the constraints of traditional platforms. Migrate your site to visual-first platform that combines design flexibility with powerful CMS capabilities.