

By occasionally (and thoughtfully) breaking from user expectations, you can draw extra attention to particular areas of your site, and create a delightfully immersive experience a bit out of the norm. Intentional horizontal scrolling sections offer one powerful tool to use with this UX tactic.
And since so many of you have asked how we created the horizontal-scrolling section on the Interactions 2.0 announcement page, we thought we’d show you how to do it yourself.
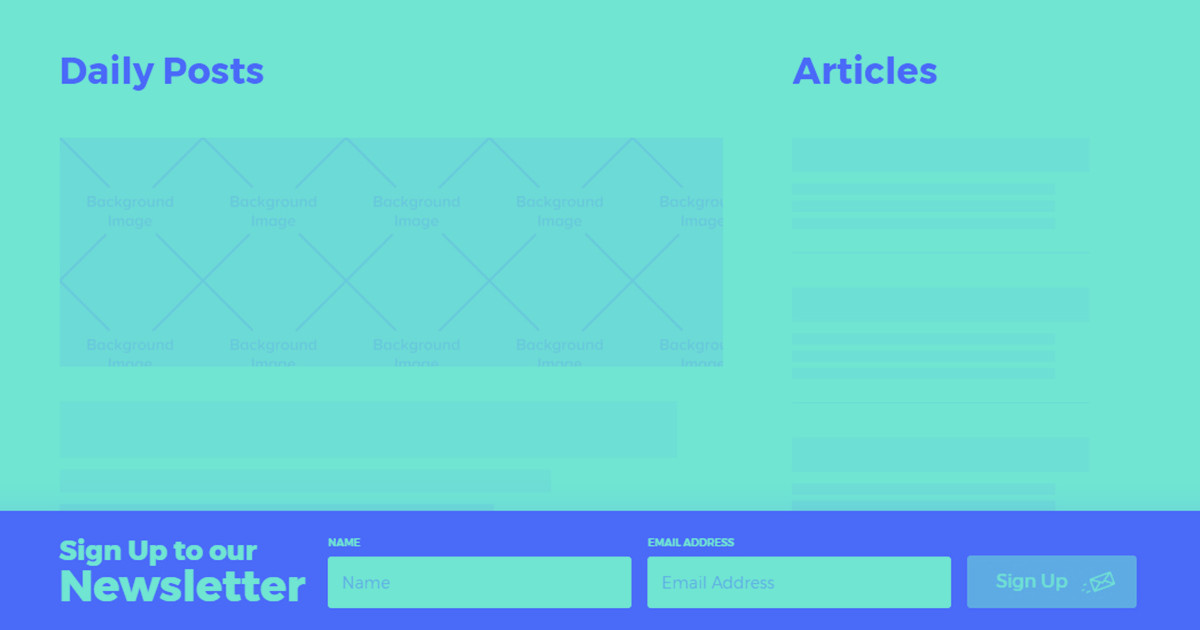
Before we dig in, check out the horizontal-scrolling demo. Or clone the site to dig in and reverse engineer!
Step 1: Add and style the wrapper divs
To ensure our horizontal-scrolling section packs the greatest punch, we’ve placed it in the middle of our demo page. If you’re following along, make sure to do that too.
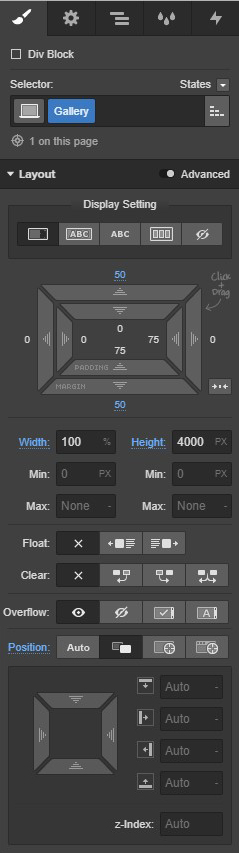
To start, add a div to the canvas and give it a class of “Gallery.” Then add the following styles:
- Margin top: 50px (top and bottom)
- Width: 100%
- Height: 4000px
- Position: Relative
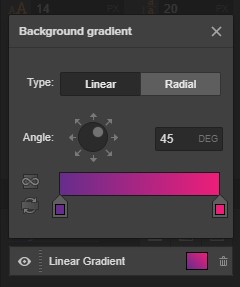
To create the gradient background for the section, add the following in the Background section:
- Type: Linear
- Angle: 45°
- Color stop 1: #662d8c
- Color stop 2: #ed1e79
Then add another div inside the “Gallery” div you just created, and call it “Gallery Scroll Track.”
Set the position to absolute, full. Change the Z-index to 1.

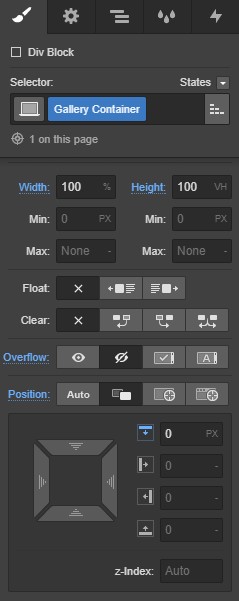
Add yet another div inside the “Gallery Scroll Track” div and give it a class of “Gallery Container” with these settings:
- Width: 100%
- Height: 100vh
- Overflow: Hidden
- Position: Relative, top, 0px
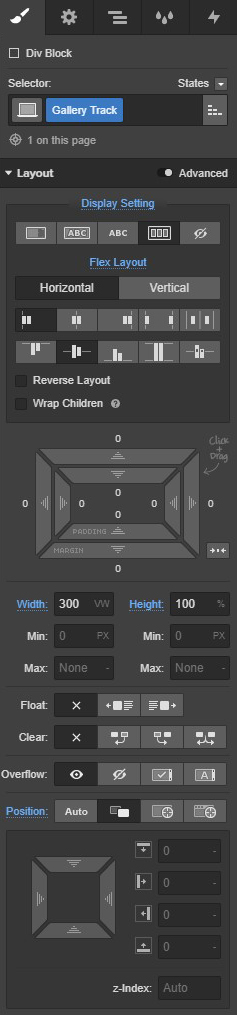
Add another div inside the “Gallery Scroll Track” div called “Gallery Track” and add these settings:
- Display settings: Flex
- Flex Layout: Horizontal, justify left, align center
- Width: 300vw
- Height: 100%
- Position: Relative
Step 2: Add your content
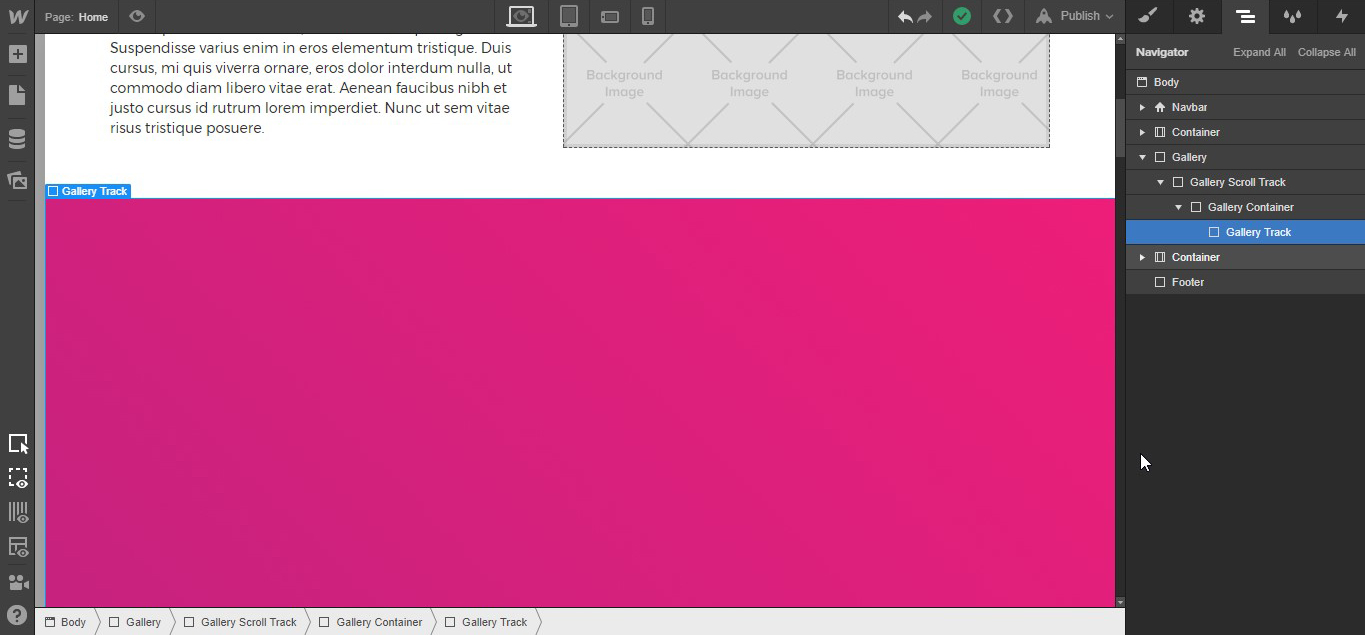
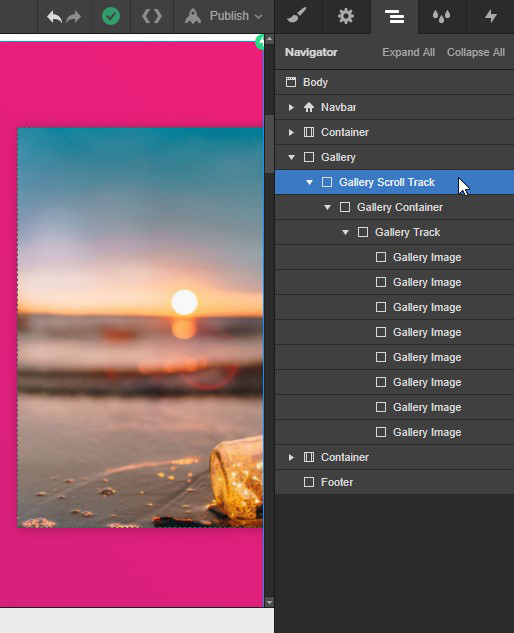
By now, your Navigator panel should look something like this:
In the following steps, we’ll be adding our images to the “Gallery Track” div. I’ve chosen to add them via divs with background images to keep things simple, but you could display anything from team member photos to client quotes, and even pull your content in from the CMS.
So add a div to the “Gallery Track” and give it a class of “Gallery Image” with the following settings:
- Flex item: Expand
- Margin: 20px (all sides)
- Height: 70vh
- Border radius: 5px
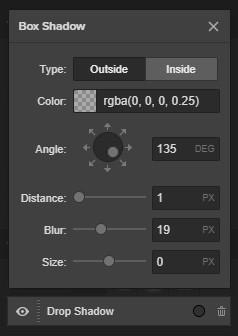
To help the images stand out, you can also add a drop shadow with these settings:
- Color: rgba (0, 0, 0, 0.25)
- Angle: 135°
- Distance: 1px
- Blur: 19px
- Size: 0px

Now you’ll have a div block that spans the entire width of the Gallery container, but it has no background image. Since I’m not building this with dynamic content pulled in from the CMS, I’ll be adding an additional combo-class to each “Gallery Image” div block so I can add a unique background image to each item.
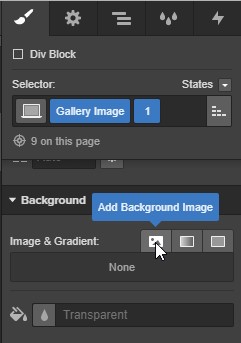
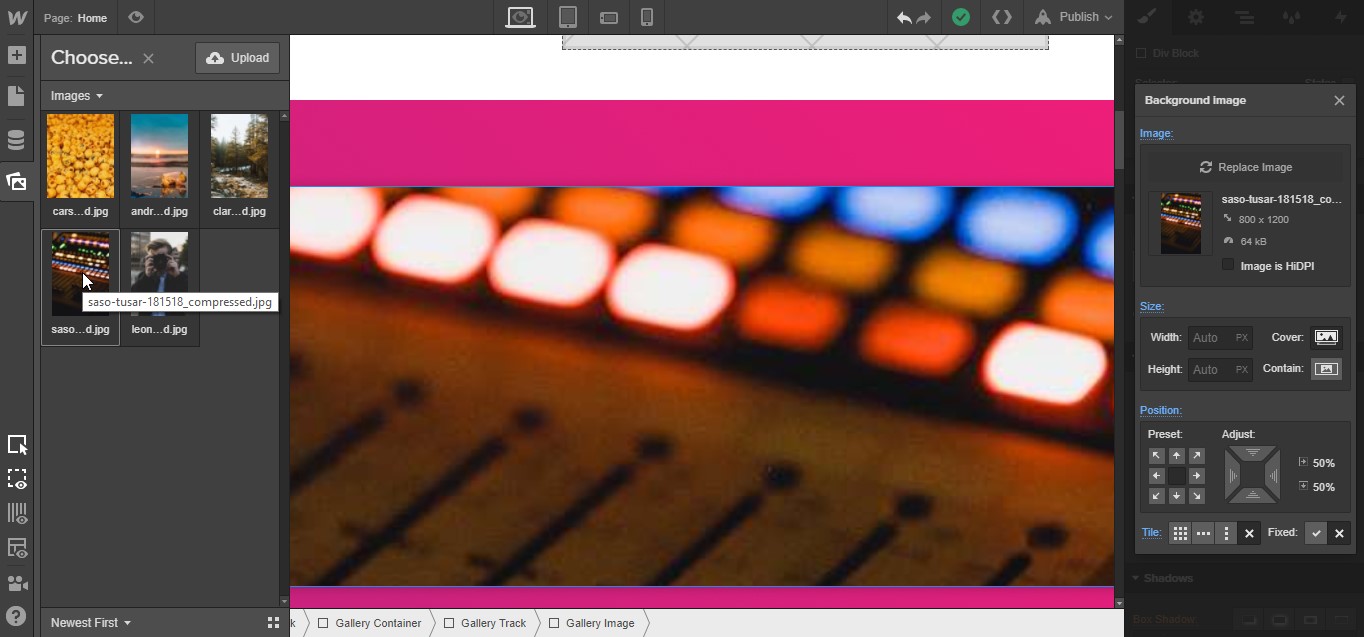
Select the “Gallery Image” div add a combo-class of “1” then scroll down to the Background section and add a background image.
Use the following settings:
- Size: Cover
- Position: Center
- Tile: None
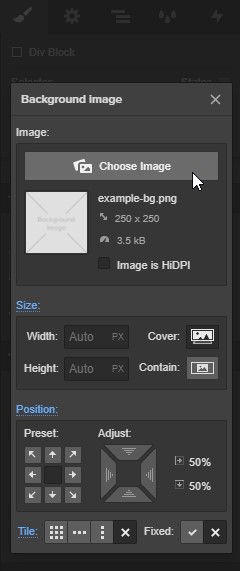
Then add your image.


Design interactions and animations without code
Build complex interactions and animations without even looking at code.
Now we’re going to duplicate this “Gallery Image” div by right-clicking and duplicating it as many times as you need.
Obviously, we have a slight problem: all the images are the same! Since we’re adding the images via CSS, every item with the combo class Gallery Image 1 will have the same background image.
To fix that, open the Navigator panel, select a Gallery Image div, and duplicate class 1. Then change the name to 2, replace the background image, and then repeat that process for each combo class.
Step 3: Add interactions
Okay, now that you have a separate combo class for each image, go back to the Navigator panel and select the div “Gallery Scroll Track.”
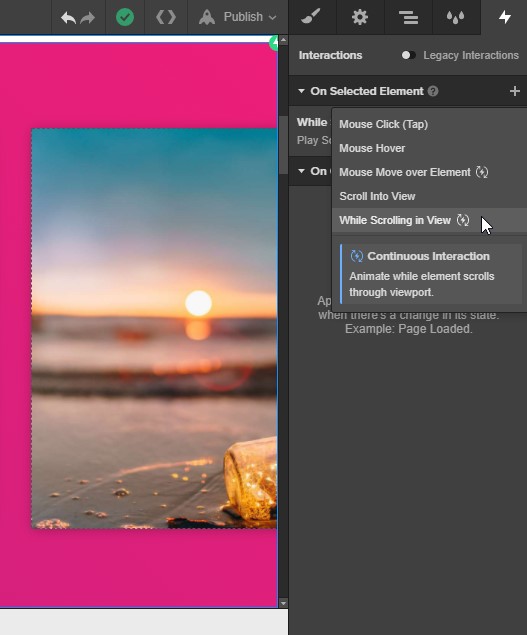
Now open the “Interactions” panel, click on the the Plus in the top right. From the dropdown menu select “While Scrolling in View.”
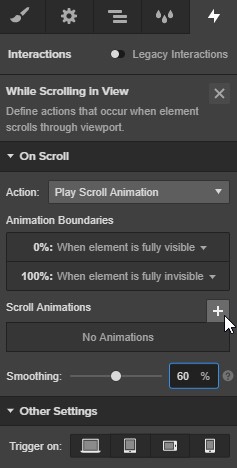
Next, change the “Smoothing” to “60%” then click on the “Plus” icon.
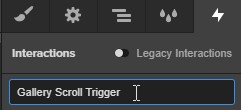
Name the Interaction “Gallery Scroll Trigger.”
Click the Plus icon besides the the “0%” marker. From the dropdown menu select the “Move” transform.
With the first interaction at 0% highlighted, change the “X” position to “0vw.”
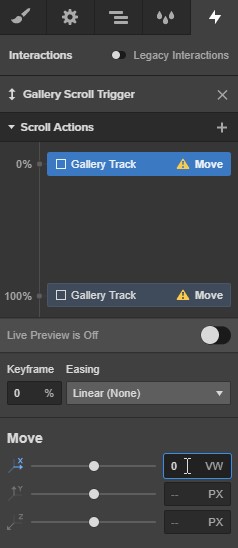
Next highlight the interaction at 100%, change the “Keyframe” to “80%,” and set the “X” to “-200vw.”

Step 4: Last step!
This is the last step and a vital one. Click on the “Pages” icon on the left hand panel.
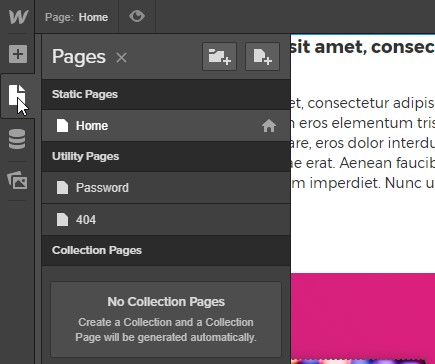
Hover over the “Home” icon. Beside it will appear the “Edit Page Details” icon — click it. A new panel will open. Scroll down to the section titled “Custom Code” and paste the below code snippet in the “Inside <head> tag” input field.
<style>
.gallery-container {
position: -webkit-sticky !important;
position: sticky !important;
}
</style>
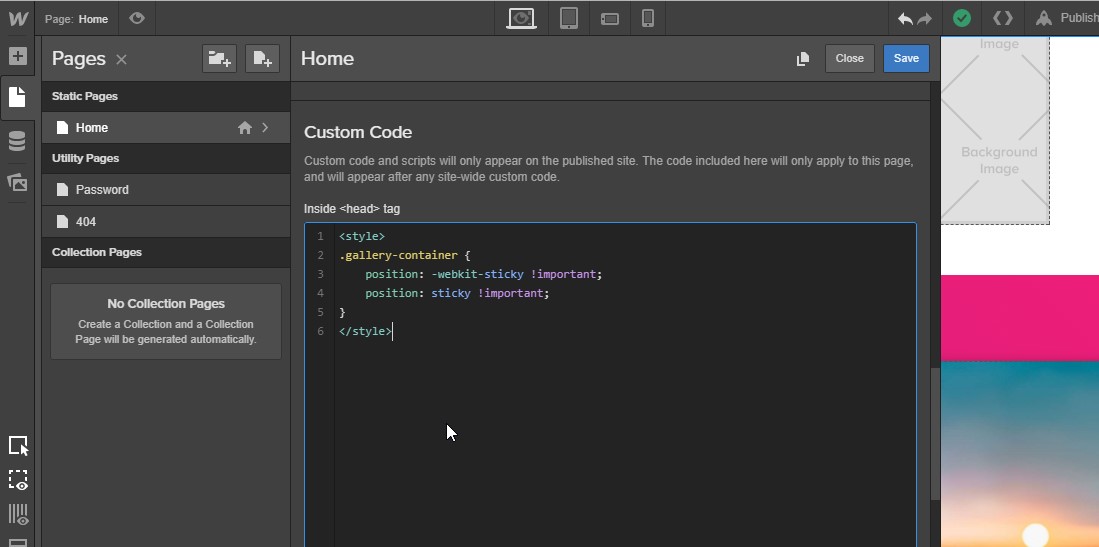
Publish and you're done!