

Webflow is an incredibly flexible tool. And while it doesn’t offer a native solution to every problem, custom code makes it possible to implement almost anything your audience might need — including the ability to find what they need. Whether it’s a blog, a portfolio, or an ecommerce project, people want to find what they need quickly and easily. With that in mind, I’m going to show you how to integrate the MixitUp JavaScript library so your audience can filter and sort content.
Why MixItUp3?
MixItUp3 is a dependency-free, client-side JavaScript library for animated filtering and sorting. It’s great for managing content that needs to be categorized or ordered like portfolios, galleries, stores, and blogs. It can be used with both static and dynamic content.
Anything you can display on the page can be categorized, filtered, and sorted by:
- Date
- Price
- Category
- Tag
- A combination of the above
When a website visitor selects a filter, MixitUp shows elements with the class name specified in the filter settings and hides the rest.
The library is powerful and includes a variety of features. The basic functionality of MixitUp is open-source and free to use for personal projects. If you’re using it for commercial projects, you’ll need to buy a license with a one-time, reasonably priced fee.
In this tutorial we’ll look at the most common uses for MixItUp3:
- Filtering content on a simple, static page
- Filtering and sorting dynamic posts on a CMS-powered blog page
1. Filtering content on a simple, static page
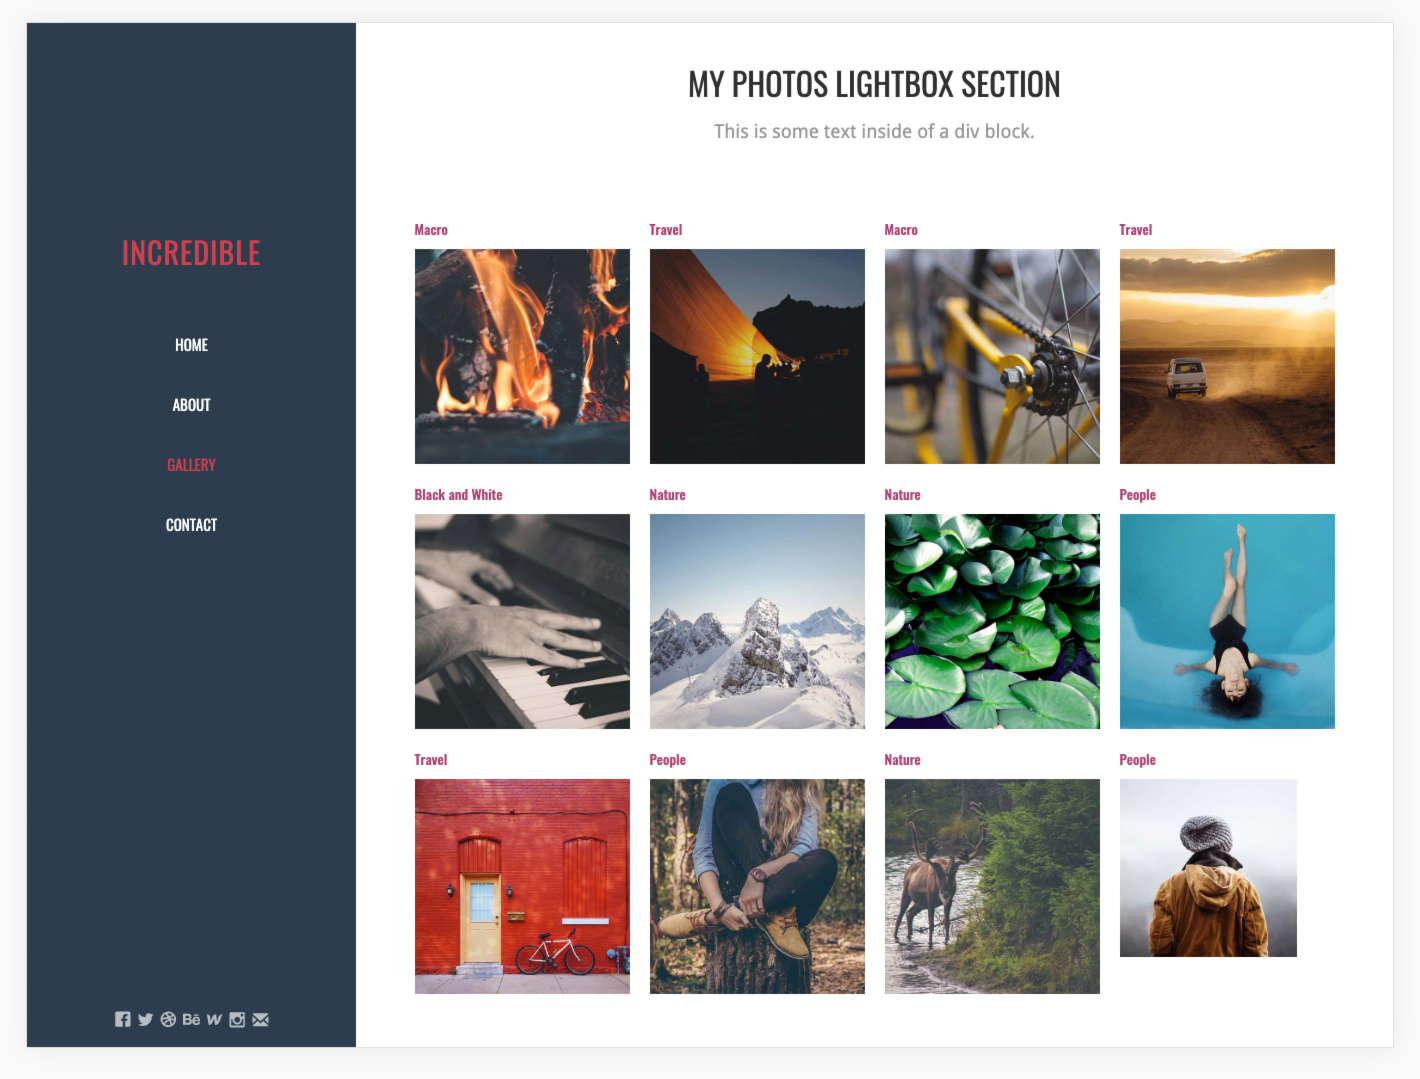
The free Webflow template Incredible is a great fit for our first example. Let's filter the template’s photo gallery.
Step 1: Creating a layout
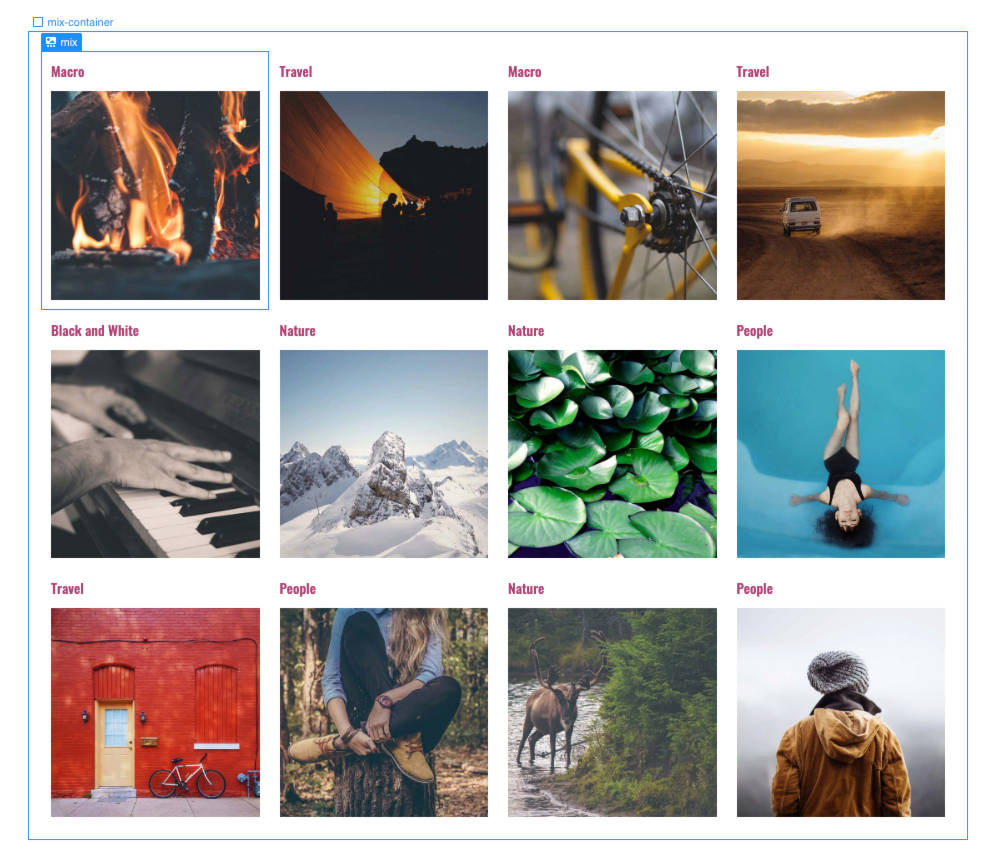
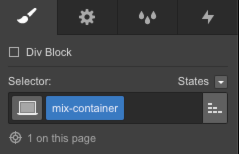
By default, MixItUp will check the HTML structure of the page, look for a div with the class name we’ll specify in the Designer and in the code, and filter all elements that match the class name mix inside that div.
So, our layout should contain a div with items with the class mix. Let’s call that div mix-container
Note: The template we’re using for this tutorial already has some existing class names — sometimes we’ll use combo classes or rename existing classes which will work just fine for filtering purposes. In your original project, you can create all class names and styles.

Step 2: Applying filtering categories
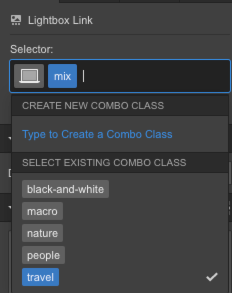
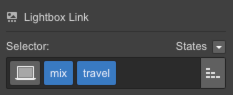
To let MixItUp filter elements, each element should have a class name that specifies the category it belongs to. We’ll apply those selectors as a combo-classes to each mix element.
For our photo gallery, these combo classes will be types of photos:
- black-and-white
- macro
- nature
- people
- travel
Step 3: Creating filter controls
You can make filter controls out of different types of HTML elements like buttons, links, or input elements (checkboxes, selects etc.). In this case, buttons work nicely.
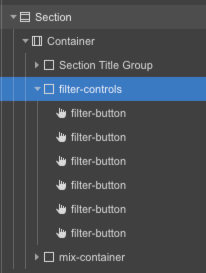
Let’s create a filter-controls div and put all our filter-button elements inside it. We need one button for each category, plus one to let the user clear all filters.

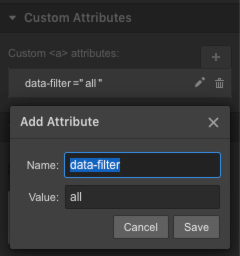
Now, for each filter button, we need to add a custom attribute of data-filter. The value of the data-filter for each button will correspond to the class names we applied to our images in step 2. For example, the people button will have a value of .people.
The all button should have a value of all (without a dot).
Step 3: Adding custom code
We’ve created all the elements we need to allow our audience to filter, so now we need to add the actual functionality through the JavaScript code snippet.
All our custom code will live in the footer of the page to make sure our MixItUp code runs after the default Webflow libraries — otherwise, our setup won’t work.

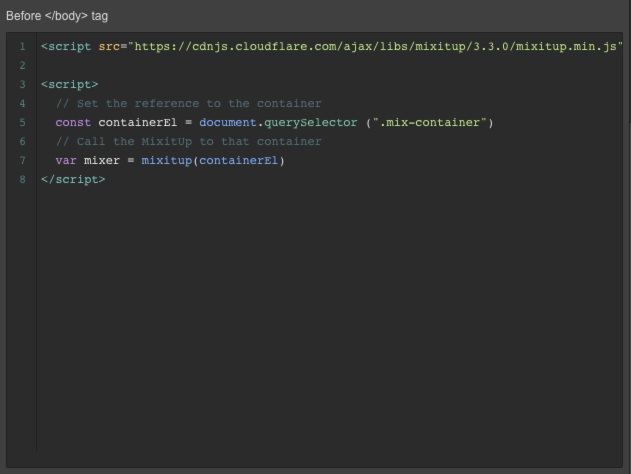
First, we’ll connect to the MixItUp JavaScript library using a public CDN link.
<script src="https://cdnjs.cloudflare.com/ajax/libs/mixitup/3.3.0/mixitup.min.js"></script>
Now we’ll point the MixitUp code to the right container:
<script>
// Set the reference to the container
const containerEl = document.querySelector (".mix-container")
// Call the MixitUp to that container
var mixer = mixitup(containerEl)
</script>
That’s it! Now publish your website and enjoy the results.
My version of the Incredible template where I used MixItUp to filter content on a simple, static page is available to clone and use on the Webflow Showcase.
2. Filtering and sorting dynamic posts on a CMS-powered blog page

For the second example, we’ll use another free Webflow blog template called Notable.
The blog on this template has quite a few posts with different categories and authors. For a better and more obvious sorting experience, I added an additional field I called Publish Date.
Note: The template includes a date field, but because those dates are all the same by default, there’s nothing for MixItUp to sort. To work around this, I added a second date field and manually made each one different. Since blog posts aren’t typically published all at once, this won’t be a necessary change for most cases.
Now we’ll build filters for our blog posts so the reader can filter content by category and sort by date.
Step 1: Creating a layout
From our first example, we already know that MixitUp will look for a div with the specified class name and filter elements that match the class name .mix
With the dynamic content, we’ll be pointing MixitUp to a specific collection list, which is a div that contains all the elements we need to filter. This means all our collection items need to have the class name mix (either as a main or combo class).


Get started for free
Create custom, scalable websites — without writing code. Start building in Webflow.
Step 2: Creating filtering and sorting attributes
Webflow CMS gives us the ability to dynamically output content and categories according to the contents of a database. But in Webflow, we can’t natively create different classes for each collection item (which is what we did for static content).
This is where JavaScript comes in. In this step, we’re going to prepare the correct structure to make sure the JavaScript works later with our custom code.
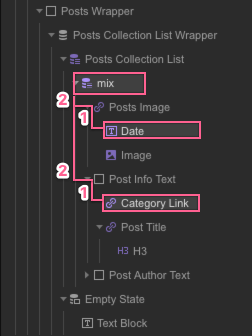
All categories that we’re using to filter and sort should be presented inside the mix item. Preferably, we want to keep the same level of nesting to make the custom code less messy.
These categories don’t necessarily need to be visible. If you need to hide them, you can use the display option none — just make sure they exist in the HTML structure.
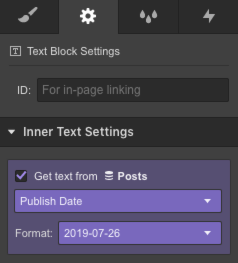
We’ll be filtering our blog posts by category and sorting by date, so we want to make sure we have both of these fields populated. To make sure sorting by date works correctly, we have to make sure that our publish date is populated in the format year-month-day. This is important because the code parses the date in that order.
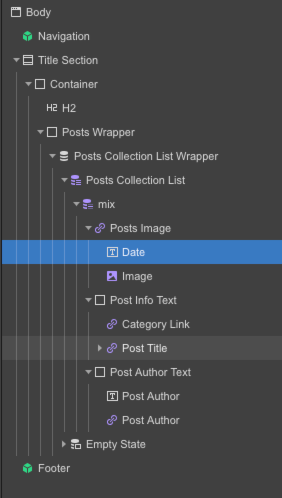
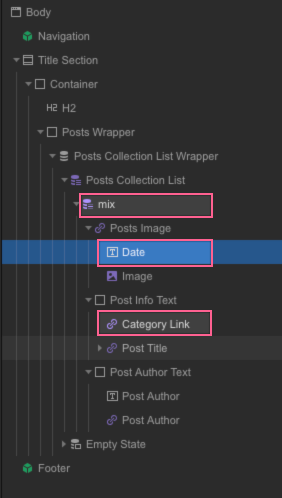
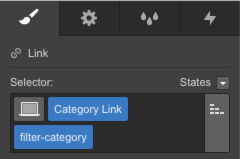
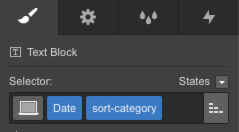
The last thing we’ll do in this step is specify class names for elements that have filtering and sorting categories. In our template, some elements already had classes, so we added the combo classes filter-category and sort-category.
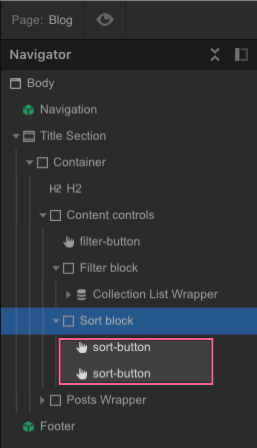
Step 3: Creating filter and sort controls
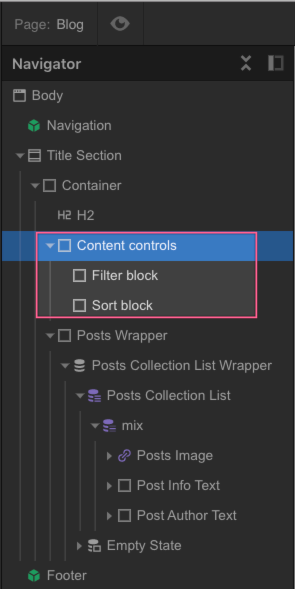
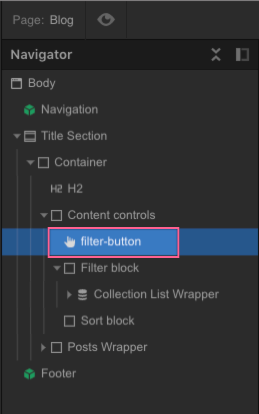
Anywhere on your page where you’d like to add filtering and sorting controls, we’ll add a Content controls div that contains two child divs in it: Filter block and Sort block. Separating these controls makes further styling a lot easier.

Now we’ll take full advantage of Webflow CMS and create our filter buttons from the categories collection.
For that, we’ll add a collection list inside the filters block and connect it to the categories collection.
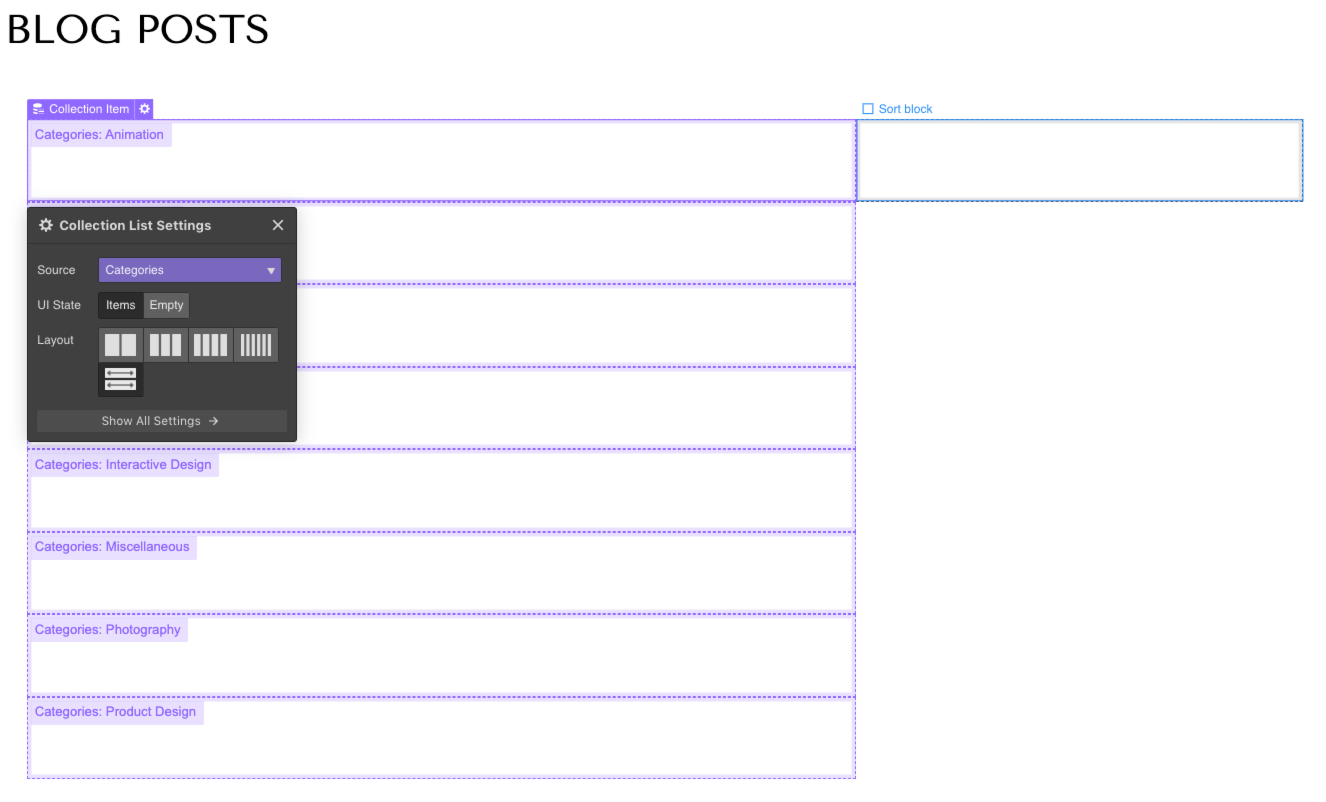
Once it's been connected, add an embed code element inside any collection item in the list.

Inside the embed element, add the HTML for the filter button:
<a class="filter-button w-button" data-filter=".category-class" href="#">Category Name</a>
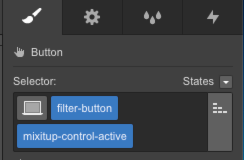
As you noticed, we’ll be using the class name filter-button for further styling. We’ll also use the class name w-button — this is Webflow’s default style, which allows us to immediately see our elements in the Designer.
Now, using the great power of Webflow CMS, we can dynamically apply category names and data filter attributes:
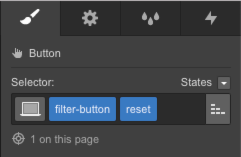
Now we need to add a button that lets site visitors reset their filters to show all content. Let's add this button inside the Content controls block and give it a class-name of filter-button.
Set the value for this data-filter attribute to “all.”
Now — because we used the same class name — as we style our filter buttons, it will affect all embedded elements.
I also added another combo class called reset to the reset button and styled it a bit differently.

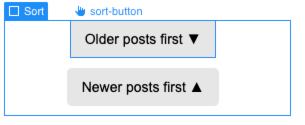
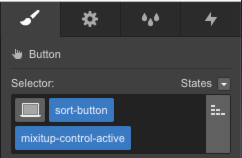
The last thing we want to do in this step is add our sorting buttons inside the Sort block.
We need two buttons:
- One that sorts blog posts from oldest to newest (ascending)
- One that sorts blog posts from newest to oldest (descending)
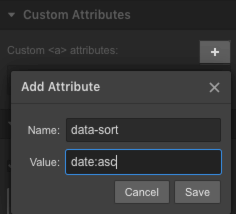
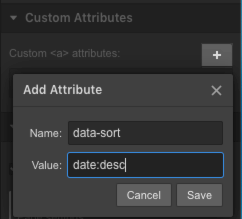
Both of these buttons need data-sort attributes. I used date:asc and date:desc.
Pro tip: MixitUp adds an additional class-name called mixitup-control-active to any control button that’s been clicked. We can use it to style an active state for our controls by adding this combo class to our existing buttons, style it as we want, and then simply remove the combo class.
Step 4: Adding the custom JavaScript code
Again, similar to our example above with the static content, we’ll add code to the page-level custom-code area, before the closing body-tag (</body>).
For dynamic content filtering, the code is a bit more complicated and requires 6 steps:
- Connect the MixitUp library through the CDN link
- Convert any text into a CSS-friendly format (removes all special characters or spaces)
- Create dynamic filtering attributes from the filtering-categories classes
- Create sorting attributes from the sorting-categories
- Define the container with the filtered content
- Create the call for the mixer function
So let’s go ahead and add our custom code step by step.
1. Connect the MixItUp JavaScript library through the CDN link
<script src="https://cdnjs.cloudflare.com/ajax/libs/mixitup/3.3.0/mixitup.min.js"></script>
The next part of the code will contain several blocks (2-6), but all of them will be inside one <script> tag
2. Convert any text into the CSS-friendly format
var conv = function (str) {
if (!str) {
str = 'empty';
} return str.replace(/[!\"#$%&'\(\)\*\+,\.\/:;<=>\?\@\[\\\]\^`\{\|\}~]/g, '')
.replace(/ /g, "-")
.toLowerCase()
.trim();
};
3. Create dynamic filtering attributes from the “filtering-categories” classes
Because our filter-category element is sitting two levels deep inside the mix element, we’ll be using two parentElement parameters. If your layout is different, adjust this parameter accordingly.
var catArray = document.querySelectorAll('.w-dyn-item .filter-category');
catArray.forEach( function(elem) {
var text = elem.innerText || elem.innerContent;
var className = conv(text);
elem.parentElement.parentElement.classList.add(className);
});
4. Create custom data-date attributes from blog dates
Similar to the situation with the filter-categories, we have to be aware of how deep the sorting information is inside the mix item. In our case, it’s the same two levels, so we’ll use two parentElement parameters.
var sortArray = document.querySelectorAll('.w-dyn-item .sort-category');
sortArray.forEach( function(sortElem) {
var sortText = sortElem.innerText || sortElem.innerContent;
sortElem.parentElement.parentElement.setAttribute('data-date', sortText);
});
5. Define the container with the filtered content
Use the class name or ID of your collection list.
var containerEl = document.querySelector('.posts-collection-list');
6. Create the call for the mixer function
mixitup(containerEl);
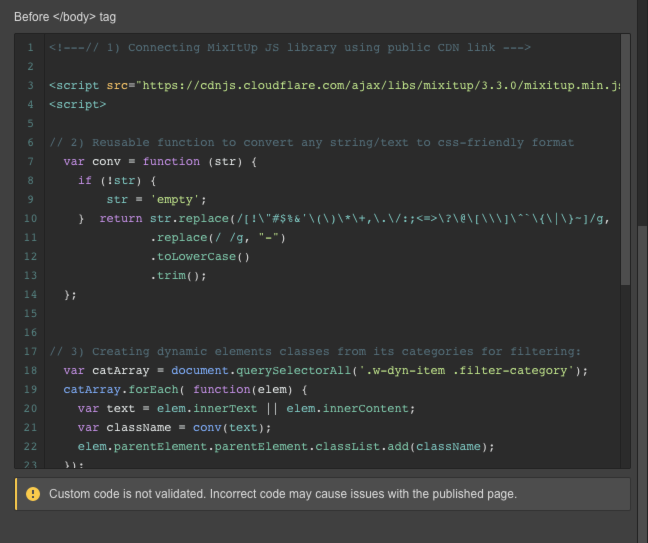
We have all the parts — go us! Now let’s put them inside the custom-code area on the page settings:
<!--- // 1) Connecting MixItUp JS library using public CDN link --->
<script src="https://cdnjs.cloudflare.com/ajax/libs/mixitup/3.3.0/mixitup.min.js">
</script>
<script>
// 2) Reusable function to convert any string/text to css-friendly format
var conv = function (str) {
if (!str) {
str = 'empty';
} return str.replace(/[!\"#$%&'\(\)\*\+,\.\/:;<=>\?\@\[\\\]\^`\{\|\}~]/g, '')
.replace(/ /g, "-")
.toLowerCase()
.trim();
};
// 3) Creating dynamic elements classes from its categories for filtering:
var catArray = document.querySelectorAll('.w-dyn-item .filter-category');
catArray.forEach( function(elem) {
var text = elem.innerText || elem.innerContent;
var className = conv(text);
elem.parentElement.parentElement.classList.add(className);
});
// 4) Creating custom data-date attributes from blog dates:
var sortArray = document.querySelectorAll('.w-dyn-item .sort-category');
sortArray.forEach( function(sortElem) {
var sortText = sortElem.innerText || sortElem.innerContent;
sortElem.parentElement.parentElement.setAttribute('data-date', sortText);
});
// 5) Set the reference to the container. Use the class-name of your Collection List or ID of the Collection List
var containerEl = document.querySelector('.posts-collection-list');
// 6) Call the MixitUp plugin
mixitup(containerEl);
</script>
And voilà — our dynamic blog filters are all set! The last thing we need to do is publish the website and test the result.
The Notable template I adapted to filter and sort dynamic posts on a CMS-powered blog with MixItUp is free to clone and use on the Webflow Showcase.