

Spend a few minutes online researching social sharing buttons and you’ll find a number of articles telling you they’re a waste of time.
The common complaints against social buttons are:
- Low engagement: According to Moovweb customer data, 99.8% of mobile users don’t use social buttons and only 0.6% of desktop users bother to click to share.
- Reduced performance: Most sites use plugins to create their social buttons. This means that sites need to load JavaScript and who knows what to get the plugin to work, leaving visitors waiting.
- Distracting: Social buttons distract users from primary calls to action. Taloon.com performed A/B testing on their product pages and found that removing social share buttons increased conversion 11.9%.
Oh, wow — I just made a great case for scrapping social buttons altogether!
But not so fast: There’s a major flaw in these criticisms. Because it’s not really about the social buttons at all.
It’s not about social buttons — it’s about content and design
An 0.6% engagement rate sounds terrible. But that can still translate into a lot of shares if you generate the traffic. And once it’s shared, who knows how far your content will spread. More importantly, this aggregate data doesn’t show us that social buttons are bad for business.
In fact, it reveals that there's a lot of content out there that’s just not worth sharing. In other words, a lot of bad design choices are being made.
If you're distracting people from your main call to action, that’s a bad design choice — not a problem with social buttons.
If no one’s using your social buttons, but you have them on every page, that’s a bad design choice. No one wants to share your terms of service page. Focus on sharable content.
If you’re worried about load times, don’t use plugins. Build the experience yourself.
Luckily, Webflow gives you full control over your content and design, so you can build your own social sharing buttons, and ensure they’re in the right places.
So let's jump into it.


Get started for free
Create custom, scalable websites — without writing code. Start building in Webflow.
Social sharing button customization made simple
Social sharing buttons live all over the internet, but many use third-party services and complicated JS scripts that don’t always work. So while you can use something like AddThis, using Webflow CMS with some simple HTML and CSS to create a totally custom experience can improve performance. Plus, it’s way more fun.
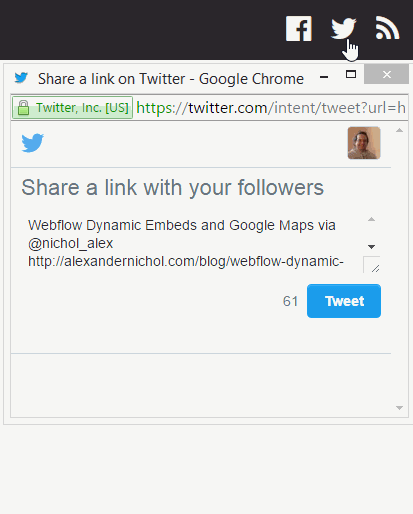
So this is what we’re looking to build: someone hovers their cursor over a Twitter icon, which transitions from white to Twitter blue. When they click the icon, a new window opens, giving them the option to tweet the article’s title and link.
Step 1: Design your icon
We’ll start by designing the icon in Webflow so we can test how the styles will work in our layout and create the CSS we’ll use later.
First, add a link block to the design. I use Font Awesome to quickly bring in icons — and so I can style them using Webflow’s typography controls. I find this easier than using image-based icons that I’d have to edit in Photoshop or Sketch.
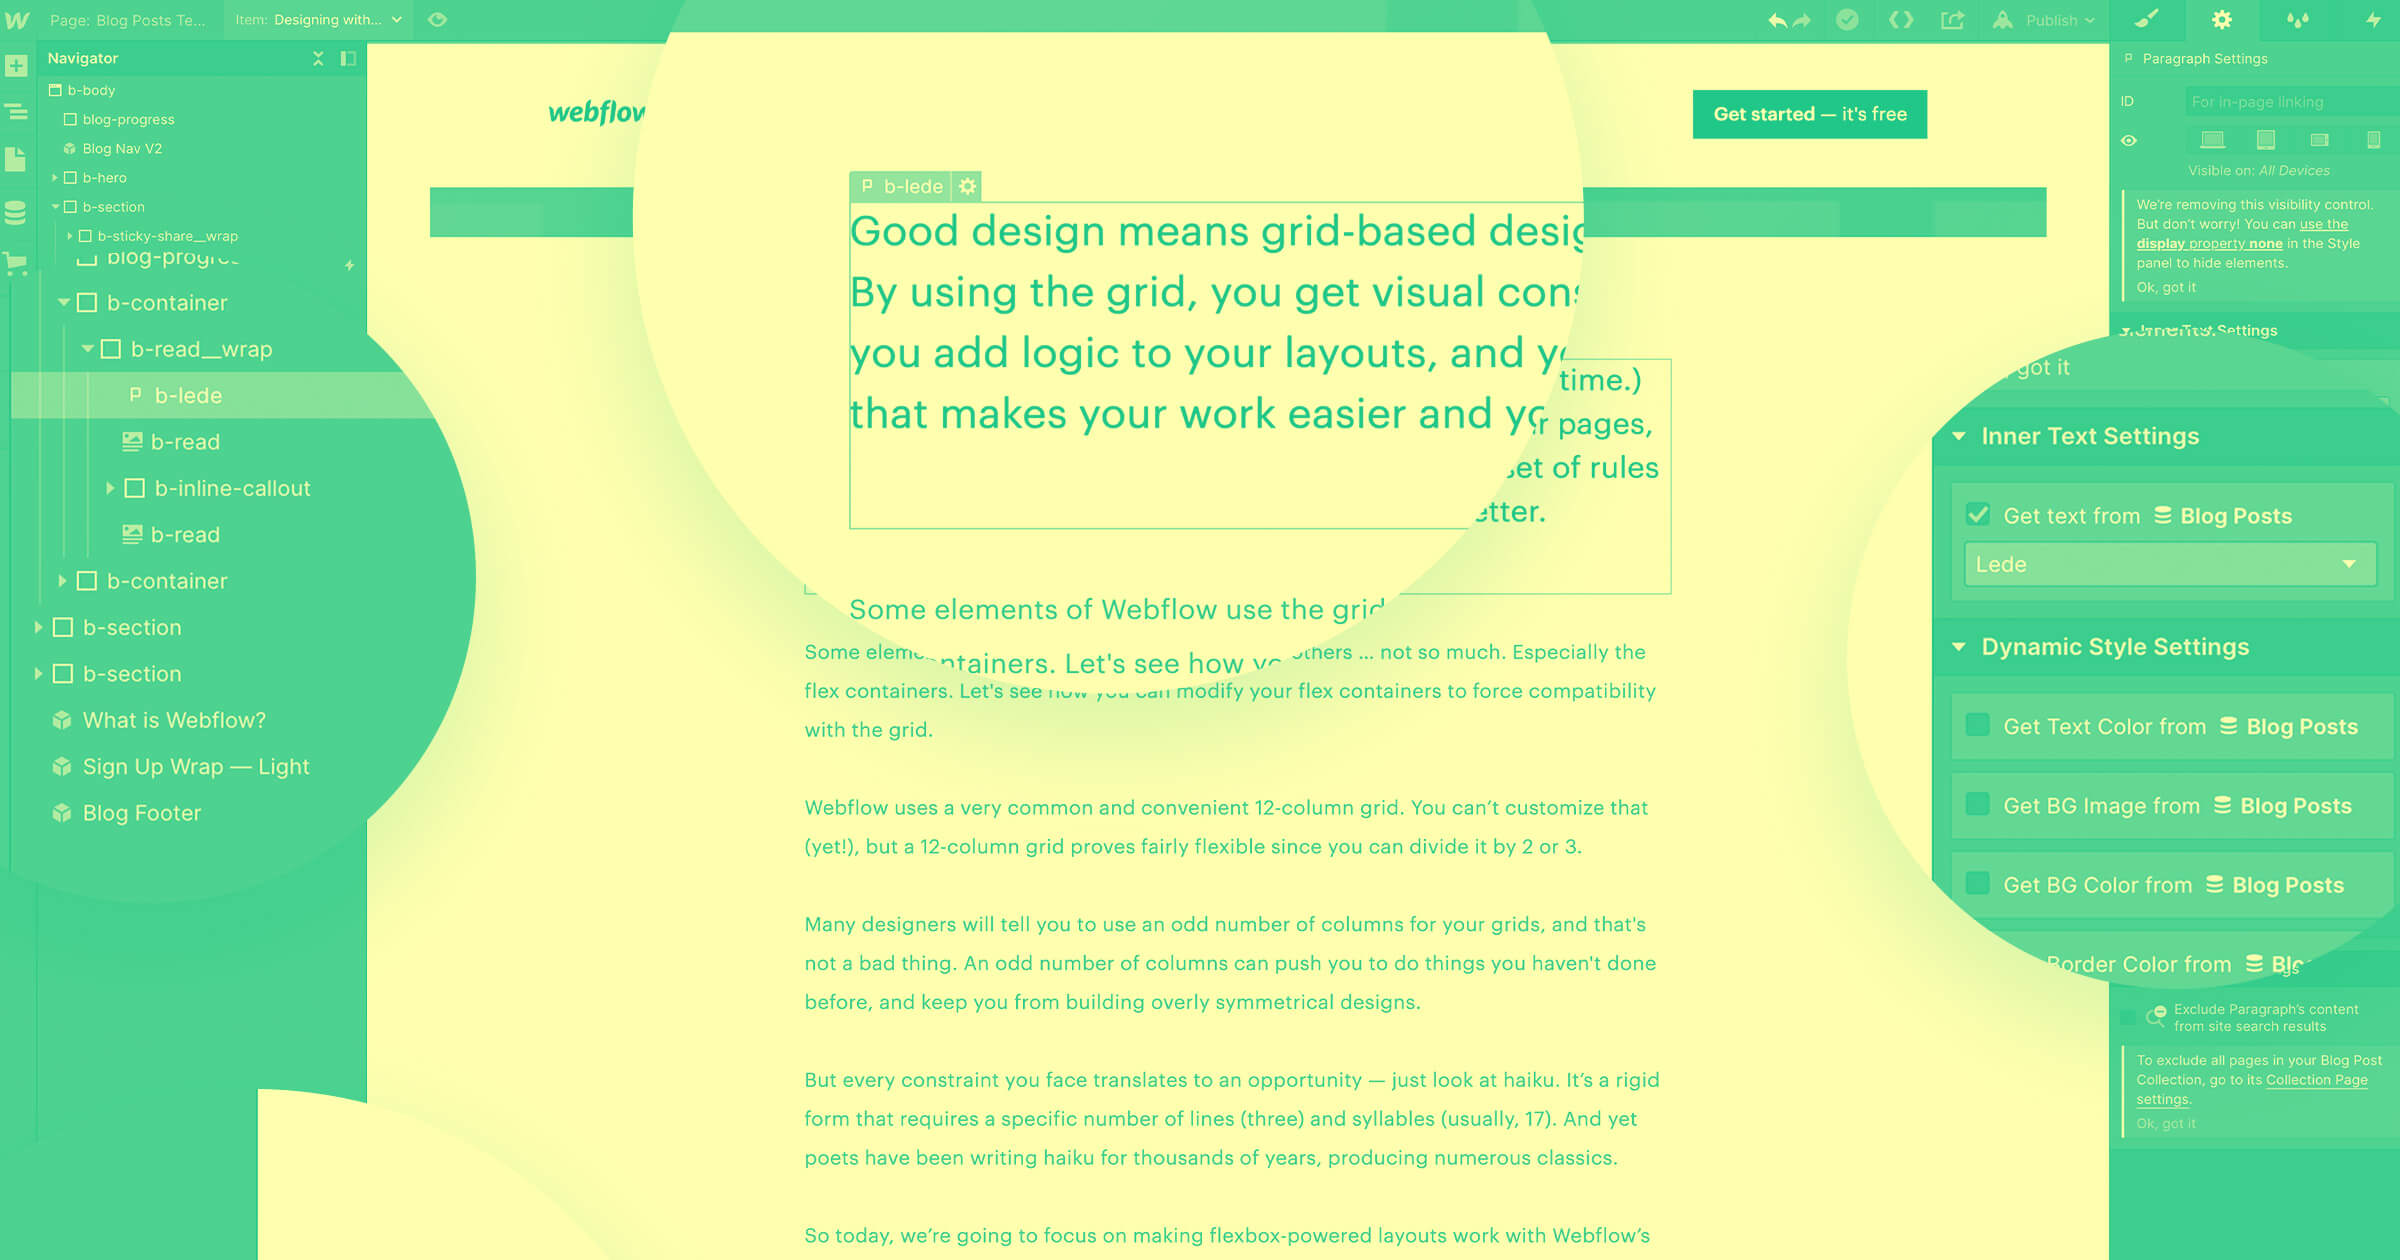
To style the icon, we’ll add a class to the link block and call it “share-button.” We’ll then use this class to define the Font Awesome icons’ look and text color in their normal state. I chose an off white (#ede9e1), but you can use whatever fits your design.

Next, on this same class, we’ll add a transition to control how the icon will look on hover. By applying it to this class, we can ensure all of the social buttons will share this behavior. In the Style panel, scroll down to the Transitions and Transforms section and add a transition that affects the color.
From here, we’ll create a combo-class for each social button so we can customize the color that appears on hover.
This first button thus gets a combo class called “twitter.” Select the hover state from the states dropdown menu. In the Typography section, change the font color to Twitter blue: #1da1f2. You can repeat this step for other social platforms by creating a new combo class for each network.

Alright, the CSS is set.
Step 2: Add and edit Twitter’s custom share code
Now for a little custom coding. First, add an Embed component to your site where you want the button to appear. Then copy and paste the the following code into the Embed:
<a href="http://twitter.com/share?url=<URL>&text=<TEXT>&via=<USERNAME>"
<div>Twitter</div>
</a>
Then replace the text “Twitter” with the Font Awesome shortcode for a Twitter icon:
<a href="http://twitter.com/share?url=<URL>&text=<TEXT>&via=<USERNAME>"
<div></div>
</a>
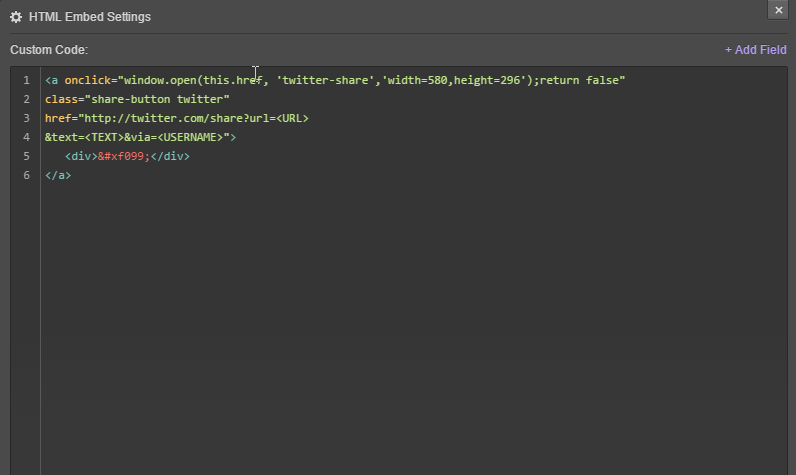
Add the class names you created in step 1 to the link element (so, “share-button twitter”) for the Twitter button.
<a class="share-button twitter"
href="http://twitter.com/share?url=<URL>&text=<TEXT>&via=<USERNAME>"
<div></div>
</a>
Note: combo classes are separated by a space.
If you want, you can also add a little JavaScript so a new window will pop up rather than a new tab, which looks a lot better and is less disruptive:
onclick="window.open(this.href, 'twitter-share','width=580,height=296');return false;”
(Thanks to Jason Gipson for finding that.)
The updated code looks like this:
<a onclick="window.open(this.href, 'twitter-share','width=580,height=296');return false;”
class="share-button twitter"
href="http://twitter.com/share?url=<URL>&text=<TEXT>&via=<USERNAME>"<div></div></a>
To grab the equivalent code for other social networks, check out Gregory Schier's "Pure HTML Share Buttons."
Step 3: Connect the Embed to your Collection
The final step is to connect the CMS data to the share link by replacing the <URL>, <TEXT>, and <USERNAME> elements of the generic code with your data.
For <URL>, type in the root URL for all of your blog posts, with a final forward slash. Then insert the CMS’ “Slug” field after that last slash.
Usually, these buttons include the article’s title in the tweet. So we’ll replace <TEXT>, with the “Name” field. (Or whatever field you use for titles, if not the Name field.)
Last but not least, replace <USERNAME> with your Twitter handle.
Pro tip
If you’ve got a multi-author blog, create a Collection called Authors and include their Twitter handles in a field so you can pull that field into the code!
And you’re done!
Advanced move: Create click-to-tweet content
You can get even more creative by giving your visitors some pre-written content to share, and designing an attractive module to entice them to share it really adds to the experience.
To do this, add a text field to your blog Collection and call it Tweet. Then design an element on the page that displays the tweet as text and repeat the steps above to create the button.
But this time, instead of using the Name field to replace <TEXT>, use the Tweet field. This is exactly how the Webflow blog’s click-to-tweet works.

And here’s how it works.

For a detailed walkthrough of this, check out “How to dynamically embed Twitter share buttons in Webflow.”
Have any question or examples of creative social buttons? Share them in the comments below!