
Your website’s visuals play an important role in building trust in your brand and your product. So don’t let bad product photos ruin all your hard work.
Photos that feature low resolution, bad lighting, distracting reflections, and a lack of detail aren’t going to convince people to buy what you’re selling.
Now, you could pay someone take shoot your products, but that can get really expensive — and take far longer than your looming deadline allows. Fortunately, you can take brilliant photos of your products on your own.
Let’s find out how.
Let your photos tell your product’s story
The whole point of taking pictures is so that you don’t have to explain things with words.
– Elliott Erwitt
We know you love your products, but that doesn’t mean you should write an essay in describing them. Your product descriptions can add a little fun, but there’s no need to go overboard.
Usually, you just need the products specs people want to help them make a buying decision. Let your photos communicate the rest.
Your images need to highlight what’s important about your product — from the buyer’s perspective, not yours. Multiple photos taken from different angles build a complete picture for buyers, while close-ups can help them appreciate design details or less-noticeable features.
That said, some items are pretty straightforward to shoot. You probably don’t need multiple images of your latest candy bar, but they’re a must-have for a bicycle or a guitar.
Getting started — without going broke
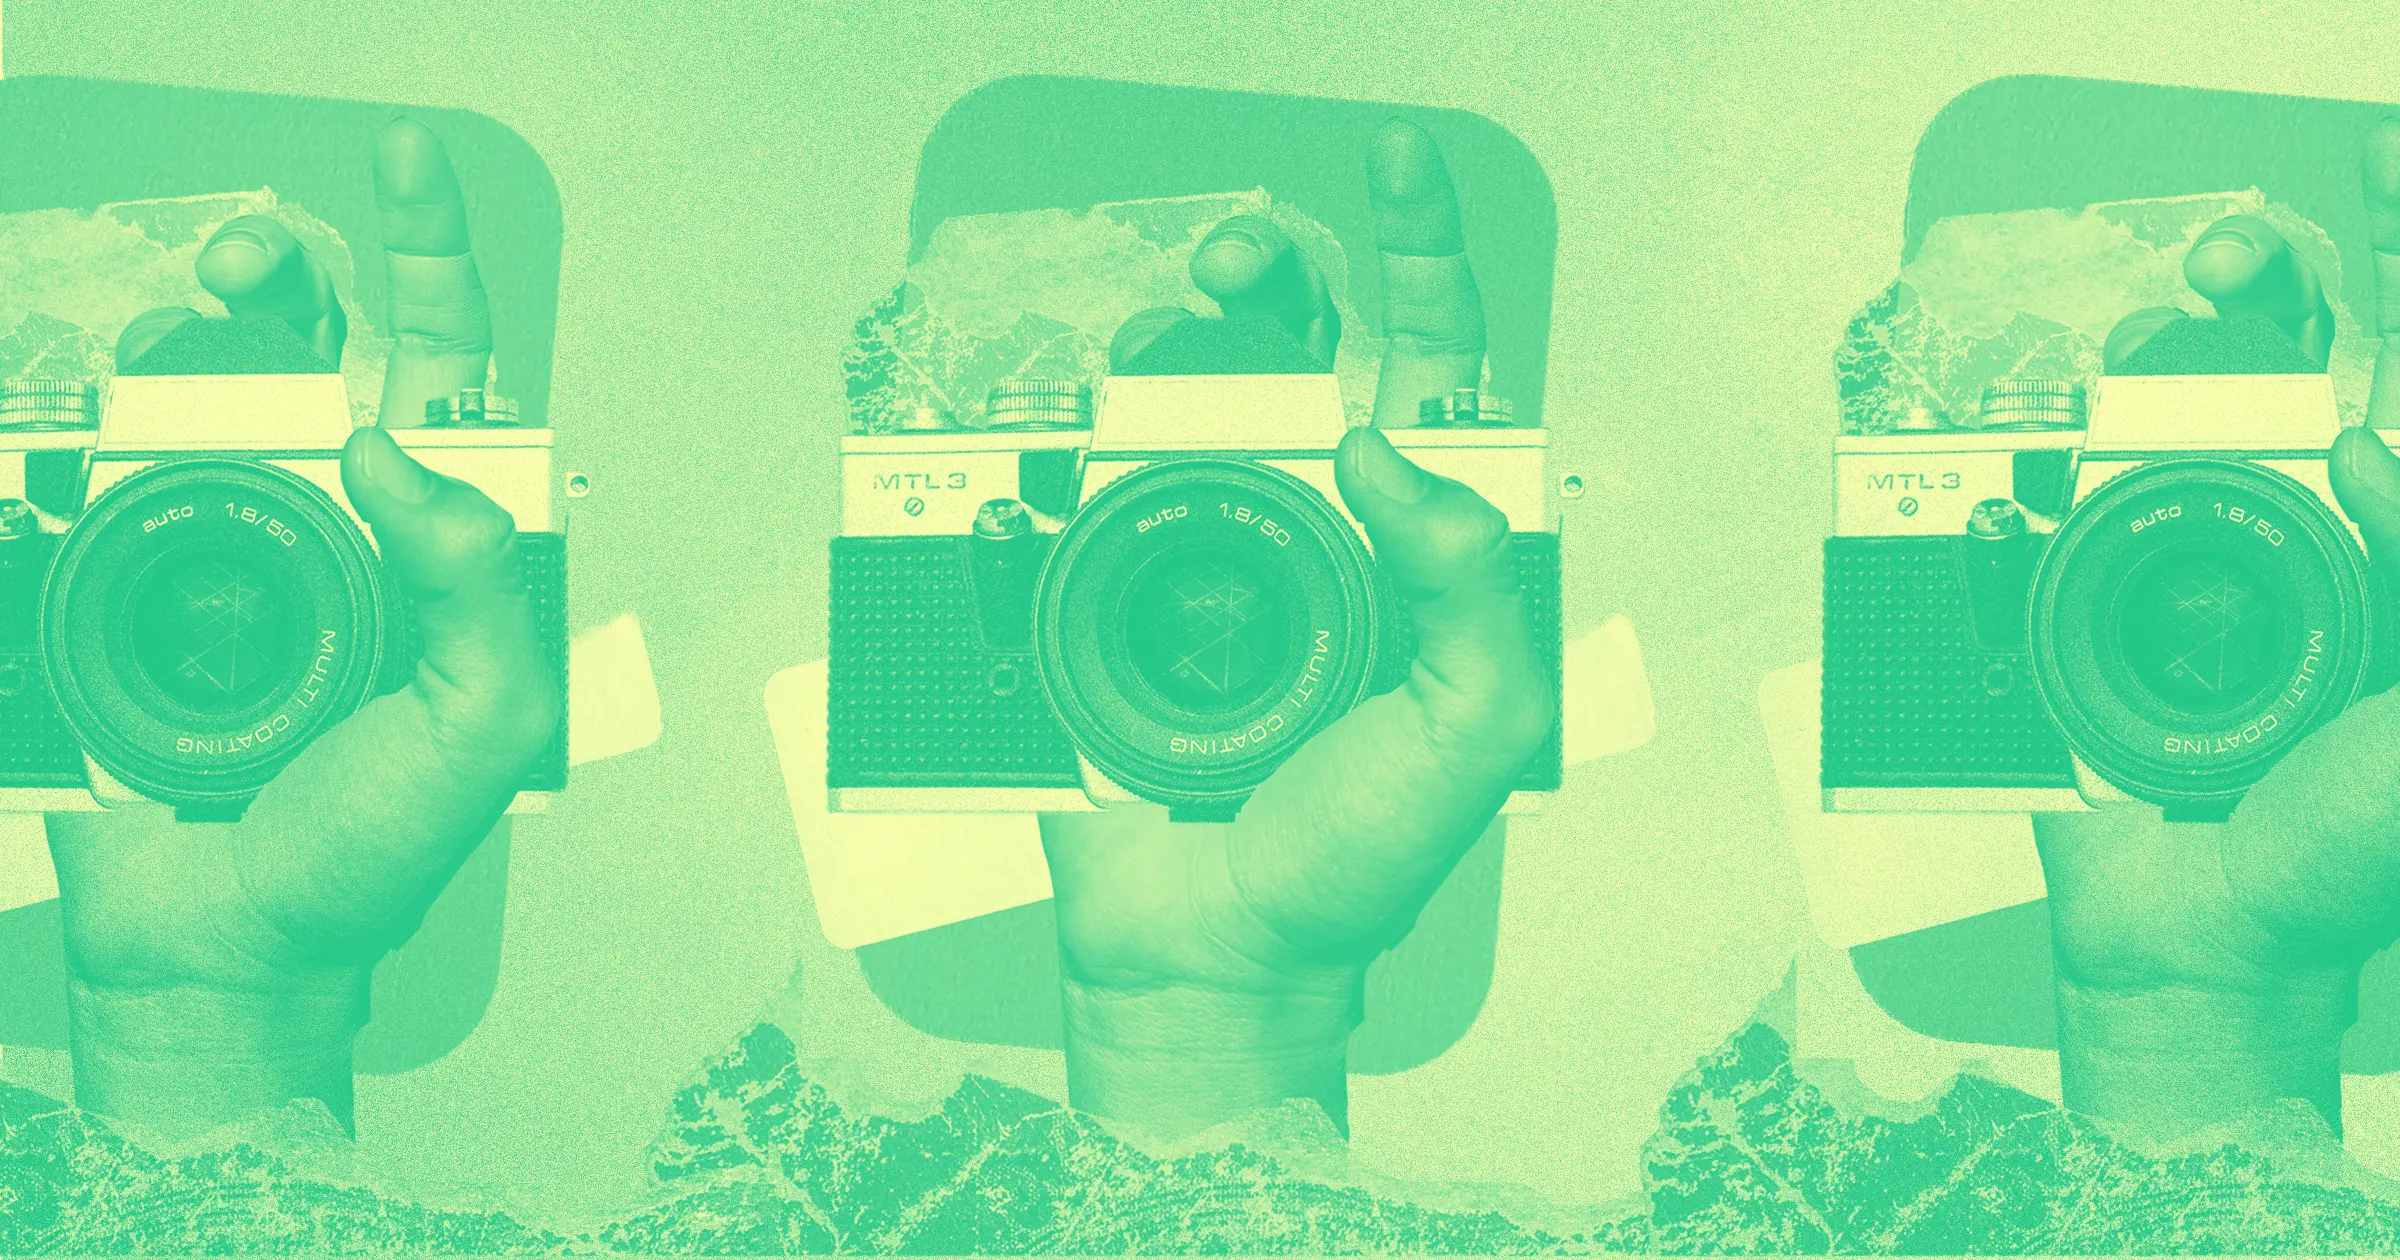
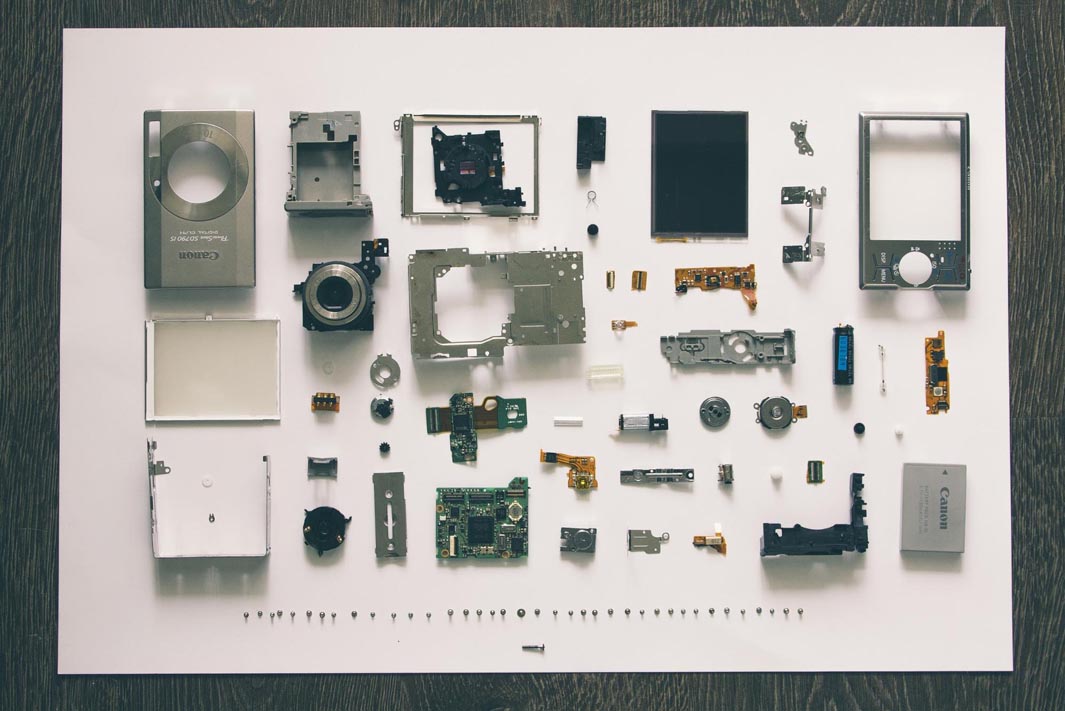
You don't need a bunch of expensive equipment to take great photos.
Sure, a fancy Canon 5D rocks, but it’s financially out of reach for most of us. So trying working with what you have. At the very least, most modern phones have built-in cameras capable of producing quality, high-resolution images.
The camera you use matters — but it’s only a small piece of a much bigger process.
Going a step beyond your smartphone, you’ll find quite a few inexpensive digital point-and-shoot cameras that take great photos without expending much brainpower. Just be sure to do your homework first. Learn their limitations so you don't end up with something that won't work for your project. For example, many lower-end cameras may lack a decent macro mode or pack a lens that’s no good with details.
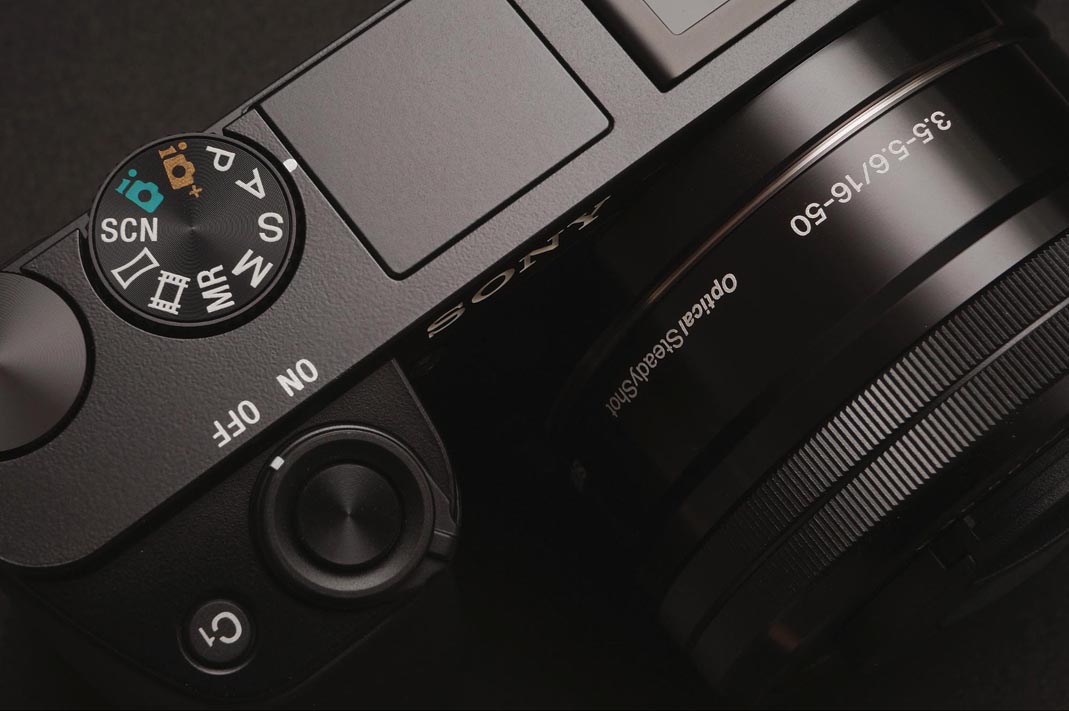
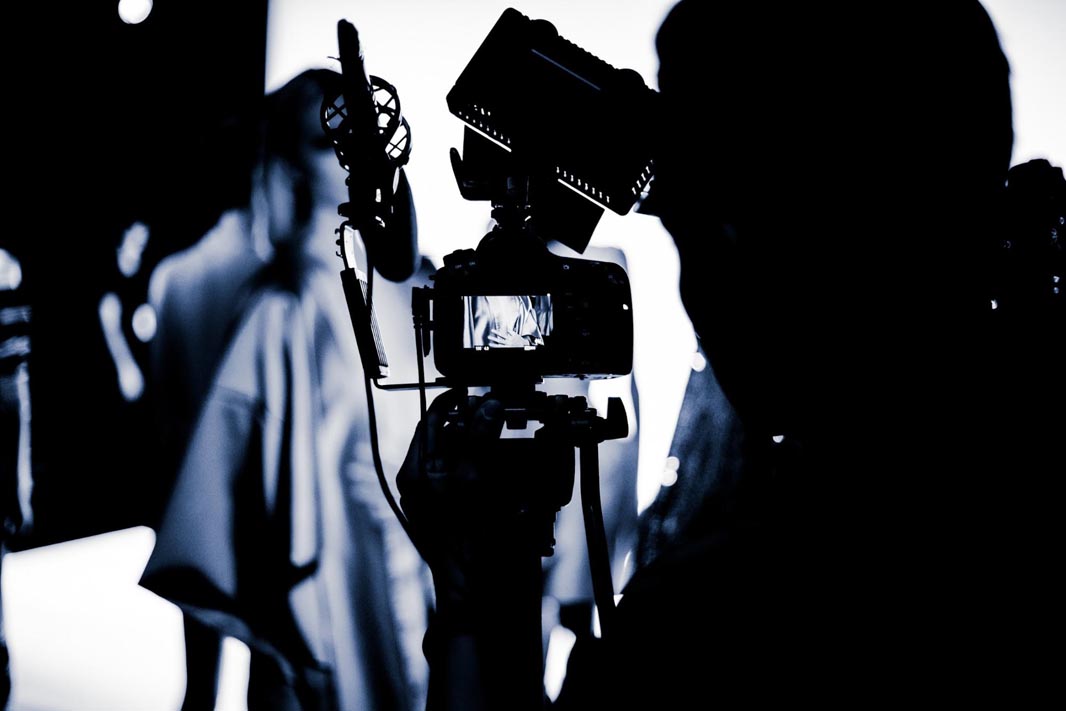
For more experienced photogs, and those who need really detailed photos, the next step up is a digital single-lens reflex camera (DSLR). These allow for more manual control, including the ability to adjust white balance, f-stop, and focus, plus use different lenses.
Whatever camera you choose, you’re going to need a way to stabilize it. Since you’ll be using the highest f-stop to capture the most details, the shutter speed will be slower. A tripod is essential is making sure that your photos are sharp, whether you’ve got rock-steady hands or drink quad-shots of espresso all day.
You’re also going to need a smooth, pure-white backdrop (a “sweep”) or a lightbox. You can buy rolls of this paper at a photography store, or just grab some white paper at your nearest art supply store. Just make sure your paper’s as close to pure white as possible. You’re also going to need white foam boards to bounce light onto your subject, so that you can illuminate it evenly.
If you opt for a lightbox, you can buy one inexpensively, or just DIY it by following the tutorial below. Most lightbox kits come with a light source. Photography stores also carry basic light setups that aren’t too expensive.
If you’re using external lights, make sure your bulbs were made for photography. Regular light bulbs can cast a tint that will distort the color of your photos. Oh — and be careful with these photography bulbs, as they can get very hot.


Get started for free
Create custom, scalable websites — without writing code. Start building in Webflow.
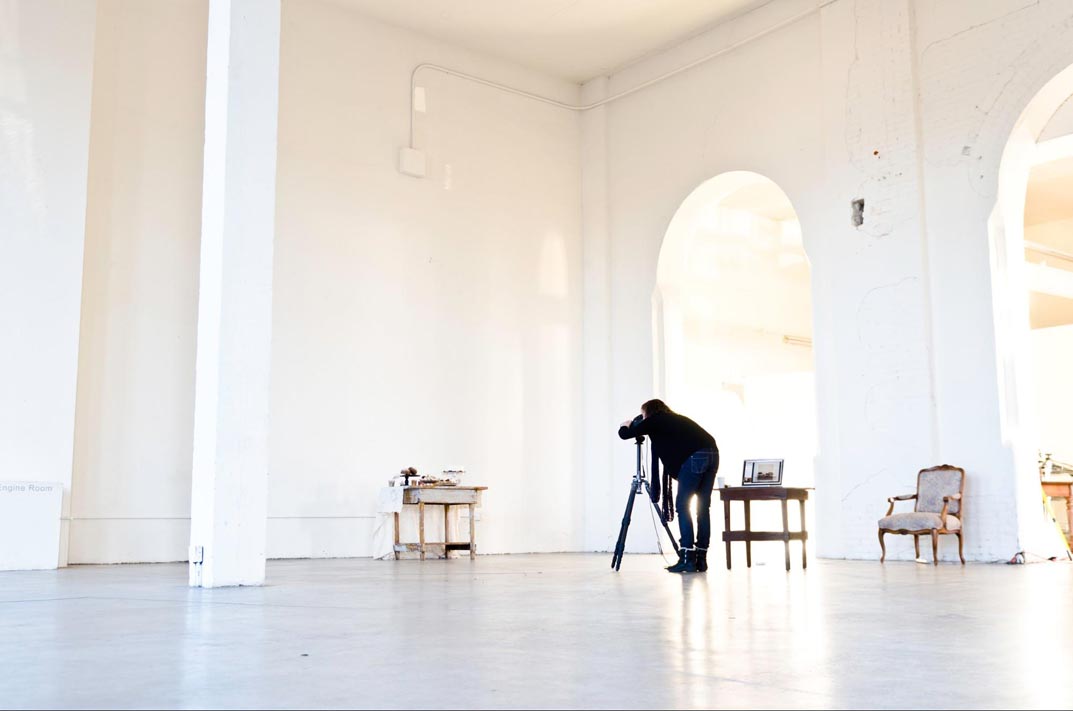
Setting up your space
If you’re shooting smaller products, a simple table set close to the wall in an uncluttered room makes an ideal shooting space. If your product is larger, just ditch the table.
Be sure to check your immediate surroundings. Are there fluorescent lights overhead? Make sure those are turned off while you take photos. Avoid brightly colored rooms. If you can’t, cover the bright areas with white cloth or paper. Remember too that shiny products will reflect whatever’s around (and that includes you!).
Tape your sweep to the the backing wall and guide it onto the surface of the table. There should be a gentle curve like a skateboard ramp from where the sweep descends down from the wall onto the table. Tape down the sweep. Position your light and move your foam boards around so nothing gets lost in the shadows.
Windows can work for or against you. You can set up your photography area to take advantage of natural light, but keep in mind that harsh direct sunlight can overexpose your photos. The best orientation would be directly to the right or left of your photography area, with reflectors on the opposite side to fill in the shadows. A window at your back will cause shadows.
Edit to perfection

In photography there are no shadows that cannot be illuminated.
–August Sander
Okay, this quote isn’t meant to be literal, as Mr. Sander was taking photos before the age of digital photography. That said, it’s really easy to illuminate a shadow with a decent photo editing tool.
No amount of photo editing can make a terrible photo look good, but you can make a decent pic better with a little color correction, contrast tweaks, and brightness level adjustments. And a good photo can transform into something amazing with the right editing and cropping
Adobe Photoshop and Lightroom are two really powerful programs for manipulating photos. Because of that power, both have a bit of a learning curve. (Sound familiar, Webflow-ers?) If you have these programs, there are tons of great tutorials out there on how to use them.
If you don’t have either of those, try a free alternative such as GIMP or Pixlr, or a low-priced option like Fotor. They should have everything you need.
A little photo editing can go a long way. Just make sure the end result accurately represents your products.