

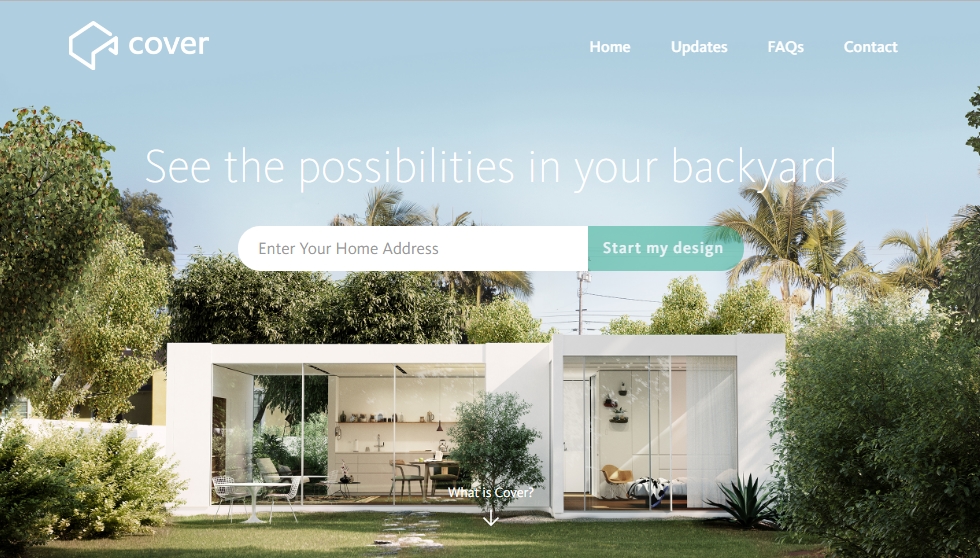
Webflow’s search functionality is a fantastic asset to help users find the content they really want to see. In this tutorial, we’ll take a look at how to add a search button, a search form, and interactions.
But first, let’s quickly discuss some best practices for site search design, such as when and where to use search forms. Because — as with all things web design — just because you can add something, doesn’t mean you should.
When to add a search form
When deciding whether or not to use search on your site — or any feature, really — it’s helpful to put yourself in your visitors’ shoes. Ask yourself: why are they coming to your website and what content are they looking for?
If you have a simple, five-page site, the pages are what you expect: home, services, portfolio, about, and contact. Since the main navigation can easily lead visitors around, they won’t likely need search.
But if you run a blog with dozens — maybe even hundreds — of posts and your user has to scroll through hundreds of items just to find what they’re looking for, then Webflow’s search function is your guy!
Where to add a search form
Search normally has two homes on a webpage: in the main navigation or front-and-center in the homepage/hero section.

The placement really depends on what your visitor’s goal is. Let’s say you run a recipe website where the main goal is to find an ingredient or a specific dish. It makes sense to make search prominent in the hero section. If you run a blog, having a visible search button in the main navigation will suffice since search is an added feature and not the main call to action.
How to add a search form
Just because something is functional doesn’t mean it shouldn’t sing and bring a smile to your user. If you’ve read any of my blog posts, you’ll know I love to use Webflow’s super-amazing interactions — search form elements are no exception.
So for this tutorial, we’ll be creating an interactive search form like this one:

Check out the real thing in action on the demo site, and/or clone it to make it your own.
Step 1: Add a search button
I’m using Webflow’s navigation component then adding a div — which will act as my interactive search button.
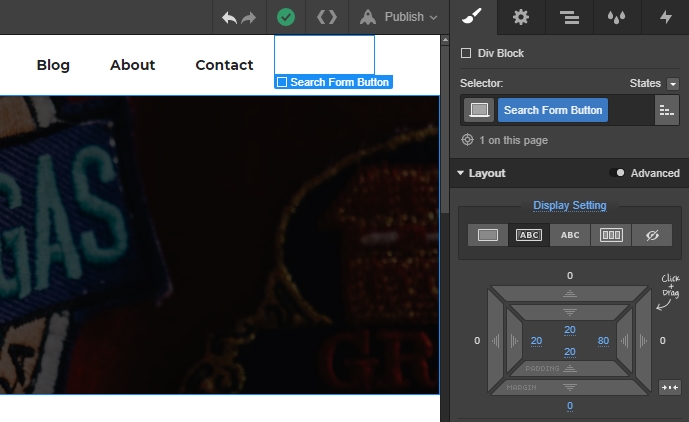
Give the div a class of “Search Form Button” with these settings:
- Display: inline block
- Padding: top, left, bottom: 20px / right: 80px
- Position: relative
I’m using the typeface Montserat, so I’ve made adjustments to the weight and alignment of text. You might not need these.
- Left border: solid, 1px, #c9c9c9
- Cursor: pointer

Next, we’ll add a search icon from Flaticon. Along with the icon, we’ll add two text elements. Change the text in both text elements to Search and Close, respectively.
Give the icon a class of “Search Icon” and a width of 15px.
Next, add a class to the first text element of “Search Button Text” with the following settings:
- Display: inline-block
- Margin left: 5px
- Position: absolute

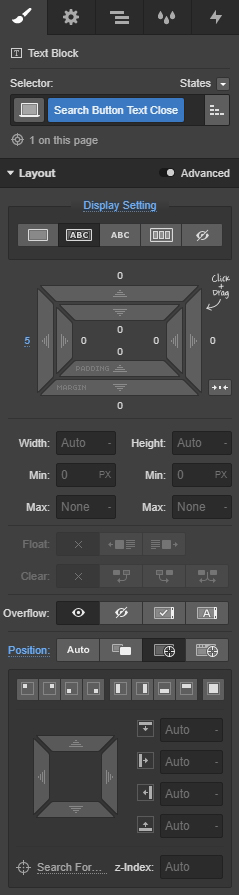
Now add a class to the second text element of “Search Button Text Close” with the following settings:
- Display: inline-block
- Margin left: 5px
- Position: absolute
Step 2: Add a search form
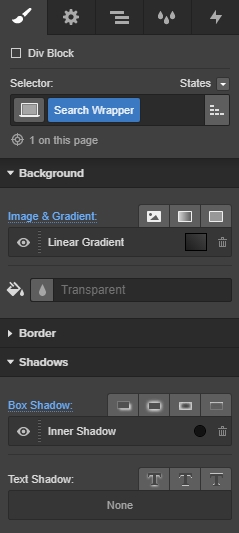
Add a div to the top of your site’s structure and give it a class of “Search Wrapper.”

Apply the following settings:
Background gradient settings:
- Type: linear gradient
- Angle: 45 degrees
- Color: #1d1d1d
- Color: #424242
Box shadow settings:
- Type: inside
- Color: rgba(0, 0, 0, 0.65)
- Angle: 0 degrees
- Distance: 17px
- Blur: 40px
- Size: -25px
Next, place the search component in the search wrapper and give it a class of “Search Form Wrapper” with these settings:
- Display: flex
- Flex layout: justify center, align center
- Margin bottom: 0px
- Overflow: hidden

Select the search input and give it a class of “Search Input” with the following settings:
- Padding left and right: 25px
- Margin bottom: 0px
- Height: 70px
- Font weight: extra light
- Font color: #ffffff
- Font size: 40px
- Line height: 45px
- Background color: transparent
- Border: none

Select the search button and add a class of “Search Button” with these settings:
- Padding left and right: 35px
- Height: 70px
- Font size: 20px
- Background color: transparent
- Border: left, solid, 1px, grey
- Transitions: background color, 200ms, ease
- Transitions: height, 200ms, ease

Next we’re going to add a hover state to the search button. Select “Hover” from the “States” dropdown above the class selector input.

Adjust the following settings:
- Background color: rgba(0, 0, 0, 0.43)
- Height: 95px

We’re done here. Let’s add the interactions.


Design interactions and animations without code
Build complex interactions and animations without even looking at code.
Step 3: Add interactions
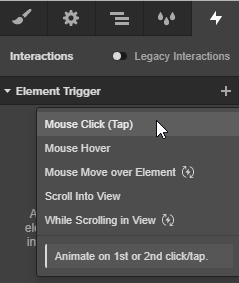
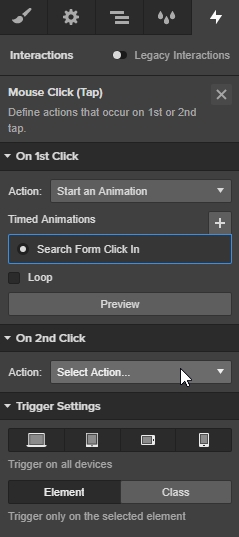
To add interactions, select the search button in the main navigation and open the Interactions panel.

Click the plus icon next to the element trigger text. Select “Mouse Click (Tap)” from the dropdown list.
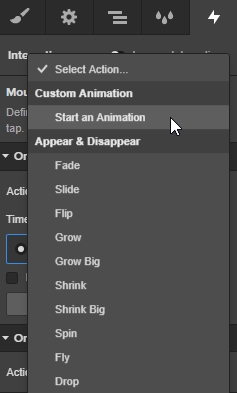
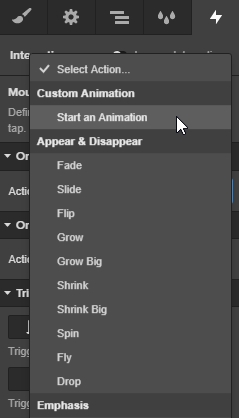
In the “On 1st Click” section, select “Start an Animation” from the fly-out menu next to the “Action” text.
Click the plus icon in the “Timed Animations” section.
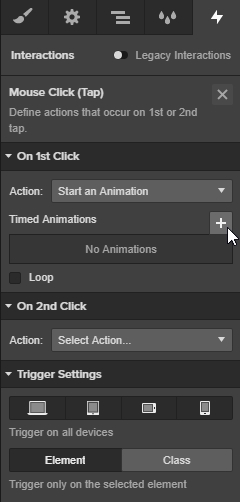
Name your interaction “Search Form Click In.”

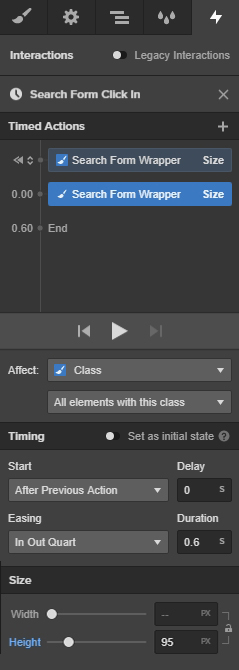
Next, select the Search Form Wrapper from the Navigator panel, go back to the Interactions panel, and click on the plus icon next to the Timed Actions text. From the dropdown, choose “Size.”
Apply the following settings to the interaction:
- Affect: class, all elements with this class
- Timing: set as initial state
- Height: 0px
Right click on the Search Form Wrapper size interaction and from the flyout menu select “Duplicate.”

Use the following settings:
- Affect: class, all elements with this class
- Start after previous action
- Easing: In out quart
- Duration: 0.6s
- Height: 95px
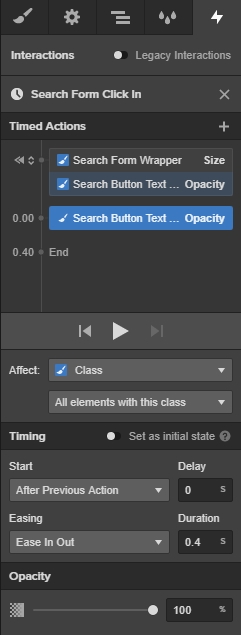
Select the Search Button Text Close element and create a new initial state interaction of opacity by clicking the plus icon.
Apply the following settings:
- Affect: class, all elements with this class
- Timing: Set as initial state
- Opacity: 0%

Duplicate this interaction by right clicking it and selecting the duplicate option from the flyout menu.
Apply these settings to the new interaction:
- Affect: class, all elements with this class
- Easing: ease in out
- Duration: 0.4
- Opacity: 100%
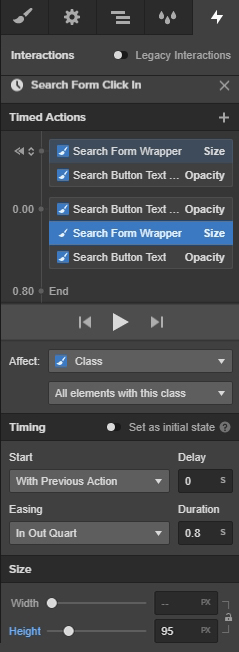
Now select the Search Button Text: click the plus icon and from the dropdown menu select the opacity interaction
Use the following settings:
- Affect: class, all elements with this class
- Easing: ease in out
- Duration: 0.4s
- Opacity: 0%

With the Search Form Wrapper selected, click the plus icon next to the Search Button Text interactions, and select size from the flyout menu.

Apply these settings to the interaction:
- Easing: in out quart
- Duration: 0.8s
- Height: 95px
Now head back to the Interactions panel and click the dropdown menu in the “On 2nd Click” section.
Choose start an animation.
Click the three dots next to the Search Form Click In and choose duplicate from the flyout menu.
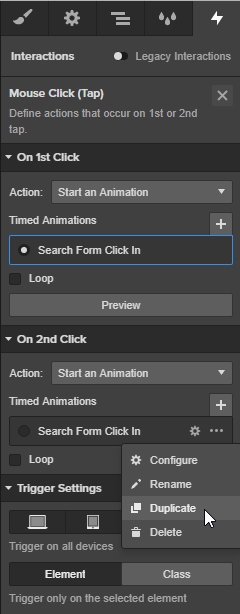
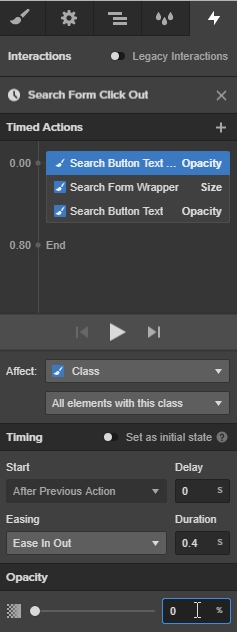
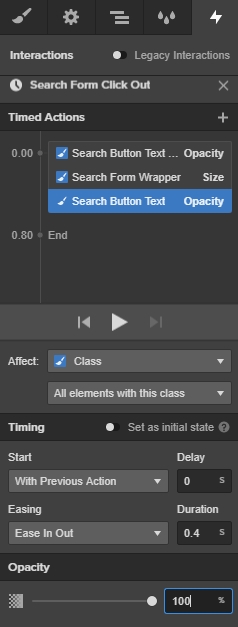
Rename this interaction “Search Form Click Out.”

Highlight the two initial state actions, right click, and select delete from the flyout menu.

Select the Search Button Text Close interaction and change the opacity to 0%.
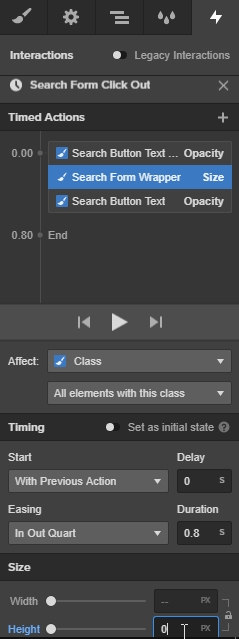
Now select the Search Form Wrapper interaction and change the setting to 0px.
Select the Search Button Text interaction and change the opacity to 100%.
We’re done! Preview or publish your site to check it out. Oh, and if you’re using the Webflow nav component — this will work responsively by default.
Show us your (favorite) search forms
I hope this inspires you to display your search functions in new ways. Tell me about your search interactions in the comments below — we’d love to hear!