


We get tons of requests for thumbnail overlay tutorials.
Probably because it’s a fairly popular design pattern, and a flexible one with all kinds of applications. After all, we’re always trying to find ways to reveal just enough content to get people to act, without overwhelming them.
For this tutorial, I’ll show you how to use Webflow interactions to display text over a thumbnail image on hover, a popular method for blog designs.
As you work, you can reference my image overlay design.
How to show text on hover (using Webflow interactions)
Step 1: Let’s create our thumbnail block
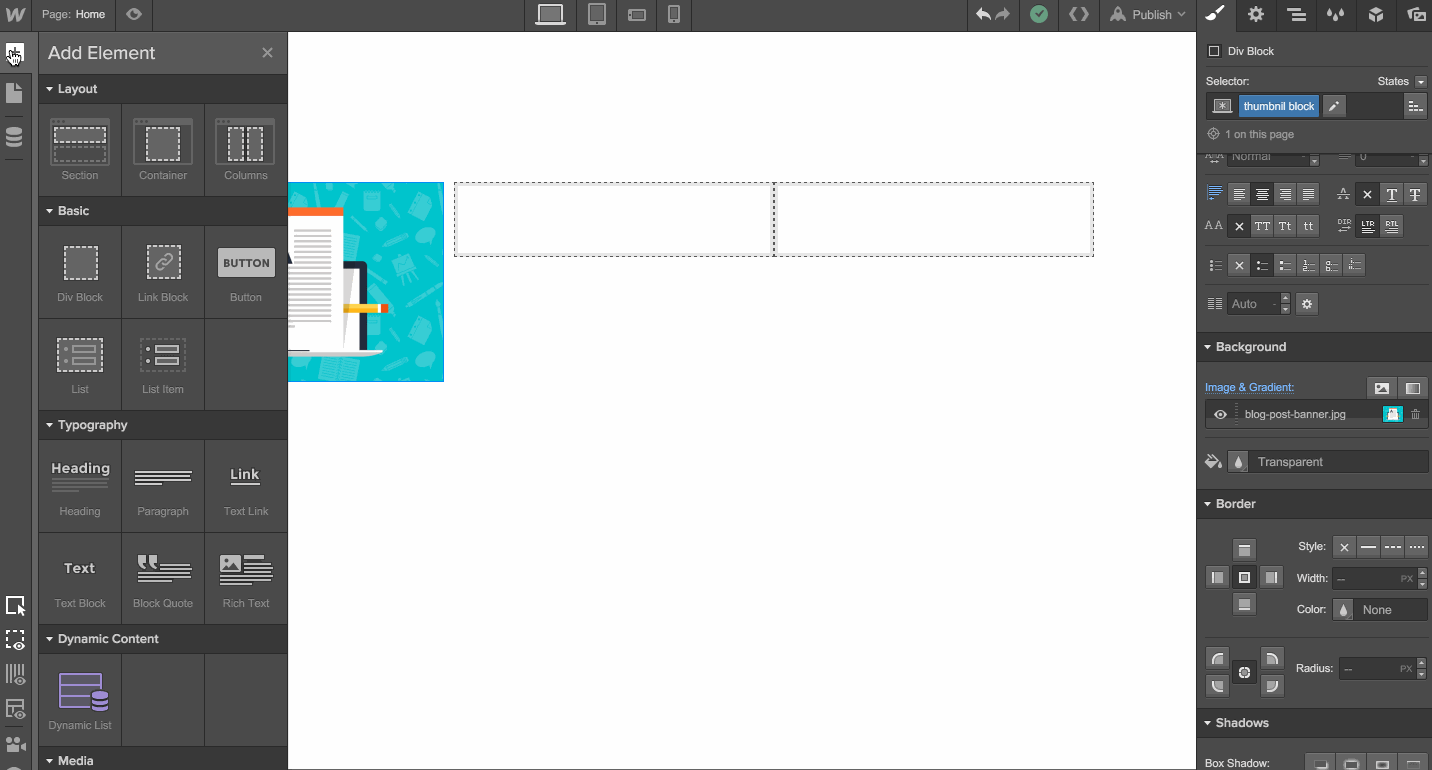
To get started, I’m going to drag a div block into a 3-column layout. I’ll give this div block a class (called “Thumbnail Block”), and add these styles:
Class Name: Thumbnail Block
Width: 100%
Height: 300px
Position: Absolute
Background Image (set to Cover, and Center)
It’s important to set the position to Absolute, and we’ll see why in the next step.
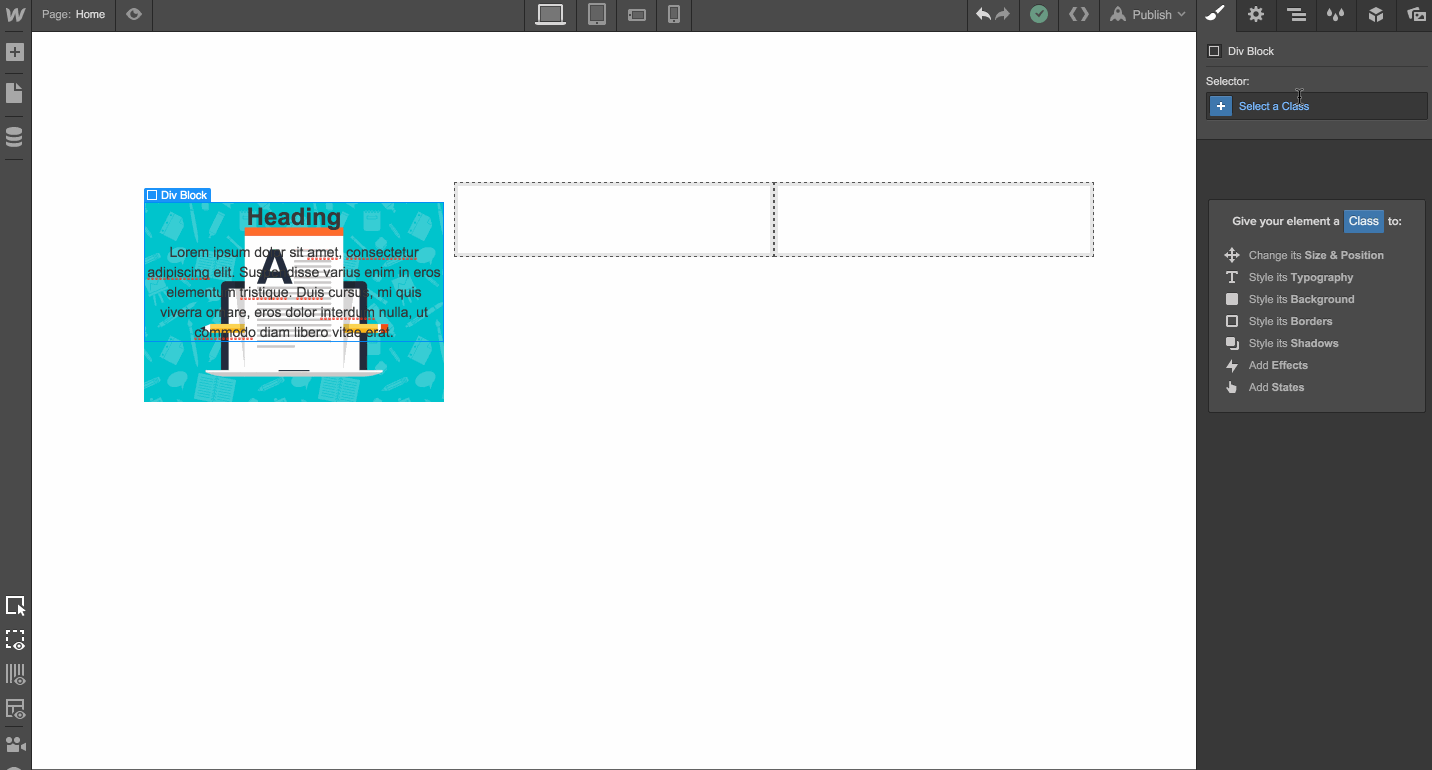
Step 2: Add the text
Now we’ll add the text that will appear on hover. First we’ll drag in a Div Block, then place a Heading 3 and a Paragraph inside the div.
Then we’ll add a class to our Div Block (calling it “Text Wrapper”) so we can execute our CSS animation, and add these styles:
Class Name: Text Wrapper
Padding: 20px on all sides
Position: Absolute - Cover
Background Color: rgba(0,0,0,0.8)
Text Color: White
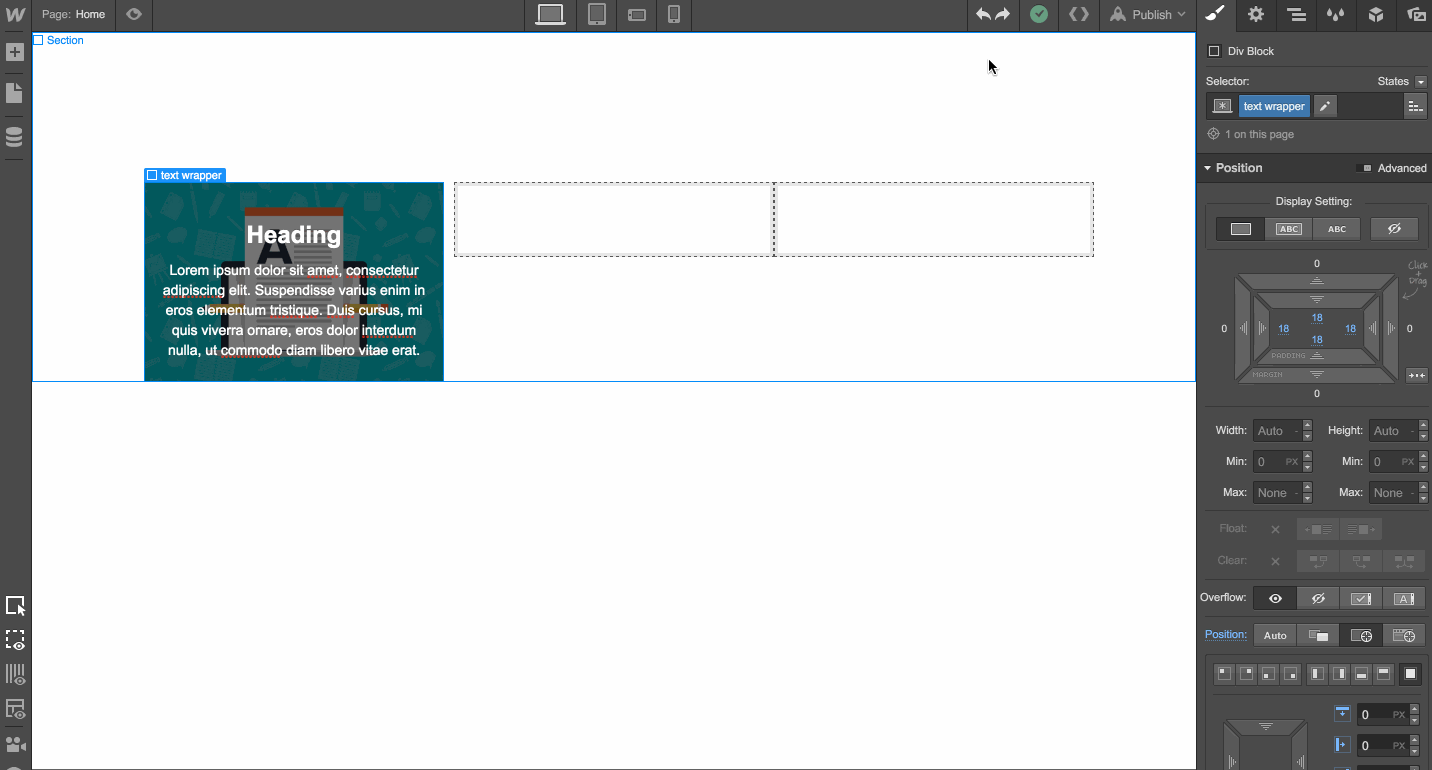
Absolute positioning works on this block because the thumbnail block it’s inside of has a position of Relative. This makes the Text Wrapper absolutely positioned, relative to the Thumbnail Block.
Step 3: Add an interaction to our Text Wrapper
You can handle this next step in one of two ways — you can either use simple CSS right inside the Styles Panel or use Webflow interactions. For this example, I’ll use Webflow interactions.
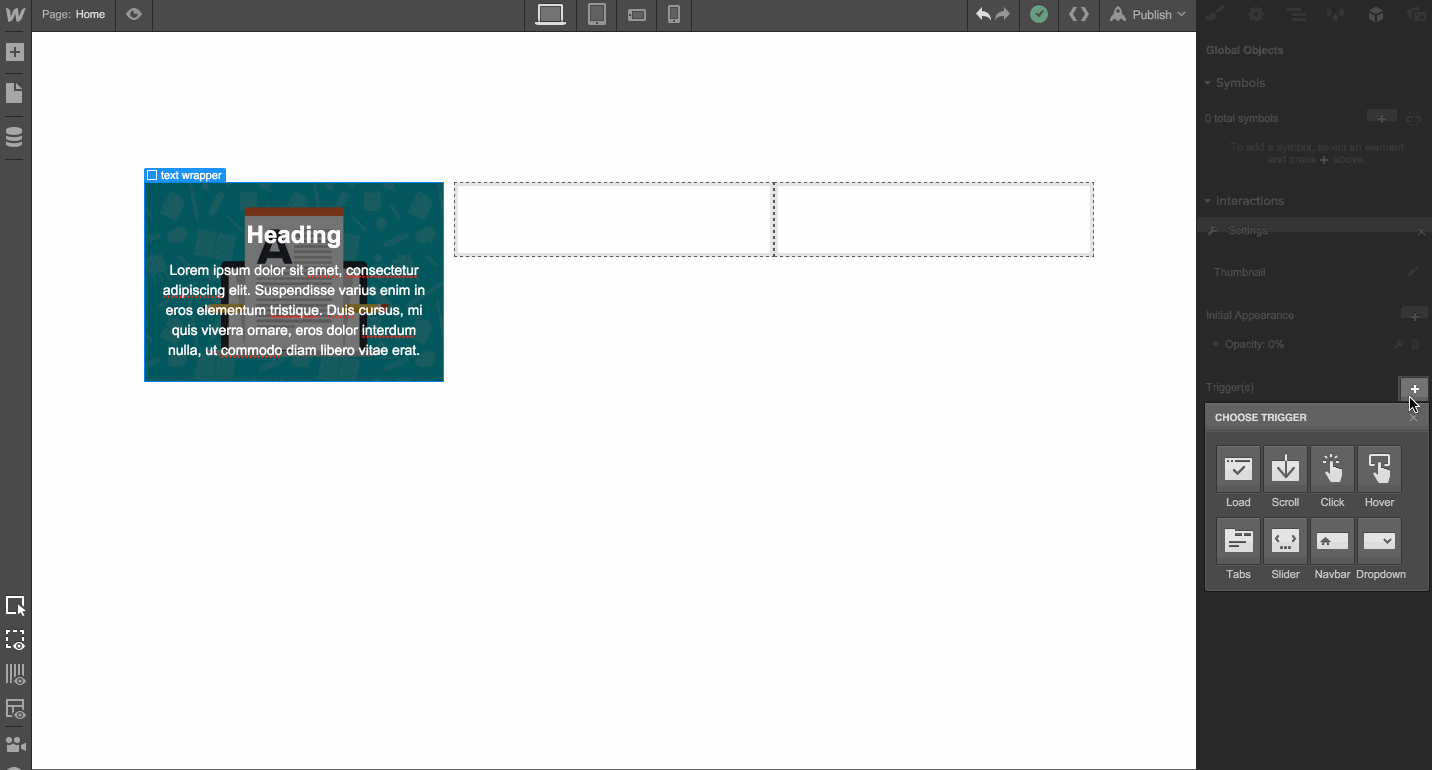
We need to add an interaction to our Text Wrapper. We’ll do that by selecting the element, then navigating to the Interactions panel and creating a new interaction.
We’ll give it a name, and then add the initial appearance (the appearance of the object before any trigger occurs). In this case, we want the text to have an initial appearance of 0% Opacity so it’s invisible.
Step 4: Add a hover trigger
Now that we have the initial appearance, let’s add the trigger to execute the interaction. We’ll click the “+” button in the Triggers section, then select Hover as our trigger option.
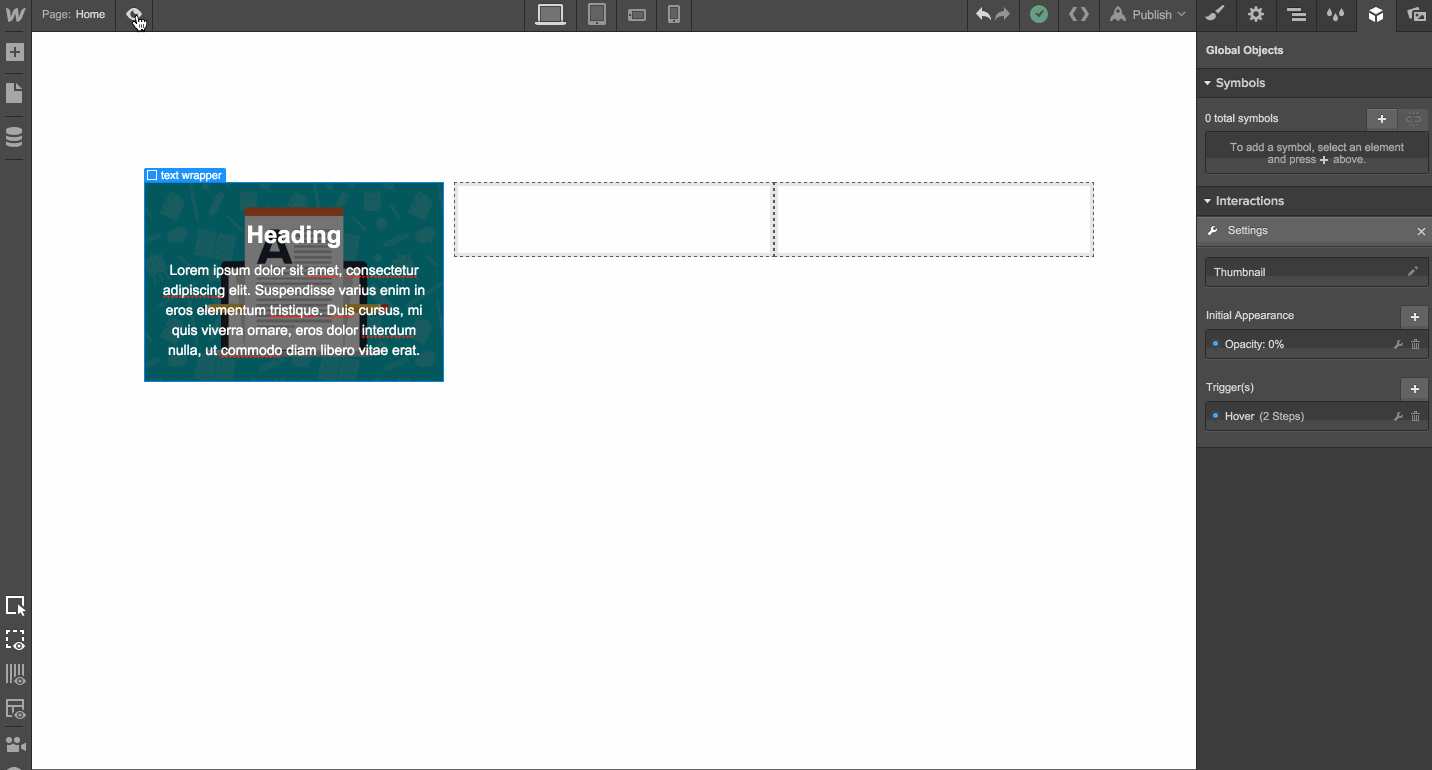
In our Hover Over section, we’ll set the element to go from 0% opacity (its initial appearance) to 100% opacity over 500 milliseconds.
When we Hover Out of the element, we want it to return to its initial appearance of 0% opacity.
Step 5: Preview
And that’s it! Taking a look in preview mode, we see that the text is invisible by default, but becomes visible on hover.
Play with your options!
Of course, this is just one way to achieve a text overlay. You can create a variety of different effects just by tweaking the Initial Appearance and hover options.
For example, in the interaction below, I changed the initial appearance of the Text Wrapper to scale it up to 110% (1.1), and then scale it down to its original size on hover in, then back to 110% (hover out). That really adds some “pop” to the effect.
Share your work
Try it for yourself, then share your work with us on Facebook and Twitter!


Design interactions and animations without code
Build complex interactions and animations without even looking at code.