
Most people don't know that for about 10 years I studied and performed close-up magic. In fact, it was my day job for a while — I even invented a few tricks! Why am I telling you this? Because, believe it or not, being a magician has informed my web design practice in a profound way. Let me tell you how.
When a magician passes a coin impossibly from one hand to the other with a simple wave, the coin doesn't actually have to dematerialize and pass through thin air — it just needs to look like it does.
This concept has informed my design decisions on many occasions. When I came up with the concept for my portfolio — the click of a navigation button that causes a seamless transition from one page to the next — I remember thinking: Where do I even start!? I'm not a JavaScript ninja or hardcore dev.
And then I realized: I should use magic.

I didn't need to write some custom Ajax that would preload the target page. I just needed to trigger an interaction that scales the body and moves two divs set off-canvas. Webflow made this part easy with Interactions — all I needed to do was find a way to add a delay to the link that was clicked.
With a solution in mind, I turned to my good friend Google and searched for a JavaScript snippet that would add a delay to all my links. And in this article, I'll show you how I used it.
Here’s what we’re going to build.
Step 1: Add the link delay snippet
Add the below JavaScript snippet to the closing </body> tag section in the project settings:
<script>
function delay (URL) {
setTimeout( function() { window.location = URL }, 850 );
}
</script>

Step 2: Add page transition components
Add 2 divs
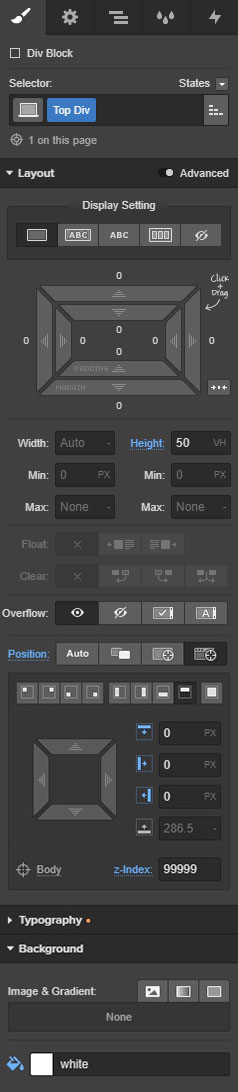
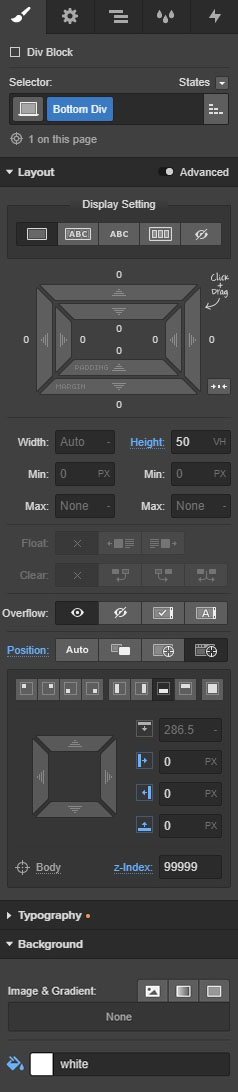
Place a div on the canvas, give it a class of “Top Div” and apply the following settings:
- Height: 50vh
- Position: Fixed, Top
- Z-index: 99999
- Background: White
Copy the Top Div by right clicking and selecting duplicate from the flyout menu.
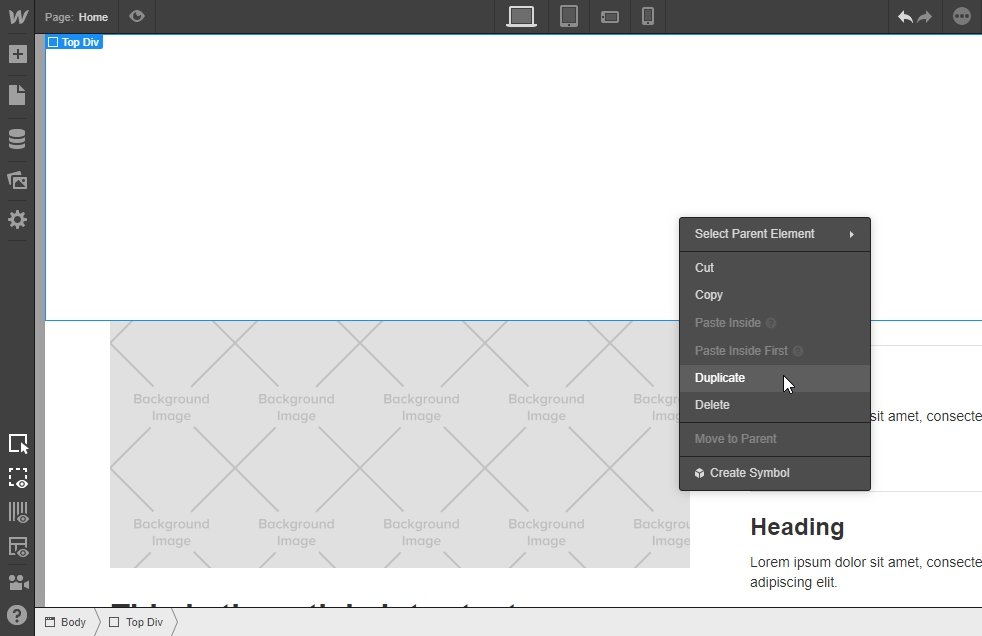
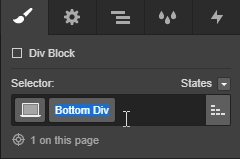
Now you have another div on the canvas. Go to the Styles panel, select the arrow on the class name, and click “Duplicate Class.”

Give it a new class of “Bottom Div.”
All the settings remain the same except the position will change to bottom:
- Height: 50vh
- Position: Fixed, Bottom
- Z-index: 99999
- Background: White
These will be closing and opening page transition shutters. You’ll notice the shutters are really in the way.
Select the Top Div, open the Style panel, and add:
- Display setting: None

Do the same for the Bottom Div. Now that they’re out of the way, we can add the interactions and URLs.
Step 3: Delay the links
Select a button in your navigation panel or any button on your page. Open the Settings panel and, rather than selecting a page from the dropdown menu, we’re going to add the below snippet to the URL input. Don’t hit enter to submit the link — Webflow will break it by adding “https://”. To avoid this and complete the process, simply click away from the link:
- `javascript:delay('URL')
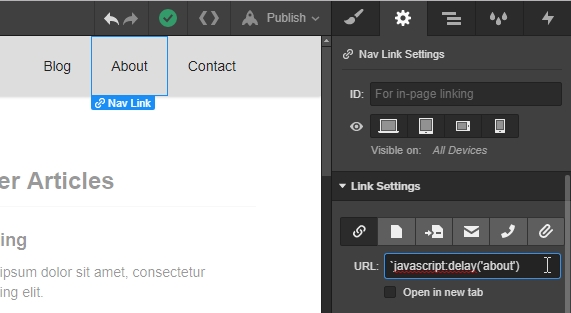
You’ll notice I replaced the URL with the “slug” of my destination page. You can find your slug by going to the page settings panel.

Pro tip
When adding a link that directs the user to your homepage, don’t use `javascript:delay('home'). Instead, simply add a /, like this: `javascript:delay('/')
Follow the above process for each link that leads to another page within your project. Publish your project and test it out.
Step 4: Add the interactions
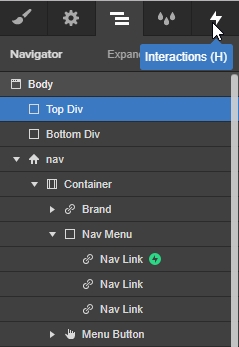
Select a link and open the Interactions panel.

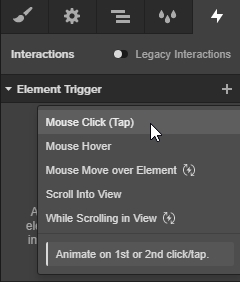
Add an interaction by clicking the plus icon next to Element Trigger and choose Mouse Click (Tap) from the dropdown.
In the On 1st Click section, open the dropdown menu.
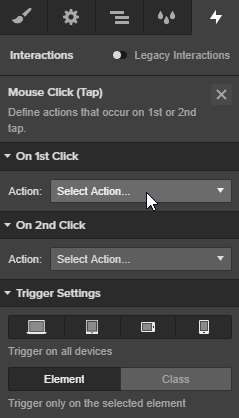
And select Start an Animation.

Click the plus icon in the Timed Animations section.
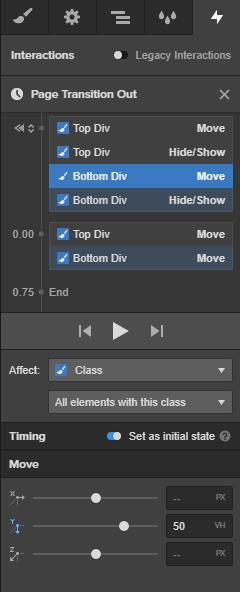
Give the interaction a name of “Page Transition Out.” For context, this is what the page will do when a link is exiting the page:
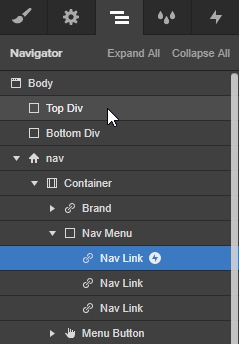
Open the Navigator panel and select the Top Div.
Return to the Interactions panel.
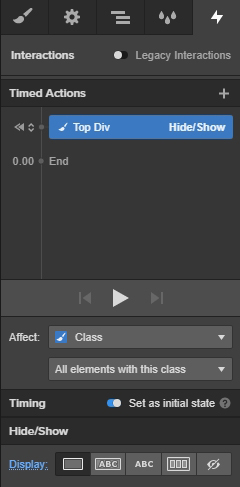
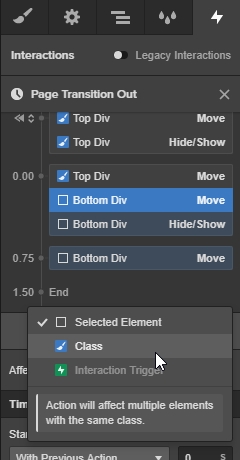
Click the plus icon next to timed actions and choose the Hide/Show option.

Use the following settings:
- Affect: Class, All elements with this class
- Timing: Set as initial state
- Display: Block
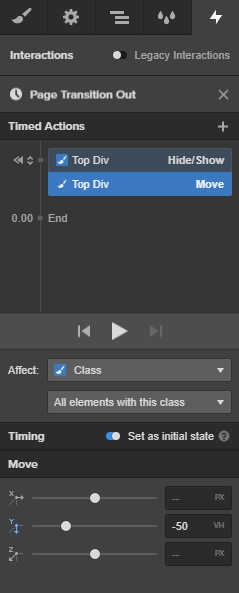
Next, add a move transition by clicking the blue plus icon next to the previous hide/show interaction.
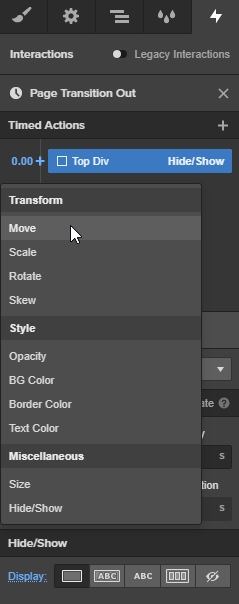
Use these settings:
- Affect: Class, All elements with this class
- Timing: Set as initial state
- Y: -50vh
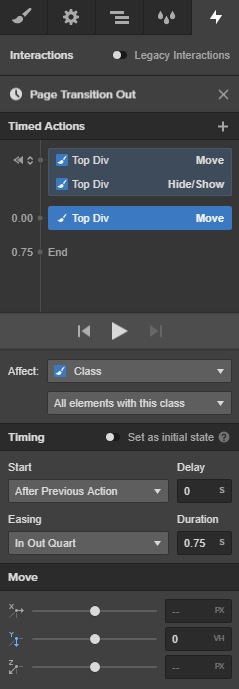
Add another move interaction with the following settings:
- Affect: Class, All Elements with this Class
- Easing: In Out Quart
- Duration: 0.75s
- Y: 0vh
Now, select all three interactions, highlight the top, and while holding shift, select the bottom interaction. Once they’re all are highlighted, right click any one of them, and select Duplicate from the flyout menu.

You’ll now have three more interactions — again, highlight them all, right click any one, and choose Change Target from the flyout menu.


Design interactions and animations without code
Build complex interactions and animations without even looking at code.
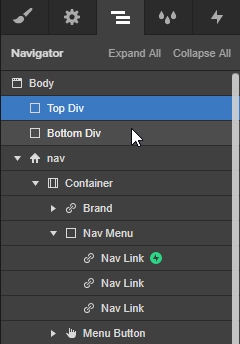
Now open the Navigator panel and select the Bottom Div.
Return to the Interactions panel, highlight one of the newly targeted interactions, and change the affect setting to class. Make sure that the “All elements with this class” is also set.
Highlight both the move and the hide/show for the Bottom Div and set the timing to "set as initial state."
Next, click and drag the Bottom Div, bringing it up to its Top Div counterpart.

Change the Y setting of initial state Move interaction to 50vh.
All that’s left to do is apply this interaction to all your other page navigation buttons:
- Click any of your other links
- Open the Interactions panel
- Click the plus icon
- Choose Mouse Click (Tap) from the dropdown
- Open the action dropdown
- Select Start an Animation (where you should then see the interaction we just completed)
- Select to apply it to this button
Continue this process for all your buttons.

5. Add page-load interactions
As of right now we have a slick exiting interaction, but when the next page loads, it isn’t so pretty. Let’s fix this by adding an interaction on page load.
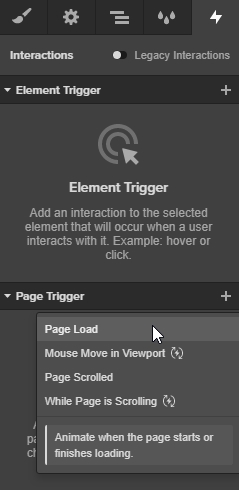
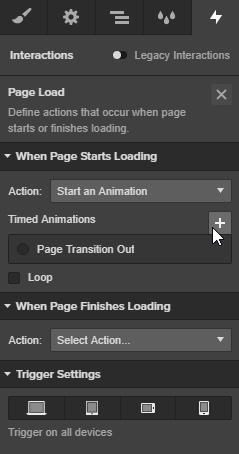
Open the Interactions panel, hit the plus icon next to the page trigger text, and from the dropdown menu select the page load option.
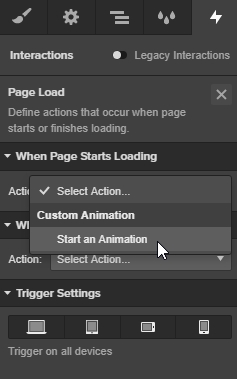
From the “When Page Starts Loading” section, select Start an Animation from the dropdown menu.
From here you’ll see the interaction we previously created. We’re going to create a new one, so click the plus icon.
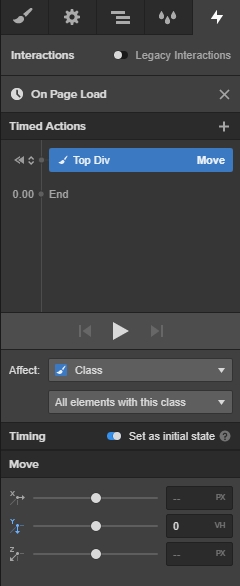
Name the interaction “On Page Load.”

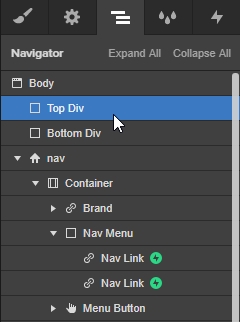
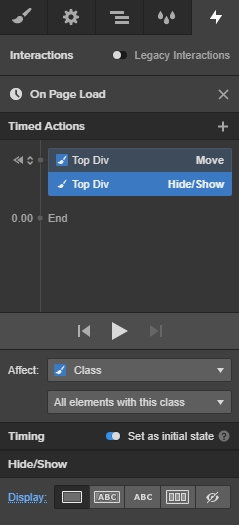
Now open the Navigator panel and select the Top Div.
Return to the Interactions panel, click the plus icon, and add a Move interaction.

Apply these settings:
- Affect: Class, All elements with this class
- Timing: Set as initial state
- Y: 0vh
Add another interaction by clicking the plus icon next to the Top Div move interaction and select hide/show.
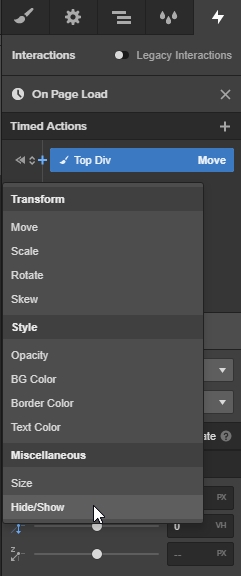
Use these settings:
- Affect: Class, All elements with this class
- Timing: Set as initial state
- Display: Block
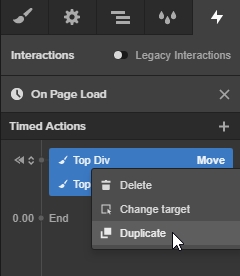
Highlight the two created interactions by pressing Control+click (on PC) or Command+click (on Mac). When both are selected, right click, and select duplicate from the flyout menu.
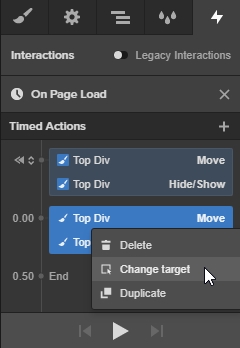
Now, right-click the new interactions and change the target.
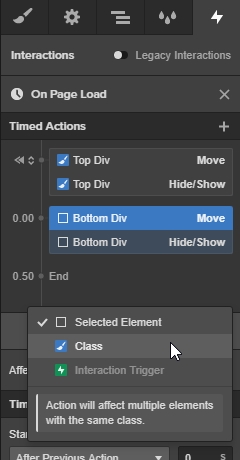
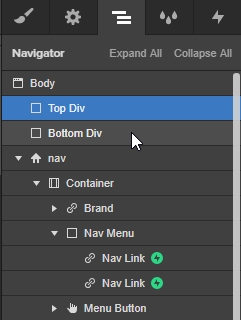
Open the Navigator panel and select the Bottom Div.
Return to the Interactions panel, select one of the Bottom Div interactions, and change it to affect all elements with this class.
Again, highlight both Bottom Div interactions and click and drag them up to the Top Div interactions.
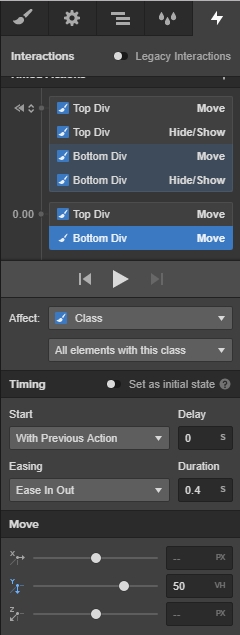
Now highlight the two Move interactions, right click, and select Duplicate from the flyout.
Select the Top Div and use these settings:
- Affect: Class, All elements with this class
- easing: Ease In Out
- Duration: 0.4s
- Y: -50vh

Next, select the Bottom Div and apply these settings:
- Affect: Class, All elements with this class
- easing: Ease In Out
- Duration: 0.4s
- Y: 50vh
All that’s left to do is to make sure all your pages have the page load interaction and the Top Div and Bottom Div in place.
Publish it! You're done.
Show your work
This is a pretty simple page transition effect — spend some time seeing what you can make happen between pages and please share them. I’d love to see what you make!