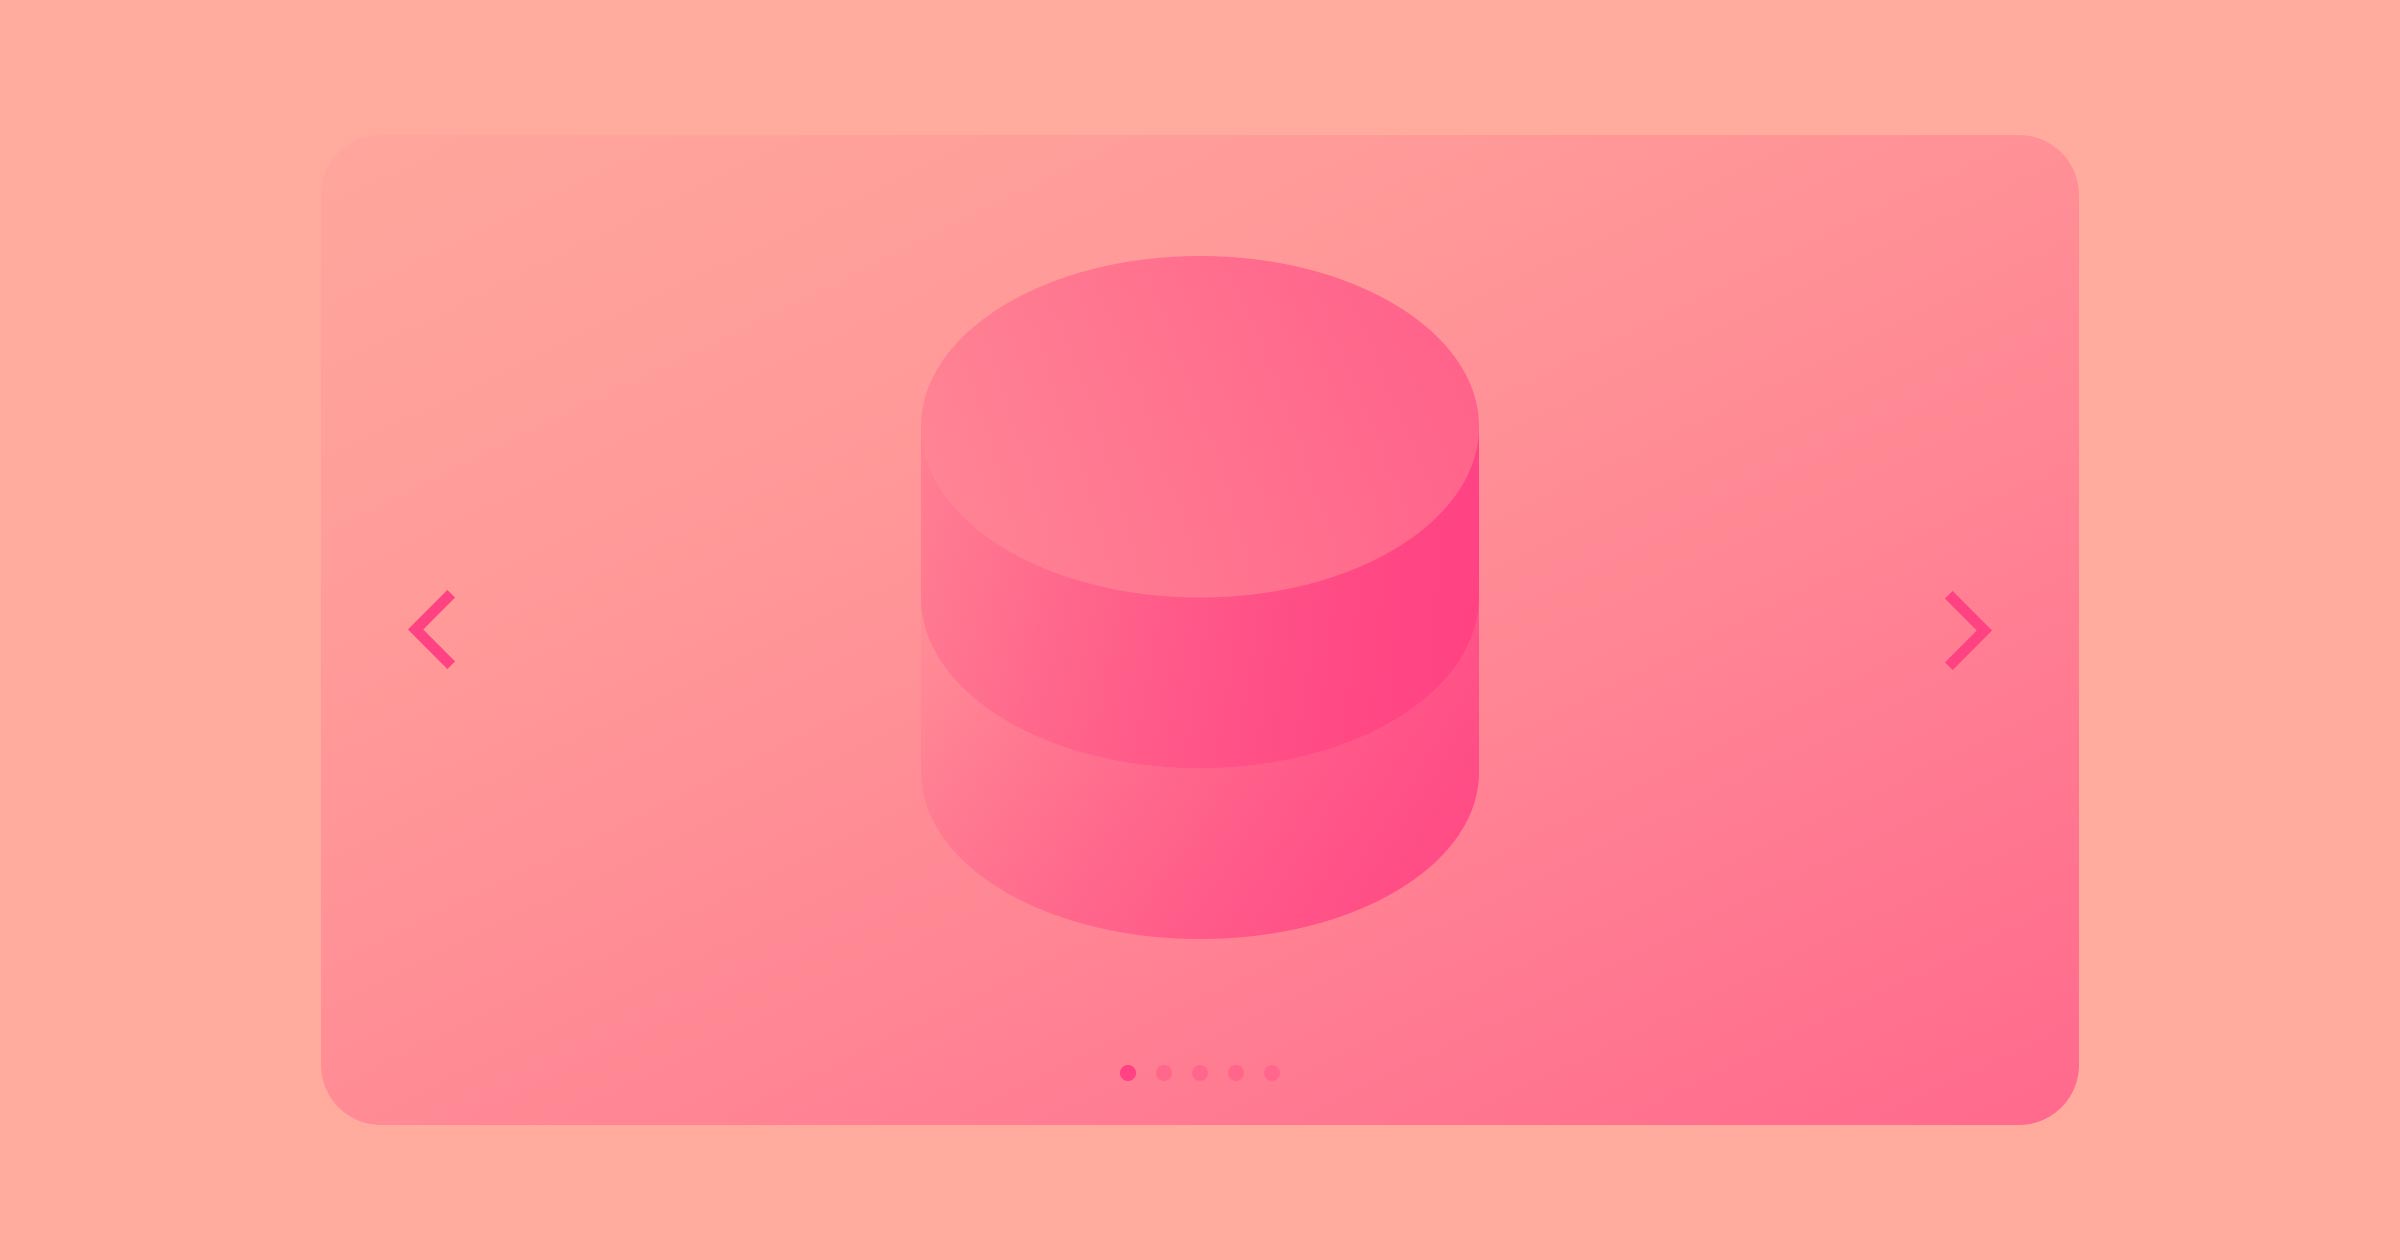
Harnessing the power of Webflow’s industry-leading Designer with its equally extensible CMS can produce stunning results. With infinite scroll, the days of visitors hopelessly grinding through pagination are over!
Disclaimer: Infinite scrolling creates accessibility and usability problems, so use your own judgement in using this. If you’d like to learn more about what Webflow is doing for accessibility, check out our blog post here.
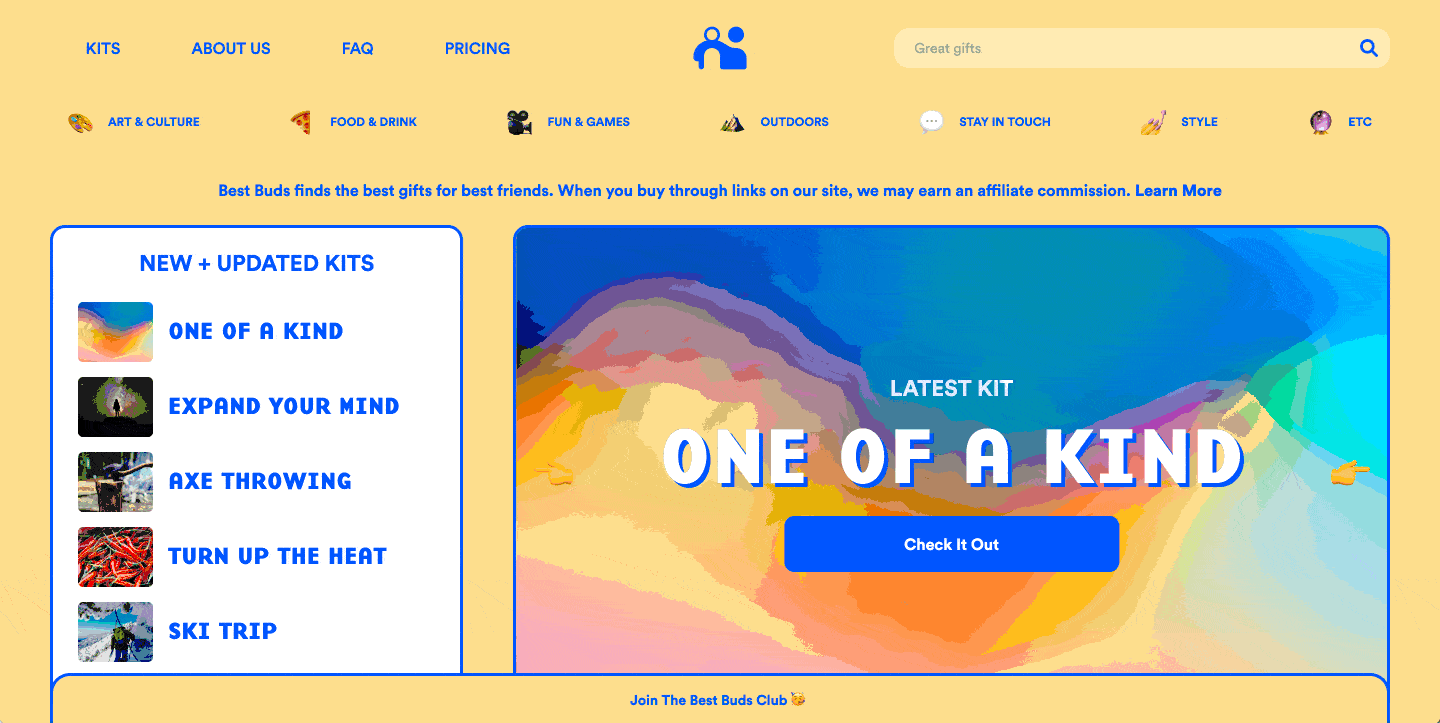
Hello friends! Jack and Wiggy from Best Buds here. We’re two, real-life BFFs who used Webflow to build a home on the internet for the best gifts for best friends. Despite our complete and utter lack of engineering know-how, Webflow enabled us to build an incredibly robust, content-rich site that feels fun and unique.
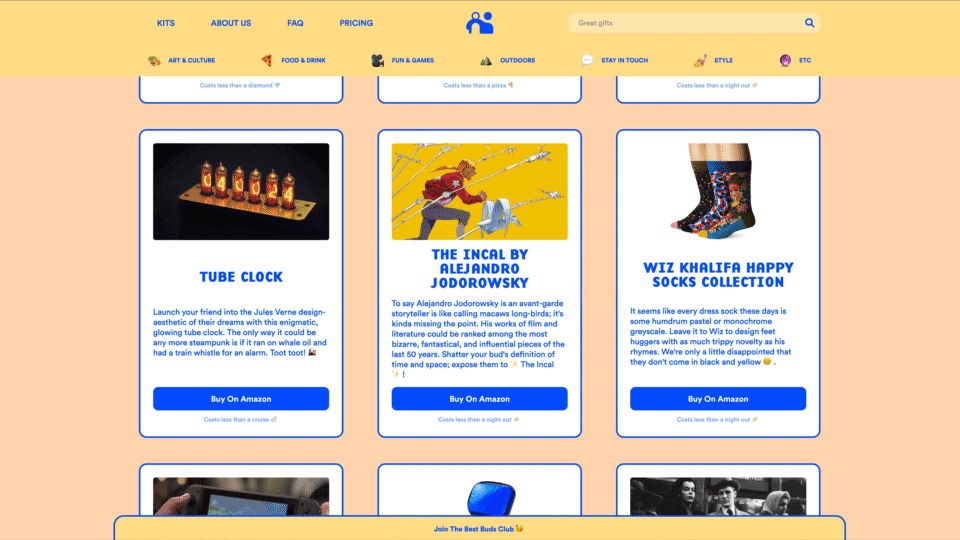
When we first launched Best Buds, infinite scroll was our white whale. We’re a CMS-heavy site with a focus on bite-sized visual content. We needed a frictionless way for visitors to browse to their heart’s content.
Every time a visitor clicks a button to go to next page, we knew there was an increased risk of losing them — especially for mobile visitors trained on infinite scroll from social feeds like Instagram.
After digging into Metafizzy’s excellent Infinite Scroll framework, we got our site up and scrolling in Webflow with just 17 lines of code! This tutorial couldn’t be simpler — for most Webflow sites, this is a one-step, copy-paste process.
Getting started with infinite scroll
No fooling: you can do it all in just two steps — and one is optional!
A couple notes:
- Since infinite scroll requires custom code, you’ll need a paid account plan to implement this on your site
- Because it relies on custom code, you’ll only be able to see your infinite scroll on your published site, not on the Designer
- You will need to activate pagination on your collection list to make this work
Step 1: Add custom JavaScript
Go to Project Settings > Custom Code, paste the following JavaScript into your Head Code, and Save Changes:
<script type="text/javascript" src="https://ajax.googleapis.com/ajax/libs/jquery/3.4.0/jquery.min.js"></script>
<script type="text/javascript" src="https://unpkg.com/infinite-scroll@3/dist/infinite-scroll.pkgd.min.js"></script>
<script type="text/javascript">
$.noConflict();
jQuery(document).ready(function($) {
$('.collection-list').infiniteScroll({ // selector for the CMS collection list
path: '.w-pagination-next', // selector for the paged navigation
append: '.collection-item', // selector for all items you'll retrieve
animate: true,
loadingText: "",
maxPage: undefined,
});
});
</script>
Now, when you publish your site, you’ll have unlocked the power of infinite scroll. New CMS collection items will be dynamically loaded wherever you have a paginated collection list element. As visitors scroll and content loads, the URL will magically update, allowing them to reference and share content from a specific page.
Unless you used custom class names for your collection lists and items, that is …
If you did, here’s how to fix your decidedly finite scrolling.
Step 2 (optional): Replace references to class names
If you changed the auto-generated collection-list and collection-item class names on your site, replace the references to those class names in the JavaScript above (lines 10 and 12) with your custom names.
You’re done. That’s it. Seriously!
Final touches: cleaning up your page structure — and fixing the disappearing footer problem
Now — let’s make things shine. First by hiding our pagination element, then by making our vanishing footer visible again.
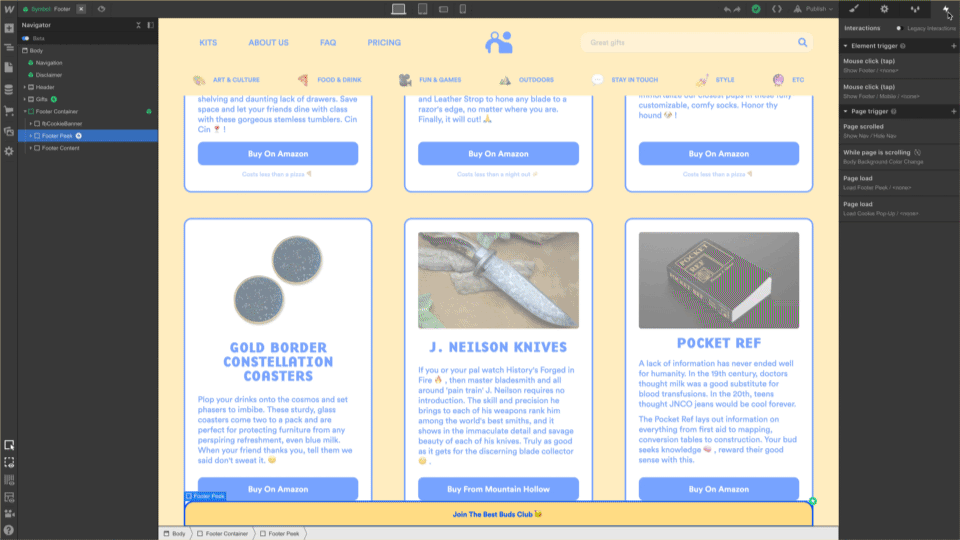
Collection list pagination settings
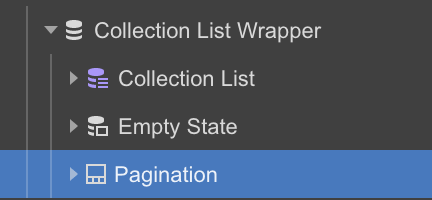
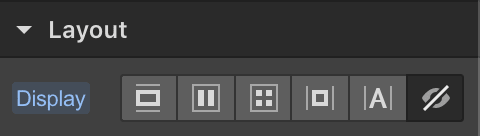
At this point you can hide the default pagination element that’s bundled with the rest of your collection list. Find the pagination element in the Navigator and change its display property to none.
Depending on the visual density of your site, you can scale back the number of CMS items that load on each page, and further optimize the speed to your visitor’s first meaningful page paint (or, in human: your page speed).
Pro tip: Use Pingdom's Website Speed Test for quick and easy site benchmarking.

We chose to drop Best Buds from 12 items per page to 9 and saw a small bump in performance on mobile.


Get started for free
Create custom, scalable websites — without writing code. Start building in Webflow.
Building a fun, fixed footer
When we solved the puzzle of infinite scroll, the first thing we noticed was our footer — or rather, its absence. Because it was previously positioned beneath our CMS collection list, infinite scroll forever banished it below the fold.
This is a classic problem with infinite scrolling, but Webflow gave us the freedom to get creative!
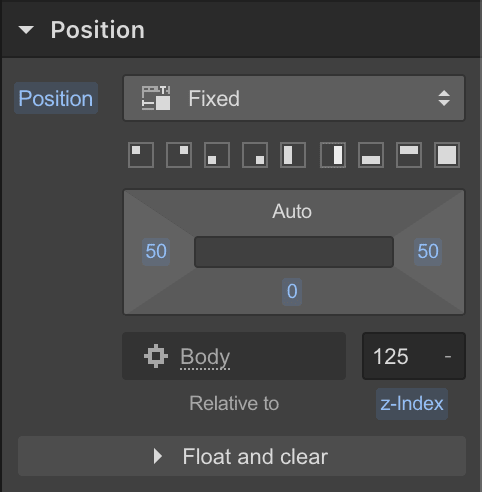
When designing your footer, take advantage of fixed positioning. Anchor your new footer element to the bottom of your page and increase its z-index to be higher than your CMS content, but lower than any modals you might have.
This way your footer will always be visible.
We decided to go a step further. We optimized our visitor’s vertical browser height by breaking the footer into 2 parts:

1. Footer peek: A slim bar at the bottom of the page that takes up no more than 50px

2. Footer content: Our standard footer content
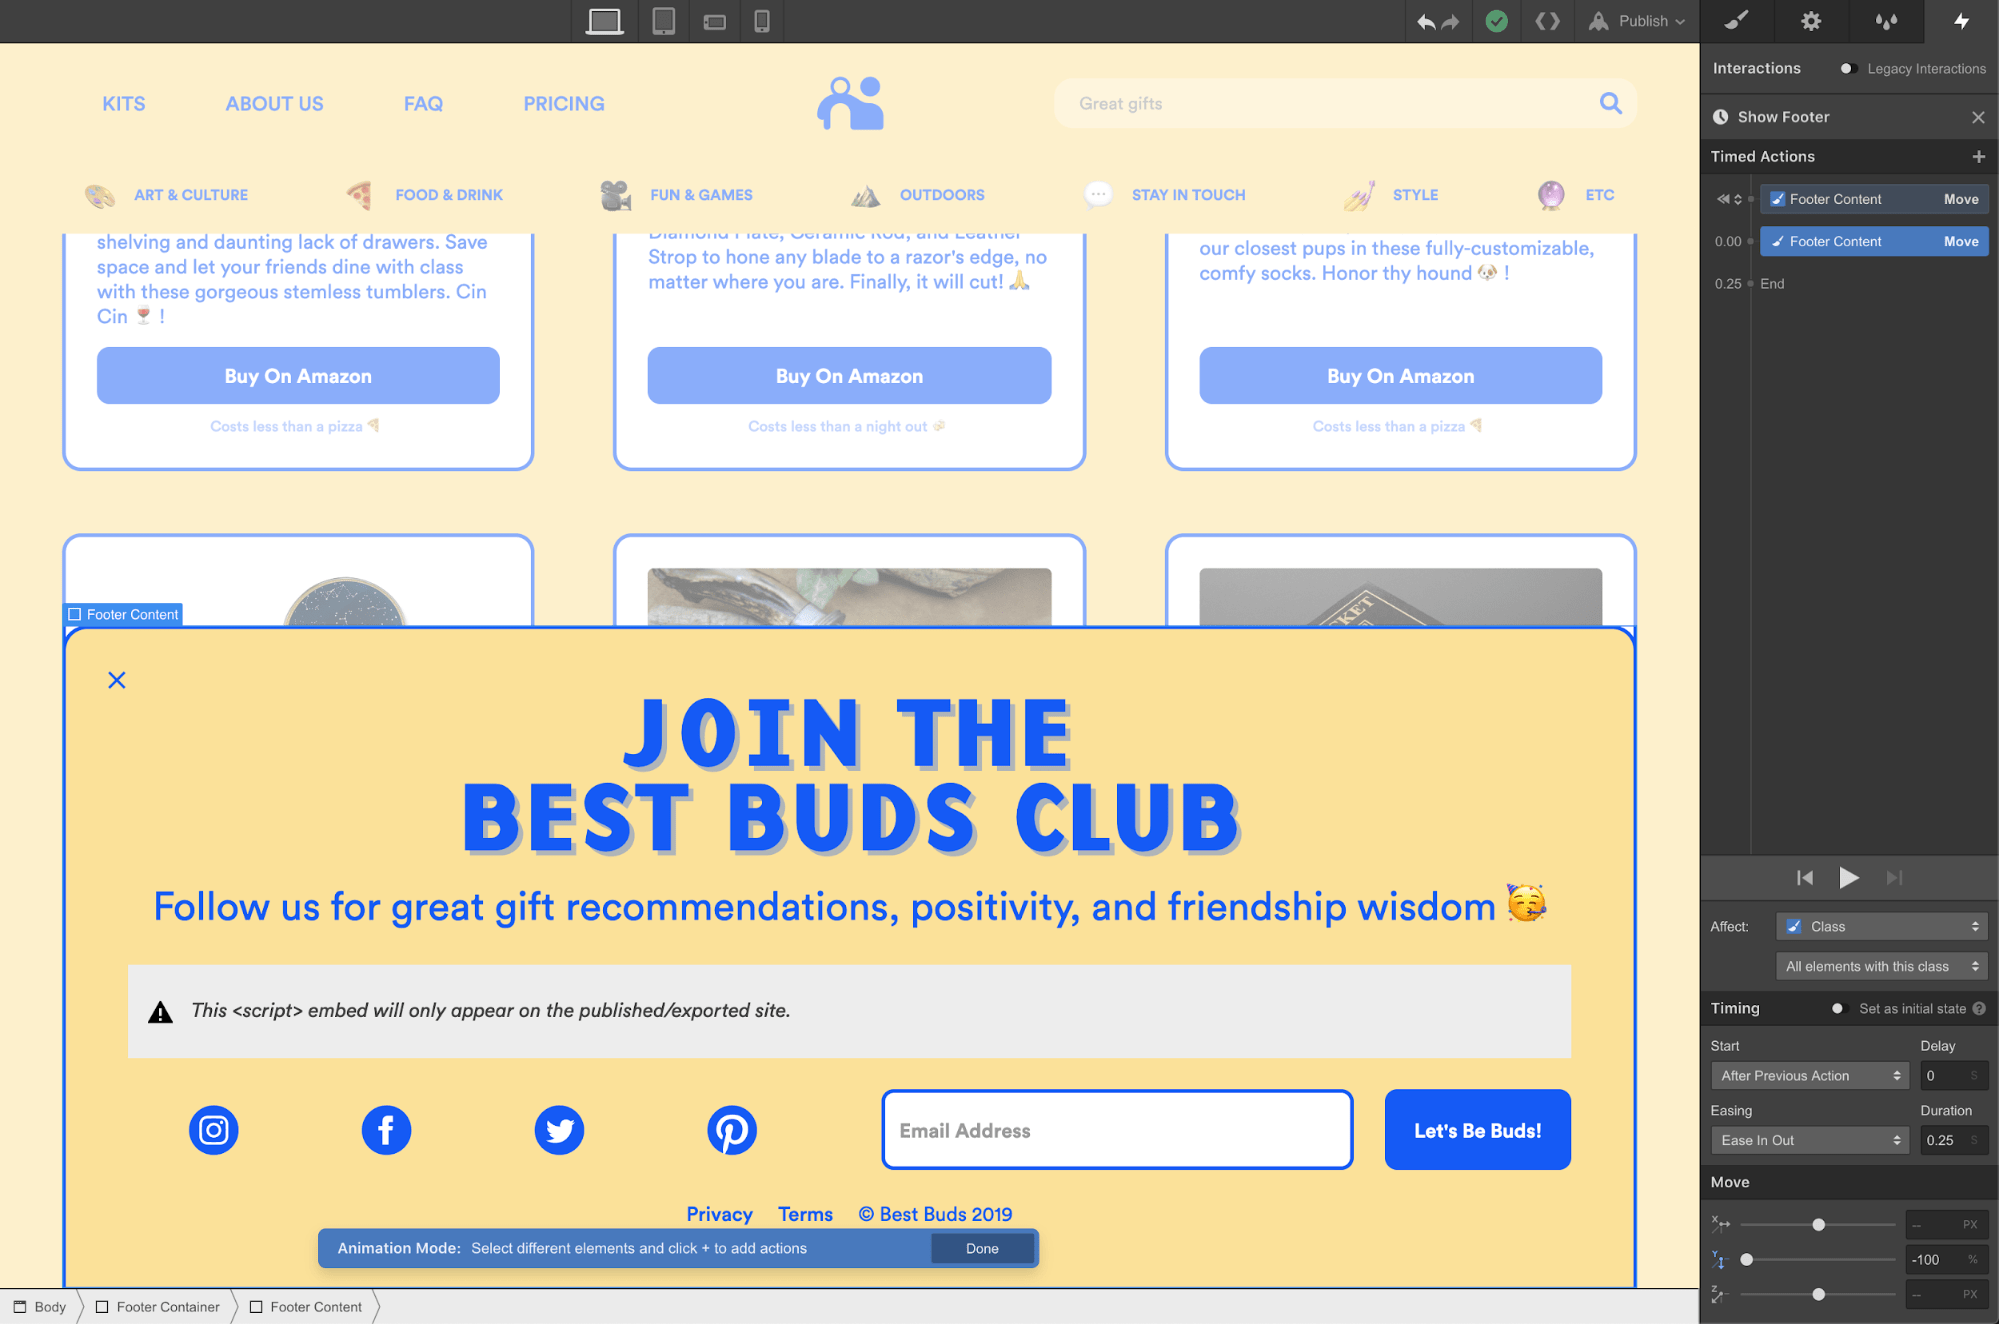
Using 2 divs in our footer symbol allowed us to take advantage of Webflow’s Interactions. Toggling our peek element transitions the content element into frame without sacrificing precious screen real estate.
The possibilities are infinite! And there’s no better tool than Webflow to experiment with unique interactions — footer or otherwise.
A gift from the gift experts

Congratulations! Your website is now ready to scroll into a new dimension where your visitors are happier and sticking around longer.
Consider this small discovery our gift to you, new internet friend!