

Yes, the advantage of Webflow is that it’s a no code platform allowing you to build almost at the speed of thought. Sometimes though, you may want to add a little custom code to make your website even more, well... custom.
Fear not! You don’t have to be a code wizard to use it in your projects. Having a basic understanding of best practices will give you the confidence you need to look things up and wield that wand like a pro.
Let’s get started with tip number one for using custom code properly.
Tips for using custom code in Webflow
1. Understand these 3 main types of code
You may have heard of HTML, CSS, and JavaScript. Let’s break these down into their simplest definitions.
What it is HTML?
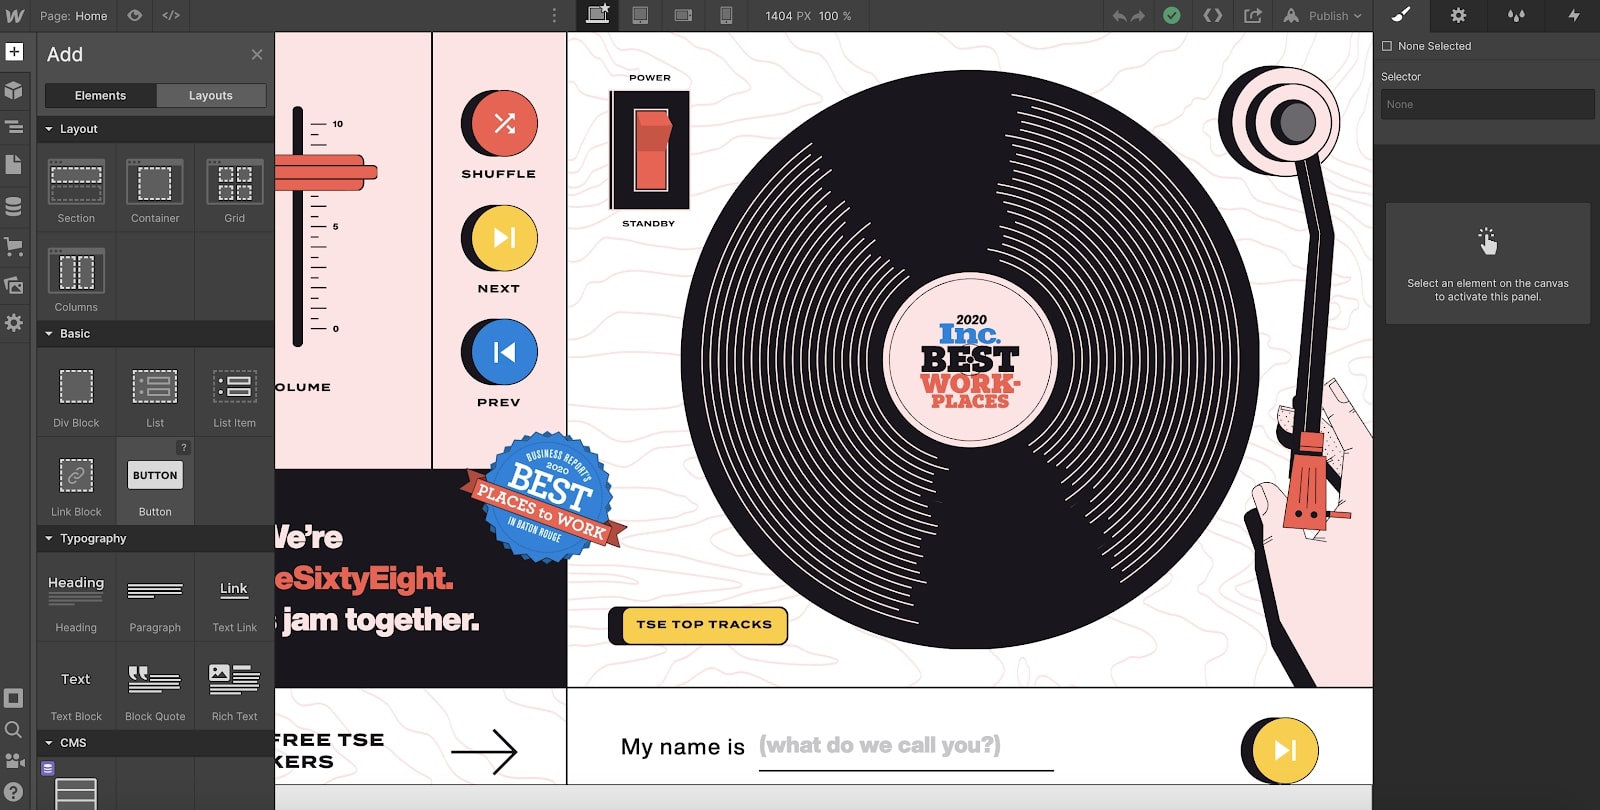
HTML consists of the elements that make up your page. Images, videos, links, buttons, headings, and more are all html elements. When you’re dragging in elements from the Add Elements panel in Webflow, you are adding HTML elements to your page.
Since Webflow gives us access to a lot of HTML elements available, you usually won’t have to code your own HTML elements. In code, most HTML elements consist of an open and closing tag containing the element name. For example, an H1 heading would be written like this.
<h1>Your Heading Here</h1>
What is CSS?

CSS is how it looks.
It affects the style of our HTML elements. When you use the Style panel in Webflow, you’re adjusting the CSS of an element or how it looks. When writing CSS, all styles go within an open and closing style tag. If targeting a class, you start the class name with a period. This is an example of CSS you could use in Webflow to create a text outline.
<style>
.your-class {
-webkit-text-stroke: 2px #000;
}
</style>
Pro tip: In class names on a published site, Webflow converts spaces to dashes and capital letters to lowercase letters. Using lowercase letters and dashes in your class names from the start will help ensure that they match the way they’re written in your custom code.
What is JavaScript?
JavaScript is how it works.
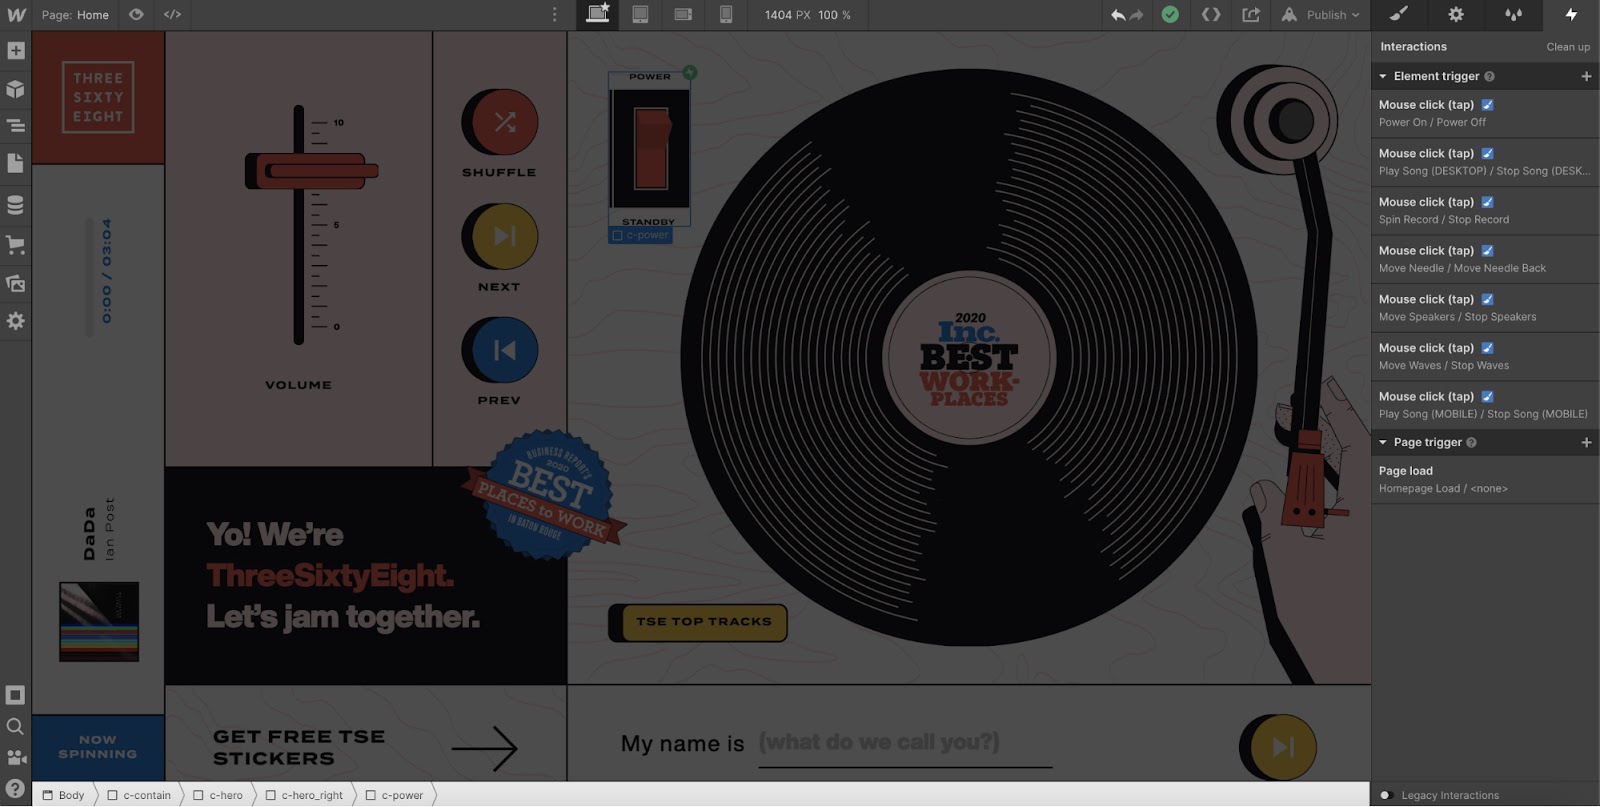
When you’re using the Interactions panel in Webflow, you’re adding JavaScript to your website. Since the potential of JavaScript is nearly unlimited, writing custom JavaScript can add a lot of new functionality to your website. All JavaScript goes within an open and closing script tag.
Webflow also comes with a more simple version of JavaScript imported called jQuery. jQuery can be used with JavaScript to make things even easier to write and understand. This is an example of jQuery you could use to add a combo class to one element when a user clicks on a button.
<script>
$( ".button-class" ).click(function() {
$( ".card-class" ).addClass("card-shadow");
});
</script>
2. Stay organized when adding code
One of the most important steps to using custom code is to stay organized. These are the most commonly faced questions when trying to stay organized.
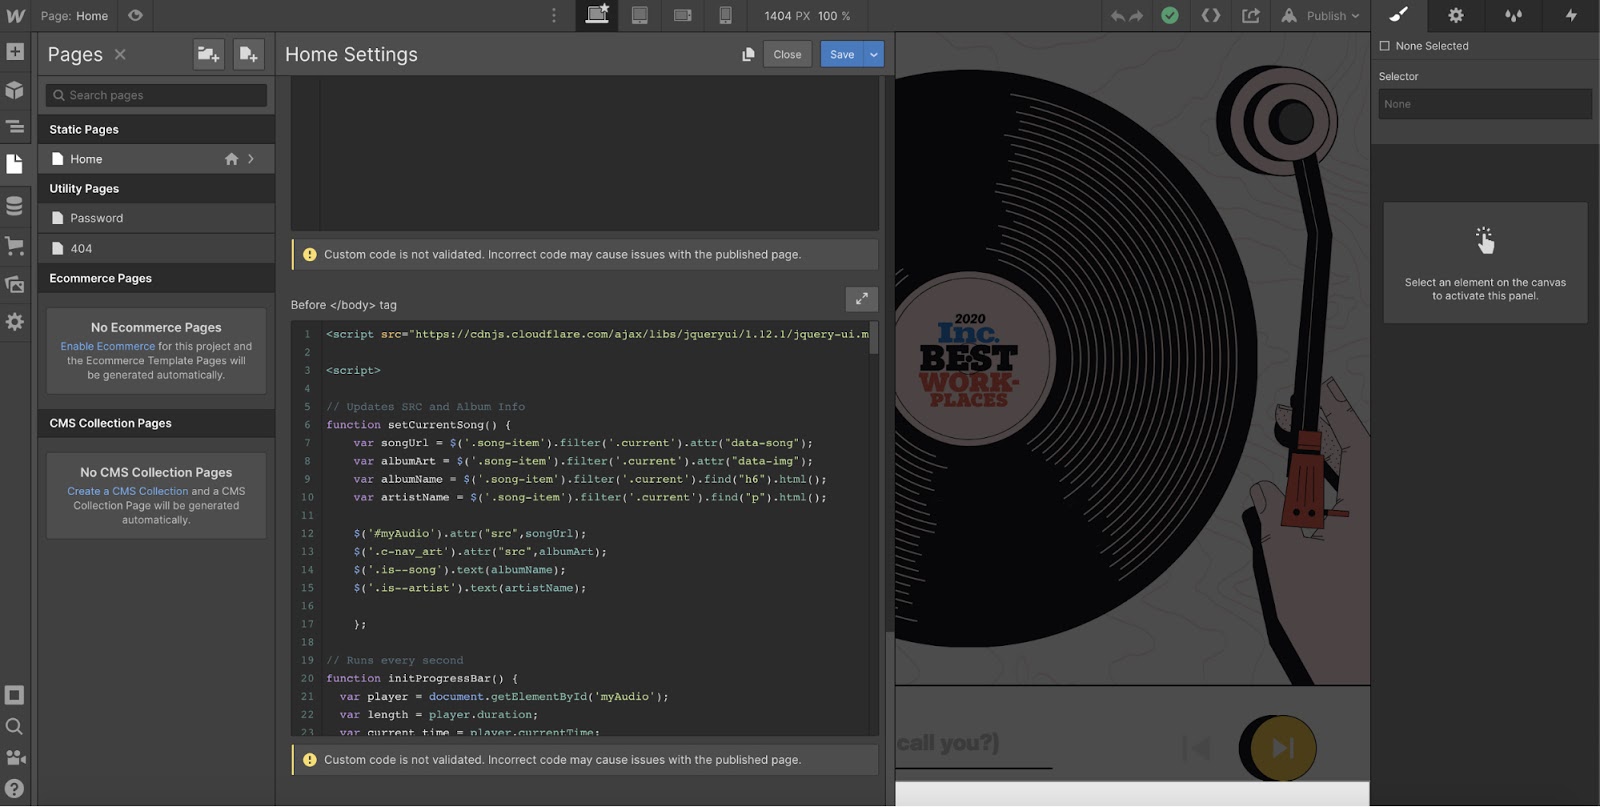
Should I use the custom code area in the page settings or project settings?
The answer to this is simple. Any code you want to apply to every page on the website should go in the project settings. Any code you want to only apply to one or a few particular pages should go in the page settings.
Should I add code to the <head> or </body> tag section?
Most of the time, you’ll want to add JavaScript to before the </body> tag section in the page or project settings. This means the code you add will be almost towards the very bottom of the page. If you put JavaScript in the inside the <head> tag section, the JavaScript will likely run before the item it’s affecting is ever loaded causing your code to show no results. Best practice for CSS is to add it to the inside the <head> tag.
Do I have to publish and check out the live website to see my code’s results?
Any JavaScript will not affect elements in the Designer. You need to publish to see what it is doing. However, if CSS is placed in an embed on the actual page, you can see the results of CSS live in the Designer.
Pro tip: To use CSS styling and see results live in the Designer, keep your CSS inside a code embed within a symbol. Changes made on one page will apply across every page of the site.
Do I need to create a new script or style tag for every piece of new code I add?
No, you can easily add new CSS or JavaScript inside your existing tags. Best practice is to add the code above or below your existing code. Adding it in between existing code could break your code.
How can I add comments to keep track of what my code is doing?
Adding comments inside your CSS and JavaScript can be really helpful so you can remember what that code does when you come back to it later or what it’s purpose is. Comments won’t appear in the design of the webpage, but they will be available in the code for you to view.
In JavaScript inside the script tags, you can create a new line at any point and type two // followed by your comment.
<script>
// Your comment goes here
</script>
In CSS inside the style tags, you can write a comment above any line of code like the example below where your comment starts with /* and ends with */.
<style>
/* Your comment goes here */
</style>
3. Test and troubleshoot any code you add
When using custom code, one small thing can affect everything else. If one character is missing or out of place, it can cause the rest of the code not to work. This can be one of the most challenging parts of using code in your projects. Thankfully, there are tools to make testing your code easier.
Use a code writing software to check your code for errors
One of the easiest ways to test your code is to use a code editor. It will usually tell you exactly which line and which character is causing an error in your code so you can fix it.
Inspect the website’s code using your browser
In most browsers if you right-click on any site and click Inspect, you can see the website’s code. By selecting certain elements, you can see if any CSS styles are being overridden by other CSS styles or how the browser is handling the styles of your elements to search for issues. If you click on the Console tab, you can see any errors in your JavaScript and find how which line of code is causing the error.
No code is better when you know (a little) code
Understanding the basics of code can help you unlock even more potential in your no code projects. Usually finding the custom code you need is only one quick Google search away, and it comes down to knowing how to implement that code in your website.
This article by no means covers everything there is to understand about code, but hopefully you were able to grasp a foundational knowledge of it and will feel more confident when using code in future projects.


Get started for free
Create custom, scalable websites — without writing code. Start building in Webflow.