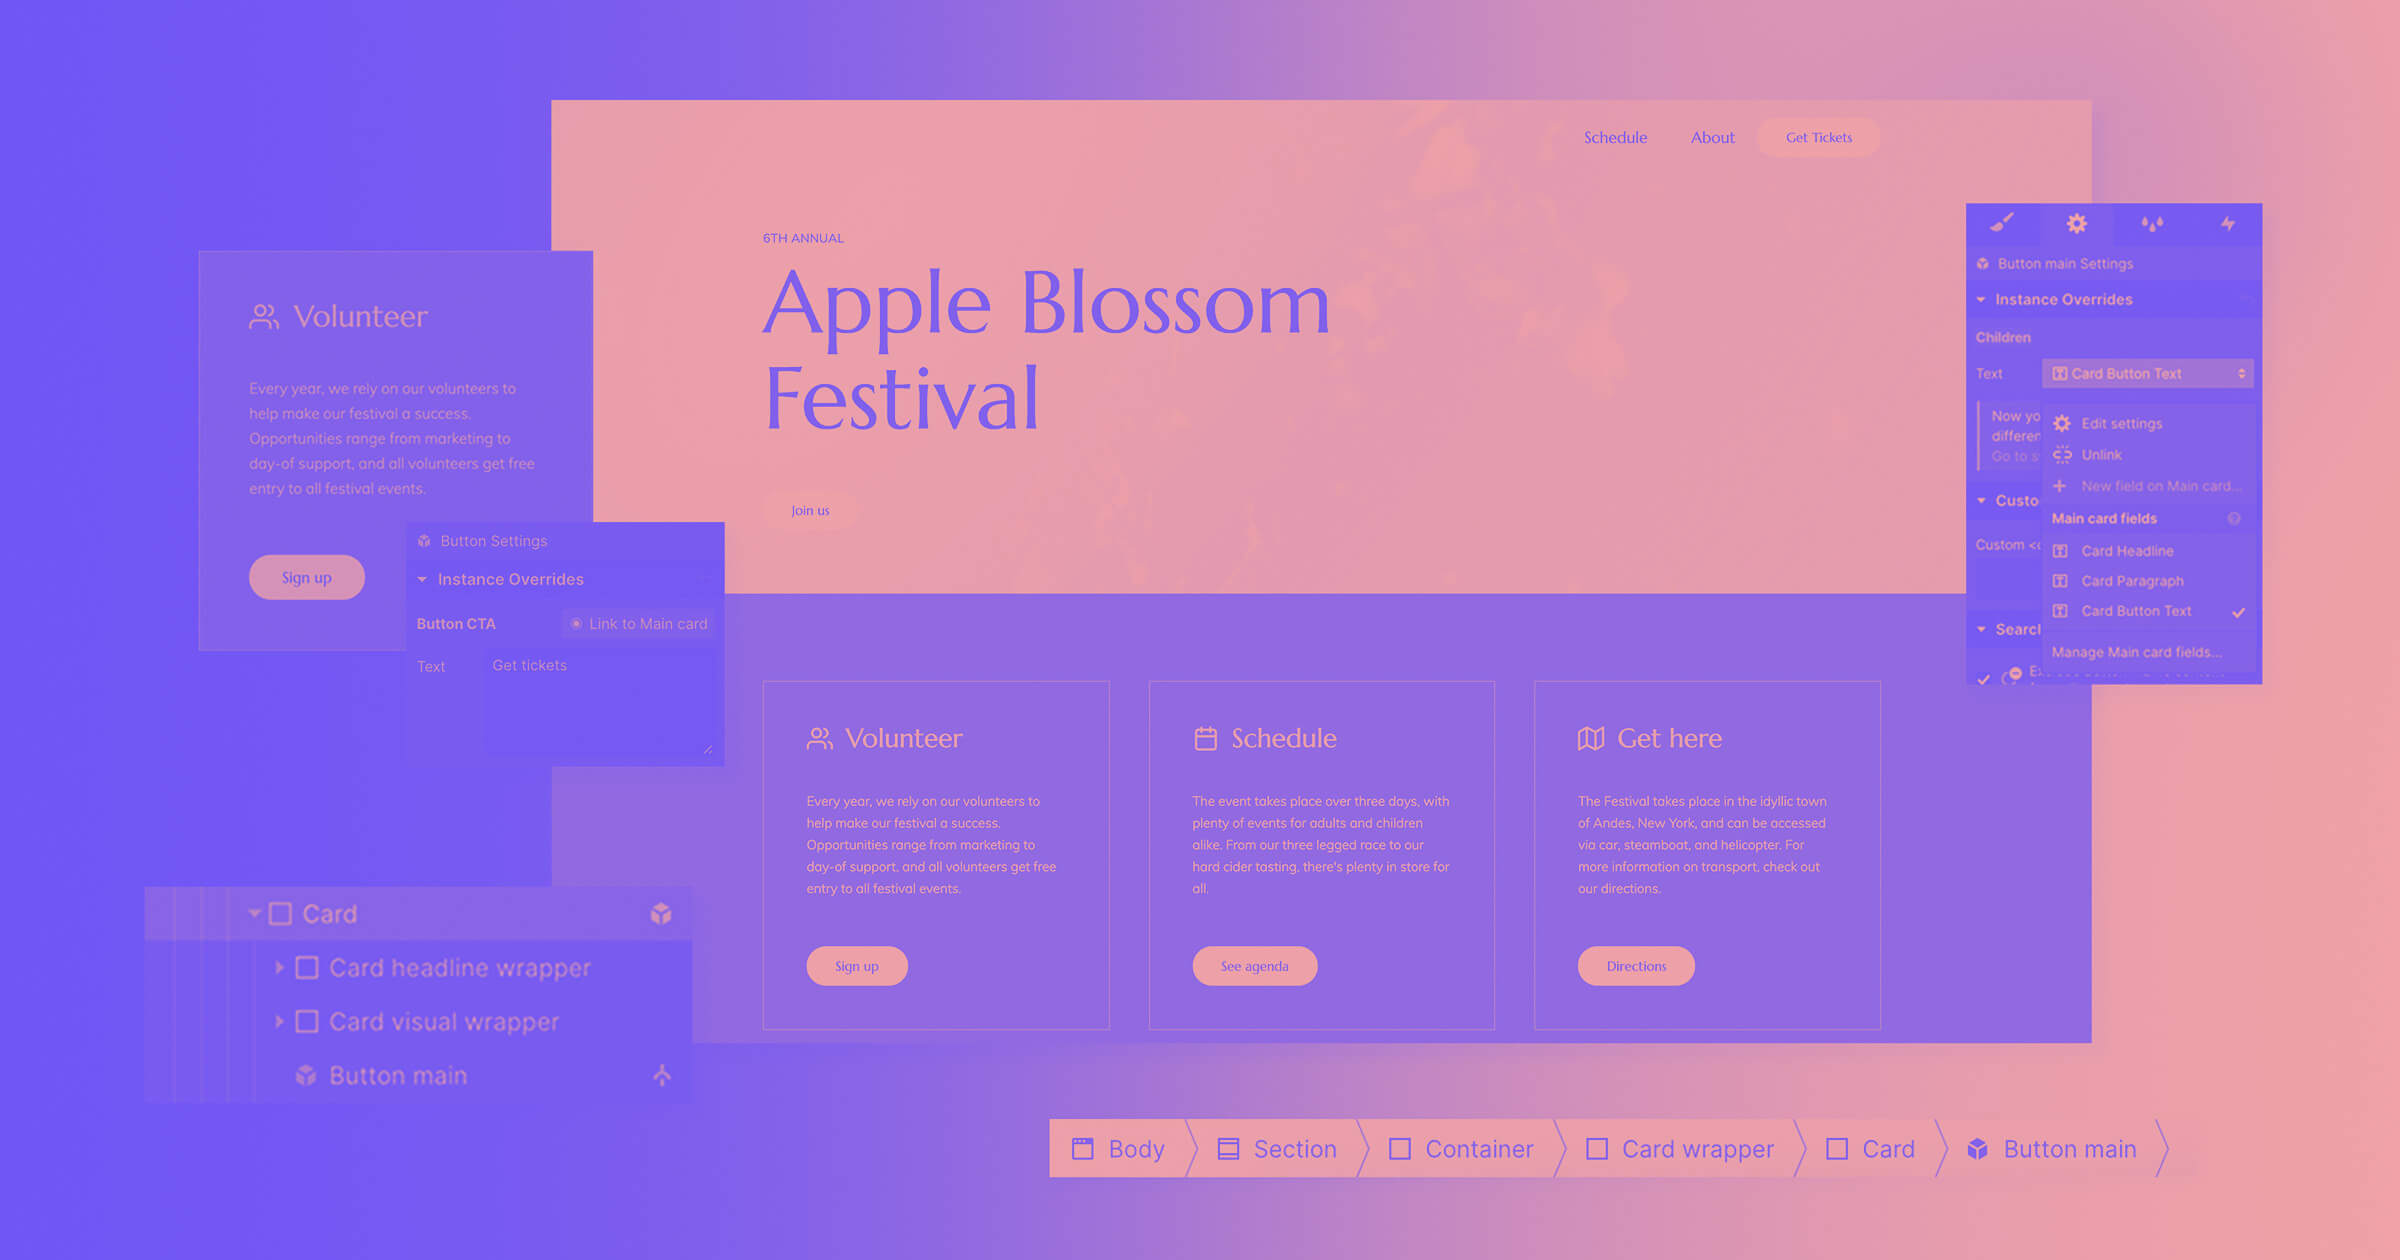
The ability to copy and paste between projects has been a long-standing request, so today we’re happy to say that:
The wait. Is. Over.
What this is
Simply put, this new feature lets you copy and paste layouts, elements, interactions — even entire pages (just wrap it all in a div!) — from one project to another.
Webflow will also recognize similarities and differences in class names and styles, making it smoother to merge duplicate styles when you’re moving elements between projects. More on this later in the post.
Why this is cool
Copying and pasting between projects may seem like a small thing, but it opens up a world of new possibilities. Here are some of the big new opportunities that copying and pasting between projects unlocks:
Kick-start new projects
Ever find yourself rebuilding the same (or close to the same) hero and nav for your new sites? Now you won’t have to. Simply grab those existing patterns from an existing site, paste into your new project, tweak as needed, and smile.
Build your own UI kit
On a similar note, now you can build a big “UI kit” project to house your favorite (or most involved) layouts and interactions, then pull from that project as you build out additional sites.
Bonus: we made a small-scale UI kit for one of our education videos, which you can clone for yourself and reuse as you wish.
We’re planning to make more UI kits in the near future, but we’re also eager to see what you make — so if you have an awesome UI kit you want to share with the rest of the Webflow world, be sure to showcase it and let others clone it for themselves. You can also tweet your UI kit’s showcase link with the hashtag #WebflowUIKit — we’ll be pulling our favorites together for a follow up blog post in the not too distant future.
Import a style sheet
As our designer Ryan Morrison outlined in a post last year, it’s often helpful to start out new projects with a style guide page that lets you edit the base HTML tags (like H1s, H2s, paragraphs, etc.) in one place, then see those changes cascade across your whole site.
But building out a page with all these elements can be a hassle. So we did it for you — by building a cloneable project that contains all the HTML tags available to style in Webflow, which can you copy and paste from as you’d like.
(That being said, you can create your own version of this style guide, then paste it into a project at the beginning of a build to save time during setup.)
Note: styles applied to base HTML tags won’t be imported when pasted from one site to another, but at least you’ll have an easy way to get all those tags on one page. For a full look at special cases like these, check out our documentation on Webflow University.
Create “themes” and style frameworks
Similarly, you can have multiple projects serve as jumping-off points for different “themes.”

Simply create a style guide page in a new project that has all your headings, layout patterns, common elements, interactions — anything you want to bring with you in a build — and then paste it all into a blank style guide page in a new project to bring those classes over. And boom: style theme imported.
Maintain consistency across sites
Here at Webflow, we have multiple large sites that share elements and patterns (navigation, footers, forms, etc.) — which we’ve had to painstakingly recreate in each and every one (and update on each site when we make a change). Now this challenge is far less daunting: simply update in one place, then paste your changes into every site that needs updating.
Collaborate on projects
Instead of fighting for time in the Designer for a project you’re collaborating on, now you can duplicate the project, work on your respective pages or sections individually, then paste the updated content into the master project when ready.(That being said, you can create your own version of this style guide, then paste it into a project at the beginning of a build to save time during setup.)


Design interactions and animations without code
Build complex interactions and animations without even looking at code.
Dealing with class conflicts
Some of you might be wondering “what took you so long to release this?” The answer lies, in part, in the possibility of conflicts. I.e., what do we do with matching class names and/or style properties?
Classes have two basic pieces:
- The name. What do you call this class?
- The styles. What actual styles does this class specify?
Classes can have the same name, but different styles. Classes can also have the same styles, but different names. So how do we design a system to reconcile these conflicts without creating problems on your sites, or introducing too much complexity for the designer in the process?
Our guiding logic in tackling this challenge was that the destination project should take precedence in the case of conflicts. We put this in practice by appending a number at the end of pasted classes in the case of style discrepancies. So, if a red button with the class “button” exists in the destination and we paste in a green button with the class “button,” we’ll rename the green button to “button 2” to avoid style conflicts. In these situations, you can quickly rename the pasted classes to differentiate the new from the existing.
At the same time, we wanted this system to recognize when class names and styles match, so we could then merge those classes to prevent bloated style sheets. To put this into practice, if we see that class names are the same (ignoring any appended numbers) we also check to see if the styles are an exact match. If they are indeed a match, we merge the pasted classes with the existing classes in the destination.
We took this same approach when it comes to interactions, aiming for a system that intelligently merges when appropriate, but renames in the case of conflict.
For a full look at all the edge cases and special considerations that go into pasting from one project to another, check out our documentation on Webflow University.
What’s next
As you get a feel for this new workflow, let us know what comments or concerns come up. We’ll be steadily working to tweak and improve the experience around copying and pasting from one project to another, and can always use your feedback.
In the meantime, let us know in the comments what workflows and use cases you’re most excited for now that you can copy and paste between projects!


