

Countdown Bar Timer
Connect Countdown Bar - Timer with Webflow to add urgency-driven countdown timers to landing pages, product pages, and sitewide promotions.

Webflow does not include a native countdown timer component. If you need to show visitors that a sale ends in 12 hours or that registration closes on Friday, you either write custom JavaScript from scratch or find an external tool that handles the timer display, styling, and date logic for you.
Smartarget Countdown Bar - Timer generates a pre-configured countdown widget you can place on any Webflow page. You set the target date, colors, positioning, and call-to-action text inside the Smartarget dashboard, then copy a single JavaScript snippet into Webflow. The widget renders on the published site without requiring you to write timer logic yourself.
This integration is most useful for e-commerce teams running flash sales, marketers managing campaign landing pages, event organizers promoting registration deadlines, and course creators counting down to webinar start times.
How to integrate Countdown Bar - Timer with Webflow
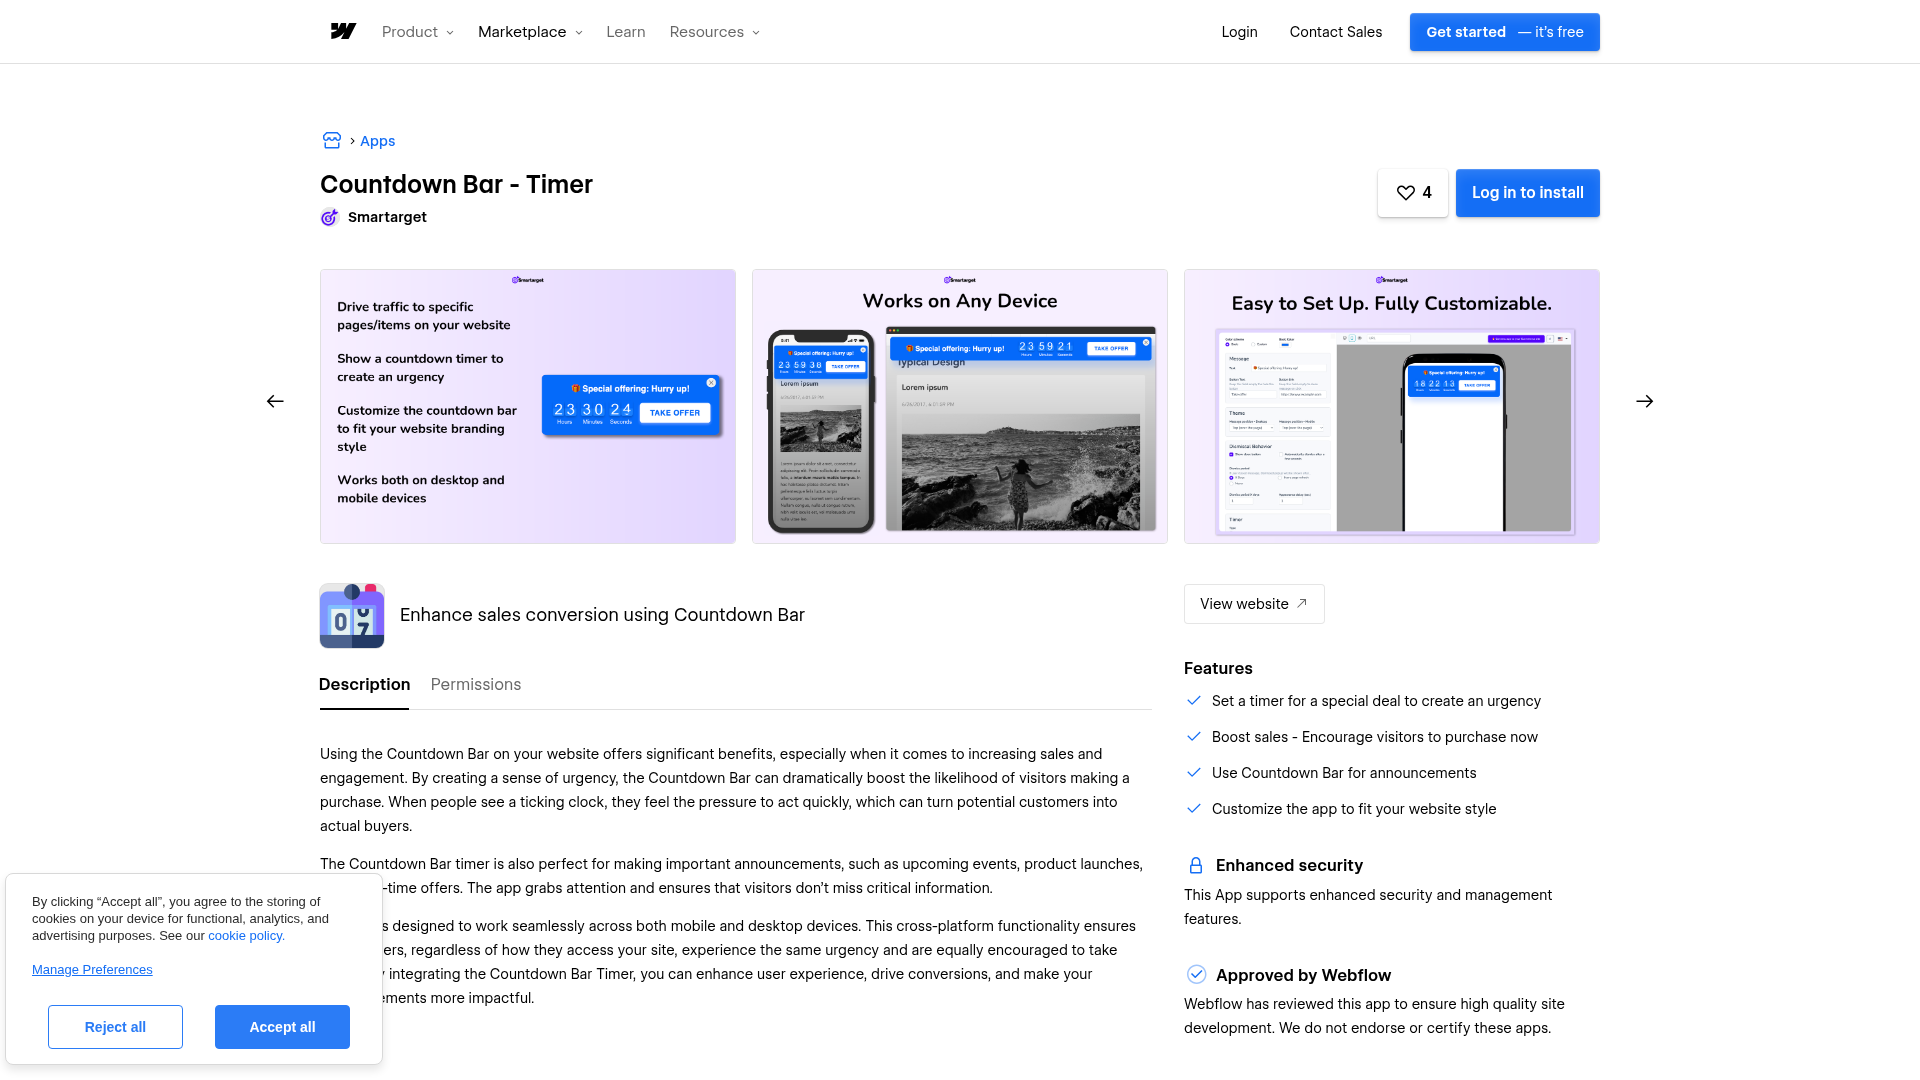
What is Countdown Bar - Timer? Countdown Bar - Timer is a JavaScript-based countdown widget from Smartarget that counts down to a specific date and time you configure through a web dashboard. It supports color customization, positioning options, call-to-action messages, and separate desktop and mobile display controls. Smartarget lists Webflow among its supported platforms.
Marketing and e-commerce teams use Countdown Bar - Timer with Webflow when they need visible deadlines on landing pages or storefronts — specifically to reinforce sale end dates, event registration windows, or product launch schedules without building timer logic in custom code.
The Countdown Bar - Timer–Webflow integration uses a single approach with three placement options:
- Custom code via site settings places the countdown timer on every page of your site, suited for sitewide promotions.
- Custom code via page settings restricts the timer to one specific page, suited for campaign landing pages or event registration pages.
- Code Embed elements position the timer within a specific section of your page layout, suited for inline placements above CTA buttons or inside hero sections.
All three options use the same Smartarget snippet. The placement you choose controls where and how the countdown appears on your published site.
Add the Countdown Bar embed to your Webflow site
Smartarget generates a JavaScript snippet in its dashboard that you paste into Webflow to render the countdown timer on your live site. Configure the widget visually in Smartarget, copy the output, and paste it into one of the three locations below. No coding knowledge is required for any placement option.
To generate your snippet:
- Create a free account at smartarget.online — no credit card required
- Select the Countdown Bar widget and configure your target date, colors, positioning, CTA message, and mobile display settings in the dashboard
- Navigate to the Integrations section and copy the generated JavaScript snippet
- Paste the snippet into Webflow using one of the three methods below
The countdown bar will not appear in the Webflow canvas or preview mode. JavaScript only executes on your published site, so you need to publish and view in a browser to confirm the widget renders correctly.
Add a sitewide countdown bar through site settings
This placement renders the countdown timer on every page of your Webflow site, which suits sitewide promotional banners or store-wide sale deadlines.
- Open your site in Webflow and go to Site settings
- Select the Custom code tab
- Paste the Smartarget JavaScript snippet into the Footer code section
- Click Save changes and publish your site
Placing scripts in the footer section rather than the head section avoids render-blocking, so pages begin displaying content before the timer script loads. Webflow supports up to 50,000 characters per custom code section, so the Smartarget snippet fits without issue. Page-level custom code executes after site-level code in the published HTML.
Add a countdown bar to a single page
This placement restricts the countdown timer to one specific page, which suits campaign landing pages, product launch pages, or event registration pages.
- Open your site in Webflow and click the Pages panel
- Hover over your target page and click the settings gear icon
- Scroll to the Custom code section
- Paste the Smartarget snippet into the Before \ tag field
- Save and publish
For Collection page templates, custom code added through page settings applies to every page generated from that template. Every product page or blog post built from that template will display the countdown bar. If you need different countdown dates per CMS item, see the limitations note in the FAQ below.
Position the countdown bar within your page layout
If you need the countdown timer inside a specific section — above a CTA button, inside a hero section, or within a pricing block — use a Code Embed element.
- Open the Add panel in Webflow
- Drag a Code Embed element to the desired position on your canvas
- Paste the Smartarget JavaScript snippet into the code editor
- Close the editor and publish your site
The Code Embed element shows a placeholder on the canvas since <script> tags do not render in the editor. To edit the code later, select the element and click Open code editor in the Settings panel, or double-click the element. Code Embed elements require a Core, Growth, Agency, or Freelancer Workspace subscription, or an active site plan.
What you can build with Countdown Bar - Timer Webflow integration
Integrating Countdown Bar - Timer with Webflow lets you add time-based urgency to any page without writing countdown logic from scratch.
- Flash sale landing pages: Build a campaign page for a 48-hour sale with a top-of-page countdown bar showing hours and minutes remaining. Pair it with product sections and a CTA button so visitors see the deadline the moment they land.
- Product launch announcements: Create a pre-launch page that counts down to the go-live date and time. Combine the countdown bar with an email signup form so visitors can register for launch notifications while the timer builds anticipation.
- Event registration pages: Add a countdown bar to a webinar or conference registration page that shows how long visitors have to sign up. Place the timer above the registration form using a Code Embed element so the deadline sits in the visitor's direct line of sight.
- Seasonal promotion banners: Run a sitewide holiday or Black Friday countdown bar across every page of your Webflow store by pasting the Smartarget snippet into your site-level footer code. Every page displays the same deadline regardless of which page a visitor enters from.
For teams that need dynamic, per-item countdowns driven by Webflow CMS data, such as individual product sale end dates, consider combining the Webflow Data API with custom JavaScript. This approach replaces Smartarget's static dashboard configuration, as the Smartarget embed cannot read from Webflow CMS fields directly.
Frequently asked questions
Yes. Webflow requires a paid plan to use custom code features. Code Embed elements require a Core, Growth, Agency, or Freelancer Workspace subscription, or an active site plan. Site-level and page-level custom code fields are restricted on free Webflow accounts.
JavaScript does not execute in the Webflow canvas or preview mode. Script tags display only as placeholder elements in the editor. Publish your site and view it in a browser to see the live countdown widget. Webflow's custom code embed documentation confirms that all
<script>content requires publishing to test.Yes. Use page-level custom code instead of site-level custom code. Open the page settings for your target page, scroll to the Custom code section, and paste the Smartarget snippet into the Before \

