

Events Management Website With Booking & Appointment Feature
Recreate the Events Management Website With Booking & Appointment Feature showcase site in Webflow with a single-page layout, anchor navigation, service sections, and a consultation request form.

How to recreate the Events Booking showcase structure in Webflow
The Events Management Website With Booking & Appointment Feature is a Webflow-made showcase site for an event-planning service.
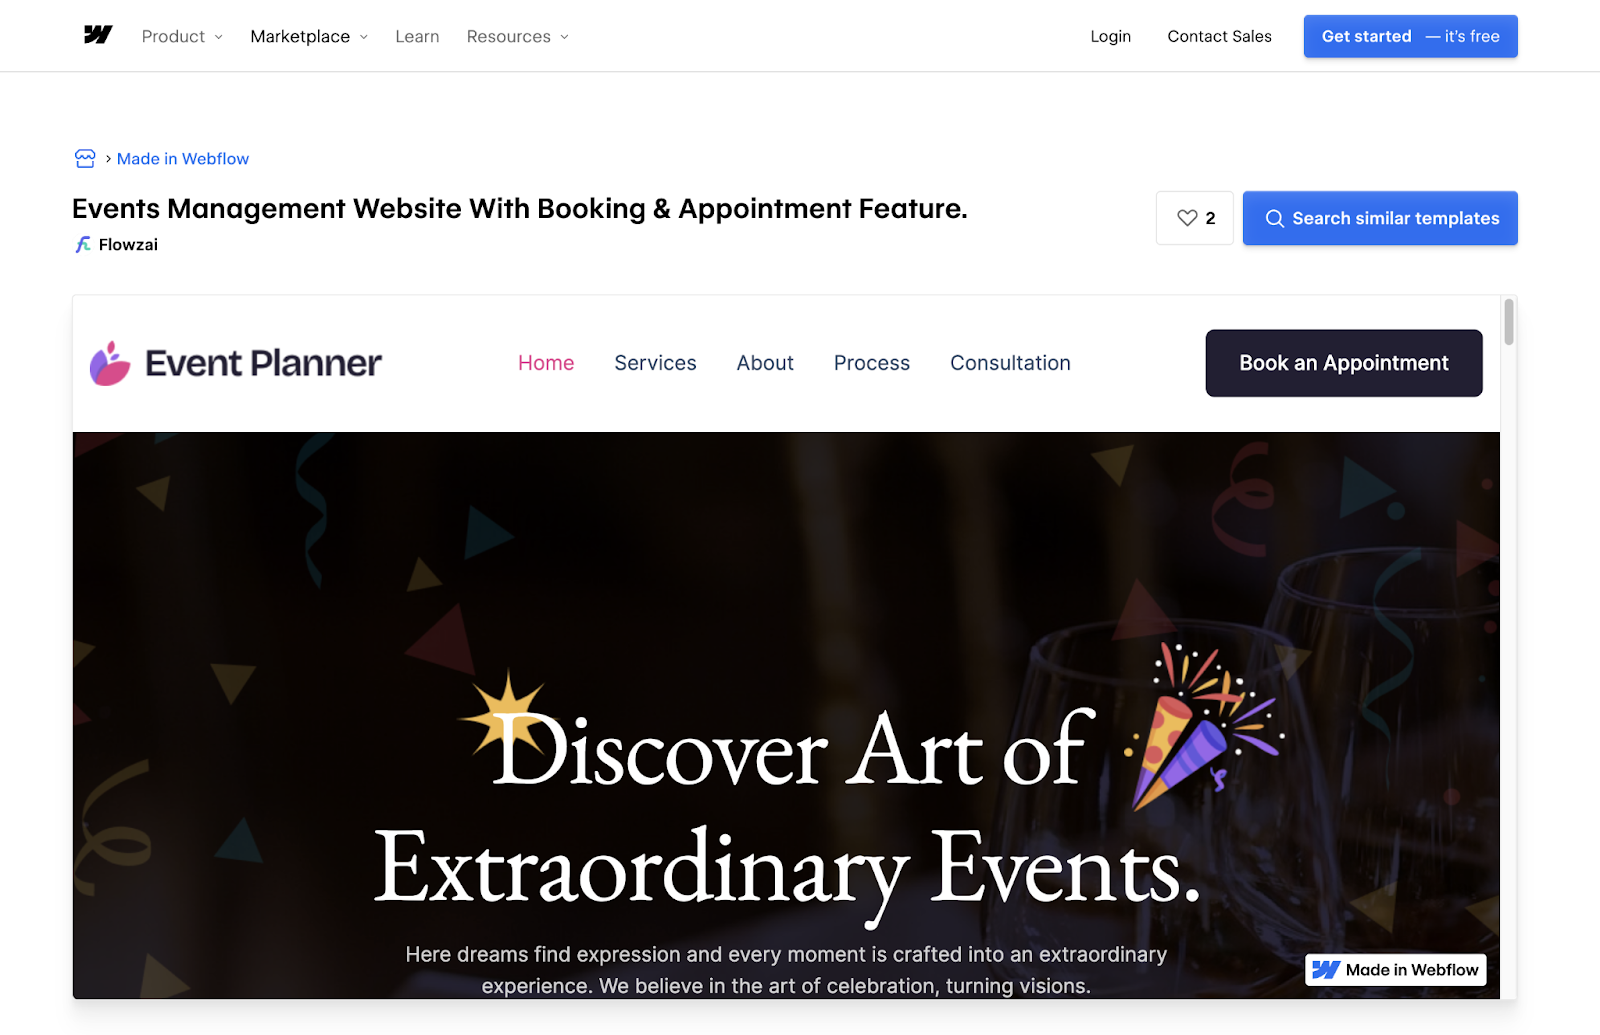
The showcase site works as a service-business landing page for an event planning company. Despite the "booking and appointment" label, the on-page experience is a consultation request form paired with clear service sections and fast navigation. This guide recreates that structure using native Webflow elements.
Below are five steps to build the layout.
Each step is independent once the page sections are in place.
Build a single-page layout with stacked sections
Create a single page (typically your Home page) and organize it into stacked sections. A structure that matches the showcase pattern includes a hero section with a headline, value proposition, and primary call-to-action. Below that, add one or more services sections for categories like weddings, birthdays, and conferences. Follow with an about section for your company story, an optional testimonials section for social proof, a consultation section with your inquiry form, and a footer with contact details and secondary navigation.
In Webflow, each of these is a Section element with a Container (or your preferred layout wrapper) and internal layout elements like columns, grids, or cards.
<image placeholder: screenshot of a stacked single-page layout in Webflow showing distinct hero, services, about, and consultation sections>
Add anchor-based navigation for one-page scrolling
Anchor navigation makes a single-page site feel like it has multiple pages. To set this up, select the element that starts each section (often the Section wrapper itself) and add an ID in the Element Settings panel. Use short, lowercase IDs like services, about, and consultation.
In your navbar, set each nav link's URL to the matching anchor format (#services, #about, #consultation). On the same page, you can also use Webflow's built-in "Section" link type instead of typing the anchor manually.
Keep section IDs consistent and lowercase to reduce errors. For more details on setting up section links, see the Webflow Help Center.
Create service sections with repeatable cards
The showcase format works well when services are presented as a consistent set of cards. Build one service card component and duplicate it for each offering.
A typical service card includes the following elements:
- A service name as the card heading
- A one-sentence description of the service
- A short list of key highlights
- A call-to-action button linked to the consultation form anchor (for example, #consultation)
Keep typography, spacing, and button styles identical across all cards so the page reads cleanly. If you plan to add or update services frequently, consider storing service data in the Webflow CMS and rendering cards with a Collection List.
Set up the consultation request form with native Webflow forms
To match the showcase site's lead-capture intent, use a Webflow Form Block to collect consultation requests. Drag a Form Block onto your page inside the consultation section.
Recommended fields for an event planning consultation request include name, email, phone (optional), event type (for example, wedding, conference, or birthday), preferred date or time range (as a text field for simplicity), and a message or requirements text area.
After adding your fields, configure the form in the Settings panel:
- Set required fields (at minimum, name and email)
- Customize the success and error messages so visitors know what happens next
- Match the submit button copy to your service tone (for example, "Request a consultation")
This approach creates a clean, on-brand inquiry flow. It does not provide real-time scheduling, calendar availability, or automated booking confirmations. If you need those features, you'll need a third-party scheduling tool like Zaibooking, Cal.com, or Calendly.
Handle submissions for manual follow-up
Because this pattern captures consultation requests rather than real-time bookings, the operational workflow is straightforward. A visitor submits the form, you receive the submission through your Webflow form notification settings, and your team follows up to confirm details and schedule the appointment manually.
Configure email notifications in your Webflow project settings under the Forms tab. You can also download submissions as CSV files for import into a CRM or spreadsheet. For automated routing to external tools like a CRM or email marketing platform, use a third-party automation service like Zapier or Make.
If you need true appointment selection with calendar availability, automated reminders, or payment collection, that goes beyond what this showcase pattern demonstrates and requires additional tooling.
What you can build with the Events Booking showcase pattern
This single-page layout with anchor navigation and a consultation form adapts well to any service business that needs to present offerings and capture leads.
Here are a few builds you can create with this pattern:
- Event planning agency landing page: Build a single-page site with anchored sections for each event type and a consultation request form that feeds directly into your team's inbox for manual follow-up
- Wedding or private event planner site: Create service cards for packages like full planning, day-of coordination, and decor, paired with a testimonials section and a "request a quote" form
- Corporate event planning page: Set up separate anchored sections for conferences, offsites, and product launches, each linking to a structured intake form that captures event size, date range, and requirements
- Local events coordinator website: Design a simple, mobile-friendly single page with a hero, a few service cards, and a prominent consultation form to convert visitors into leads
For more showcase sites and cloneable projects in this category, browse the Made in Webflow events collection.
Frequently asked questions
Add an ID to each major section in the Element Settings panel (for example,
services, about, consultation), then set your nav links to point to those anchors (for example,#services). When a visitor clicks a link, the page scrolls to the matching section. See the section links article in the Webflow Help Center for a walkthrough.Use Webflow's native Form Block element inside the consultation section. Add fields for name, email, event type, and a message. Mark required fields, customize the success message, and link your primary call-to-action buttons to the form section anchor (
#consultation)so visitors can reach the form from anywhere on the page.Create a single service card layout with a heading, short description, highlights, and a call-to-action button. Duplicate it for each service type. Keep typography styles, spacing, and button treatments identical across all cards. If you anticipate frequent updates, store service data in the Webflow CMS and render cards dynamically.
This pattern is designed for marketing and lead capture. It does not provide real-time booking features like selecting available time slots, enforcing capacity, processing payments, or sending automated scheduling messages. If your business requires those capabilities, you'll need a third-party scheduling integration. Browse calendars and scheduling integrations on the Webflow Apps Marketplace for options.
Description
Recreate the Events Booking showcase site pattern in Webflow using native sections, anchor navigation, service cards, and a consultation request form for event planning businesses
This integration page is provided for informational and convenience purposes only.

Luma
Connect Luma with Webflow to embed event registration, sync attendee data, and automate event workflows.
Zoom
Connect Zoom with Webflow to automate meeting creation, managing registrations, and building custom video experiences.
Ticket Tailor
Connect Ticket Tailor with Webflow to enable direct ticket sales on a site without redirecting customers to external platforms.
LiveStorm
Connect LiveStorm with Webflow to automate registrations, embed webinar rooms, and sync attendee data.
Humanitix
Connect Humanitix, a B-Corp certified event ticketing platform that donates booking fee profits to charity, with Webflow to sell tickets through embedded widgets on your site.
Luma
Connect Luma's event management platform to your Webflow site through embed codes, Zapier automation, or direct API integration.
Happyning Events
Happyning helps you create personal events with easy guest management and invites using SMS.

Eventbrite
Connect Eventbrite's ticketing and event management platform with Webflow to create seamless event experiences. Embed ticket sales, sync event data to your CMS, and automate attendee management while maintaining complete design control over your event pages.
Related integrations
Get started for free
Try Webflow for as long as you like with our free Starter plan. Purchase a paid Site plan to publish, host, and unlock additional features.
