


Stock photos are fairly boring—we all know that. However, unique imagery is unfortunately rather expensive and time-consuming to get. In this article, we walk you through clever workarounds for designing custom imagery into your site or email newsletter.
Have you ever been in the middle of designing a graphic composition and thought, “Well, I guess I'll use the same stock photo of businessmen shaking hands that I used last time?” If you’re a typography lover, perhaps it’s more like, “If I have to use Museo on one more website.... grrr.” Hehe.
You’re in a design rut! You’ve gotten used to your stock media assets. You need something new.
There are many quality resources out there, but knowing how and where to find them is usually overwhelming. Even when you do find the good ones, you’re faced with the sad truth: other businesses (sometime a lot of other businesses) are using the same assets in their designs.
Nothing hurts more than seeing your hero image in use on another site. Your clients agree.
In this article, I’m going to walk through three common design projects that you normally rely on stock images for. The twist is that I’ll show you how to compose each project so that it looks original and thoughtful. Specifically, we’re going to go through illustrations for blog posts and newsletters, product mockups (great for increasing conversion on landing pages), and quote graphics (great for social media).
Without further ado!
Project #1: Compose a custom illustration
Blogging takes time and commitment. Your goal for any post is to get as many people as possible to enjoy it and share it.
Articles with images get 94% more views than articles without them. That’s because images have instant impact. The right image has the ability to draw someone into a post before they’ve read a single word. Add images to your articles, otherwise you're wasting almost 50% of your pageviews. Crazy, right?
Most bloggers miss the opportunity to further command the attention of their readers by using custom imagery. It’s easy to understand why: stock images take only a minute to find and integrate. But, all too often that comes at the expense of having your content be boring and forgettable.
Here’s the trick: Use illustrations instead of photos. They’re customizable, playful, and unique. Just take a look at our blog page and interactions page—don’t the illustrations catch your eye?
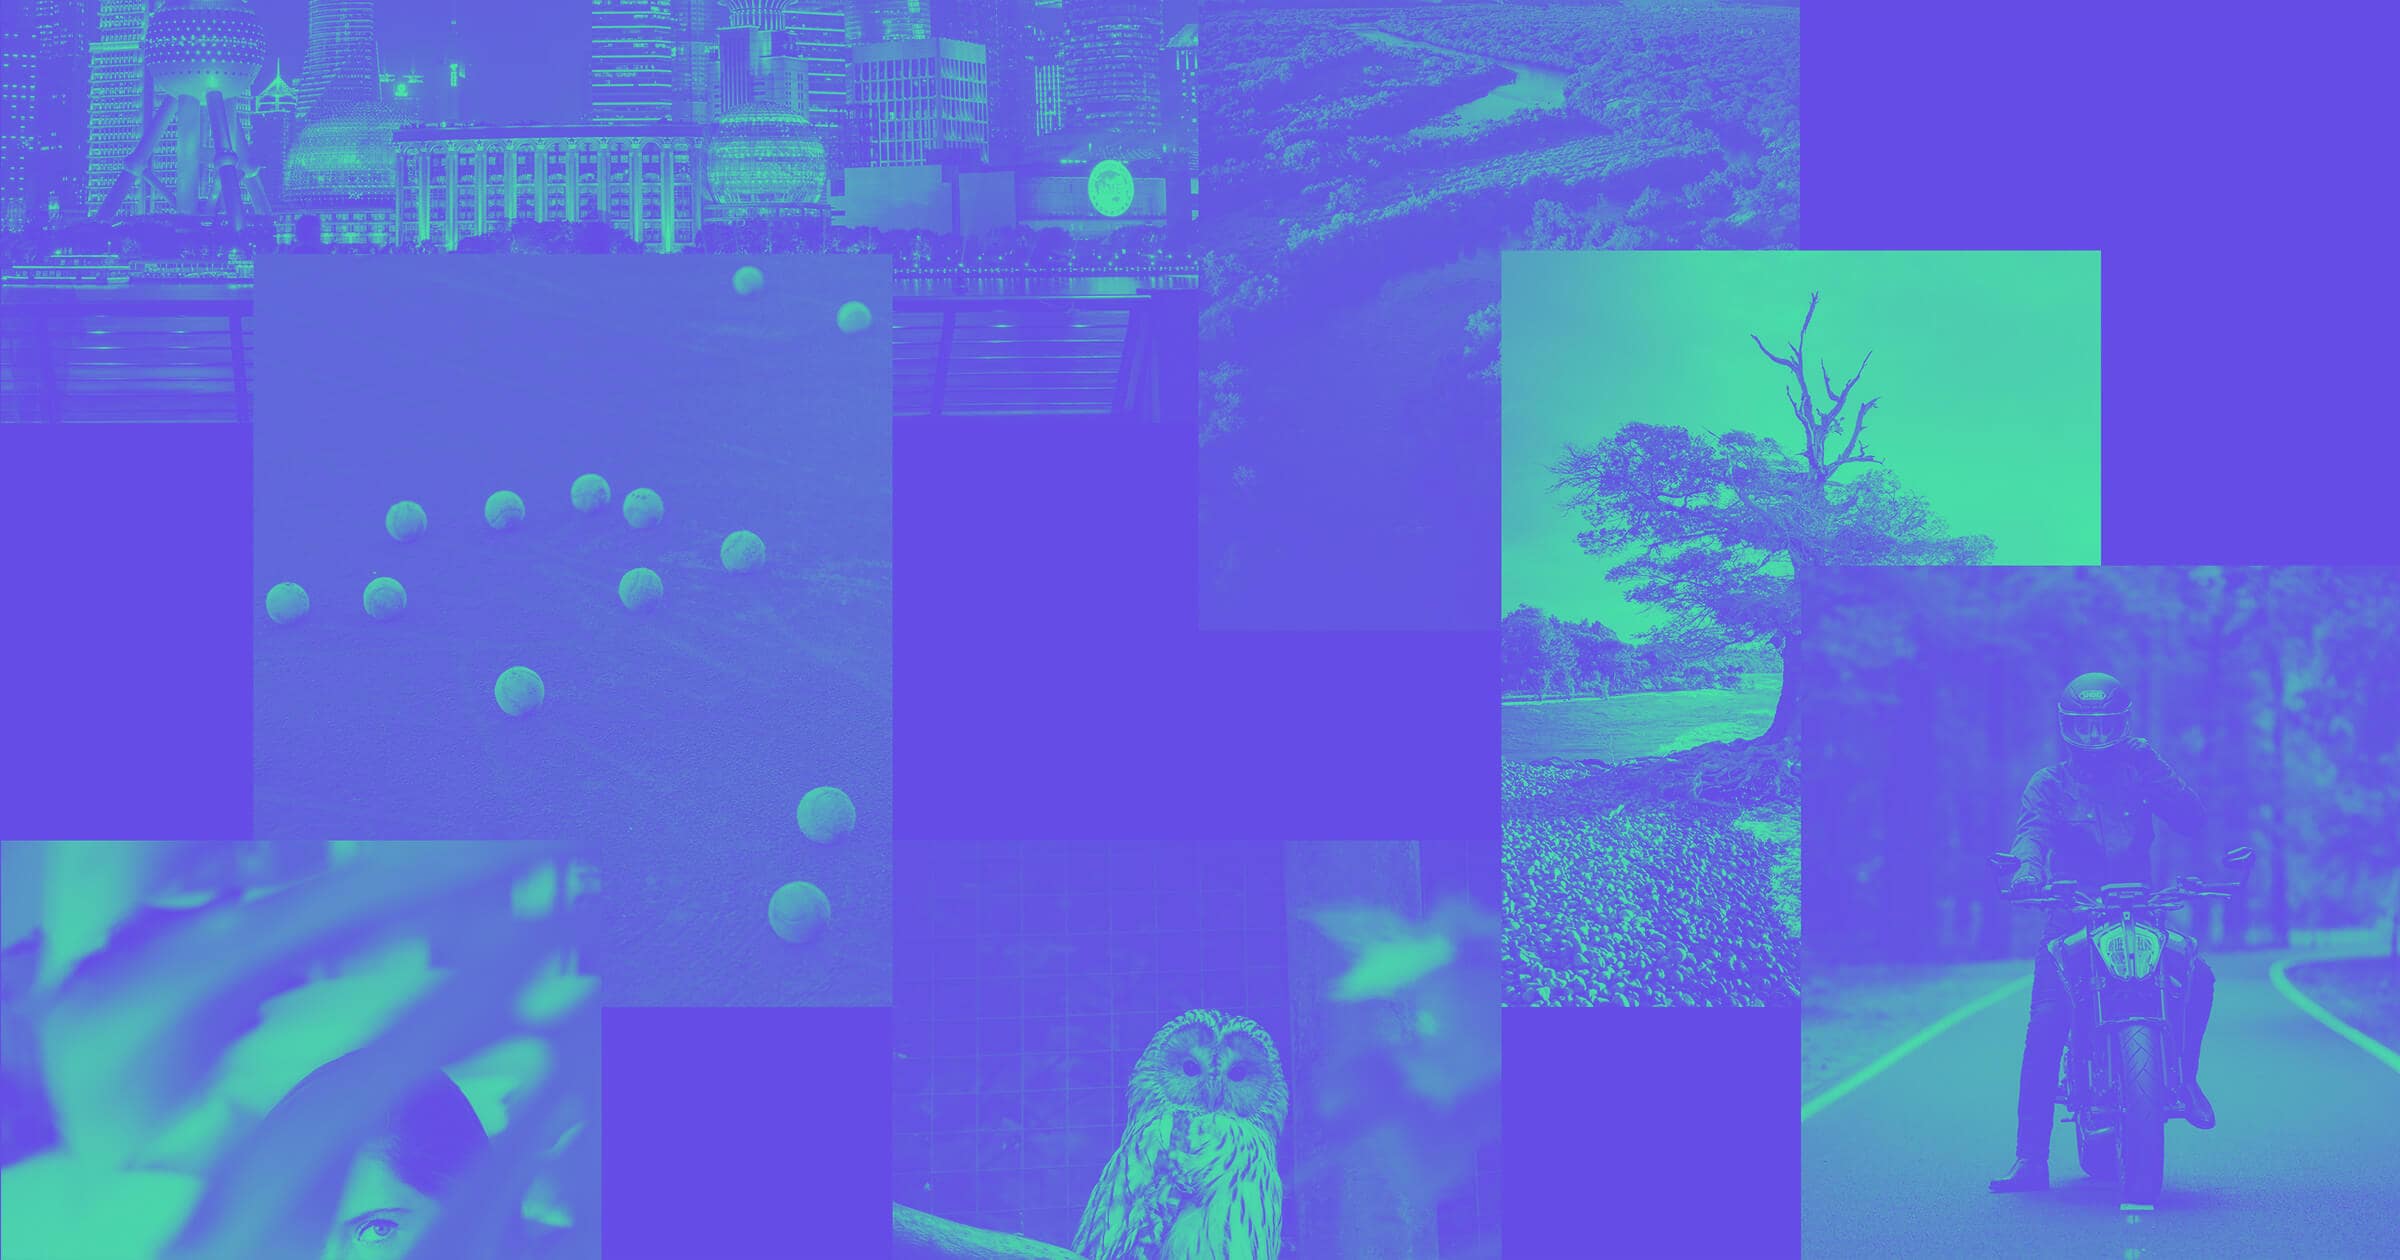
The images you see below are custom; they’re composed of various vector graphic resources that have been positioned alongside one another to form a whole.

AppSumo (an email newsletter for design deals) is an example of one designer-oriented deals site that makes this approach to imagery very affordable for all of your blog posts and newsletters. They offer a few crazy deals, like the one from Deposit Photos, which offers 100 images, including vector illustrations, for $39. Not bad. At 39 cents apiece, it’ll take quite a while to blow through your stock image budget.
Now, let’s talk a bit more about the actual process of putting together these images.
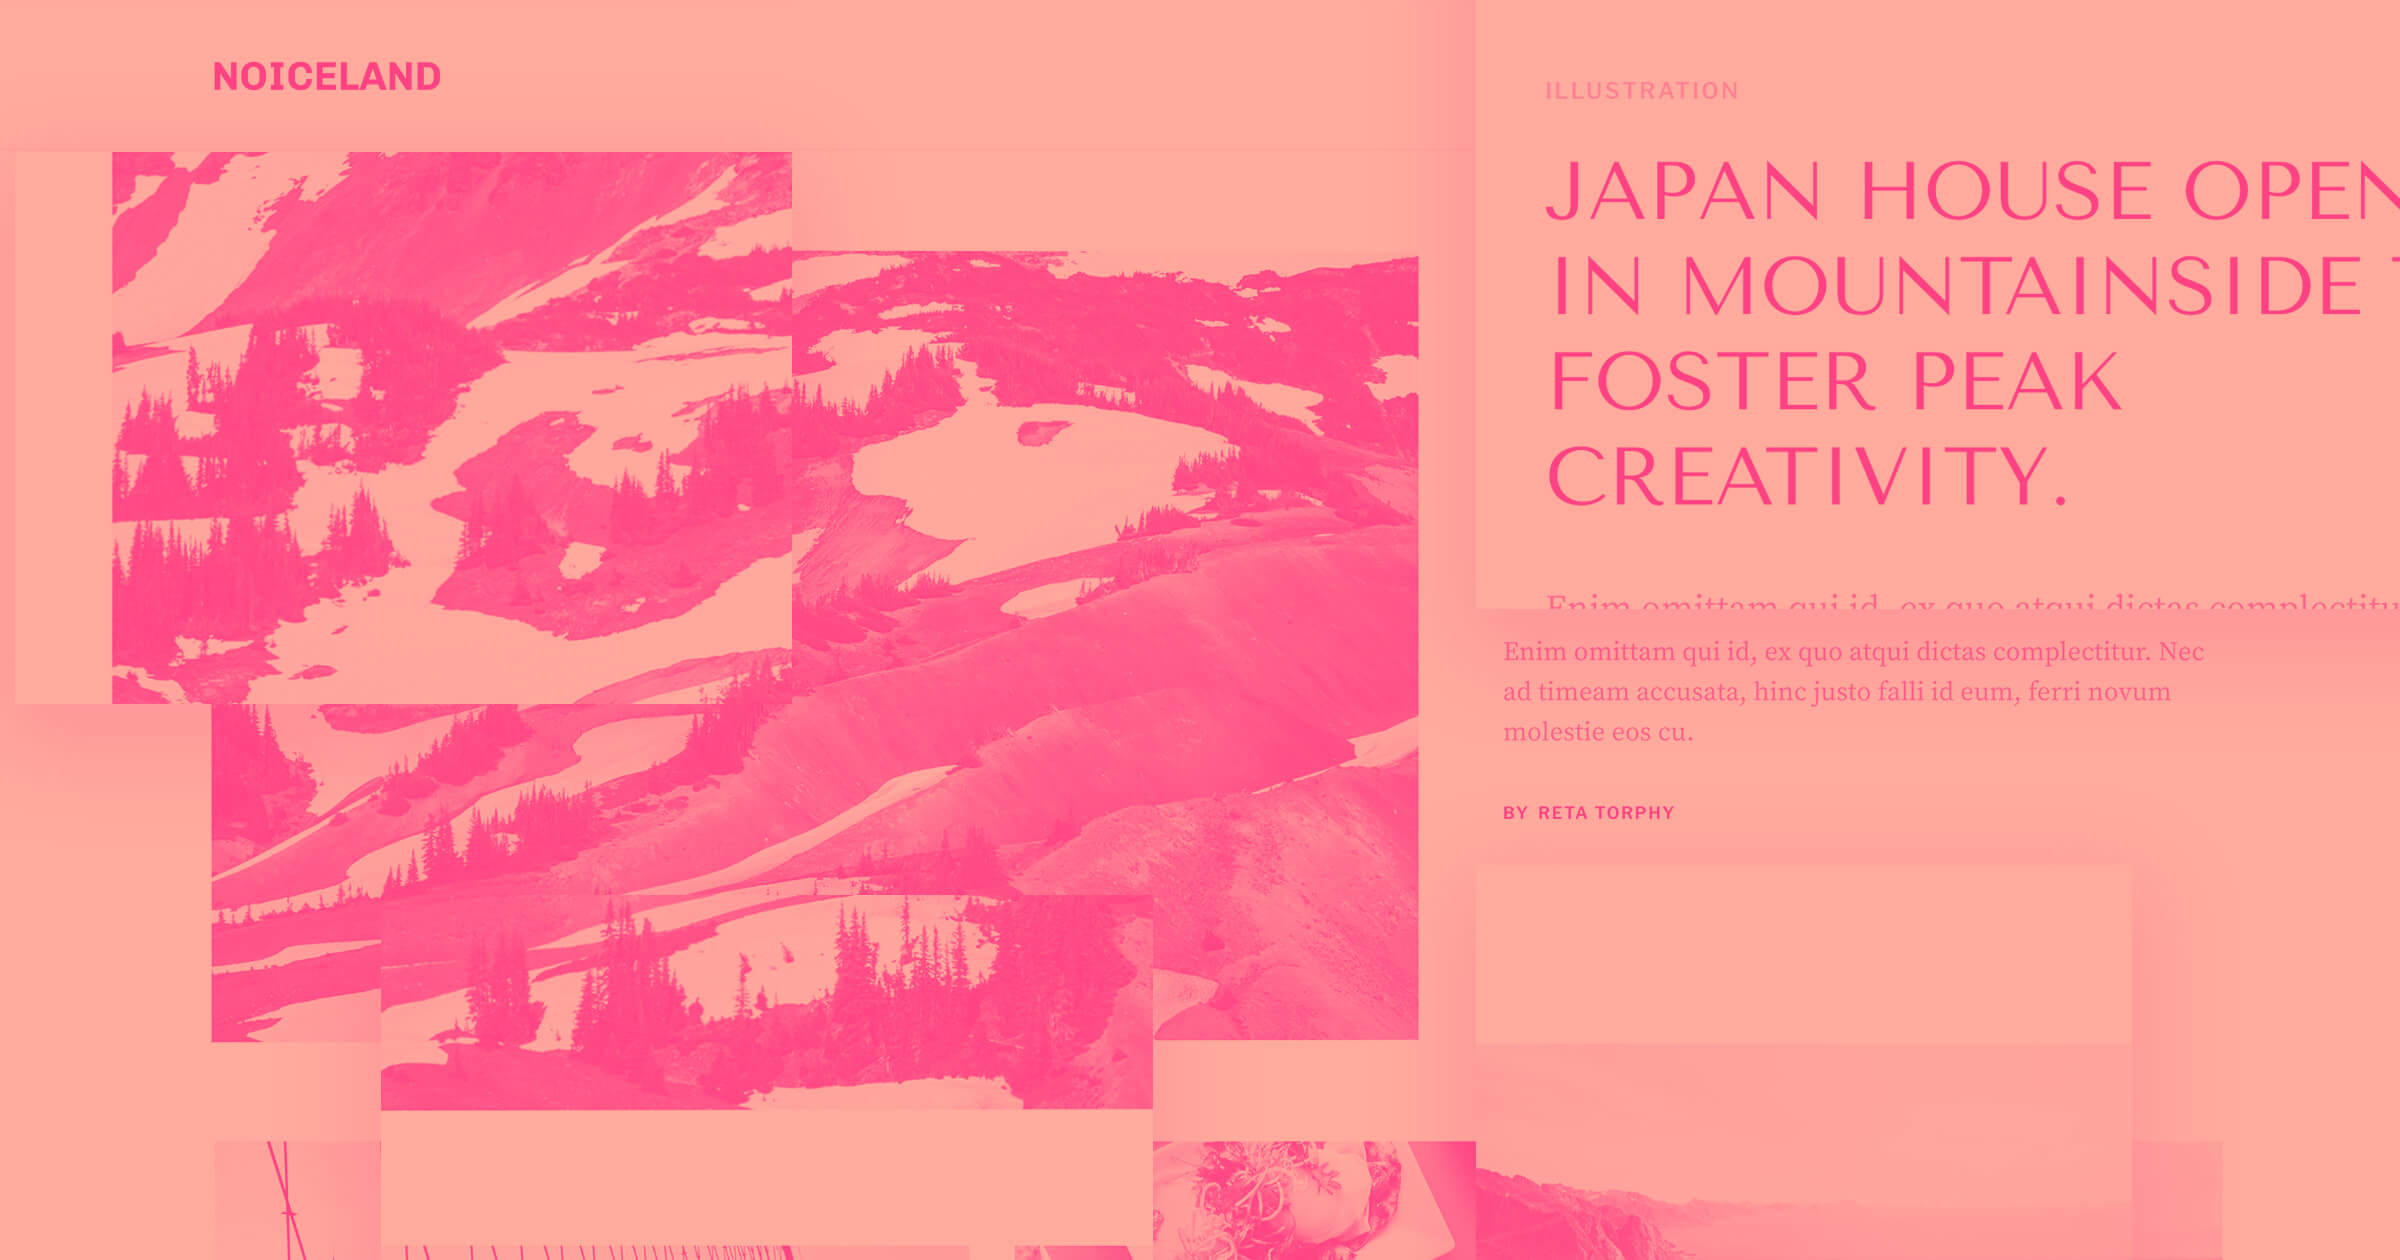
Creating a custom illustration for a blog post
While you could just pick any random stock image and drop it into a post, a little bit of thoughtful tweaking on pre-drawn vector assets can help you create something that an agency illustrator would charge a few thousand bucks for. It’s a pretty great way to up your brand’s perceived quality.
There’s a lot to consider when designing an illustration as a featured blog post image. Does the illustration match the topic of your post? Do the colors complement your brand? Does the style of the illustration fit with your overall design?

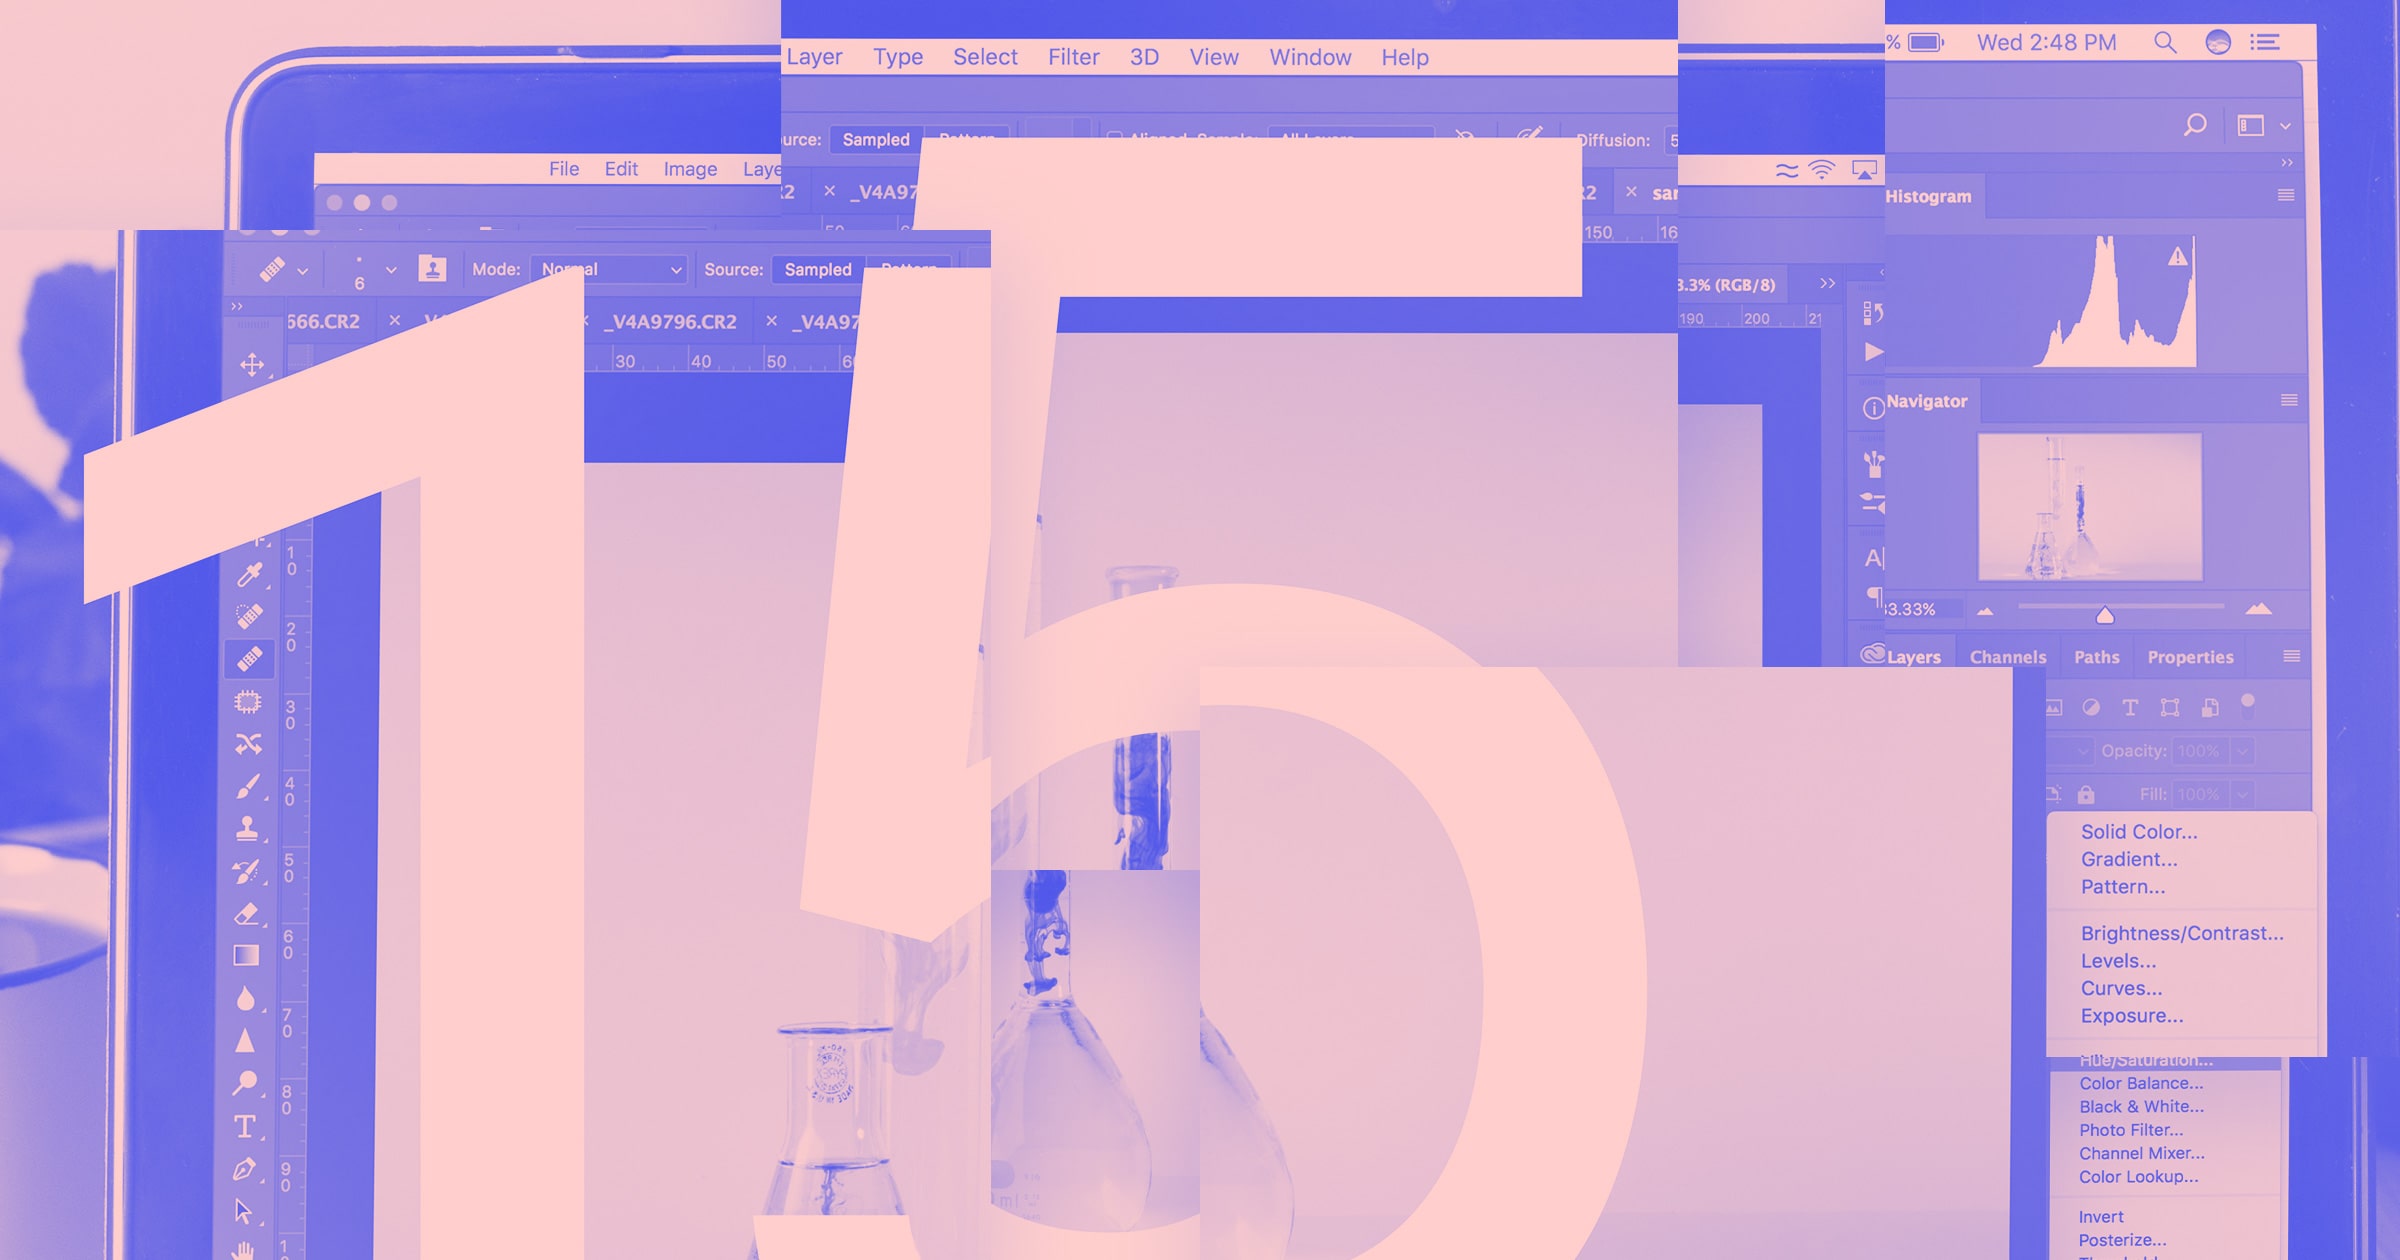
Customize stock illustrations with an icon set. See a time-lapse video of the changes in the video further down this page.
Let’s walk through two basic concerns you may have when trying this out.
Colors don’t match? Pre-made vector graphics packages make it easy to swap colors in and out. You don’t have to be an experienced illustrator or an advanced Photoshop user. It’s literally as easy as find-and-replace:
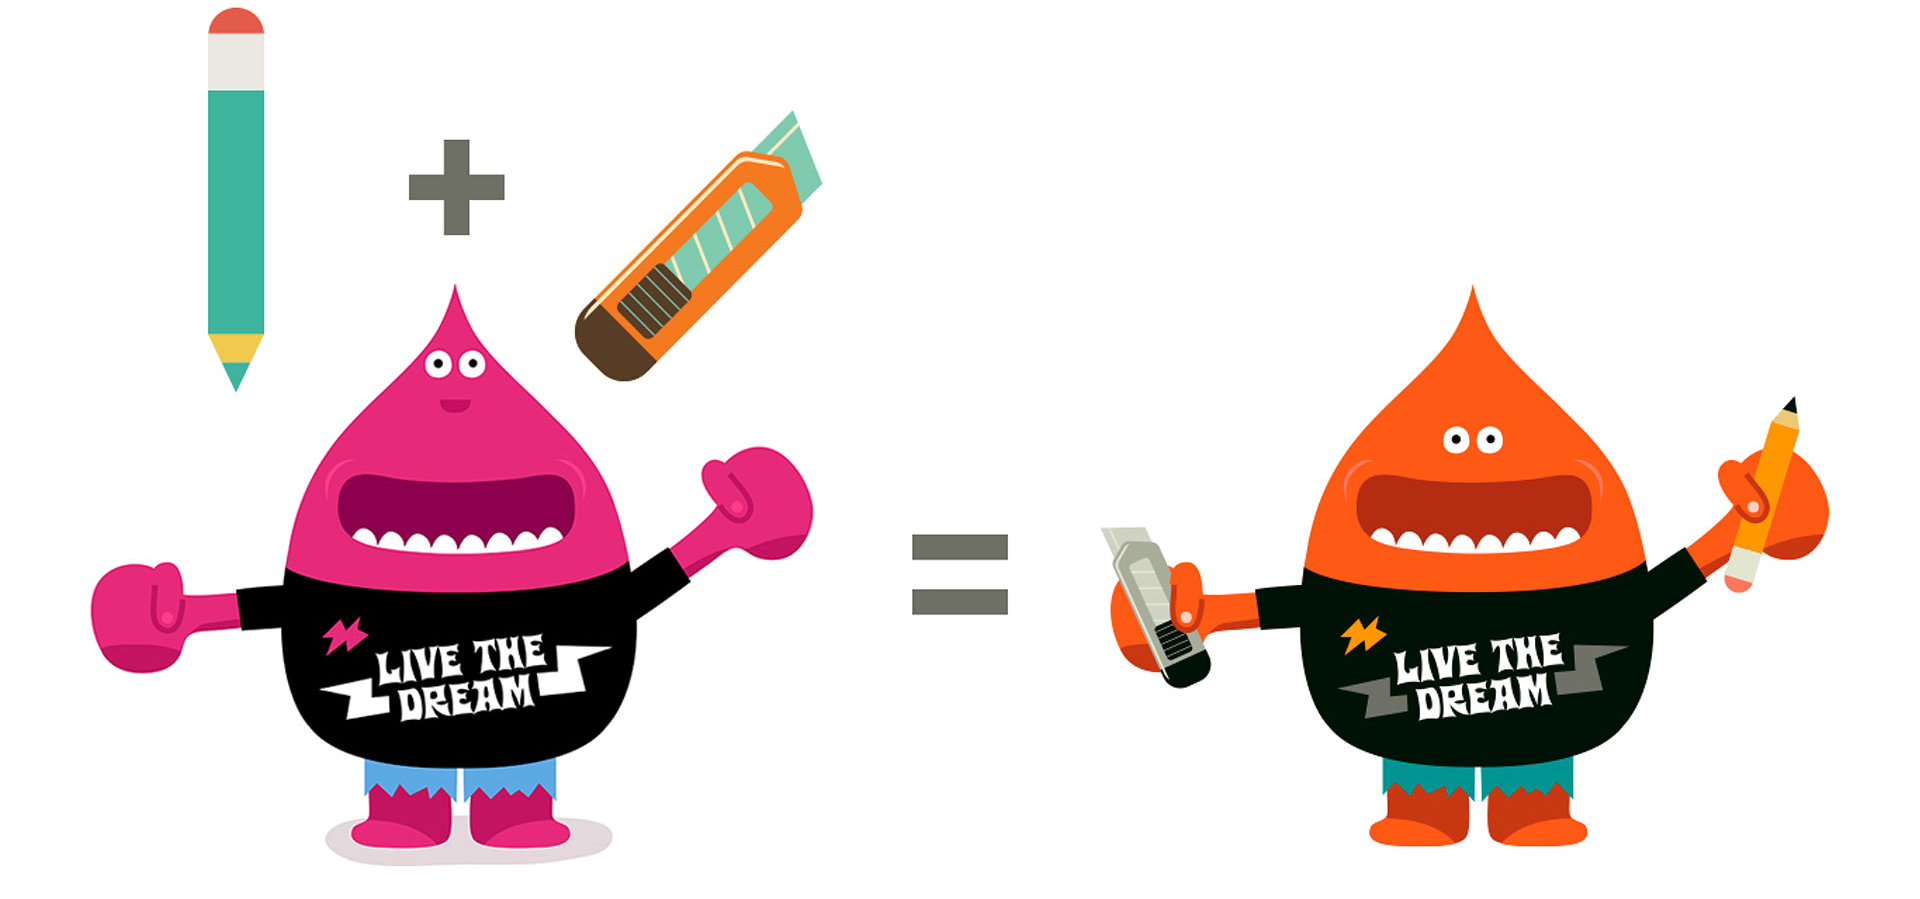
Sometimes an illustration is almost perfect… but not quite. However, when you take an icon from one set and combine it with a similar illustration from a different set, the visual message is right on target. So mix and match across various packages:

How-to: Watch a stock illustration and icon set transform into a custom blog illustration!
STEP-BY-STEP
Launch Adobe Illustrator
Open stock vector illustrations (AI, EPS or SVG).
Use the select and direct selection tools to select the color you want to change.
Use Select→Same Fill Color to select all elements using the same color.
Choose a new color swatch.
Continue until all of your colors are changed.
Copy + paste re-colored icon into a composite illustration document.
Re-size and arrange the elements of your custom illustration.
Export your final illustration as a PNG or JPG for use on your blog.
Project #2: Put your design in context with product mockups
You’ve designed a beautiful business card for your client. You can’t wait to show them. But, wait. What’s the best way to actually show it to them? Does it matter? Yup.
Think about this... Which would your client rather see: their card sitting inside Adobe Illustrator against a white laptop screen, or their card laying on a wooden surface next to a stack of their company’s branded t-shirts?
This is where mockups come into play: Why make a client try to visualize the completed design when you can show it to them? It’s the same concept as always using prototypes instead of mockups. This principle is also true for general product photography on your site!
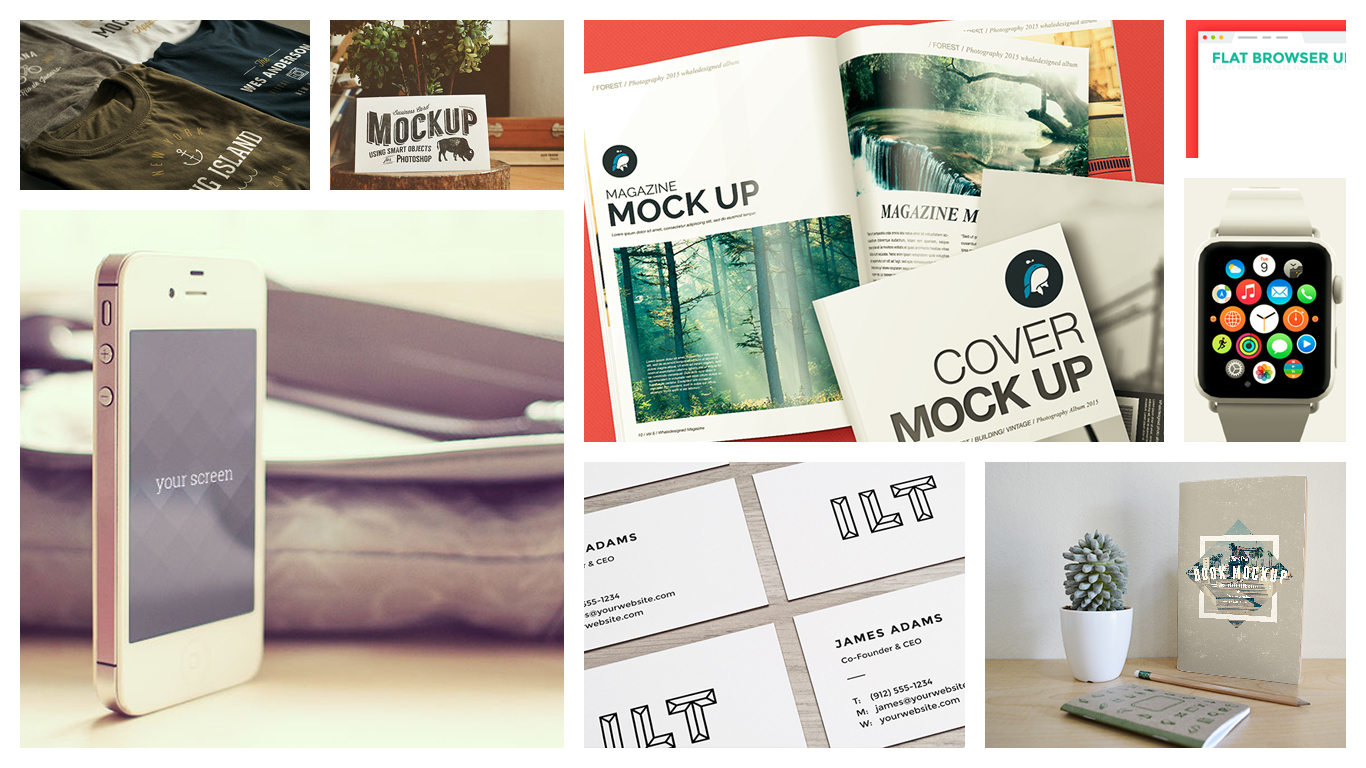
Creative Market is a great resource for high-quality product mockup photos (and much more). They use non-destructive “smart objects” and “displacement maps.” Sorry if that sounds like techno-babble. The short of it is: It means you can add your own artwork to the mockup with just a couple of clicks, while still maintaining the integrity of every t-shirt wrinkle and device screen glare. These aren’t cheesy, blurry, weirdly lit mockups—they’re tight, professional, and realistic. Take a look below:
There are three ways to get mockups from Creative Market:
Free goods. Every Monday, Creative Market posts six free downloads. No strings attached.
Bundles. Once a month, Creative Market offers a bundle of design resources at a huge discount. You can buy the bundle of over 90 products for $39 (it works out to something like a 97% discount).
Pay-per-download. You buy credits and apply them toward individual files. You can spend anywhere from a couple of bucks to around $100, depending on variables like the complexity and number of variations your chosen kit contains.
Below is another neat timelapse demo we’ve put together for you to get a feel for the process :)
How-to: Watch me create a realistic product mockup
STEP-BY-STEP
Open Photoshop.
Open your mockup file.
Open your custom logo or artwork file (in either Photoshop or Illustrator).
Double click the replaceable artwork Smart Object in the mockup’s layers palette.
A new document will open containing the Smart Objects current artwork. Delete the placeholder image.
Copy your client’s custom artwork and paste it into the empty Smart Object document.
Save and close smart object document. This will update the Smart Object in the original mockup file.
Some mockups may ask you to load a displacement map, especially for t-shirts and other highly-textured mockups. This makes your artwork follow the contours of the object you’re mapping.
Export your awesome mockup, upload it to your Webflow site, and get ready for your clients to tell you how awesome you are.
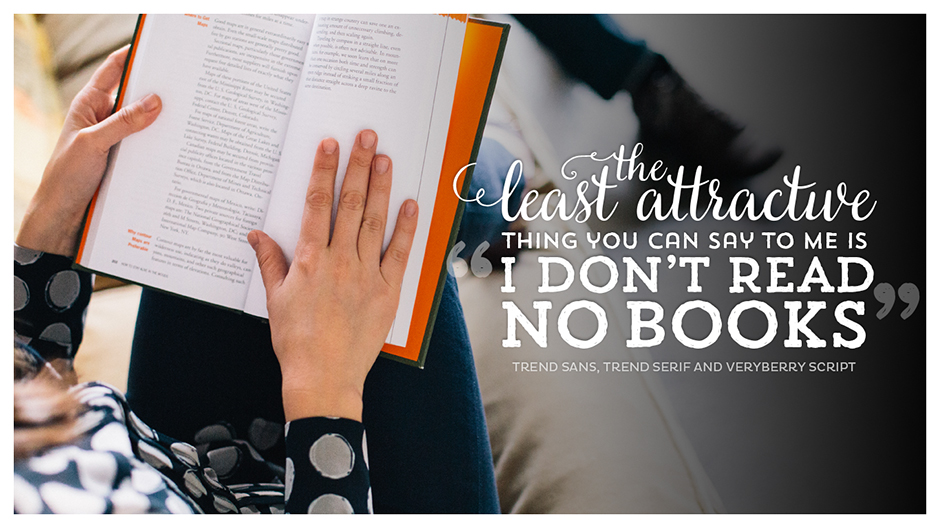
Project #3: Design a shareable quote graphic
Every piece of content you produce is about being seen. Don’t forget about that. You want new people to read your blog posts, learn from your infographics, and be inspired by your ideas so they become newclients.
Here are a few facts on the matter:
Tweets with images receive 18% more clicks, 89% more favorites and 150% more retweets.
Quotes get 847% more retweets than questions.
Users who tweet quotes have 43% more followers.
So we're going to learn how to create a shareable graphic that contains a quote. You just need to find a few simple resources to get started. Below are two high-quality sites for well-crafted, affordable typefaces plus modern stock photos:
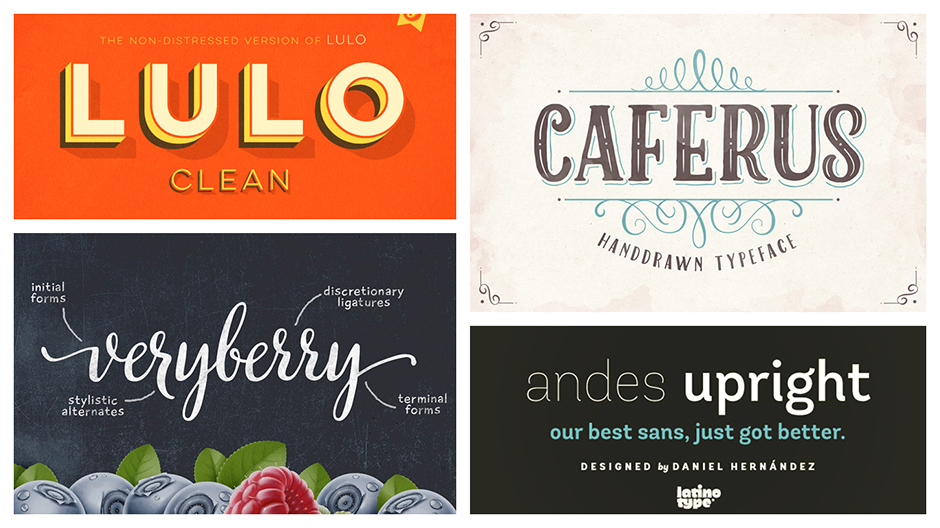
Design Cuts sells resource bundles featuring everything from a Freelancer’s Success Kit to Glitter Photoshop Layer Effects, and their font bundles are particularly good. What designer can say no to 21 fonts for $29? And these are typefaces even a font snob will love :)
While you can make a quote graphic out of type alone, sometimes you’ll want an image to complement your quote—something to set a mood and reinforce your message without overpowering it. For free and paid modern photos, check out Death to the Stock Photo.
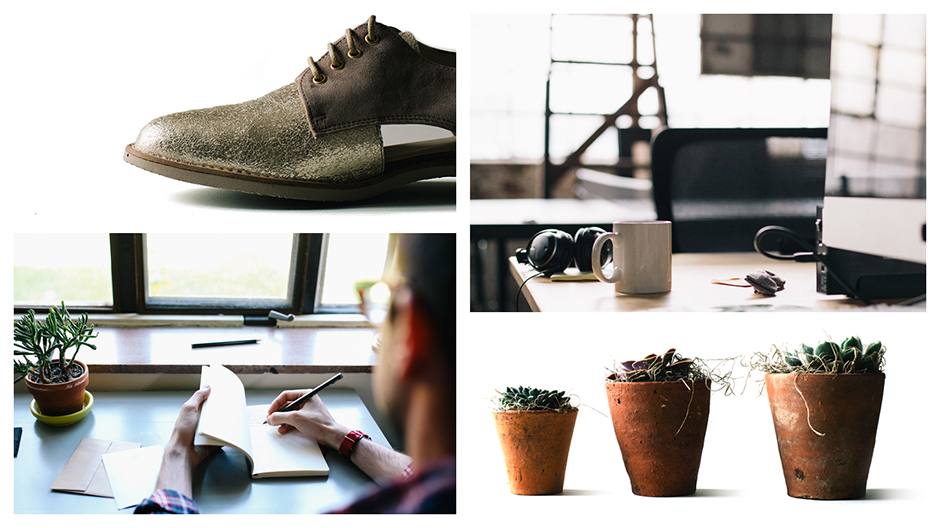
Death to the Stock Photo was created when its founders noticed a trend among their designer friends: they all “struggled to find images that fit their vibe + tribe.” So they started sending out occasional emails of their image libraries to friends, and things took off from there. Today there are two ways you can get access to Allie and David’s unique style of stock photos:
Sign up for free bundles via email
Subscribe for free bundles via email: If you sign up for the free service, you’ll get a new bundle of twelve themed stock photos once a month—and you never know what theme you’re going to get. This is a great way to build a free, diverse library of images, but it’s admittedly less-than-ideal if you need a specific imageright now. If that’s the case, the subscription option might be a better choice. For $15/mo, you gain access to the entire Death to Stock library (plus a bonus pack).
Bonus: An ever-expanding library of free images from Unsplash
Unsplash is a great resource for royalty-free, high-resolution images submitted by amateur and professional photographers alike. They add ten new images every ten days, and already have a couple hundred to browse through. Check them out. It’ll cost you nothing. Keep the following in mind, however: Since Unsplash doesn't have many images relative to other stock photo sites, and given that it’s becoming increasingly popular, its images are starting to pop up all over the Web. So, try not to always rely on Unsplash as your primary photo source.
Now, the next step is bringing a quote you love to life with your new fonts and photos. That’s the fun part. (And that’s saying a lot, because buying fonts is pretty much one of the best things ever.)
How-to: Creating the quote graphic
STEP-BY-STEP
Create a new 1280x720 Photoshop document.
Copy and paste a free Death to the Stock Photo image into a new layer. Re-size and/or crop for impact.
Choose at most three complementary typefaces—anything more is too busy. In this example, a flowing script contrasts nicely with a rough, hand-drawn typeface containing both sans and serif families.
Try different swashes and alternates. Play with scale. Create different arrangements. Kern because you care.
If there’s not enough contrast between the background image and the quote, make it more readable by adding a gradient layer. Try a white-to-transparent or dark-to-transparent gradient—you can even try changing the blend mode to “overlay” for an interesting supersaturated effect
Break out of your stock resource rut
Find new sources of inspiration
Why use the same old Google Fonts when Webflow makes using custom fonts so easy? Consider checking out Google Type Gallery for unique font inspiration. Don’t settle for a generic image with generic typography when you can transform it into something special in just a few minutes.
The same goes for the rest of your design work! Tune in to sites like Designspiration and Abduzeedo to be visually inspired by imagery that’s outside of your norm.
Where do you find stock resources?
I’d love to find out what your best cheap stock resources are, and what you’ve made with them. Talk to us in the comments section below!


Free ebook: Web design 101
Master the fundamental concepts of web design, including typography, color theory, visual design, and so much more.