It’s exciting when a project’s finish line is finally in sight. The journey from a website project's inception to completion is by no means a leisurely stroll. You've worked hard and given it your best. But before you hand a website over to your client, there are some key things that will make for an easier transition. Let’s take a look.
Check for consistent design elements
You’ve likely inspected the design roughly half a million times by now. But when you’ve been looking at something for that long, it’s easy to miss things. Overlooking a pixelated image or block of lorem ipsum after you assured your client you’d take care of it can be an ugly smudge on the launch of an otherwise excellent design.
Before you hit publish and hand over the site, run it against our pre-launch checklist. But let’s review the basics here.
With more unorthodox designs, there might be a purposeful lack of consistency. But for those visual elements meant to be uniform, check for consistency in the following areas:
Spacing
Spacing should allow for an uninterrupted flow of the layout.
- Is there padding around images so surrounding content doesn’t appear crammed?
- Does the spacing around call-to-action buttons make it easy to connect buttons to related content?
Colors
Colors should adhere to the project’s established palette.
- Are colors consistent with the client’s branding?
- Do different link states have color settings that match the project’s style guide?
- Did you use global swatches so it’s easy to update colors in future?
Shadows
Drop shadows look weird when they’re aligned in different directions — double check that they’re uniform.
Typography
Headers and body content should be consistent with the project’s style guide. Also, make sure your hierarchy makes sense — i.e., don’t skip from H1 to H3.
Images
Did you use the right images? Are they high-quality? Did you compress larger images so they don’t impinge on your site’s performance? A quick speed test using Pingdom can help determine if you’ve optimized your images sufficiently. Check that images are the right size and not distorted before the site goes live.
Cross-browser/cross-device functionality
Your design should be responsive on all devices — Webflow’s preview mode helps you check for this.
If you’re not in the habit of starting your design process with a living style guide, they’re a great way to make sure your design is consistent.
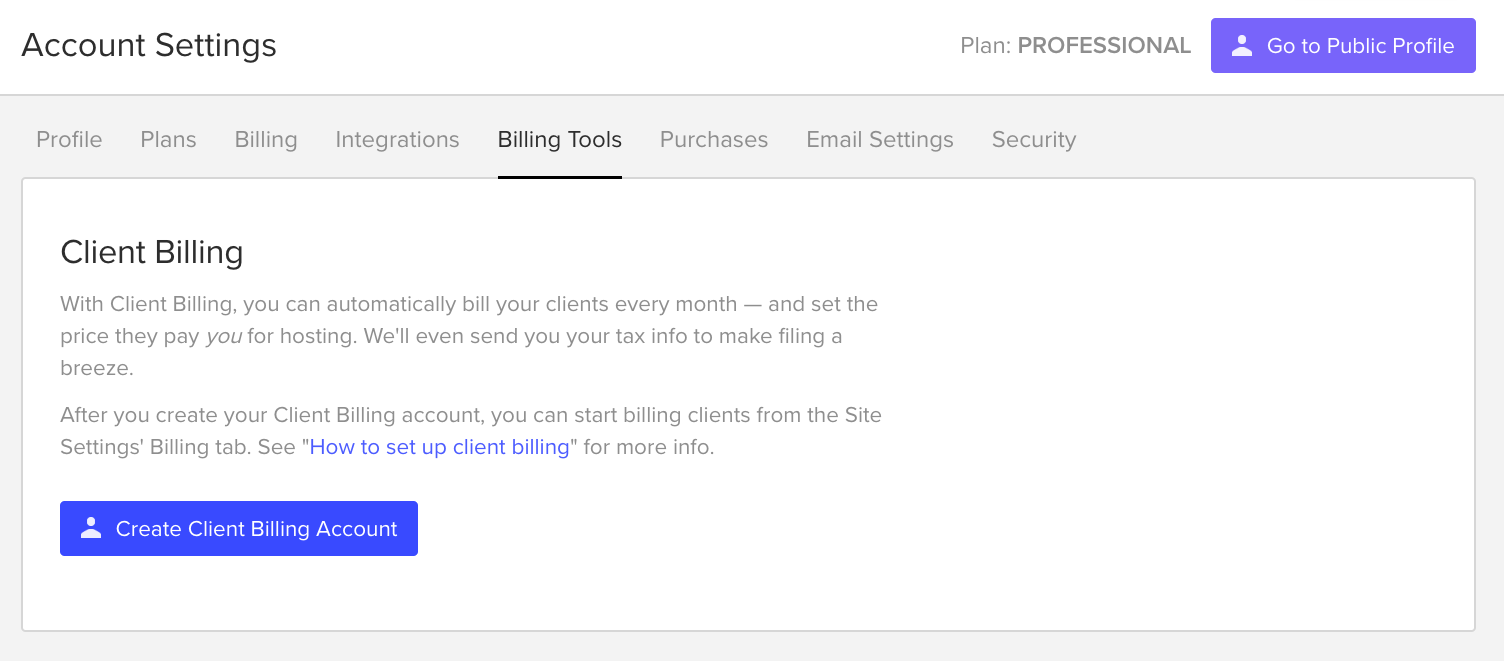
Set up Client Billing in Webflow

Okay — everything’s looking good and now you’re ready to hit publish. But first, let’s set up client billing.
This includes the cost of hosting on Webflow, site maintenance, and your profit. Make sure your client understands this — be transparent about what’s routine updating and what involves additional billable design work. Creating a design contract before setting up the billing will give both you and your client a mutual understanding of your agreement.
If you’re setting up billing for the first time, we’ve got you covered with this tutorial.
There are 3 steps to set up Client Billing in Webflow:
- Create a Client Billing account
- Set up Client Billing for the specific project
- Send your client a payment link
We know you have better things to do than being an accountant — like designing things — so we’ve simplified the billing process.


The modern web design process
Discover the processes and tools behind high-performing websites in this free ebook.
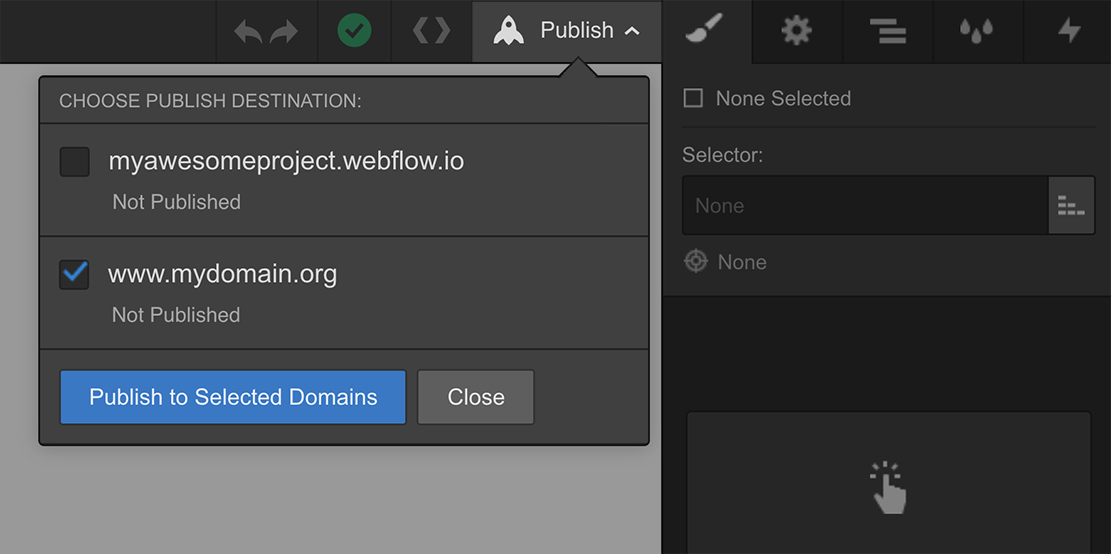
Ready, set — publish!

Now that you’ve double- and triple-checked the design, the content has been edited, and someone has sprinkled SEO fairy dust throughout, it’s time to go live!
And of course, we’ve got a publishing tutorial for that.
Get your client up and running with Webflow’s editor

This is where we make sure we’ve done all we can to prepare our clients for the eventual steps they’ll be taking without us. Like taking the training wheels off a child’s bike, it’s time to hand over the controls of the website to your client.
Gosh — they do grow up so fast.
Many clients will feel ready to tackle simple updates and changes on their own. Others will want you to do it for them. Be clear about your process and fees, and then give them a choice.
One of the most important parts of handing off the design is setting up your client for success — with access and knowledge to edit using the Webflow CMS.
This involves:
- Sending clients an invite to be a collaborator
- Teaching clients how to log in and out
- Explaining what content is and isn’t in the CMS
- Explaining the differences between static pages and Collection pages
We've created 2 resources to help you set your clients up for success:
- The Client's guide to the Editor is a 4-part video series to get clients up to speed quickly and easily. This guide includes links to unbranded versions of videos for you to share with clients
- A client onboarding guide you can clone, customize, and share
It’s a good idea to sit with your clients in person for this crash course in making changes.
Handing off a project doesn’t mean a client relationship should end
It might be tempting to hand the project over and be done with it. Especially if it’s been a bumpy ride. But pulling the old disappearing-web-designer act isn't recommended.
Check in with your clients every once in awhile — not only is it the right thing to do, but maintaining those relationships means you’ll likely be top of mind for a site refresh. And to help you keep these check-ins top of mind, consider creating reminders or calendar events to nudge you every quarter or so.
Web design can be a solitary pursuit, but solid connections can propel your career. Gaining and keeping your clients’ trust and preparing them to take over will speak to your professionalism.


