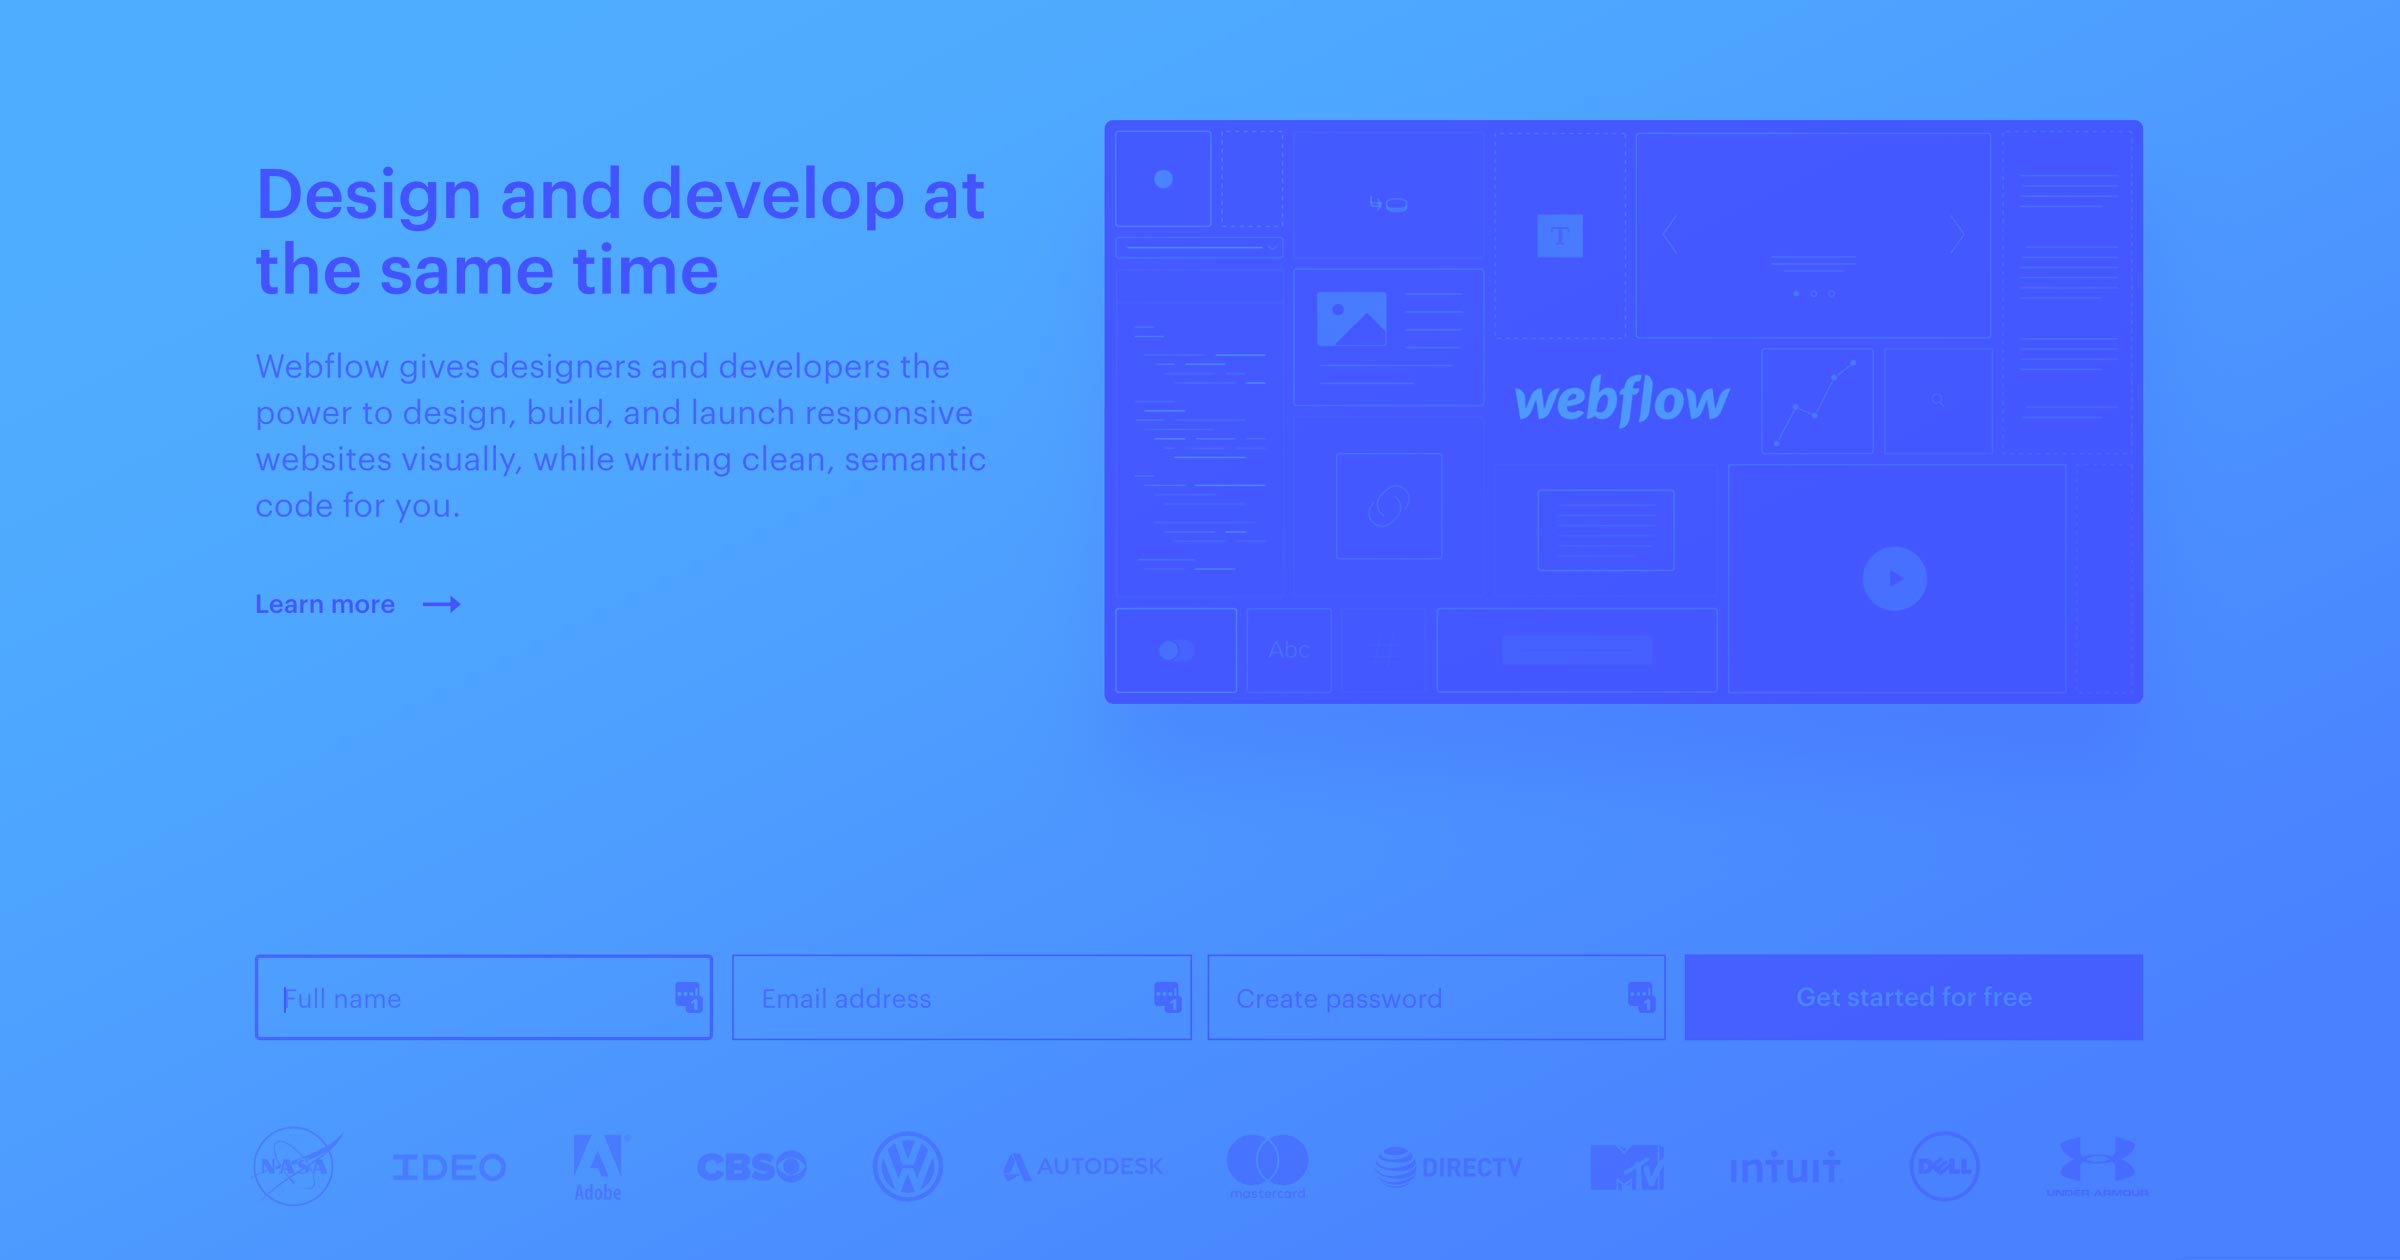


Carving out your company’s space on the internet can be an intimidating task, requiring keen coordination between design and development. Unless you’re using a platform that brings the whole process into a single place, like Webflow.
Webflow empowers creatives and entrepreneurs alike to realize their own online goals, because you don’t need to know how to code to build a high-quality, responsive website. It dramatically lowers the barriers to web design and development, but can also meet even the most challenging demands the internet can throw at it.
The following five steps will walk you through using Webflow with little to no prior skills required, from signup to launch. Explore and create your avenue of the internet.
Note: So we’re clear: you can definitely sign up for and build a website with Webflow for free, but you will need to pay for hosting.
Step 1. Get set up (1-2 minutes)
The first step, obviously, is to sign up. It’s free to get started, so what are you waiting for?
Once you’ve signed up, Webflow will ask you to choose your skill level from a short list of options. I chose, “I am not a designer/developer. I just need a website for myself” — but you should pick whatever best fits you, as that will determine what types of educational emails you’ll get from Webflow.
Step 2. Start your engines (3-5 minutes)
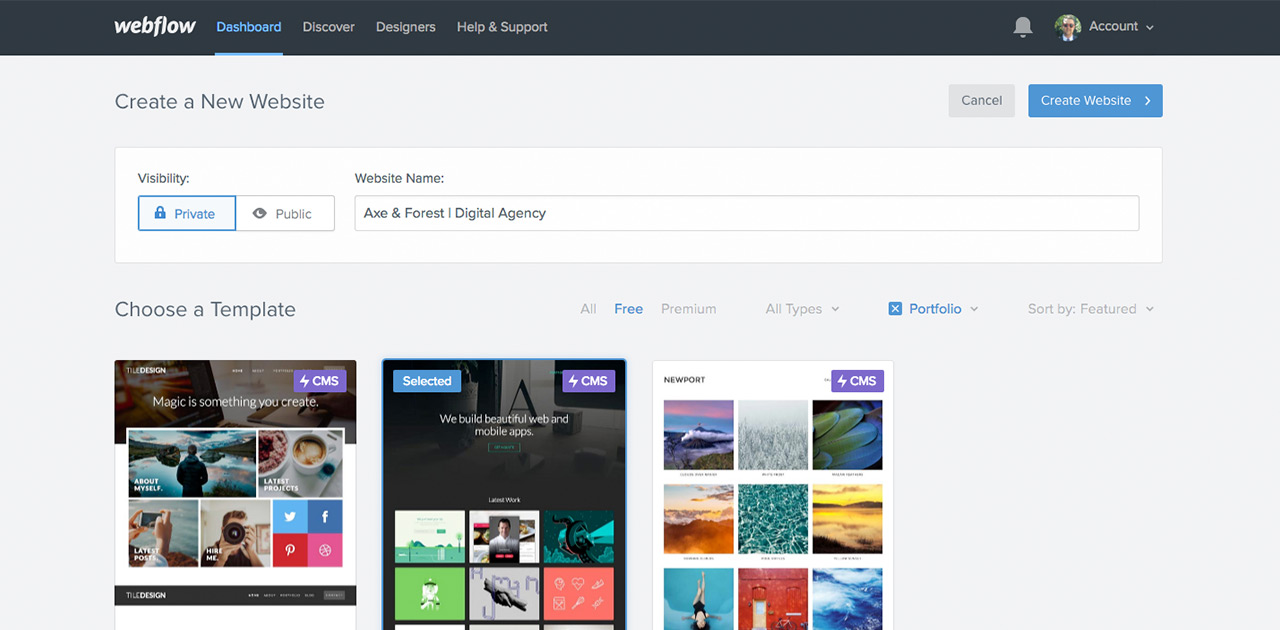
First, give your site a name. And don’t worry — this is completely editable later on. Just think of it as a project name for now. You’ll have a chance to create your custom domain name later.
For now, keep your site’s visibility set to Private. We’ll go public in step 5!
Note: your initial private site will live on <yoursitename>.webflow.io. You’ll always have access to that version of your site, but you can connect your Webflow site to your custom domain name when it’s ready for the public. And if you don’t have a custom domain yet, no worries — you can buy one through Google Domains right inside Webflow.
Choosing a template
Using a template for your first Webflow website gives you a great way to get your feet wet. You can easily make any template your own with your colours, typography, and images — all without writing a single line of code.
But don’t stop there! Webflow gives you full control over your design, so when you’re ready to start adding custom features or changing layouts, you’ll find a wealth of Webflow tutorials to guide you through the entire design process.
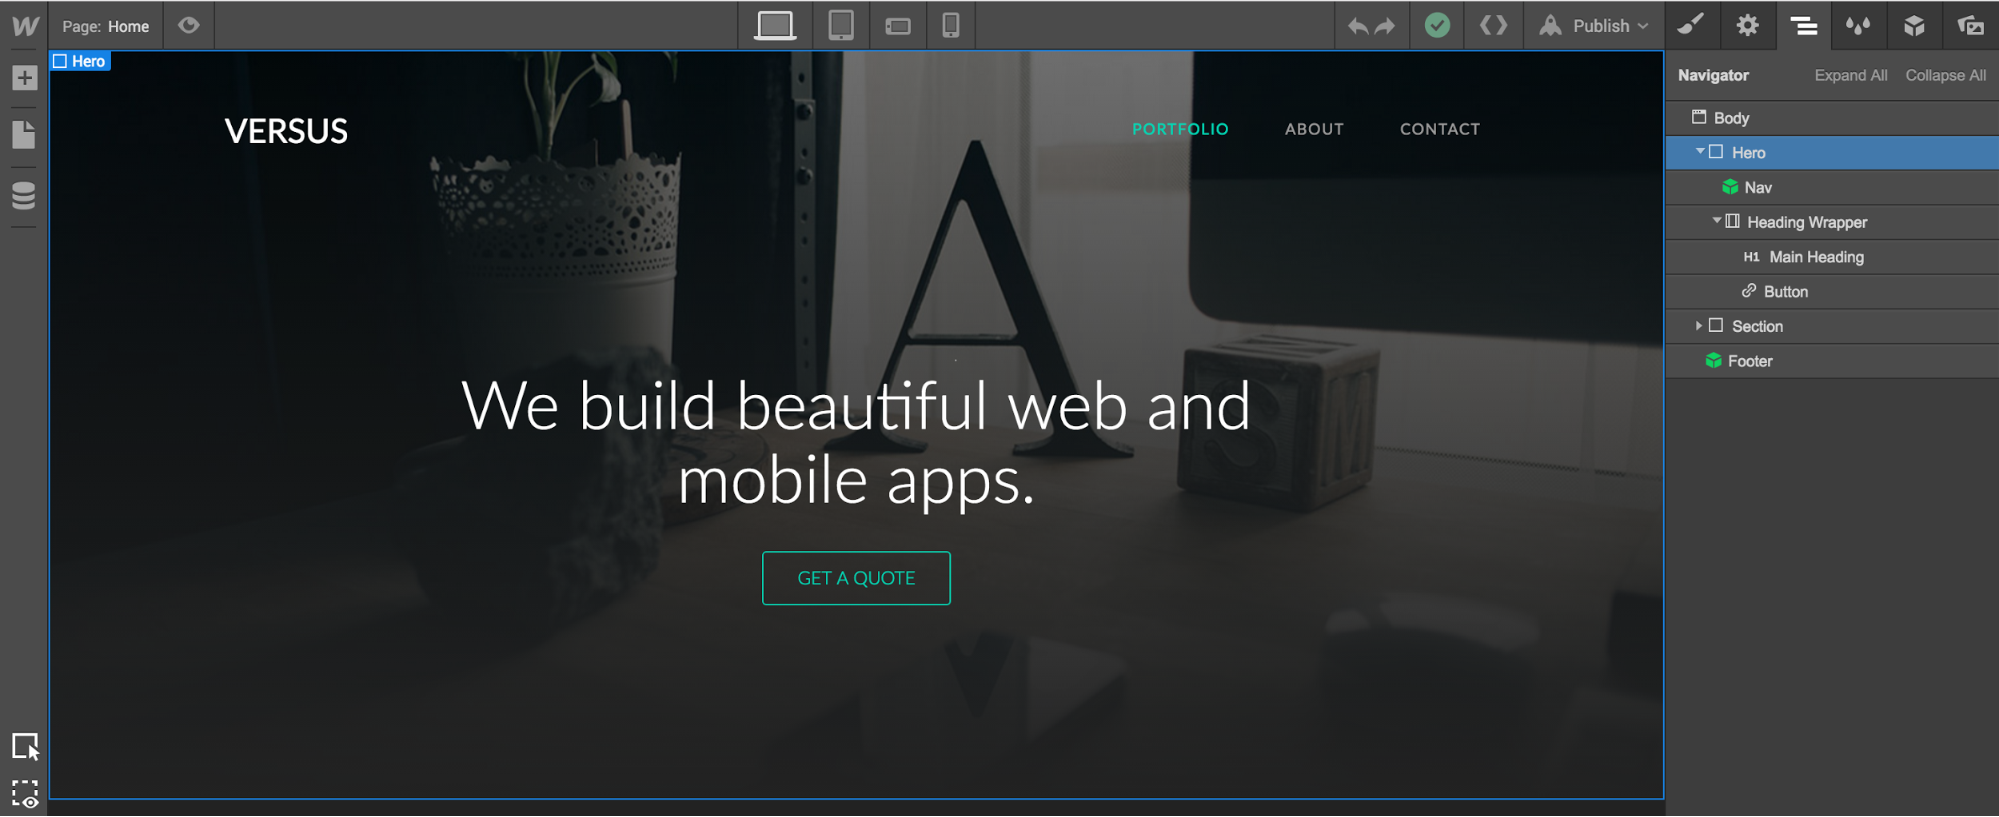
For this walkthrough, I’m using the Versus Portfolio Template, which provides a content management system (CMS) and a great foundation for the direction I want to take my business’s website. (If you’re not familiar with content management systems, for now, just think of it as an easy way to create, edit, and manage content on your website.)
Versus is perfect for a portfolio-based website like the one I’ll be building for my faux digital agency, Axe and Forest. It’ll give me the baseline pages my site needs, such as a homepage, about page, and portfolio page.
To find the template you need, use the search filters.
Step 3. Customize your website template (1-3 hours)
This is your chance to fully customize your business’ website and really make it shine. You can completely overhaul the design, or change just enough to reflect your goals and business.
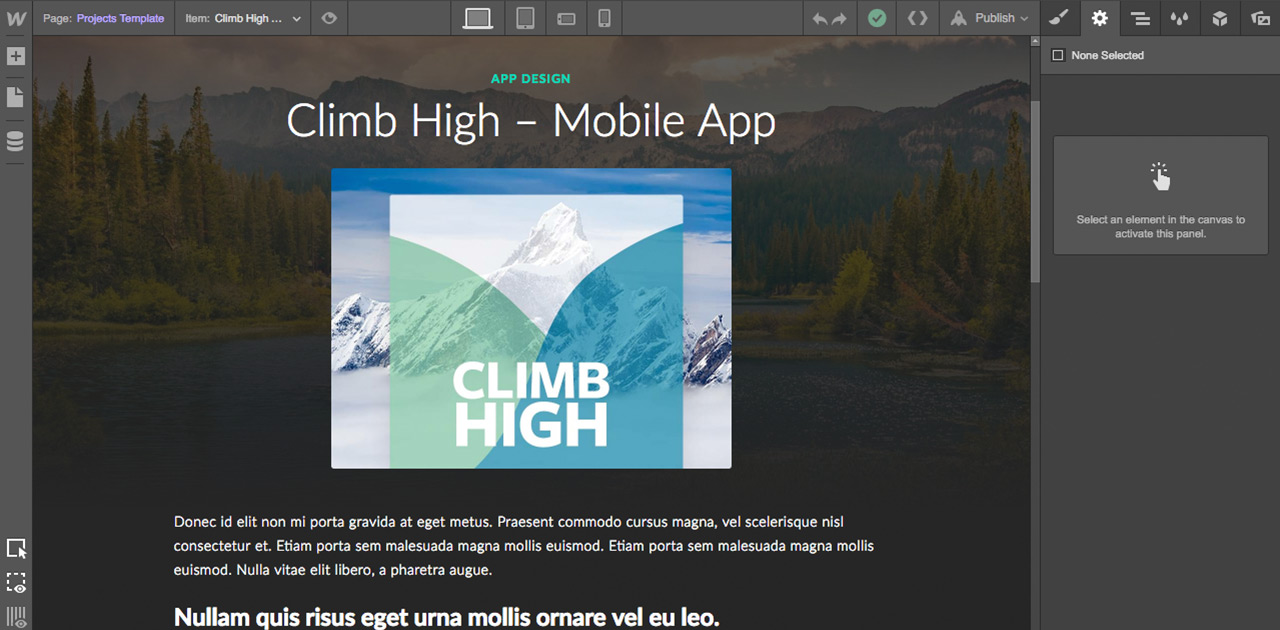
To edit any element on a page, just click to select it. This will open the item in the Style tab to the right, where you can customize the element’s design, changing its colours, fonts, layout, and more.
Start with your homepage
I recommend starting with changes to the homepage. That’s because the design decisions you make here will trickle down into deeper pages like about and portfolio.
Your homepage will often feature elements that appear elsewhere on the site, and when you edit them here, other instances will update to match — automatically. For example, changing a headline’s font may affect headlines across the site.
That’s because Webflow uses CSS classes to control the appearance of elements of your sites, just like a web developer would. If you’re familiar with graphic design tools like Photoshop, Illustrator, or Sketch, you can think of classes as the web’s equivalent of styles.
Editing Symbols
The creator of the Versus template was kind enough to make some of the template’s elements, including its main navigation area, into Symbols. Any edits you make to a Symbol will automatically be made to every other instance of the Symbol on your site.
Symbols are highlighted with a green box, which you’ll need to double-click to edit.
Most Nav elements like this one will have the logo on the left and page links on the right. To edit either of these, highlight the element and customize it in the Style panel on the right.
To change the text or destinations of the links on the right, just double click them.
Background images
You can change the template’s background image by selecting its container, which in this case is called Hero. You can think of a container as a box that holds content on your site.
Sometimes, it can be easier to select an element or container from the Navigator tab on the right. This tab acts like a schematic of your site’s structure.
You can replace the background image in either of two ways:
- With the Hero container selected, scroll down to the “Background” section, click the thumbnail of the current image, then hit the “Replace Image” button and upload your new image.
- Add your replacement image to the Asset Manager tab on the far right of your screen. Once it’s in there, follow the steps above.
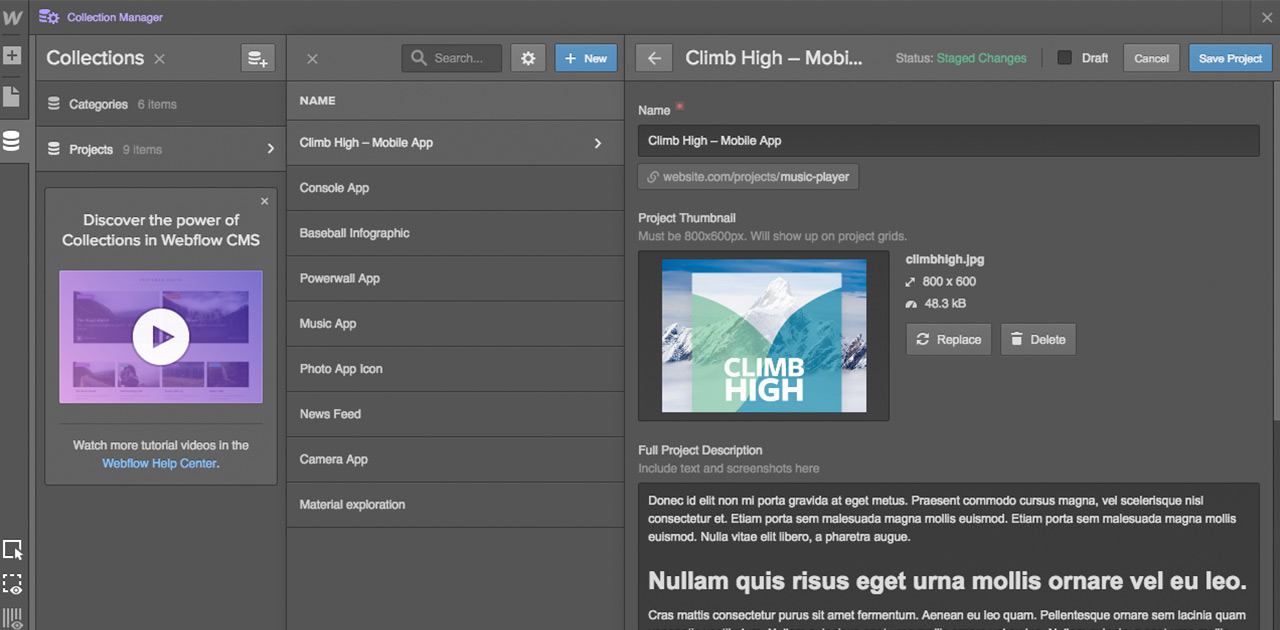
Editing dynamic content via Collections
As you work through your homepage, you’ll notice that you can’t directly edit the images and text in the Previous projects area. You can still style this area in the Style tab, but to edit their text and image elements, you’ll need to head to the Collections panel on the left.
Collections represent your site’s dynamic content. You’ll probably be most familiar with the idea of dynamic content via blogs. The power of dynamic content is that you can publish bits of it anywhere on your site — and whenever you make edits to it, those changes will show up across your site.
In this template, each item in the Projects Collection requires a Name, Project Thumbnail, Full Project Description, and a Category.
Changing the content of any of these fields will update anywhere it’s displayed, including the homepage, and the project’s dedicated (or detail) page.
To really get the hang of using Collections in Webflow, check out the great free course, Building dynamic websites with Webflow.
Or just start watching right now:
Step 4. SEO and site settings (10+ minutes)
You can edit each page’s search engine optimization (SEO) settings by opening the Pages panel, then clicking the cog icon that shows up to the right of the page name on hover.
Site Settings
There are a couple site basic settings you’ll want to check out before launching, but be sure to explore this whole area when you have time.
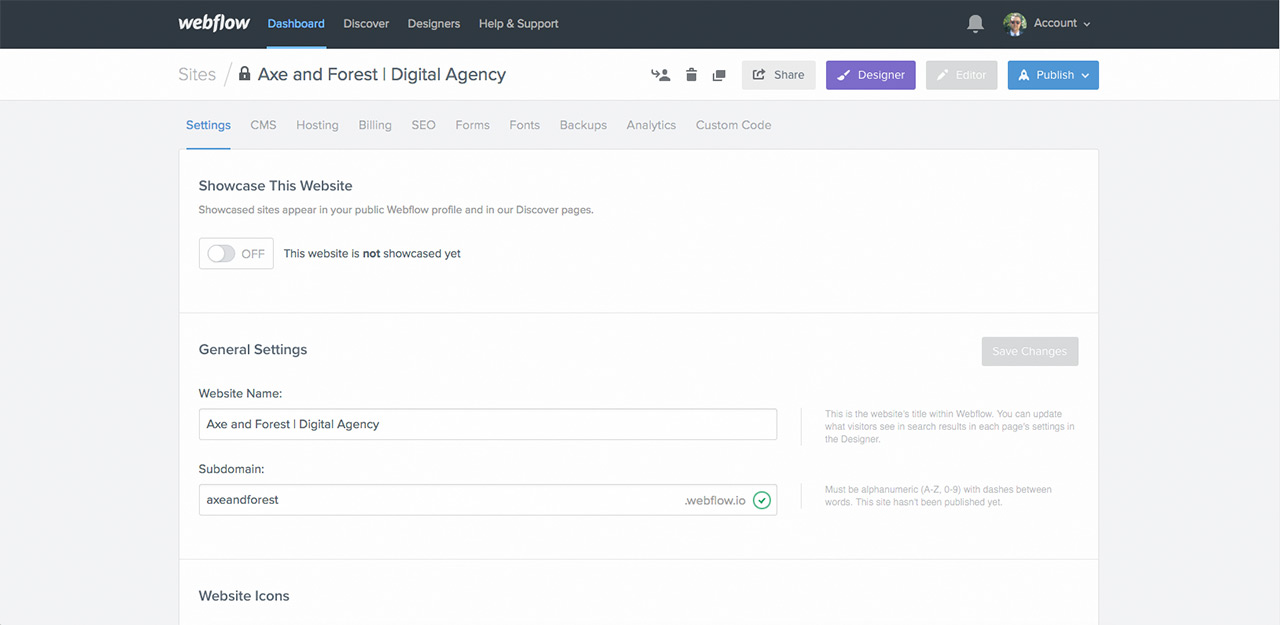
Subdomain – your free domain!
Every site you build with Webflow starts its life on a free subdomain of webflow.io. In addition to being able to change your website name, you can also customize your free subdomain’s URL.
When you’re ready to use your own custom domain, head to the hosting tab in Site Settings, then add your domain. If you don’t have one yet, you can buy a new one through Google Domains right from Webflow!
Even after you set up your custom domain, you’ll still have access to your free webflow.io subdomain. This lets you make changes to your website without publishing them to your custom domain — very handy if you’re looking to experiment!
Forms
If your site needs a contact form, you may want to update the email listed in the Forms tab. It’ll default to the email you signed up with, but you can change it here.
Step 5. Publish (instant)
Once you’re satisfied with your website and ready to launch, publishing your site is a single click away.
Whether you’re in the Site Settings area of your dashboard or in the Designer, the publish button is in the top right. Just pick which domains you want your site published to and launch by clicking Publish to Selected Domains.
Managing your website after launch
The web is an ever-changing place, and one of the beauties of Webflow is how quickly and easily you can update your site.
Once your site’s live, you can instantly update it in the Designer and/or Site Settings and republishing. If you’ve made a change you’re not ready for the world to see, just publish to your webflow.io subdomain to double-check them before you go live.
If you used Webflow CMS (i.e., have some Collections on your site) and CMS hosting, you’ll also have access to the Editor, a powerful tool for managing your site’s content. If you’ve used WordPress, you can think of it as a more intuitive and less-cluttered version of the Dashboard.
And the best part about the Editor? You can write and edit right on the page, so you can immediately see how your changes will look on the live site.

Ready to get started?
Create your free account today, and be sure to watch the Getting Started course! It’ll get you up and running fast.


Get started for free
Create custom, scalable websites — without writing code. Start building in Webflow.


.jpeg)