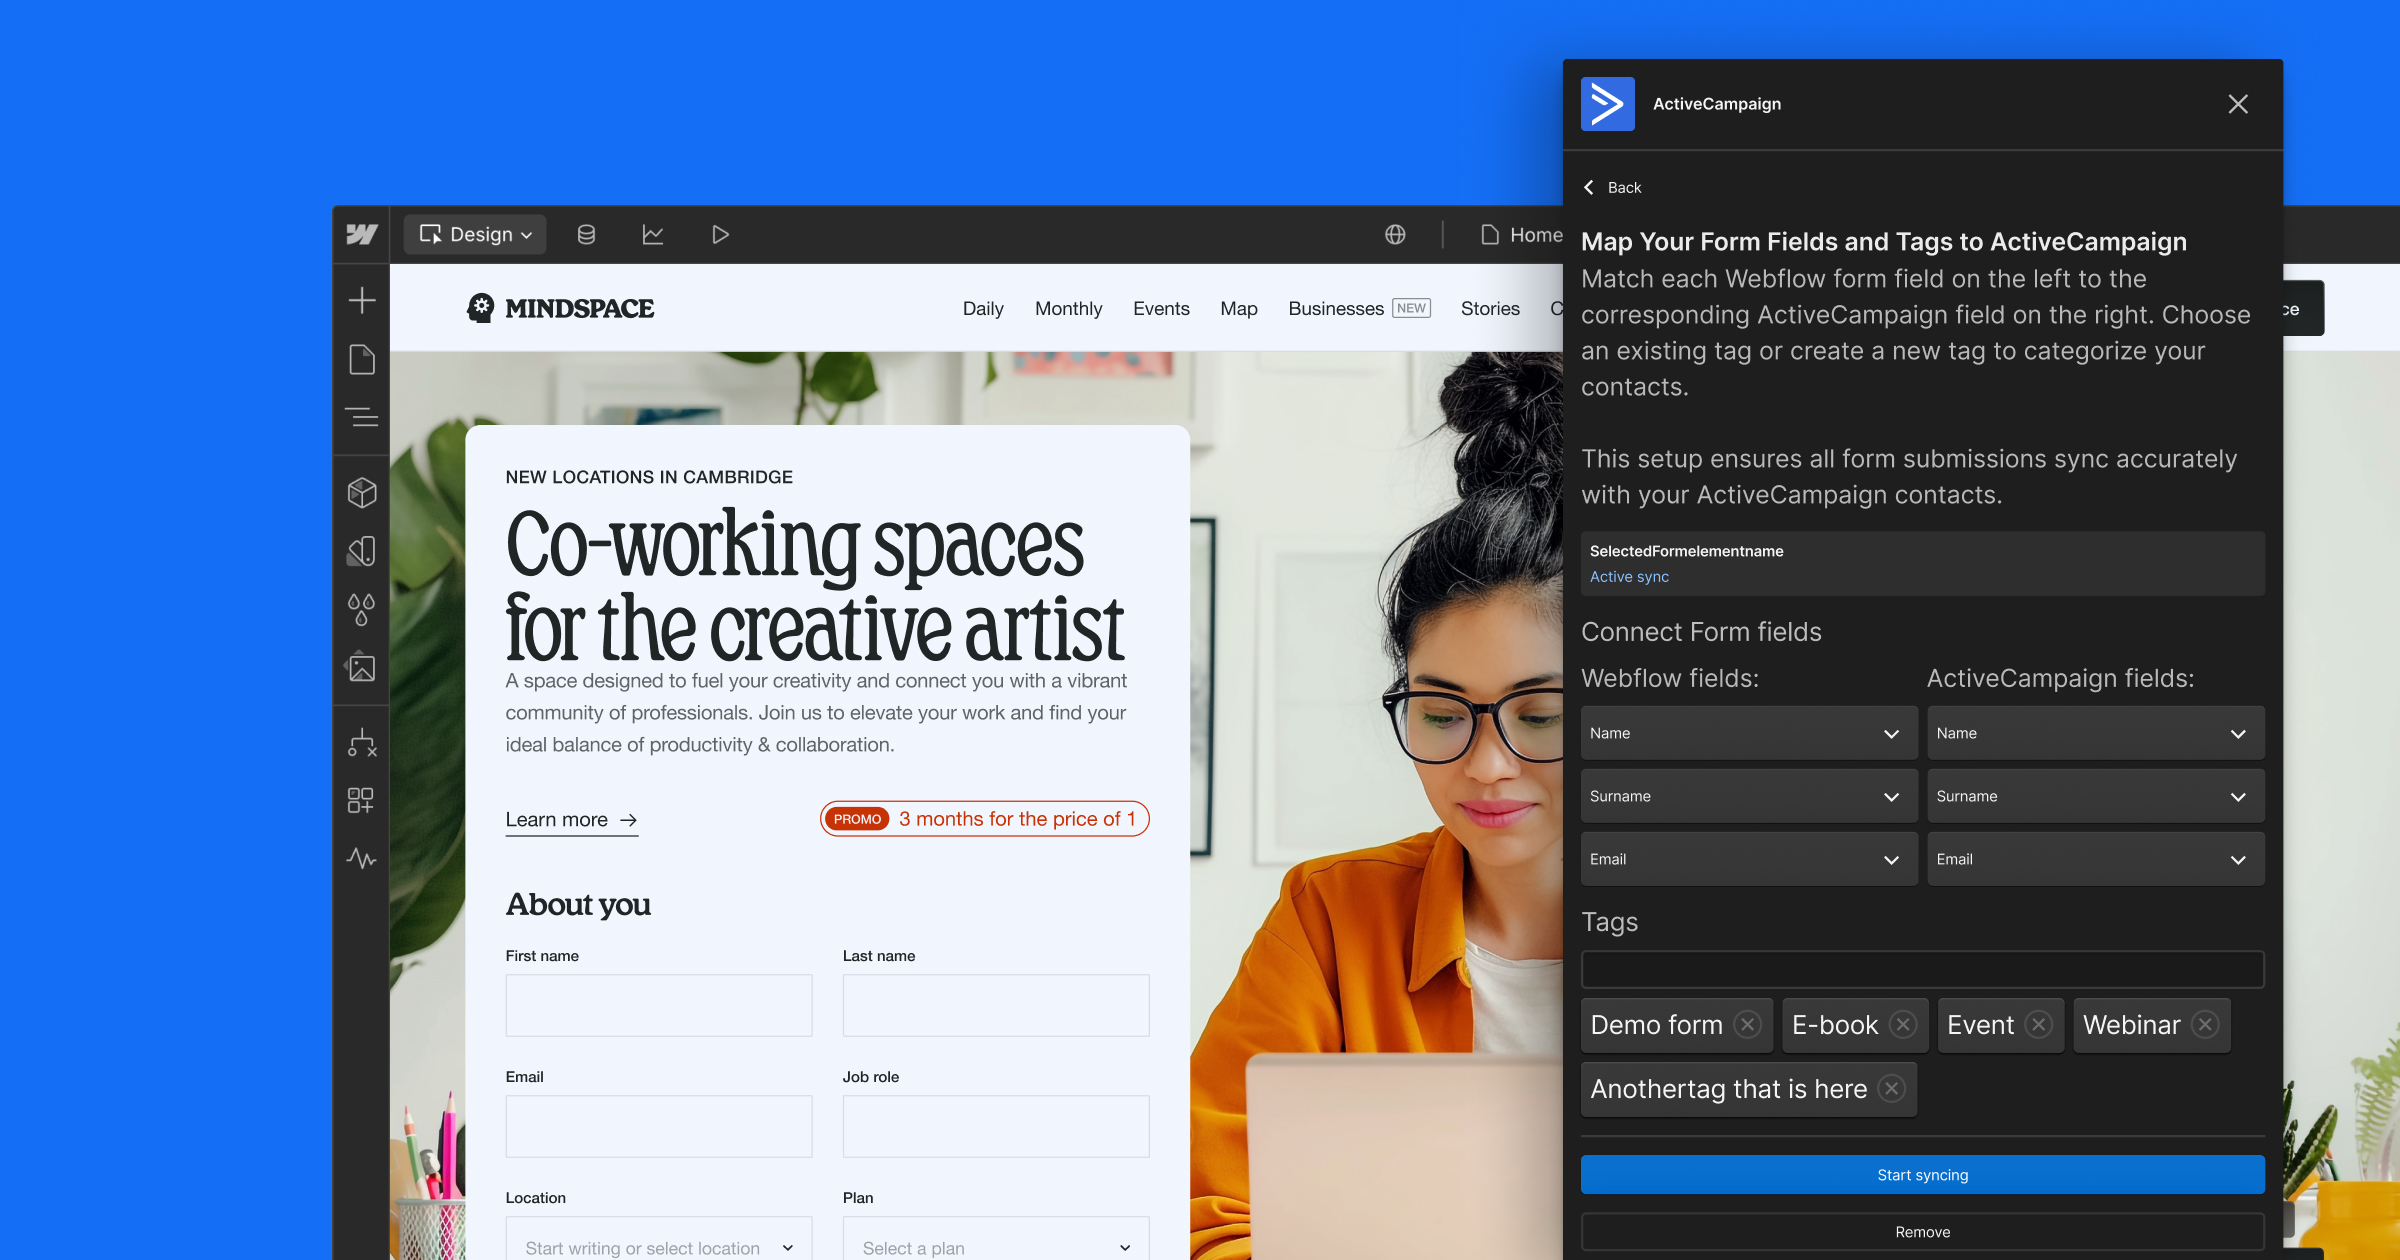
Switching between tasks can cost up to 40% of your productive time. So why click and swipe in vain when you can automate a task and forget about ever doing it again?
Workflow automation platforms such as Zapier and Make promise to help reclaim the lost hours. So which one should you try and why? Let’s dig in.
Why workflow automation is a blessing for web workers
Good UX is aimed at reducing the interaction cost with software. But the three-click rule doesn’t (and shouldn’t) work for every type of product.
By design, many workflows are complex. To build a website, you need to complete a bunch of different steps. Most of them will take more than three clicks even if you are using an intuitive website builder. To manage a website and grow traffic, you gotta do even more clicks. All. Day. Long.
But rather than doing all the above yourself — copy-pasting data, reconciling entries, scheduling posts for publishing — you can “outsource” these jobs to Make or Zapier.
The two tools turn a multistep action into a no-click, self-executed process.
Here are just some of the tasks you can do with workflow automation tools:
- Streamline file uploads to your website
- Post social media updates
- Build a job board website
- Simplify client invoicing
- Track form submissions
- Improve email marketing
- Create a personalized auto-responder
Zapier overview
Zapier is a point-and-click workflow automation tool that stitches together popular apps — Gmail, Microsoft apps, Slack, Salesforce, Mailchimp, and many more — so that you can automate repetitive tasks without calling a dev friend.
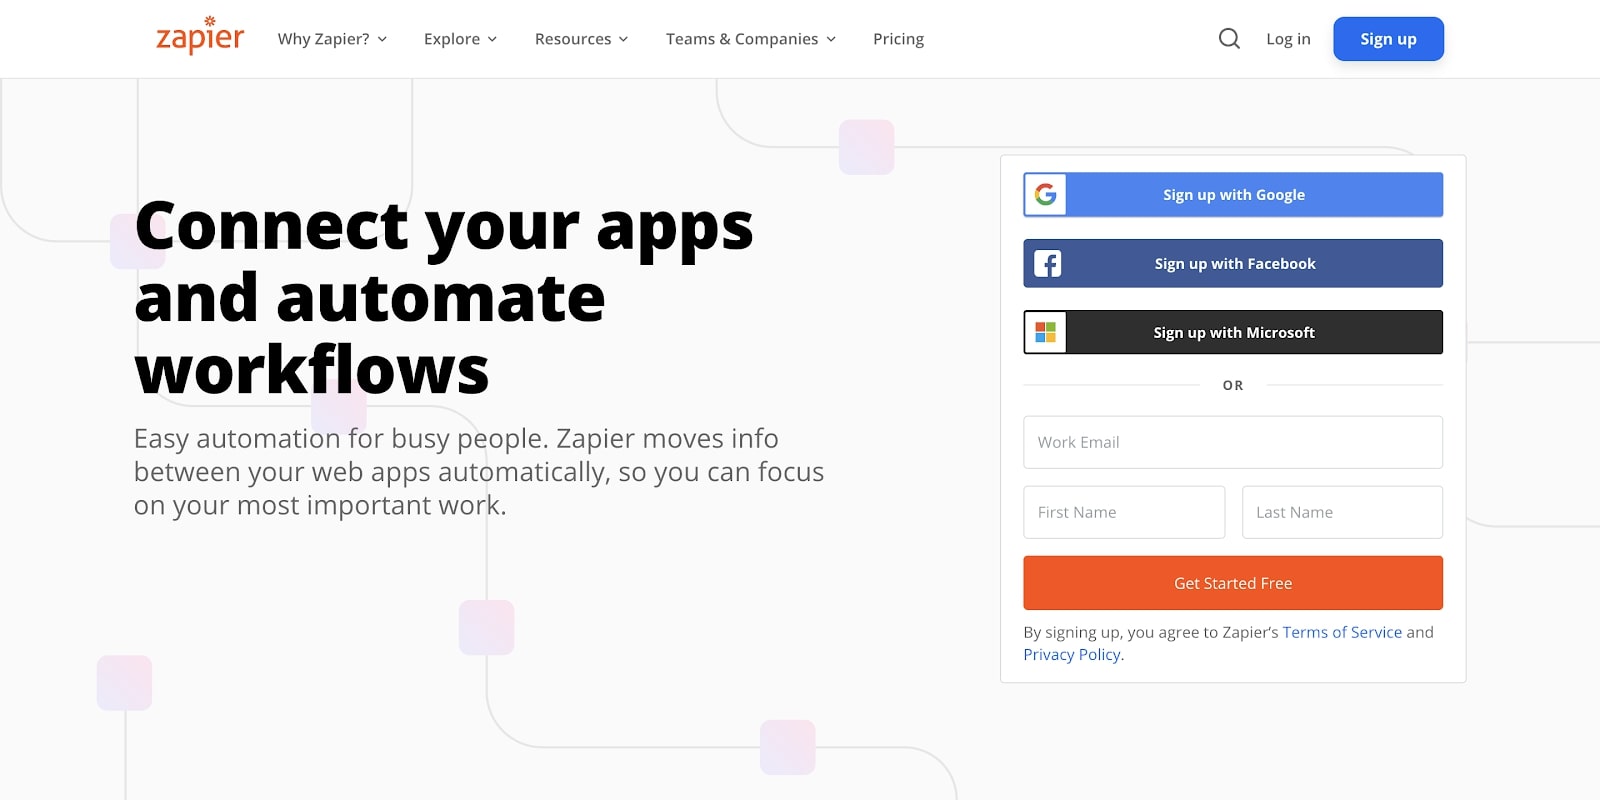
With Zapier you can connect different apps to automate data exchanges and interactions between them.
For example, if you have an e-commerce store on Webflow, you can program Zapier to add new order details to a connected Excel spreadsheet:
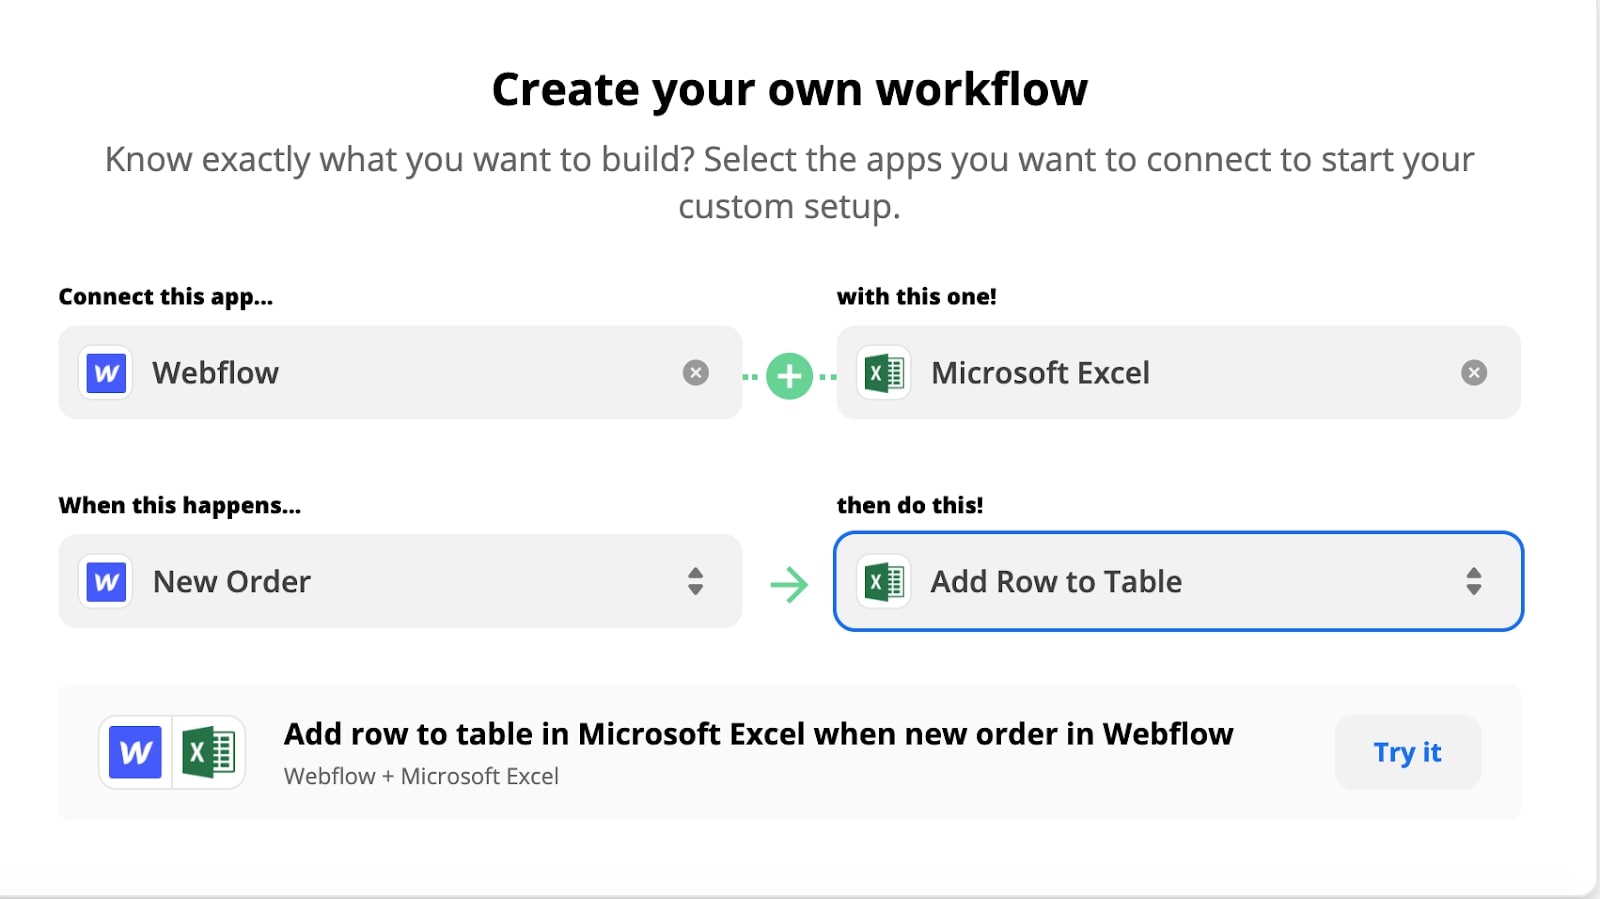
Automations like this are called Zaps.
There are two parts to every Zap: a trigger and one or more action. When something happens (e.g., you get a new order), a follow-up action takes place (order data gets added to a spreadsheet).
You can use pre-made connections (template) like the one above or create custom Zaps to automate more complex tasks.
Using a Zap Editor, you can build:
- Simple “connecting” Zaps for streamlining one task
- Multi-step Zaps based on conditional IFTTT logic
- Zaps activated by triggers (events)
How Zapier works
Zapier provides a fully visual automation design experience. First, choose the app you want to mesh with another one from the dropdown menu. Then select a trigger event.
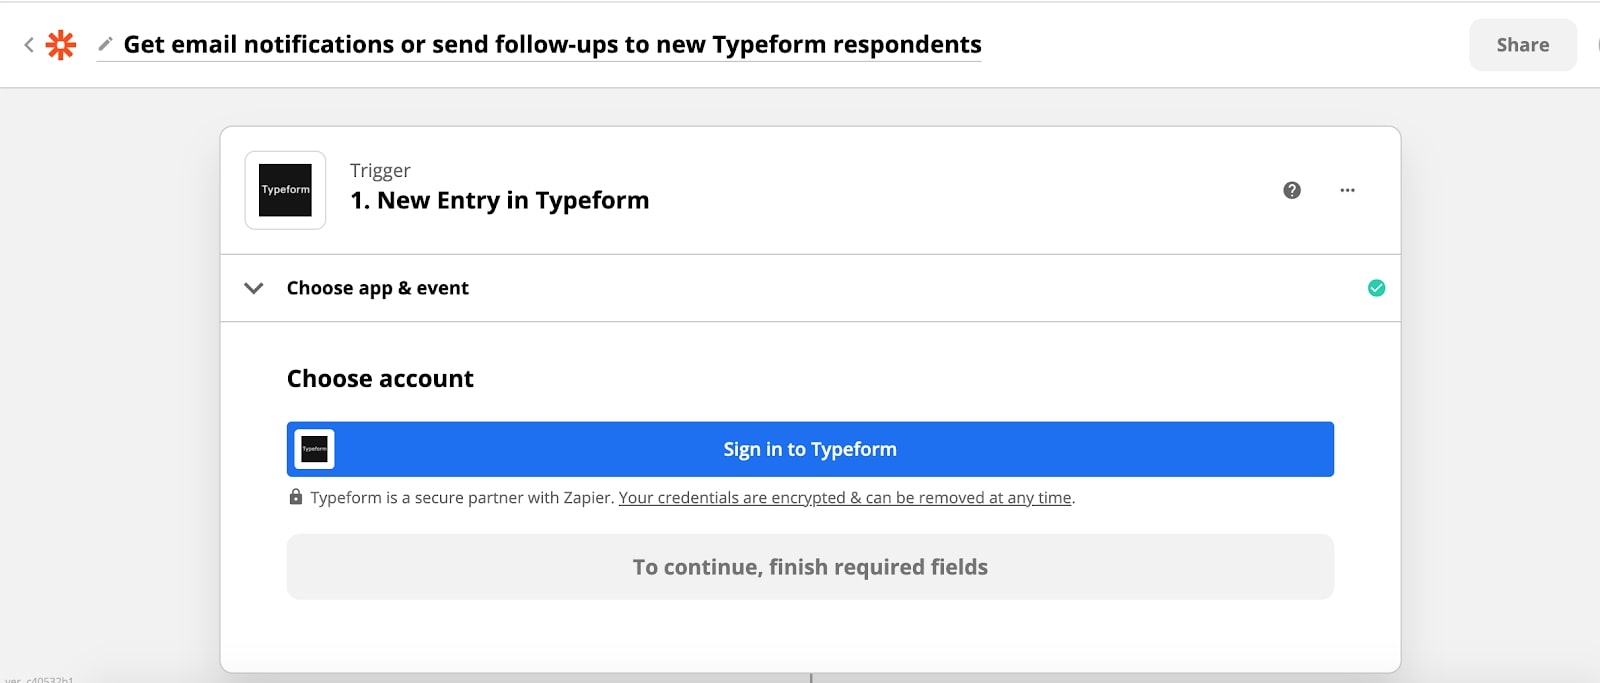
Next, select the follow-up action — the type of automation you need. Click save, and forget about doing that task manually ever again.
Building more complex workflows is easy too. You can add filters to program more precise conditions (e.g., only save entries with the word “survey”).
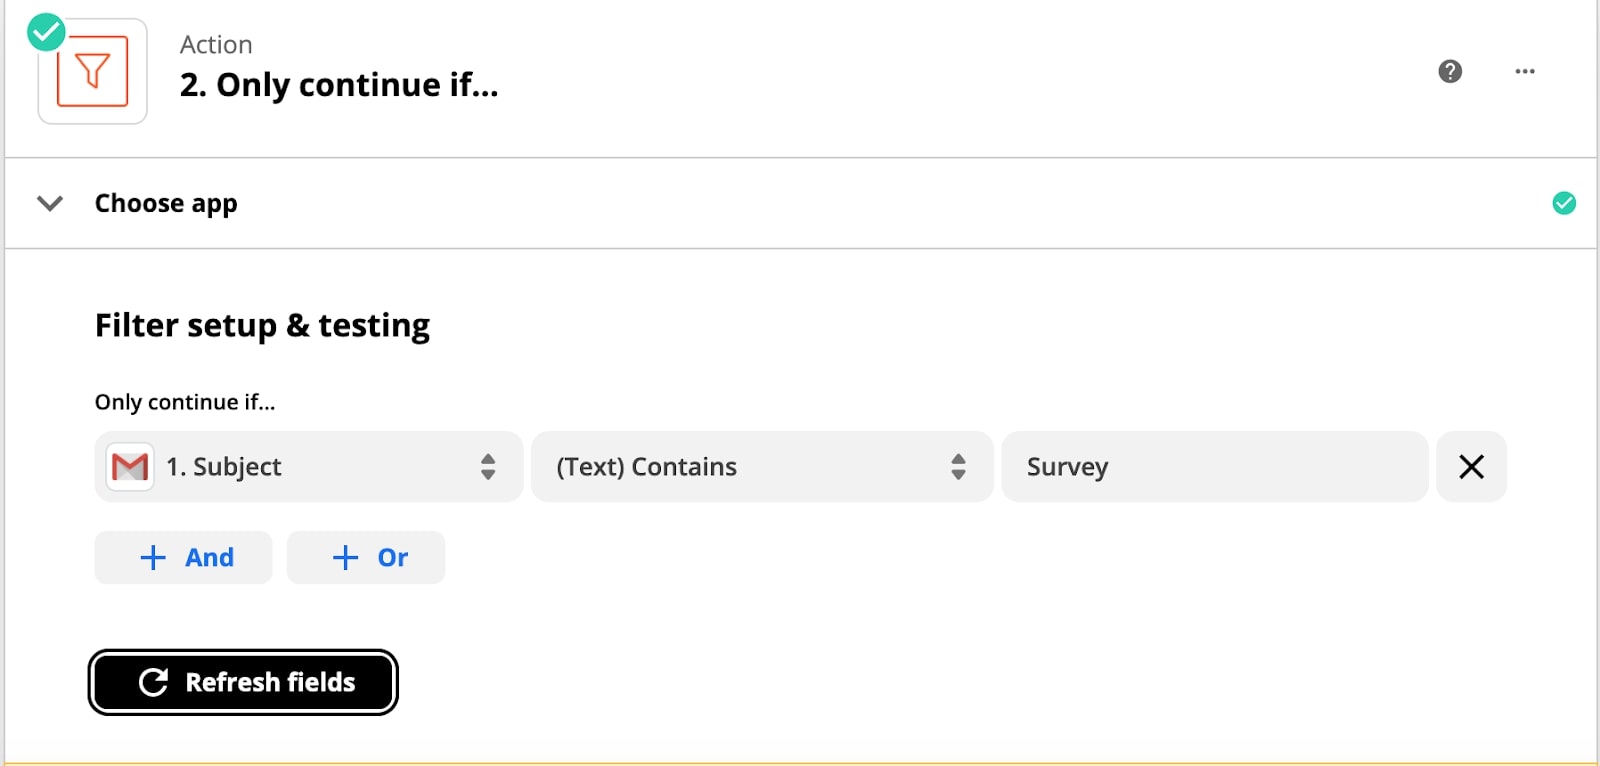
Plus you can add different path scenarios to run different actions depending on the programmed condition. For example, you can set a Zap to get notified only when there’s a new form entry with the word “survey” in it.
Once you get a good sense of Zapier basics, you can create more complex automation scenarios such as an end-to-end customer documentation collection process:
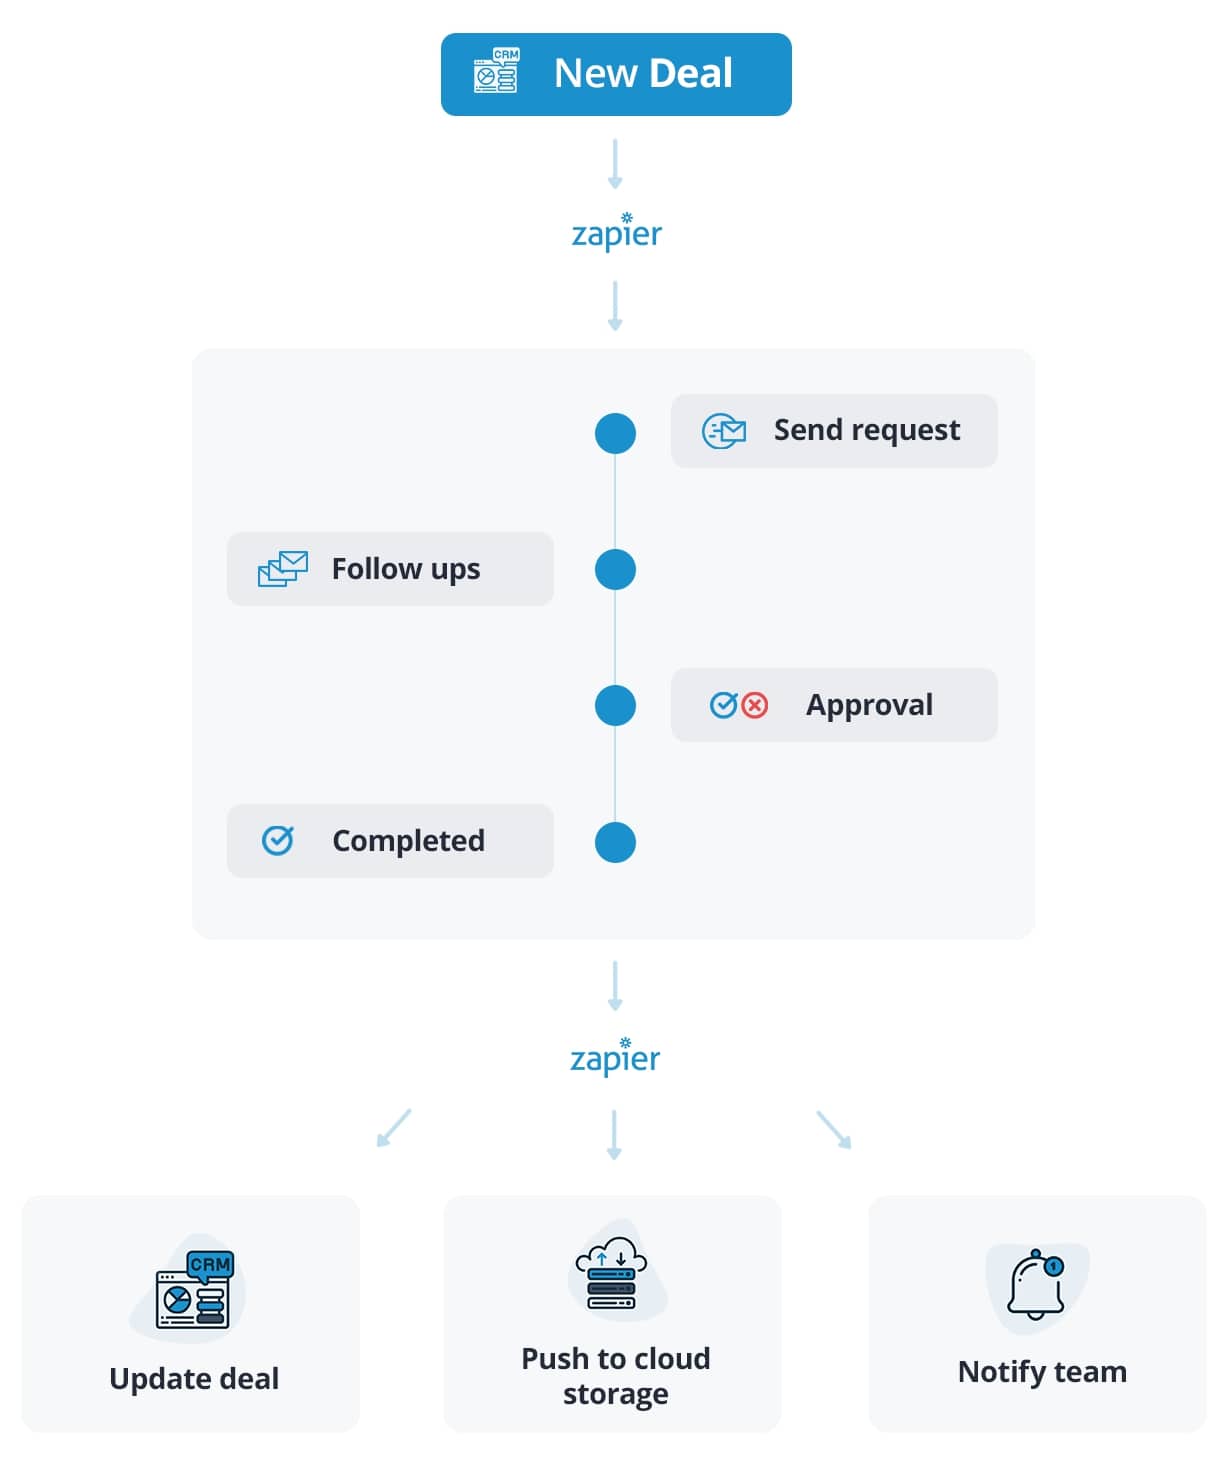
Competitive advantage
Zapier provides no-frills, no code automation of routine personal and business tasks that are (mostly) easy to create.
Pricing
Zapier offers a free plan plus pro tiers, starting at $19.99 per month.


Build websites that get results.
Build visually, publish instantly, and scale safely and quickly — without writing a line of code. All with Webflow's website experience platform.
Make overview
Make (formerly Integromat) is a low-code/no-code workflow automation platform that helps integrate apps and data flows to streamline repeatable actions.
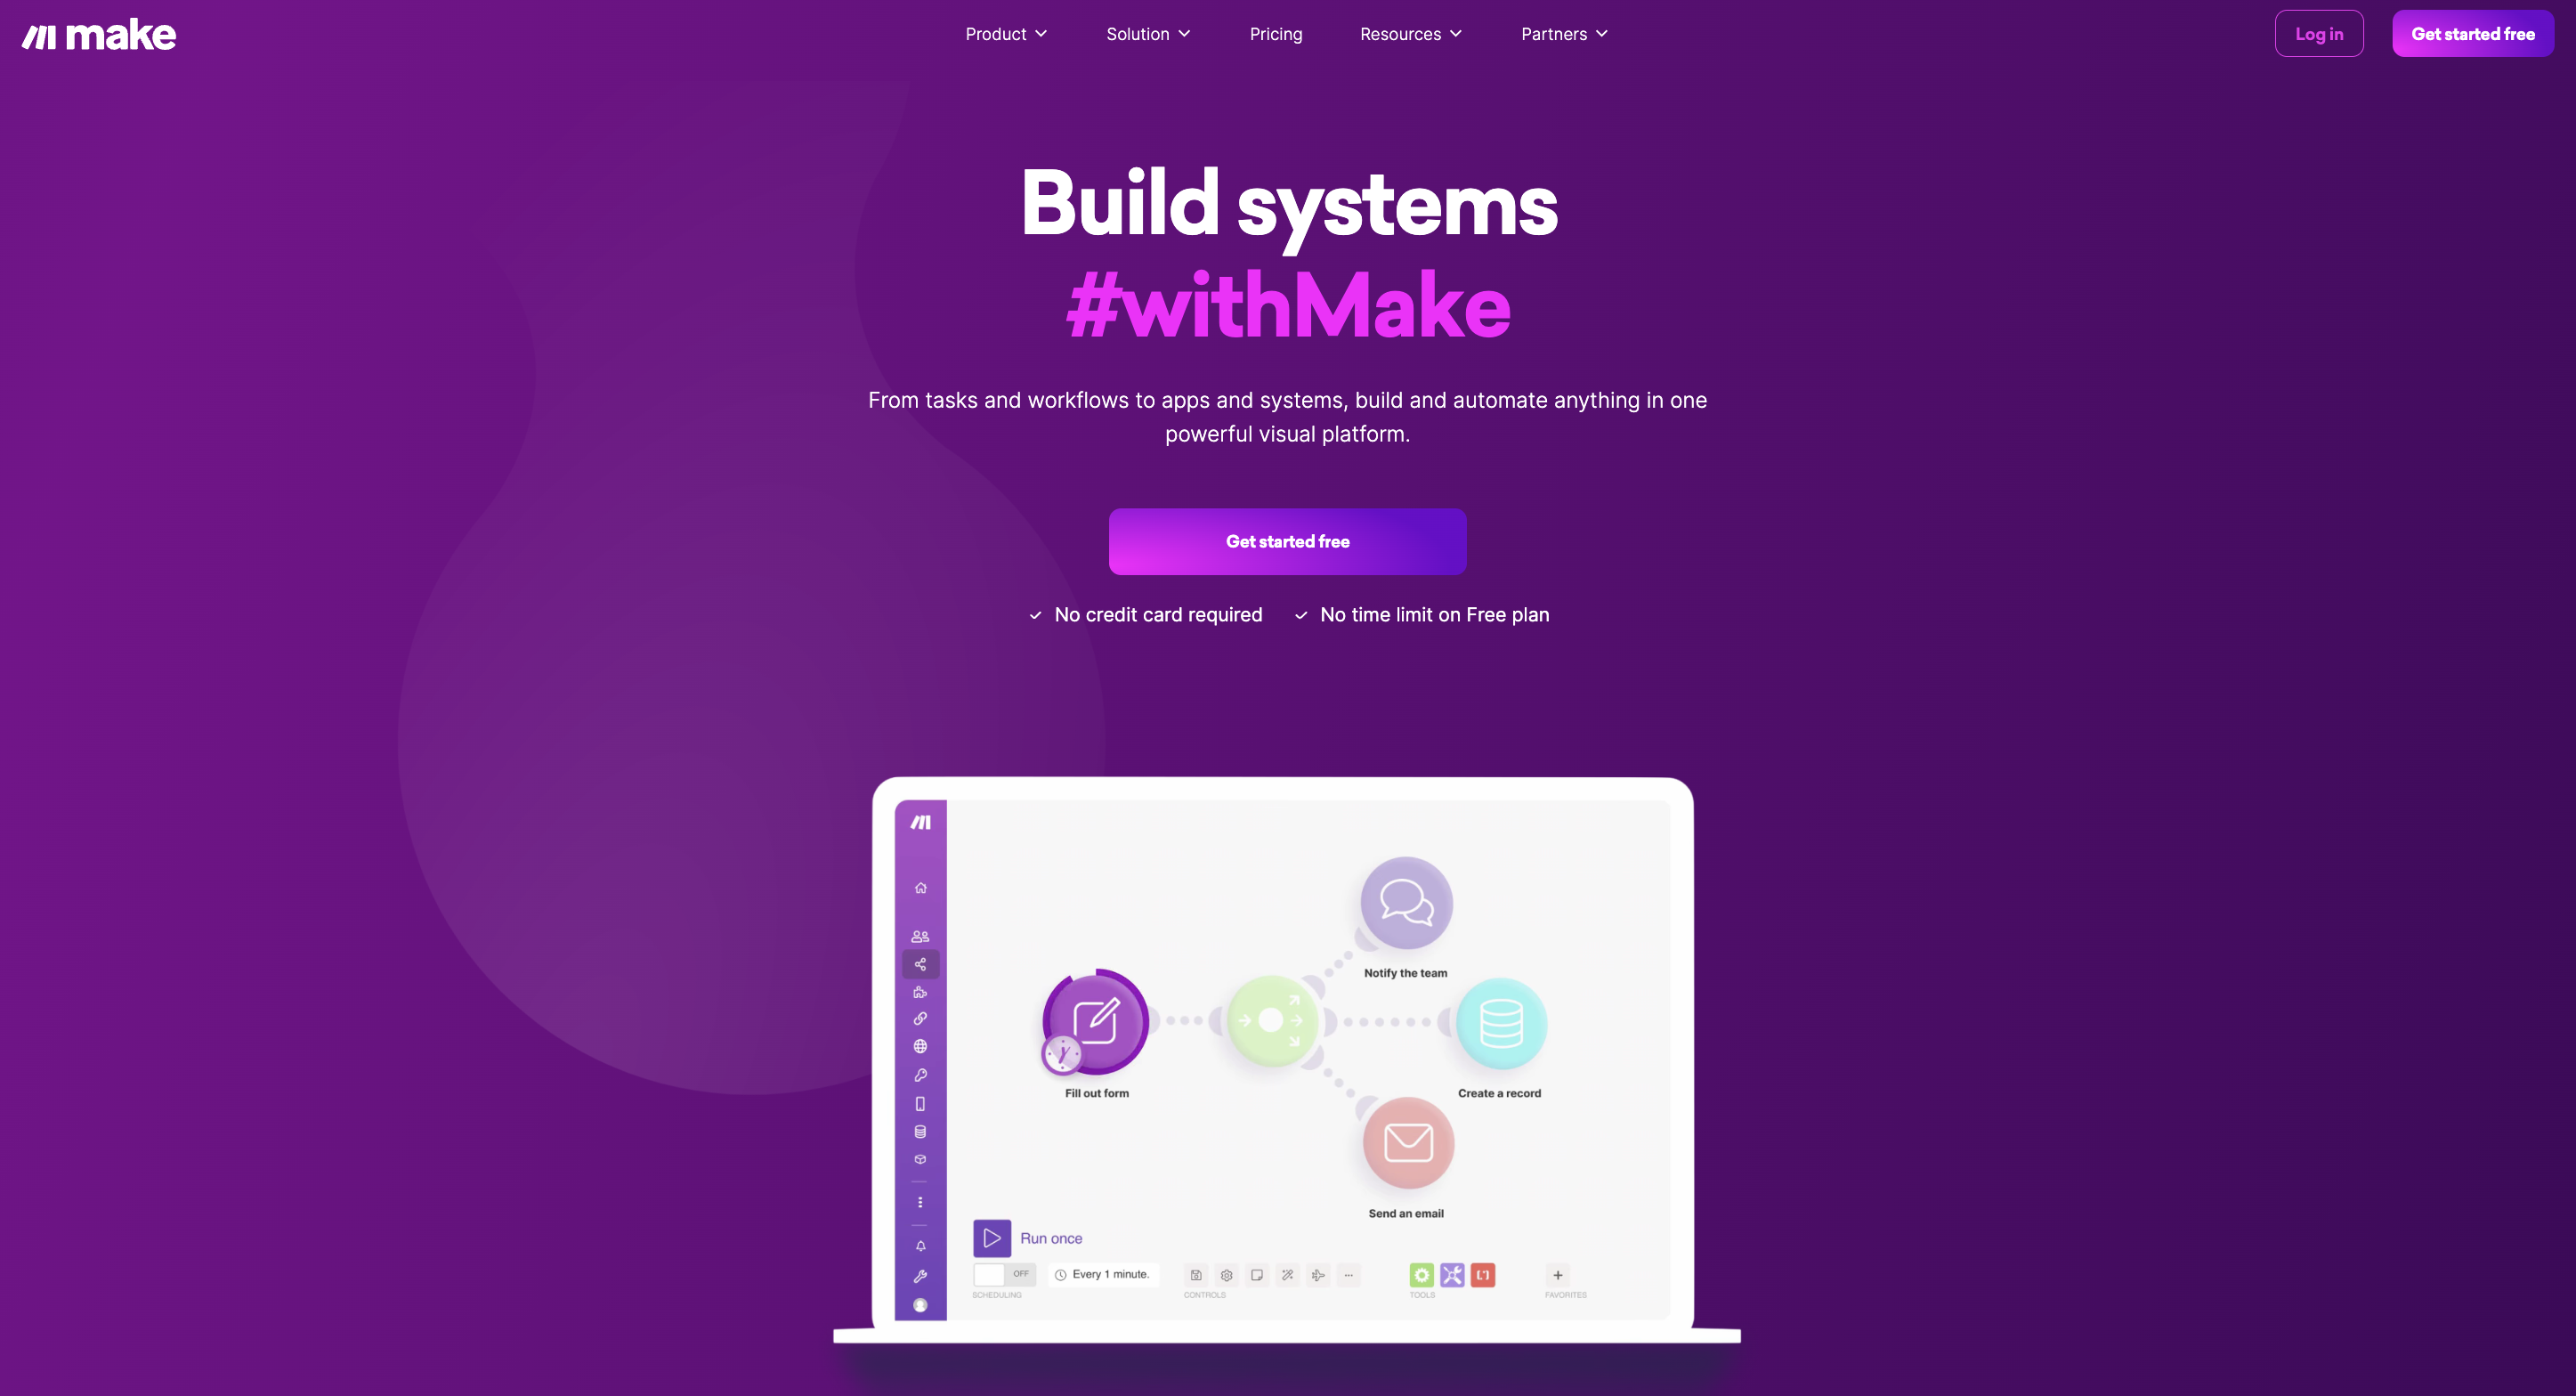
Similar to Zapier, you can create custom task automation scenarios and build multi-logic workflows using a graphical scenario editor.
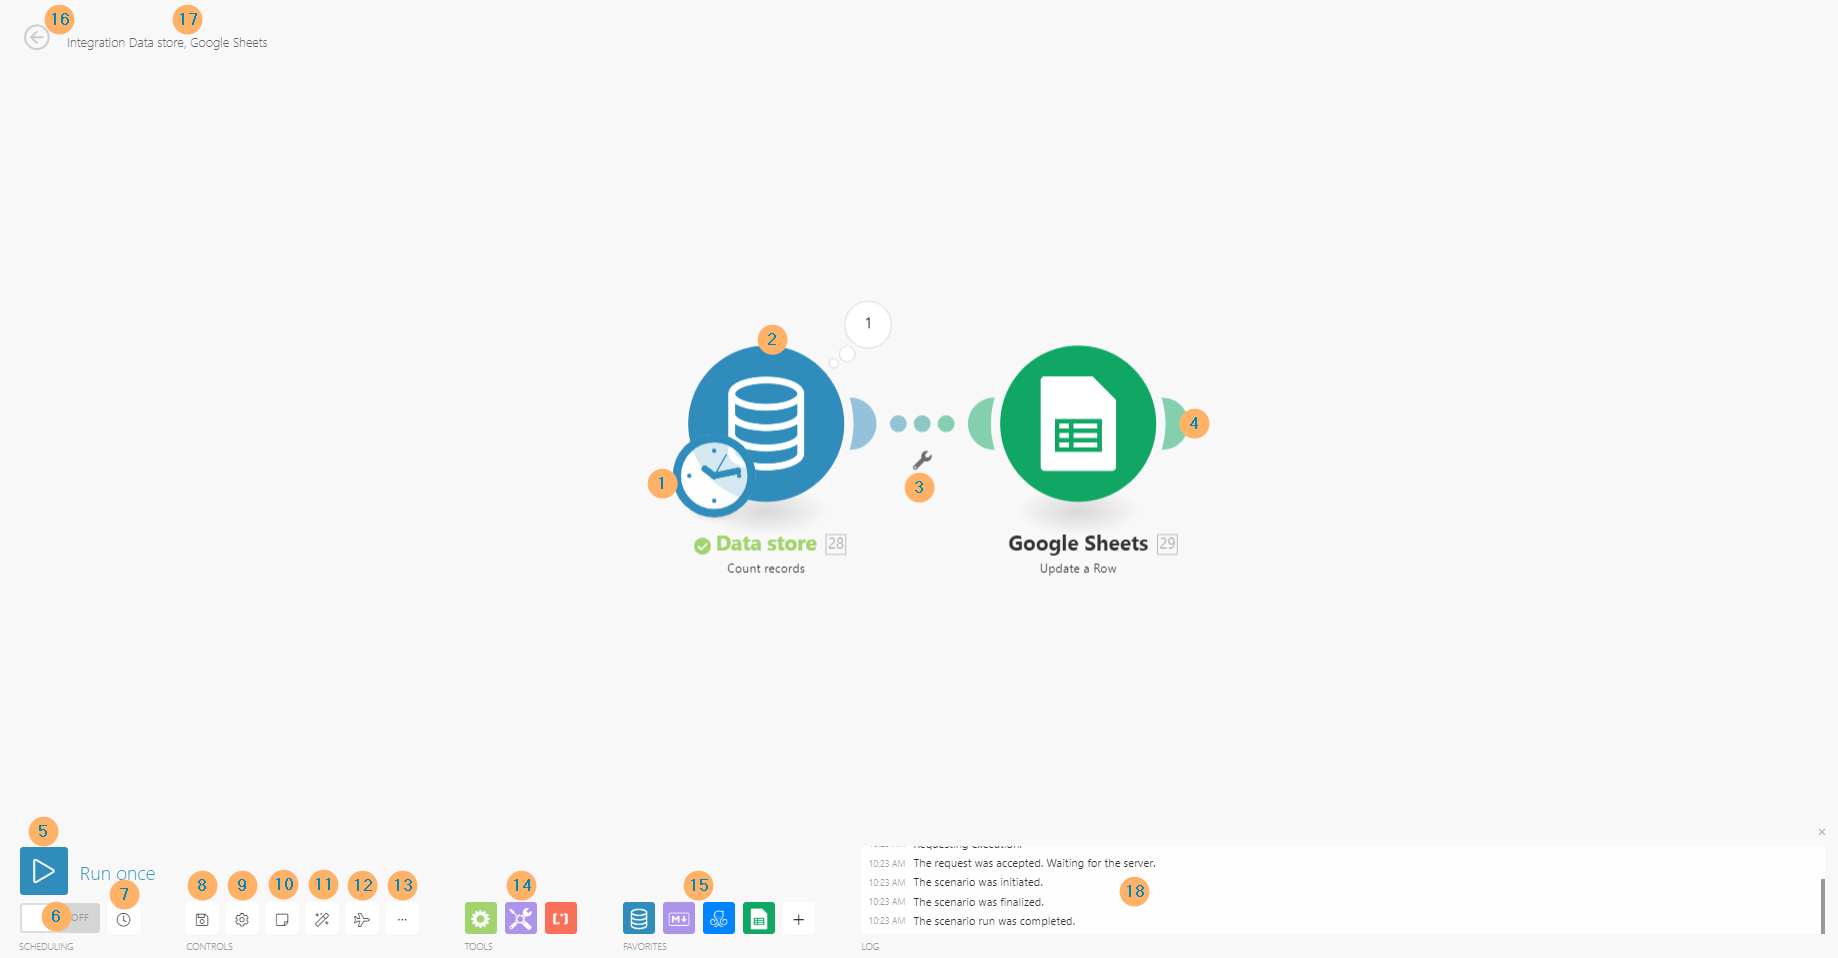
Make comes with 650-plus pre-made app integrations. On top of that, you can connect to any other business app via API (though coding is required). This makes Make more versatile than Zapier.
You can fine-tune every scenario (the equivalent of a Zap) using:
- Modules: Actions, Aggregators, Iterators, Searches, and Triggers — extra commands you can assign to a scenario
- Functions: Binary functions for working with texts, numbers, dates — similar to those available in Excel
- Tools: More configs for programming multistep scenarios, filtering data, and refining process logic
The universe of Make automation rules is larger. So the whole scenario development thing is bewildering at first.
How Make works
To allow two apps to exchange data, developers use APIs (application programming interfaces).
In a nutshell, Make does that step for you. Each of the integrated apps is an “API in a box.” You can configure data exchanges between them by using different types of Modules — apps with preprogrammed types of connection — instead of writing code.
Here’s an example:
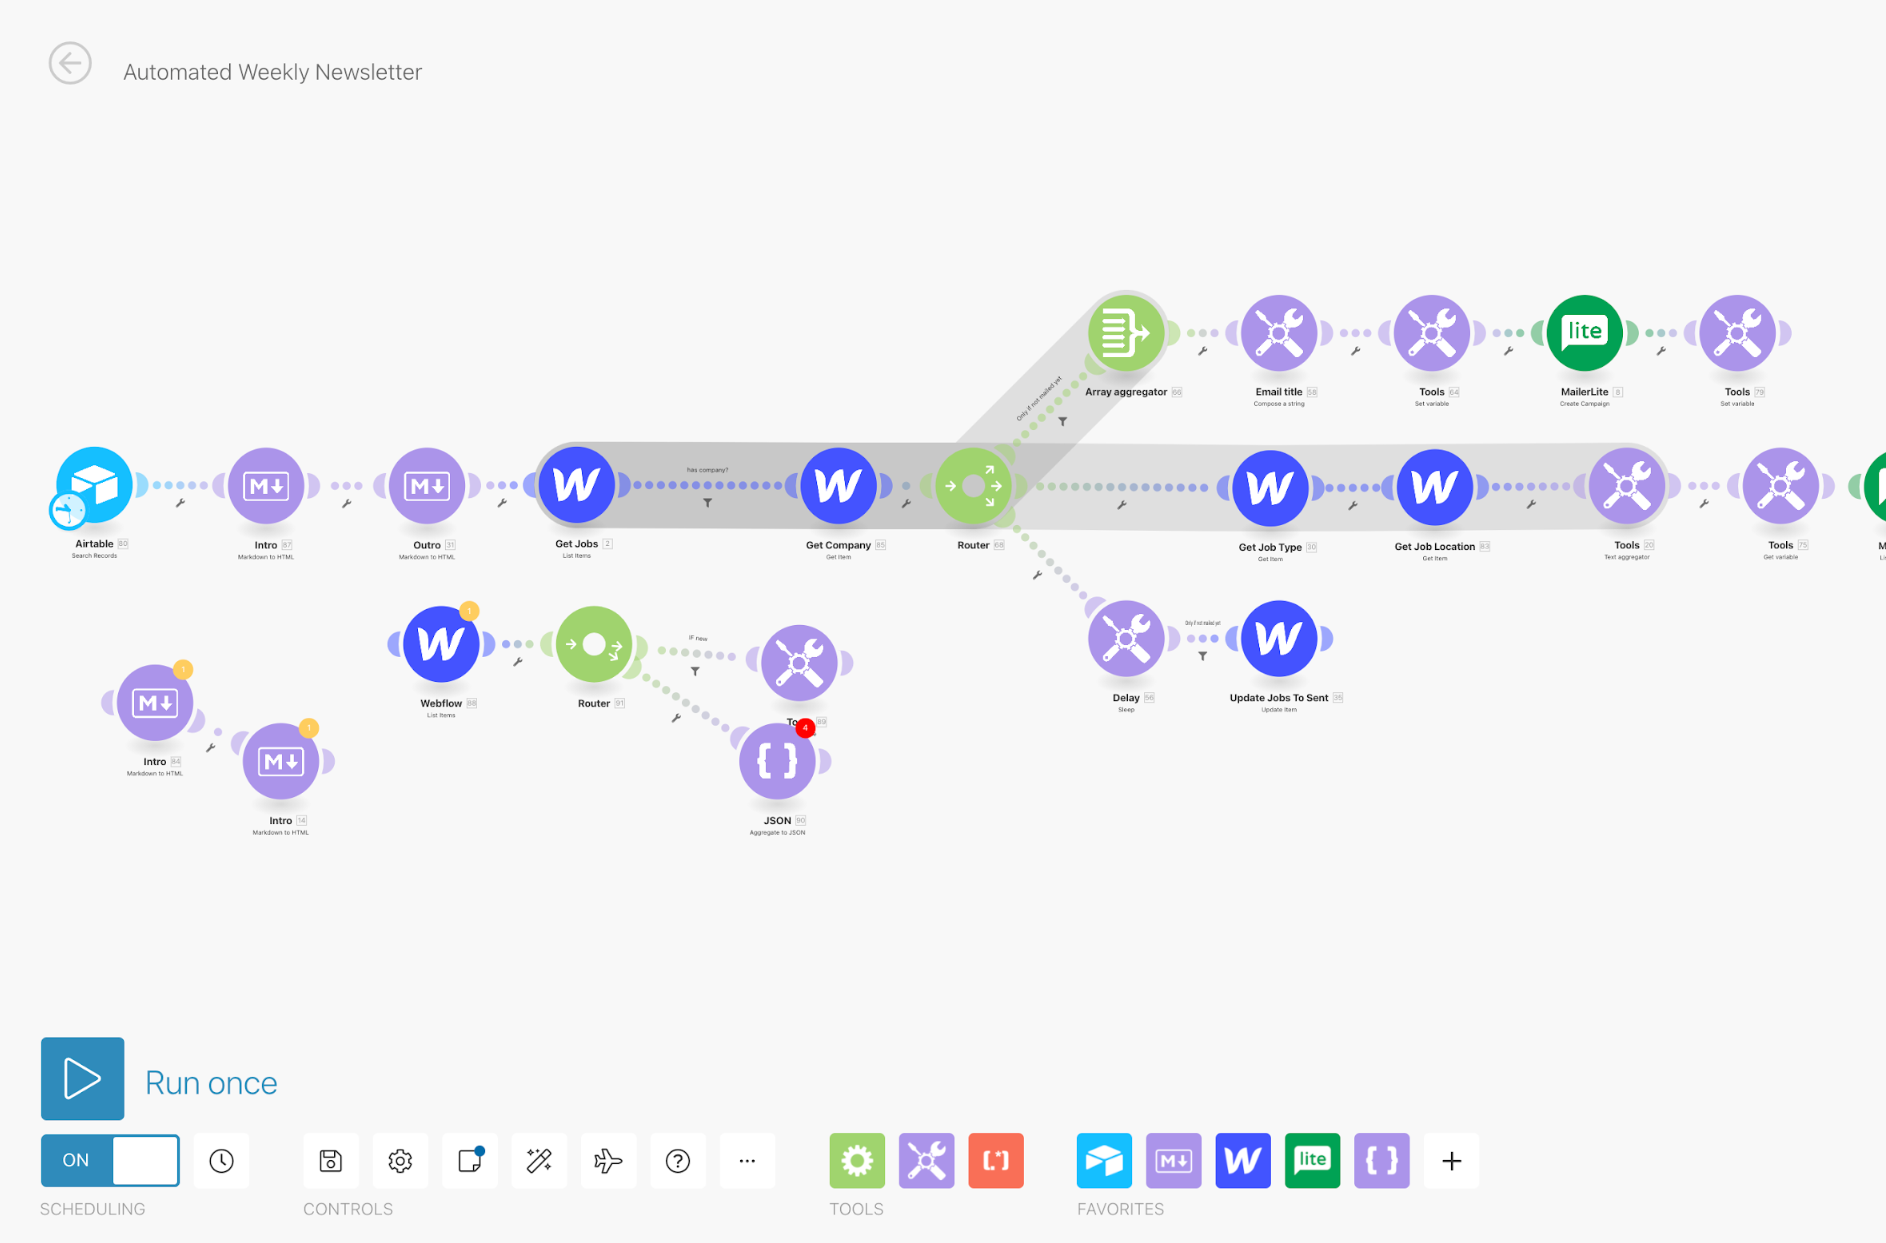
I have added a new job entry in an Airtable module and now I want to prepare it for publishing on my Webflow site.
To do that, I can apply different types of modules:
- Actions: A linear, one-step act: Airtable > Export Data
- Searches: Look up some data: Export Data > List All Company Names
- Update: Use it to change some data (e.g., erase a field or replace it with another entry): Export Data > Erase “salary”
- Triggers: Auto-monitor your workflow for any changes and activate another action when a certain condition is met: Airtable > New Notifications
The above commands are enough to build a simple automation scenario.
But if you want to set up a multistep process on autopilot, you’ll need to master a few more tools such as:
- Filters: Similar to Zapier, you can capture entries that fit a certain parameter (e.g., flag all transactions above $150 and move them to the free shipping table).
- Router module: Divide your workflow into several different routes. Then process the data in different ways using conditional logic.
- Iterator: Break down a group of items into separate deliverables. If you have an email with several attachments, you can use Iterator to split those attachments and save each one in a different Dropbox folder.
Competitive advantage
Make supports more advanced workflow automation, but it requires some coding knowledge if you are working with JSON/XML data or want to create custom app integrations.
Pricing
Limited free plan. Premium plans start at $9 per month.
Comparing Zapier and Make
Both tools have a similar value proposition — simple app integration and workflow automation.
But Zapier and Make deliver on this promise in different ways:
- Zapier is a no code tool. It’s a straightforward drag-and-drop interface that’s well-suited for routine tasks.
- Make is a low-code/no-code tool. While you can set up simple task automation visually, more advanced scenarios require deeper knowledge of process automation logic, plus some “hacking together” that may require coding.
Because Make supports more complex jobs, it can be a nice upgrade for small businesses and individual users seeking an affordable end-to-end business process automation solution.
Features
Let’s take a closer look at how Make and Zapier stack feature-wise when it comes to built-in apps and native integrations.
Both tools have pre-made app connectors.
- Zapier has over 3,000 supported app integrations
- Make has around 650 options
While Zapier offers more turnkey automation scenarios, as a regular user you can’t add integration with an unsupported app. You can, however, use Zapier Platform to program custom API connections. But coding skills are recommended. On the other hand, Make has fewer out-of-the-box app integrations but is less restricting when it comes to customization.
You can use webhooks to connect any external application via HTTP. Make supports three data formats — query string, FormData, and JSON — and validates it against the structure you specify.
With webhooks, you can test more out-of-the-box process automation use cases such as:
- Customize email verification workflows
- Collect and validate emails and phone numbers
- Send text messages via email
- And do a ton of other fun stuff
But custom webhooks come with a steep learning curve.
Note: Zapier also added webhooks recently, but the supported scenarios are more limited.
Workflows
Zapier was primarily designed for linear workflows: Action A > Action B > Action C. The tool does a stellar job in this department.
Recently Zapier also expanded support for conditional multistep workflows with the Paths tool. You can use it to trigger one or more alternative scenarios, based on the earlier actions.
- For example, if you have a form entry with the word “project inquiry,” you receive a trigger alert to Slack and send a pre-scheduled follow-up email.
- If you get a form entry with the word “price quote,” you auto-dispatch an email with a product catalog and a follow-up email with a link to book a call via Calendly.
All automation can only be set up between apps that support them.
Make offers no limits on automation scenario complexity. Use in-built apps, add custom webhooks, and converge or divide automation paths. Add a router to set alternative execution scenarios.
You can get as creative as you want (as long as the whole thing works) with Make.
Testing workflows
Once you’ve built your scenario, you have to check if it runs smoothly and ensure that all data is rendered correctly.
Zapier has a Task History area for debugging your Zaps. You can visually check all the data flows (up to three months), test integrations, and receive auto-alerts if something’s broken. In general, it’s easy to catch errors.
Make supports real-time workflow tests. That’s very convenient too. But sometimes it’s still challenging to dig to the root issue in advanced scenarios.
Historical data
Make lets you ingest both current and historical data — the data you accumulated before activating a scenario. Just set a specific date and the scenario will pull out and process all the applicable historical data. That’s a big advantage over Zapier.
To bulk import historical data to Zapier, you’ll need to first copy everything in a Google Sheet and format it like a CSV file. Then create a data import Zap. Rinse and repeat whenever you need to import any extra insights.
Make exclusive features
- Supports in-app working with files: edit, update, and archive docs
- Schedule scenarios to run on specific days/times only
- Split or merge data inputs within a scenario
- Process historical data or set a custom timestamp
- Scrape data from HTML websites
- Use binary functions to refine your processes
- Encode or extract URLs from text
- Supports JSON/XML parsing and serialization, cycles, and transactions
- Custom webhooks to call up third-party web services and data sources
- Full logging of all executed operations
- Use error handlers to program fallback execution for exceptional events
- Unlimited numbers of steps in a scenario
Zapier exclusive features
- Pre-built connections with 3,000-plus apps
- Point-and-click automation experience is very user-friendly
- In-built formatter to auto re-format all data
- One-click delay for launching Zaps
- Native functionality for sending text messages
The verdict: Zapier vs. Make
Having tried both options for personal and business projects, I came to the following conclusion:
Make is better suited for advanced workflow automation and out-of-the-box scenarios. It’s a robust low-code tool. Though it comes with a learning curve, the effort is well worth it!
- Is it easy to use Make with Webflow? Yes, there are several pre-built integrations and templates for common actions. But if you want to build more complex scenarios, you’ll need to learn how different modules, functions, and tools work.
Zapier is better suited for novice users and personal chores. It’s a truly no code tool that’s very intuitive and easy to learn. But as with most SaaS apps, Zapier is more restrictive in terms of customization.
- Is it easy to use Zapier with Webflow? Yes, it’s very easy because of pre-made integrations. Most scenarios are already done for you. All you have to do is organize the workflow execution in the correct order. On the other hand, you can’t automate as many actions as with Make. That’s why I’ve chosen the latter for my work projects.


-o.webp)


