

Vault Vision User Authentication
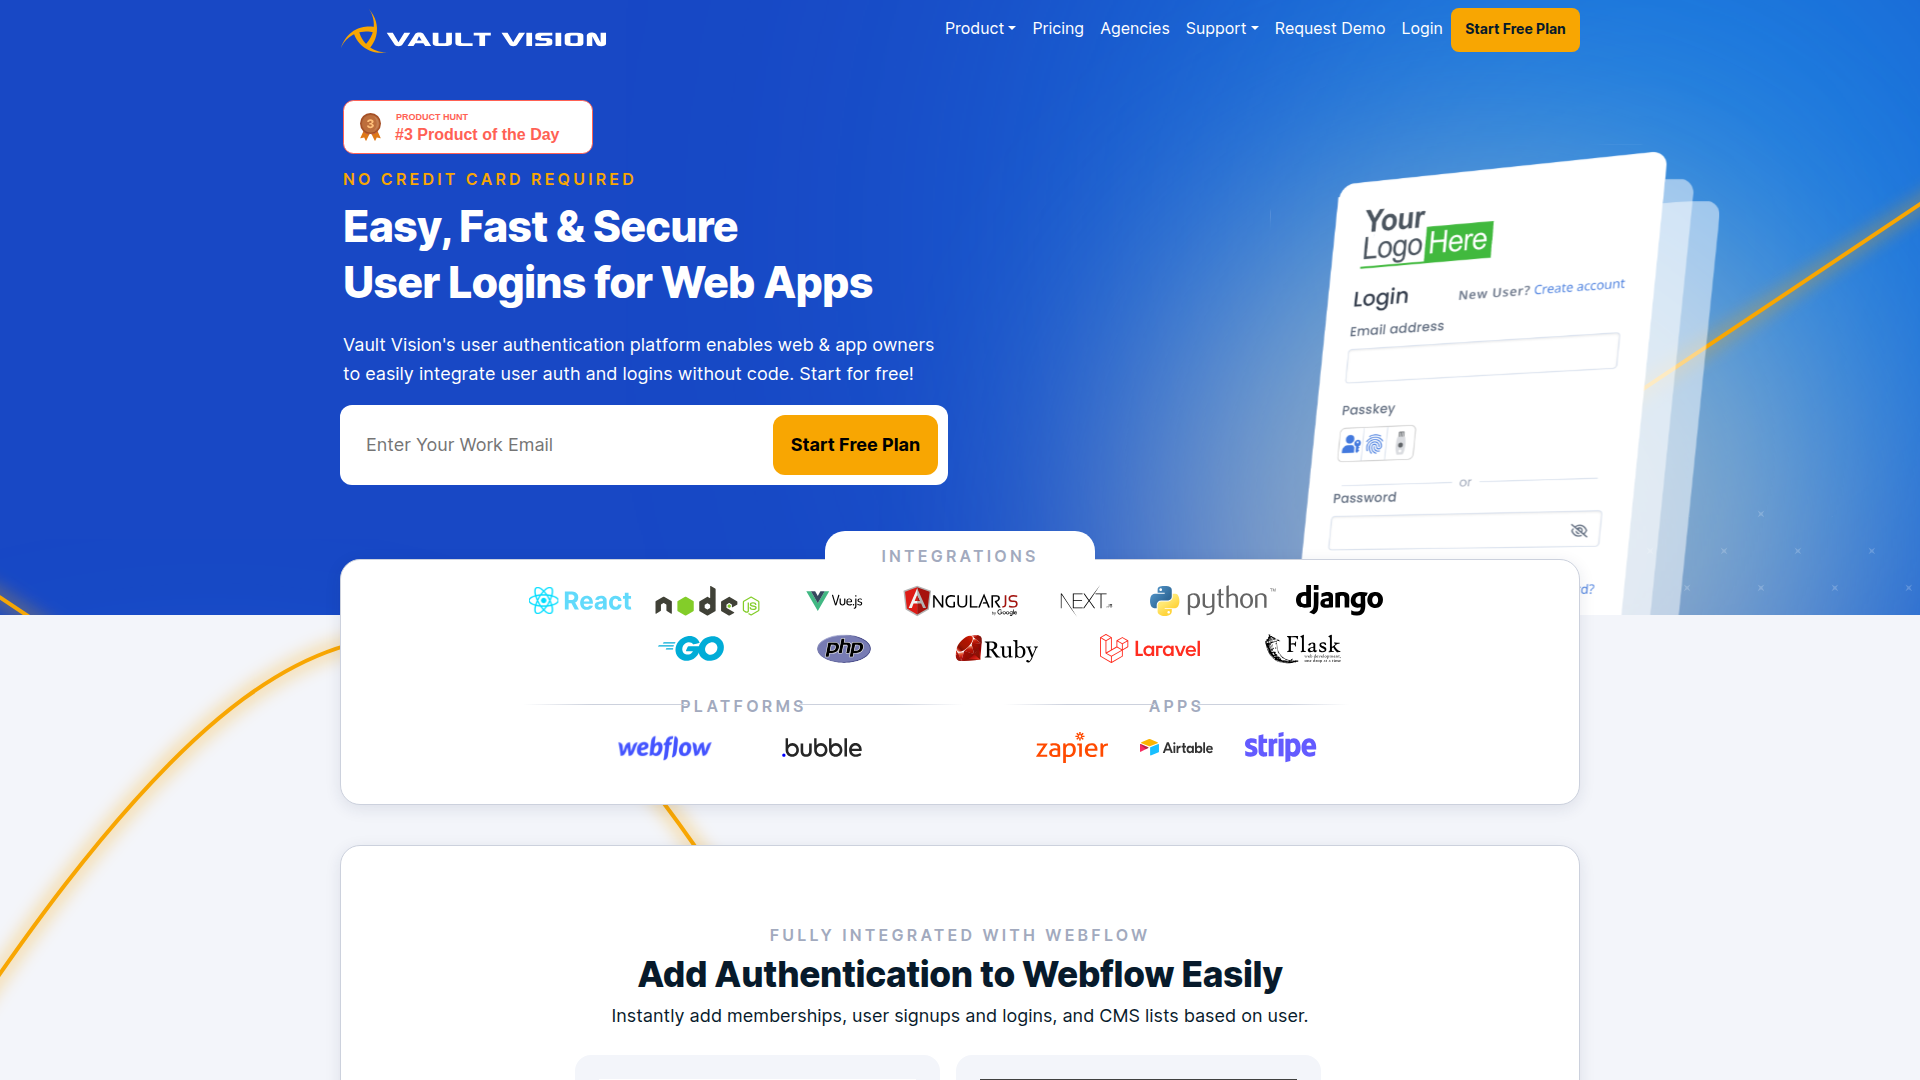
Connect Vault Vision with Webflow to add passwordless login, social sign-in, and per-page access control to any Webflow site without backend code.

Webflow generates production-ready HTML and CSS, but it does not include native user authentication. There is no built-in way to add login forms, restrict pages to registered users, or manage credentials like passkeys and social sign-in. If you need gated content or member-only areas, you either build a custom auth layer or use a third-party service that works with static hosting.
When you connect Vault Vision and Webflow, your site gains passwordless login with Face ID, fingerprint, and PIN passkeys; social sign-in with Google, Apple, and Microsoft; and per-page access control configured from a dashboard or directly inside Webflow. The JavaScript SDK runs client-side on Webflow-hosted sites, so there is no server to maintain.
This integration is most useful for designers building membership sites, agencies delivering authenticated client portals, and SaaS teams connecting marketing sites to application backends.
How to integrate Vault Vision with Webflow
What is Vault Vision? Vault Vision is a no-code user authentication platform that provides passwordless passkey login, social sign-in, multi-factor authentication, and per-user page access — all configurable from a web dashboard without backend development.
Teams use Vault Vision and Webflow together when they need authenticated access to specific content or pages and cannot enforce it through Webflow's native publishing tools. The platform covers everything from simple gated pages to multi-tenant client portals, depending on the integration method.
The Vault Vision–Webflow integration supports three approaches:
- The Vault Vision app installs from the Webflow Apps Marketplace and adds drag-and-drop authentication components inside Webflow without writing code.
- The JavaScript embed uses a script tag in your site's custom code settings to add login, logout, and page gating with no dependencies.
- The Vault Vision REST API gives programmatic control over tenants, users, and credentials for custom authentication workflows, but requires server-side development.
Most implementations use one method, though you can combine them — for example, install the app for visual auth components and add the JavaScript embed for page-level access rules.
Install the Vault Vision app
The Vault Vision User Authentication app in the Webflow Apps Marketplace installs directly and adds a designer extension with pre-built authentication components you can place on any page. The app supports TOTP two-factor authentication, passwordless passkey logins (Face, Finger, or PIN), and social sign-in with Google, Microsoft, and Apple.
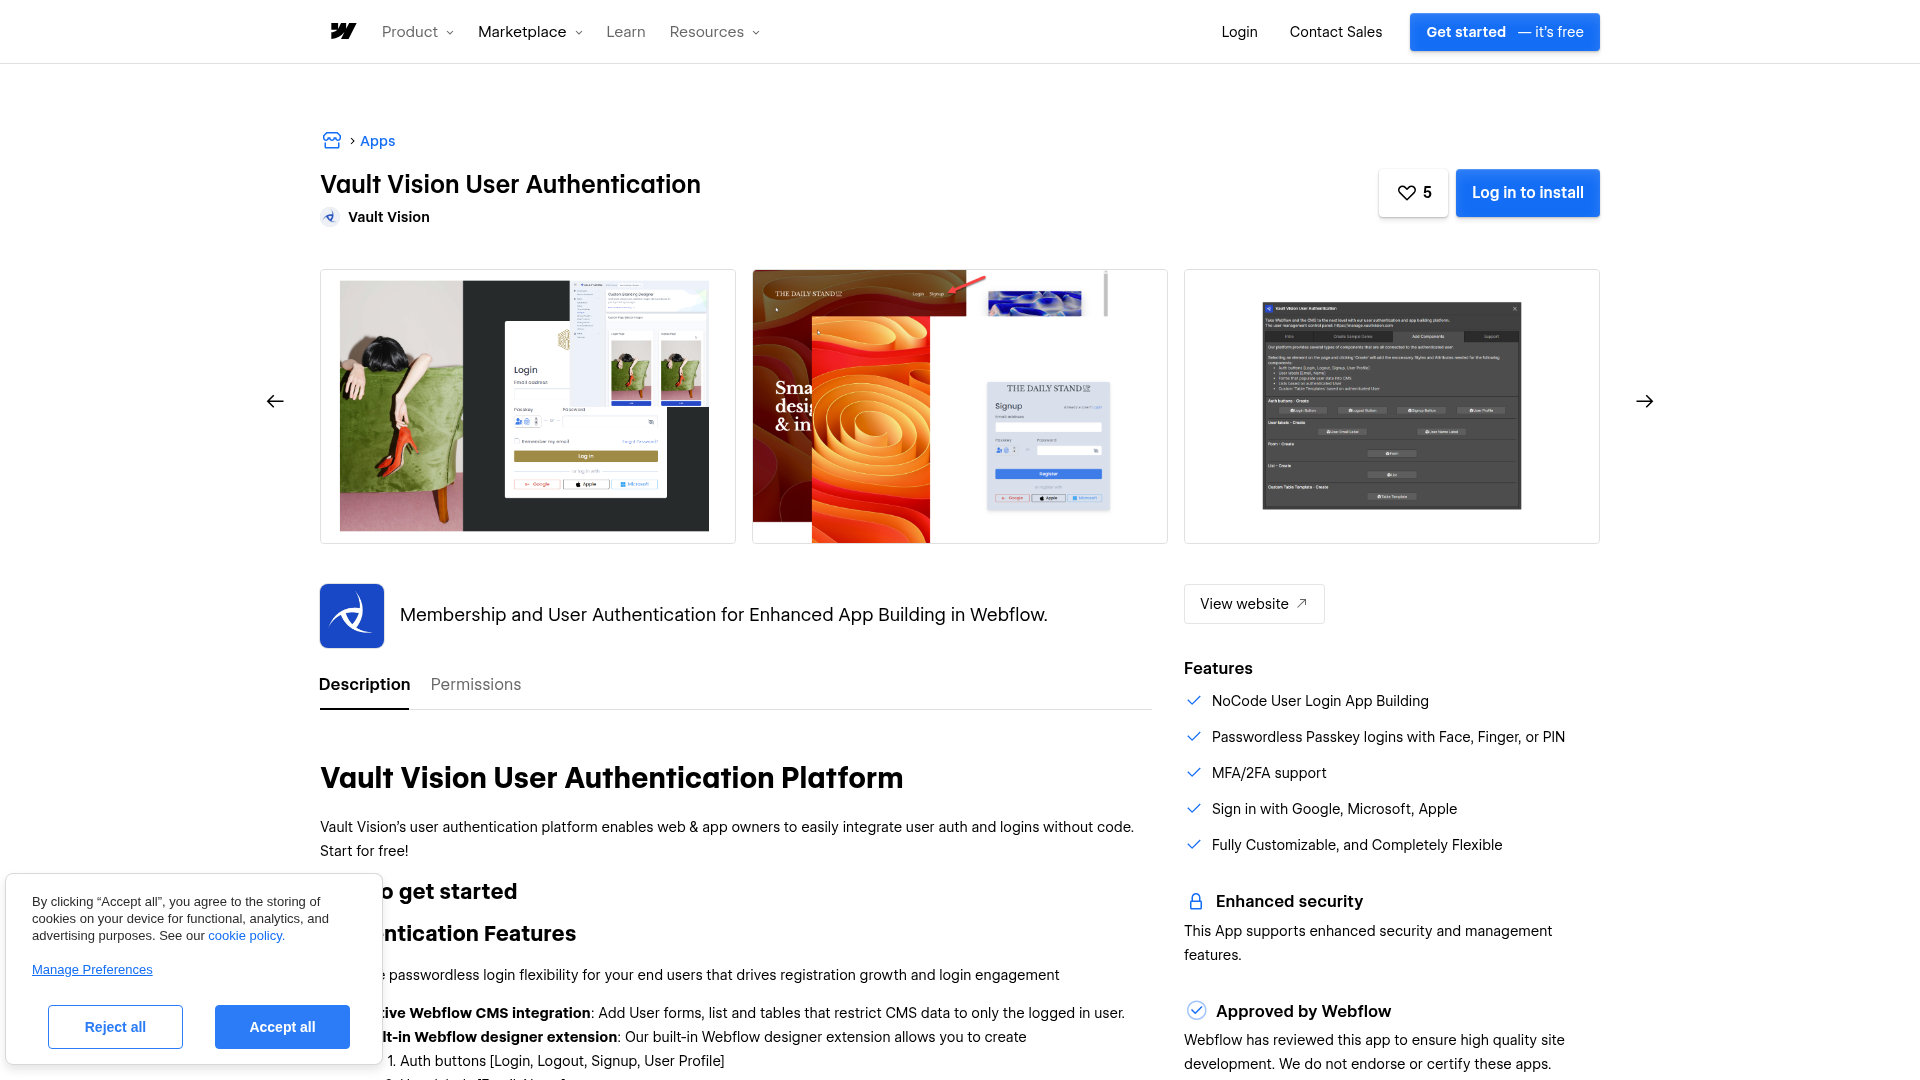
Available components include:
- Authentication buttons for Login, Logout, Signup, and User Profile that drop onto any Webflow page
- User labels that display the authenticated user's email and name
- Custom table templates and lists filtered by authenticated users
- Forms that populate user data into Webflow CMS collections
To set up the integration:
- Install the Vault Vision app from the Webflow Apps Marketplace
- Connect your Webflow site through the Vault Vision authorization portal
- Add authentication components to your pages from the designer extension
This is the most visual no-code setup path and requires no code. It is the right starting point for most Webflow teams.
Add Vault Vision authentication with a script tag
The JavaScript embed method uses Vault Vision's NoCode HTML and JS Toolkit. You paste a single script block into your Webflow site's custom code settings with no build tools, no additional dependencies, and no server required. This method works on all Vault Vision plans, including Free, and gives you control over redirect paths, page gating rules, and per-user access.
Before adding the embed, create a Vault Vision account at vaultvision.com. A development sandbox tenant is auto-provisioned on registration. Visit the Management Panel and click Display .env file to retrieve your configuration values.
Embed using site-level custom code
Open your Webflow site and go to Site Settings > Custom Code. Paste the Vault Vision configuration block into the head or footer code section:
<script>
window.vv_process = window.vv_process || {env: {}};
window.vv_process.env = window.vv_process.env || {};
window.vv_process.env.VV_USER_SIGN_UP_PATHNAME="/faq/welcome-message";
window.vv_process.env.VV_USER_SIGN_IN_PATHNAME="/faq/special-welcome-message-after-you-have-logged-in";
window.vv_process.env.VV_USER_SIGN_OUT_PATHNAME="/faq/your-feedback-is-greatly-appreciated";
window.vv_process.env.VV_REQUIRE_USER=false;
window.vv_process.env.VV_USER_SIGN_IN_CALLBACK=function(){alert("sign_in"); }
window.vv_process.env.VV_USER_SIGN_OUT_CALLBACK=function(){alert("sign_out"); }
window.vv_process.env.VV_AUTH_REQUIRED_PAGES="/internal";
window.vv_process.env.VV_ALLOWED_PATHS_REGEX_PER_USER={"mike@domain.com":"orders", "sally@domain.com":".*", "john@domain.com":"^/exactlythis.html$" }
window.vv_process.env.VV_ACCESS_DENIED_PAGEPATH="/denied.html";
</script>
Save and publish your site. The key parameters to customize are:
VV_USER_SIGN_UP_PATHNAME— the page path a user lands on after signing upVV_USER_SIGN_IN_PATHNAME— the redirect path after sign-inVV_USER_SIGN_OUT_PATHNAME— the redirect path after sign-outVV_REQUIRE_USER— set totrueto require authentication on every pageVV_AUTH_REQUIRED_PAGES— a string pattern defining which pages need loginVV_ALLOWED_PATHS_REGEX_PER_USER— an object mapping user emails to regex patterns controlling per-user page accessVV_ACCESS_DENIED_PAGEPATH— where unauthenticated users land when they hit a gated page
Site-level custom code requires a paid Webflow site plan.
Gate content with CSS classes
You can control which elements appear for authenticated versus unauthenticated users by applying CSS classes in Webflow. Apply the auth class to elements that should only appear for logged-in users, and the d-none class to hide elements from unauthenticated visitors. This works directly in Webflow's class management panel.
CSS-based content gating is a UX convenience, not a security control. A technically savvy visitor can inspect the DOM and view hidden elements. For sensitive content, use a server-side approach or edge middleware that only delivers content to authenticated requests.
Embed using a Code Embed element
You can also place the Vault Vision script inside a Code Embed element on specific pages rather than site-wide. Add a Code Embed element to your page, paste the script block, save, and publish. This approach works when you only need authentication on selected pages rather than across the whole site.
Build with the Webflow and Vault Vision APIs
The Vault Vision REST API gives developers programmatic control over users, tenants, and credentials. It covers user creation, credential management, tenant configuration, and OAuth application management. API access requires the Growth plan, and all requests authenticate with a Bearer token using a vv_-prefixed API key.
Both platforms provide documented APIs for this kind of integration:
- Vault Vision's REST API manages users, credentials, tenants, and OAuth applications
- The Webflow Data API handles CMS collections and form submissions
- Webflow webhooks can trigger real-time events between systems
This path requires a developer to build and maintain the server-side layer between the two platforms.
Create and manage API keys
Open the Vault Vision management console and click + New to open the Create API Key dialog. Name the key and click Create. Toggle Restricted to limit the key's access to specific tenants. Keys support nine resource types with None, Read, or Read/Write permission levels.
Do not expose API keys in client-side code. Keys are for server-side use only.
The API uses POST for both creation and updates — there is no PATCH endpoint. To update a resource, retrieve the full object with GET, modify the fields you need, then POST the entire object back. System-managed fields like id, created_at, and updated_at are ignored if included.
Implement server-side OIDC authentication
Vault Vision is a certified OIDC (OpenID Connect) provider with PKCE (Proof Key for Code Exchange) support. For Webflow sites connected to a separate application backend on Vercel or Railway, you can implement a full server-side authentication flow. Install the openid-client library, discover the OIDC issuer, and implement PKCE-based authorization:
Issuer.discover(tenantUrl).then((vaultVisionIssuer) => {
  client = new vaultVisionIssuer.Client({
    client_id: client_id,
    client_secret: client_secret,
    redirect_uris: [redirect_uri],
    response_types: ['code'],
  });
});
Store session JWTs in an HttpOnly, SameSite, Secure cookie. Never store them in localStorage or a JavaScript-readable cookie. ID tokens are short-lived and should not be reused as session tokens. Vault Vision provides official example repositories for Go, Node.js, Python, React, and HTML.
Store user metadata via the API
Each Vault Vision object supports up to 20 key-value metadata pairs. Keys can be up to 100 characters and values up to 1,000 characters. You can attach metadata to tenants, users, and applications — useful for storing Webflow-specific identifiers, plan tiers, or feature flags without a separate database. Do not store sensitive information in metadata fields.
What you can build with Vault Vision Webflow integration
Integrating Vault Vision with Webflow lets you add user authentication and page-level access control to any Webflow site.
- Gated content library: Build a resource hub where blog posts, downloads, or video tutorials are only visible to registered users. Apply the
authCSS class to premium content sections in Webflow — logged-in visitors see the full library, while others see a signup prompt. - Client portal with personalized data: Create a dashboard-style Webflow site where each client logs in to see their own deliverables, invoices, or project status. Vault Vision assigns each user a unique
vvididentifier that links to records in Airtable or a Webflow CMS collection. - Membership site with passwordless login: Launch a members-only course platform on Webflow using passkey authentication (Face ID, fingerprint, or PIN). The
VV_AUTH_REQUIRED_PAGESparameter gates specific course sections, and one-tap login removes the password step that causes registration drop-off. - Multi-client agency authentication: Run separate authentication environments for multiple Webflow client sites from a single Vault Vision account using multi-tenant architecture. Each tenant gets its own users, branding, and auth settings.
For more complex builds — like syncing authenticated user data to Webflow CMS collections or connecting login events to external services. The Vault Vision REST API provides endpoints for programmatic user and credential management.
Frequently asked questions
Two options exist. The first is the Vault Vision Webflow app, which adds drag-and-drop authentication components (login buttons, user labels, and filtered lists) directly inside Webflow. The second is pasting a script tag into your site's custom code settings using Vault Vision's NoCode Toolkit. Both work without backend development. The script tag method requires a paid Webflow site plan for access to custom code settings.
The Free plan supports all authentication methods, the development sandbox, and the JavaScript embed, enough to prototype and test. The Launch plan adds custom branding, custom domains, and multi-tenant support. REST API access for programmatic user management requires the Growth plan. Check the Vault Vision pricing page for current plan details, user limits, and feature breakdowns.
Yes. The
VV_ALLOWED_PATHS_REGEX_PER_USERparameter accepts an object mapping user email addresses to regex patterns. For example,"mike@domain.com": "orders"restricts Mike to pages containing "orders" in the URL path, while"sally@domain.com": ".*"gives Sally access to all pages. UseVV_AUTH_REQUIRED_PAGESto gate entire sections by URL pattern, andVV_ACCESS_DENIED_PAGEPATHto set a redirect destination for denied users.Vault Vision is a separate authentication system with its own user database and session management. Running both simultaneously could create conflicts around login state and content gating. For questions about specific compatibility scenarios, contact support@vaultvision.com or ask in the Vault Vision Discord community.
Description
Adds user authentication, passwordless login, and content gating to Webflow sites through a marketplace app, JavaScript embed, or REST API.
This integration page is provided for informational and convenience purposes only.

Anthropic Claude
Webflow's Model Context Protocol (MCP) server connects Claude AI directly to your site's CMS, Designer APIs, and data layer.
ChatGPT
Direct API integration provides complete control over AI functionality compared to pre-built solutions, enabling custom conversation flows, context management, and advanced processing patterns that aren't possible through standard embeds.

Xano
Connect your Webflow site to a powerful no-code backend platform that handles databases, APIs, and business logic — all without writing server-side code.

Zapier
Connect Zapier's powerful automation platform with Webflow to streamline workflows, sync data across 8,000+ apps, and eliminate manual tasks. Transform your website into an automated hub that captures leads, processes orders, and updates content without writing code.

Smartarget Contact Us
Connect Smartarget Contact Us with Webflow to add a floating multi-channel contact widget that lets visitors reach you on WhatsApp, Telegram, email, and 12+ messaging platforms.
CMS Bridge
Connect CMS Bridge with Webflow to sync Airtable records to your CMS collections with record-level control over content states and publishing.
Osmo SVG Import
Connect Osmo SVG Import with Webflow to add fully editable SVG elements to your site without character limits or manual code editing.
Telegram Chat - Contact Us
Connect Telegram Chat - Contact Us to your Webflow site to add a floating Telegram chat widget that lets visitors message you directly from any page.
Form Fields Pro
Connect Form Fields Pro with Webflow to add advanced input types, including searchable selects, date pickers, number range pickers, and file uploaders, to native Webflow forms.
Related integrations
Get started for free
Try Webflow for as long as you like with our free Starter plan. Purchase a paid Site plan to publish, host, and unlock additional features.
