


The bar for personalization has been raised radically, and marketers feel it.
Your website is probably treating every visitor the same. The startup founder who clicked your Google ad, the growth marketing lead your SDR emailed, the healthcare company that found you through a LinkedIn post — they all land on the same page and see the same headline.
That's a conversion friction point. And the bar keeps rising: in our recent State of the Website report, 96% of marketing teams said pressure on their department is growing, and 92% say website update requests are getting more complex.
In this tutorial, we'll walk through two of the highest-impact personalization use cases for B2B marketing teams — getting more out of paid ad traffic and scaling ABM without scaling headcount — and show you exactly how to set them up in Webflow Optimize.
Manual personalization becomes modern personalization
For many teams, personalization has meant one of two things: building more pages than anyone can maintain, or not personalizing at all. In reality, most teams want to personalize but struggle to execute. The process is too manual, too slow, and too complex to sustain.
AI-powered personalization makes this possible — and scalable.
Example 1: Optimizing for paid traffic
Paid channels are where personalization pressure shows up fastest, and where the financial stakes are highest. You've already done the hard work — crafting ad copy, dialing in targeting, spending real money to get someone to click. So why send them to a generic page?
AI-powered personalization automatically adapts the landing experience to match each visitor's intent, source, and context. And it's easier to set up than you'd think.
Let's break down a landing page into five sections and show you what's possible in each one.
- Navigation
- Hero headline
- Hero image
- Logo or trust section
- Call to action
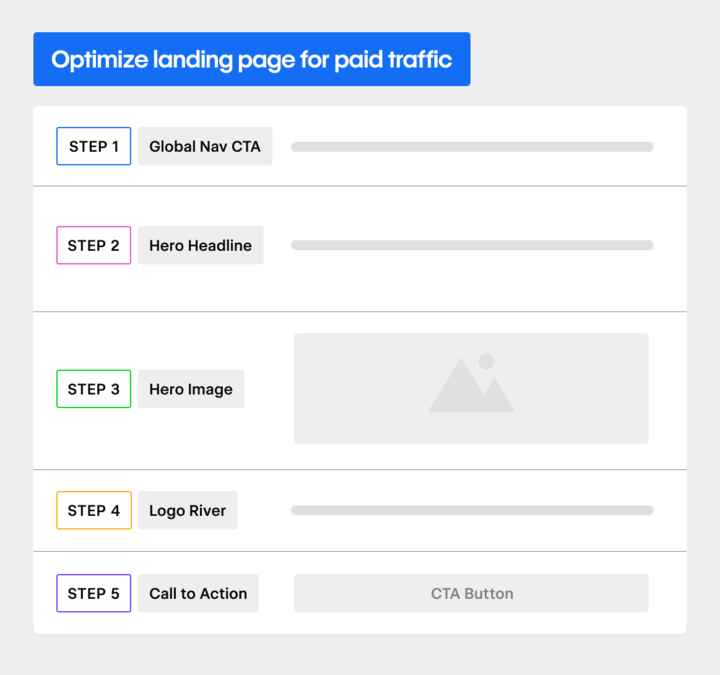
Step 1: Personalize the navigation CTA by company size
A simple but high-impact play is to personalize the primary CTA in your nav based on company size. Show startups a "Start free trial" button. Show enterprise visitors "Book a demo." Here’s how to set it up:
- Create a manual personalization and select Enhanced Match as your targeting method.
- This is Webflow’s built-in firmographic lookup that identifies a visitor’s company and company size. Note: For even more accurate targeting, you can bring in your 6sense or Demandbase data.
- Set your audience rules by employee count:
- For example: Less than 200 employees → “Small Business” → CTA: “Start free trial”
- More than 200 employees → “Enterprise” → CTA: “Book a demo”
- Go to the global nav component and edit the CTA text to match what you want each audience to see.
Because you’re editing a site-wide component, the personalization automatically applies everywhere that nav appears, no extra configuration needed. Visitors from companies under 200 employees will see “Start a free trial”, and as you create new personalizations for other segments, like enterprises over 200 employees, they’ll see “Book a demo” instead.
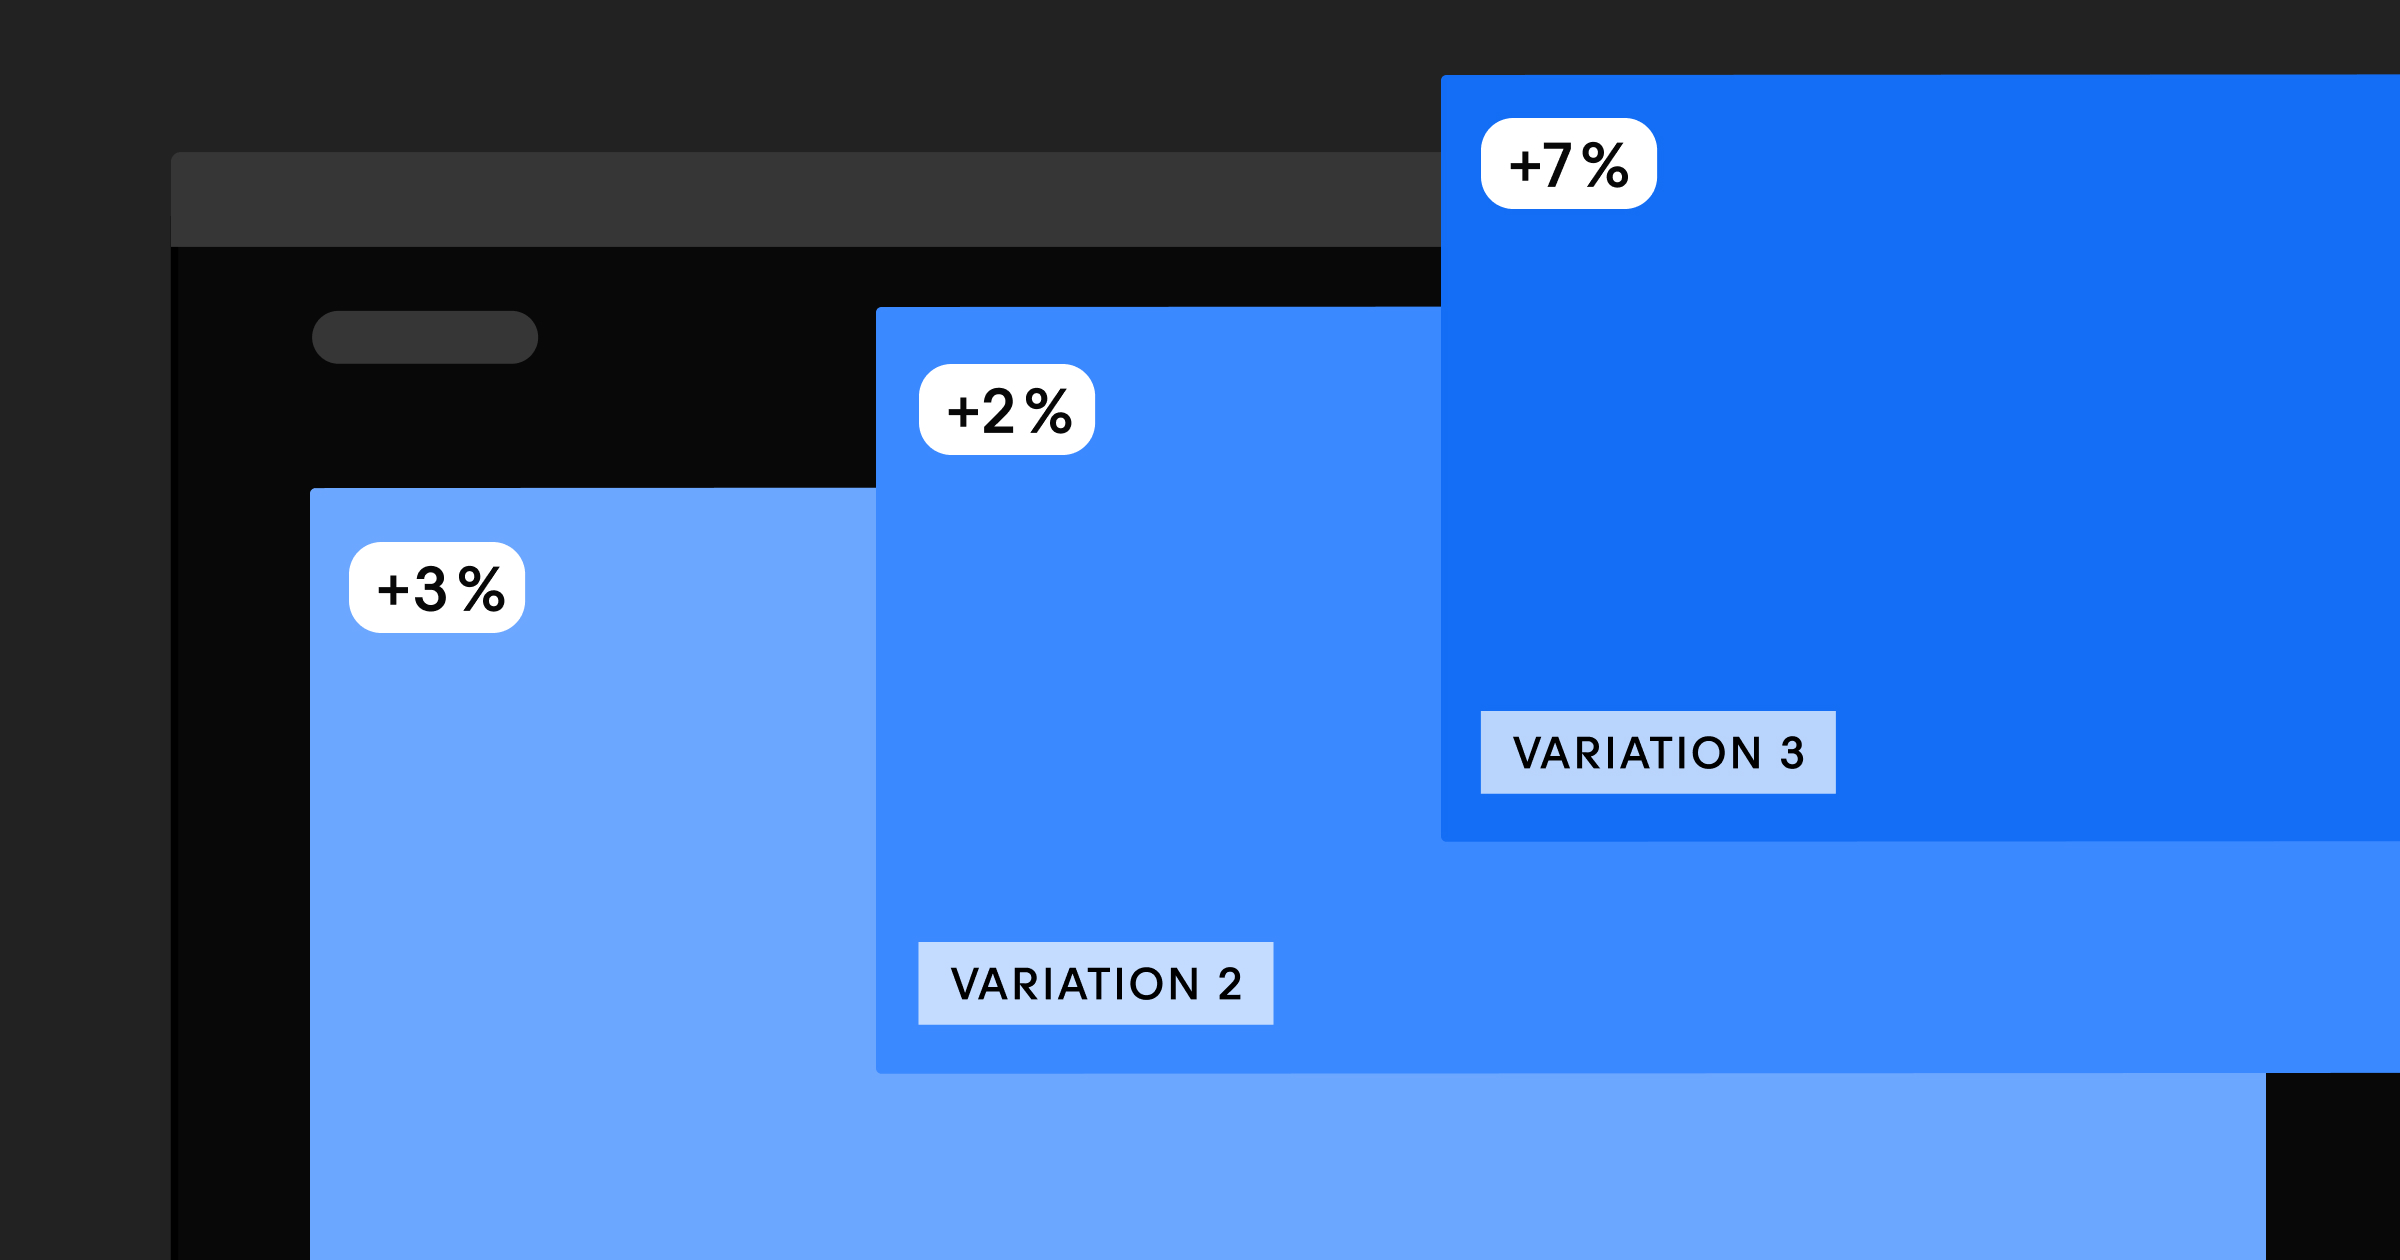
Step 2: Test and optimize the hero headline
The hero headline is your biggest opportunity to grab attention — it's the first thing a visitor reads, and if it doesn't land, nothing else gets the chance to. In Webflow Optimize, AI plays two roles: helping you create variations and then deciding who sees which one. Here's how to set it up:
- To create variations: Create a new optimization and select AI-powered suggestions as your method. Choose a strategy, select the headline element, and Webflow will generate options based on your brand voice and page content. Make any inline edits, then click "Create variations" and Optimize sets up the test automatically.
- To optimize delivery: Once you go live, AI takes over. It factors in 40+ real-time signals including device type, firmographic data, and UTM parameters from the ad a visitor clicked, then automatically matches each visitor to the headline most relevant to them.
Step 3: Optimize the hero image with the same approach
You can run the same kind of test on your hero image. Create multiple variations and let AI Optimize handle the rest. Here's how to set it up:
- Create a new test and select AI as your method. This enables automatic matching of each visitor to the right image variation.
- Swap out images from the asset panel or upload new ones. You can set up as many variations as you need.
- Once live, AI Optimize learns and continuously drives the highest performing variations to more traffic.
Step 4: Personalize the logo section by industry
A quick note on inbound firmographic personalization before diving in: when someone lands from an ad, they don't expect you to already know who they are. Being too explicit about it, surfacing their company name for example, can feel intrusive and erode trust. The key is subtle, relevant personalization that signals you understand their world without making it obvious you're tracking them.
Swapping in industry-relevant logos is a perfect example of this done right. Here's how to set it up:
- Create a new personalization and set it to manual so you can directly control the rules.
- Use Enhanced Match to build industry-based audiences like finance, healthcare, manufacturing, etc.
- For each audience, swap in the logos most relevant to that industry and update any supporting text to reflect the language and terminology that audience actually uses.
This method makes the personalization feel natural, not intrusive, and builds the trust that drives conversions.
Step 5: Find a definitive winner for your CTA
Steps 1 through 4 are all about relevance, serving the right version of the page to the right visitor based on their context. This step is different. Instead of adapting to each visitor, the goal here is to find a single, definitive answer: which CTA performs best overall?
That's where a classic A/B test is the right tool. Here's how to set it up:
- Create a new traditional test on your CTA element — button copy, style, or offer framing are all good candidates.
- If that CTA component appears elsewhere on your site, the test runs everywhere it does automatically.
- Once you have a statistically clear winner, apply it to your site in just a few clicks and it’ll roll out across every instance of that component sitewide.
The result is a clear insight you can act on immediately and build from. And because Webflow Optimize lets you run this alongside the personalizations in steps 1 through 4, you can do both on the same page at the same time.
With five adaptable sections, you’ve introduced a way to scale variation across your paid traffic, protecting the value of every click and aligning the experience as closely as possible with each visitors’ unique set of needs. Let’s take a look next at how we can apply similar concepts to account-based marketing.
Example 2: Making ABM perform at scale
If paid traffic is about breadth, ABM is about depth.
ABM is a strategy built around quality over quantity — instead of casting a wide net, you identify a shortlist of high-value target accounts and build campaigns specifically for them. The number of visitors is smaller, but the expectations for relevance are higher. When a target account clicks through from an outbound campaign, the experience should reflect their industry, their priorities, and ideally their company context. This is hard to scale.
Most ABM programs are forced to trade off between personalization and operational efficiency — creating custom pages for each account delivers a high-touch experience, but it’s slow and difficult to scale.
With Webflow, you don’t have to choose. Instead of cloning pages, you build a system that you can actually maintain.
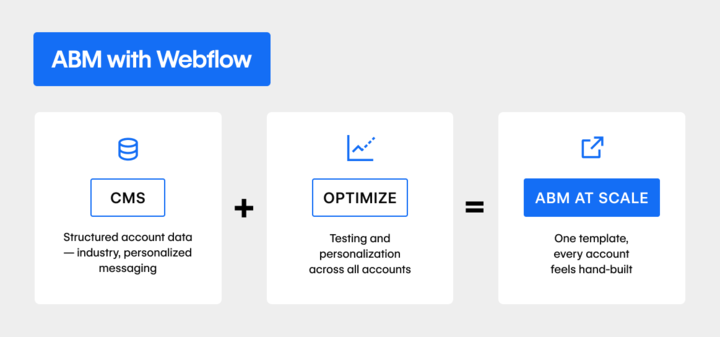
Step 1: Create a structured CMS collection
Start by creating a CMS collection for your target accounts. For each account, store structured fields like:
- Company name
- Industry
- Tailored subheader or positioning angle
- Relevant client logos
- Custom proof points
From there, you have a few options to gather your data:
- Import a CSV file with account data
- Manage it directly in the Webflow UI
- Integrate with a tool like Clay to push AI-generated content into the CMS automatically
This gives you centralized, structured personalization at the data level.
Step 2: Bind that content to a dynamic template
Next, build a single dynamic template and bind those CMS fields directly to the page. Here’s how:
- Connect each CMS field — subheader, logo, proof points — to the corresponding element on the template
- Toggle between accounts in the CMS to preview what each account’s page will look like
- Each account gets its own unique URL that your sales team can use in outbound
The page feels custom-built for each account, but you’re maintaining one template throughout.
Step 3: Layer optimization across accounts
Finally, even if an individual account page only sees a handful of visits, you can still run experiments across all accounts in the program to keep improving the experience. Here’s how:
- With Optimize, set up tests on shared elements like headlines, imagery, and CTAs at the campaign level
- Traffic from every account page feeds into the same test, so you can reach meaningful conclusions faster than you could testing any single account page alone
- Once you find a winner, you can apply it across all accounts in just a few clicks
And you can go further. Using Salesforce outbound links, you can identify website visitors by matching them to their Salesforce contact and account data when they click through. Their identity is recognized on-site, and it stays associated with their session as they browse, even when they return later. That unlocks:
- Smarter retargeting across sessions
- Deeper firmographic personalization beyond that first click
- The ability to measure how your optimizations are actually moving pipeline, from open opportunities to closed-won deals
The experience feels tailored, but the optimization process stays manageable.
One page, thousands of journeys
That's what becomes possible when personalization is built into the platform you’re already using — a single place to build, test, and optimize, with AI doing the heavy lifting on delivery.
AI Optimize continuously evaluates 40+ contextual signals — device type, acquisition channel, industry, behavior, etc. — and routes each visitor to the content most likely to convert. Higher-performing variations get more traffic, and lower-performing ones phase out. And because experimentation and personalization happen in the same place you build your pages, marketing can lead execution and iterate fast without the usual back-and-forth.
The result is a site that gets smarter over time and more relevant to every visitor who lands on it.
If you’re ready to move beyond static landing pages, explore Webflow Optimize or connect with our team to see how you can turn one page into 1,000 journeys.