

Webflow Blog
Stories, insights, and advice that will transform how you design and build for the web.

Introducing Webflow Cloud: Bring full-stack web apps to your website experience
Webflow Cloud leverages our native hosting infrastructure to empower developers to deploy full-stack web applications and dynamic web experiences on Webflow.
New
Behind the build: Inside the minds of our Webflow x GSAP Community Challenge winners
Visual analytics: Now available in Webflow Analyze
Smart B2B personalization: How to focus your efforts where they matter most
Popular

How AI-powered prototyping is changing design at Webflow

The next generation of CMS: A Website Experience Platform
Content management systems are changing. Our Website Experience Platform was designed to empower businesses to optimize teams, resources, and time-to-market.
Unlock exclusive Webflow content
Subscribe now for best practices, research reports, and more.
You are now subscribed.
Featured contributors


“
In many ways, I think AI is what we’ve been missing and waiting for when it comes to design systems.”
Browse all

Behind the build: Inside the minds of our Webflow x GSAP Community Challenge winners
Behind the build: Inside the minds of our Webflow x GSAP Community Challenge winners
See how GSAP creators get inspired

Visual analytics: Now available in Webflow Analyze
Visual analytics in Webflow lets you make faster, data-informed design decisions with clickmaps and scrollmaps, right in the canvas.
How AI-powered prototyping is changing design at Webflow
See how a new way of prototyping changed how our design team works

Smart B2B personalization: How to focus your efforts where they matter most
Smart B2B personalization: How to focus your efforts where they matter most
Website personalization gives enterprise demand gen marketers more control over the buyer experience. Here’s how to use it to drive the outcomes you want.

Working with Cloudflare to give website owners more control over AI bots
Working with Cloudflare to give website owners more control over AI bots
Together with Cloudflare, Webflow will help teams control how their digital content is accessed and reused online.

Architecting AI workflows for AEO, accessibility, and impact
AI workflows unlock value and speed to market. Learn more about AI-driven content creation workflows for AEO and accessibility, and expert tips on automation.

The hidden cost of brand inconsistencies (and how to avoid them)
Discover the hidden costs of brand inconsistencies across your digital properties and how design systems can eliminate these costly disconnects.

The end of marketing silos: Bringing brand and growth marketing together
Strategies to break down marketing silos, eliminate friction, and create seamless collaboration
Rewriting the web: How to optimize websites for AI search
Optimizing for AI search unlocks higher visibility. Read the recap of our webinar on answer engine optimization strategies from industry experts.

How we're optimizing for AI search at Webflow (and what we've learned so far)
How we're optimizing for AI search at Webflow (and what we've learned so far)
Our AI search signups grew 4x in six months. Here’s how our SEO team is adapting to the new normal—and boosting Webflow’s visibility in AI search.

From months to minutes: How we rebuilt Webflow's billing infrastructure
Rebuilding billing at Webflow for speed, clarity, and scale


How developers can accelerate scalability and innovation with a modern CMS
How developers can accelerate scalability and innovation with a modern CMS
Solve technical burdens, integration and scalability constraints, and security risks with Webflow.

How to build a website disaster recovery plan: a 5-step guide
Learn the steps of an effective website disaster recovery plan to minimize downtime when technology failures, human errors, and security threats happen.

How Jasper streamlined workflows & increased efficiency by 4x
Boost web development efficiency with strategies from our webinar, How Jasper increased web efficiency 4X with Webflow. Discover workflow tips for smarter sites


How AI is reshaping — not killing — search in 2025
A look at how AI is impacting traditional search and how marketing leaders can evolve their SEO strategies to keep up with AI tools and LLMs.

How to build a successful designer and developer partnership
Practical strategies for creating effective designer-developer partnerships

8 common website mistakes that drive visitors away
Discover the most common website mistakes killing user engagement and conversion rates. Learn actionable strategies to transform your site into a user magnet.

5 lessons in digital transformation: AI, composability & more
Learn about the digital transformation of CMS and DXP landscapes from Webflow and Verndale. Uncover the impact of AI, composable architectures, and more.

Teamwork gets an upgrade: A new commenting experience in Webflow
Teamwork gets an upgrade: A new commenting experience in Webflow
Introducing a number of enhancements to the commenting experience to make teamwork smoother in Webflow.

Turn traffic into revenue: Expert strategies that drive results
Get website conversion optimization tips from industry experts and empower your team through collaboration, automation, and experimentation.

How to build design systems that empower marketing teams
Building design systems for marketing teams empowers them to build pages on their own faster — without breaking everything.
.png)
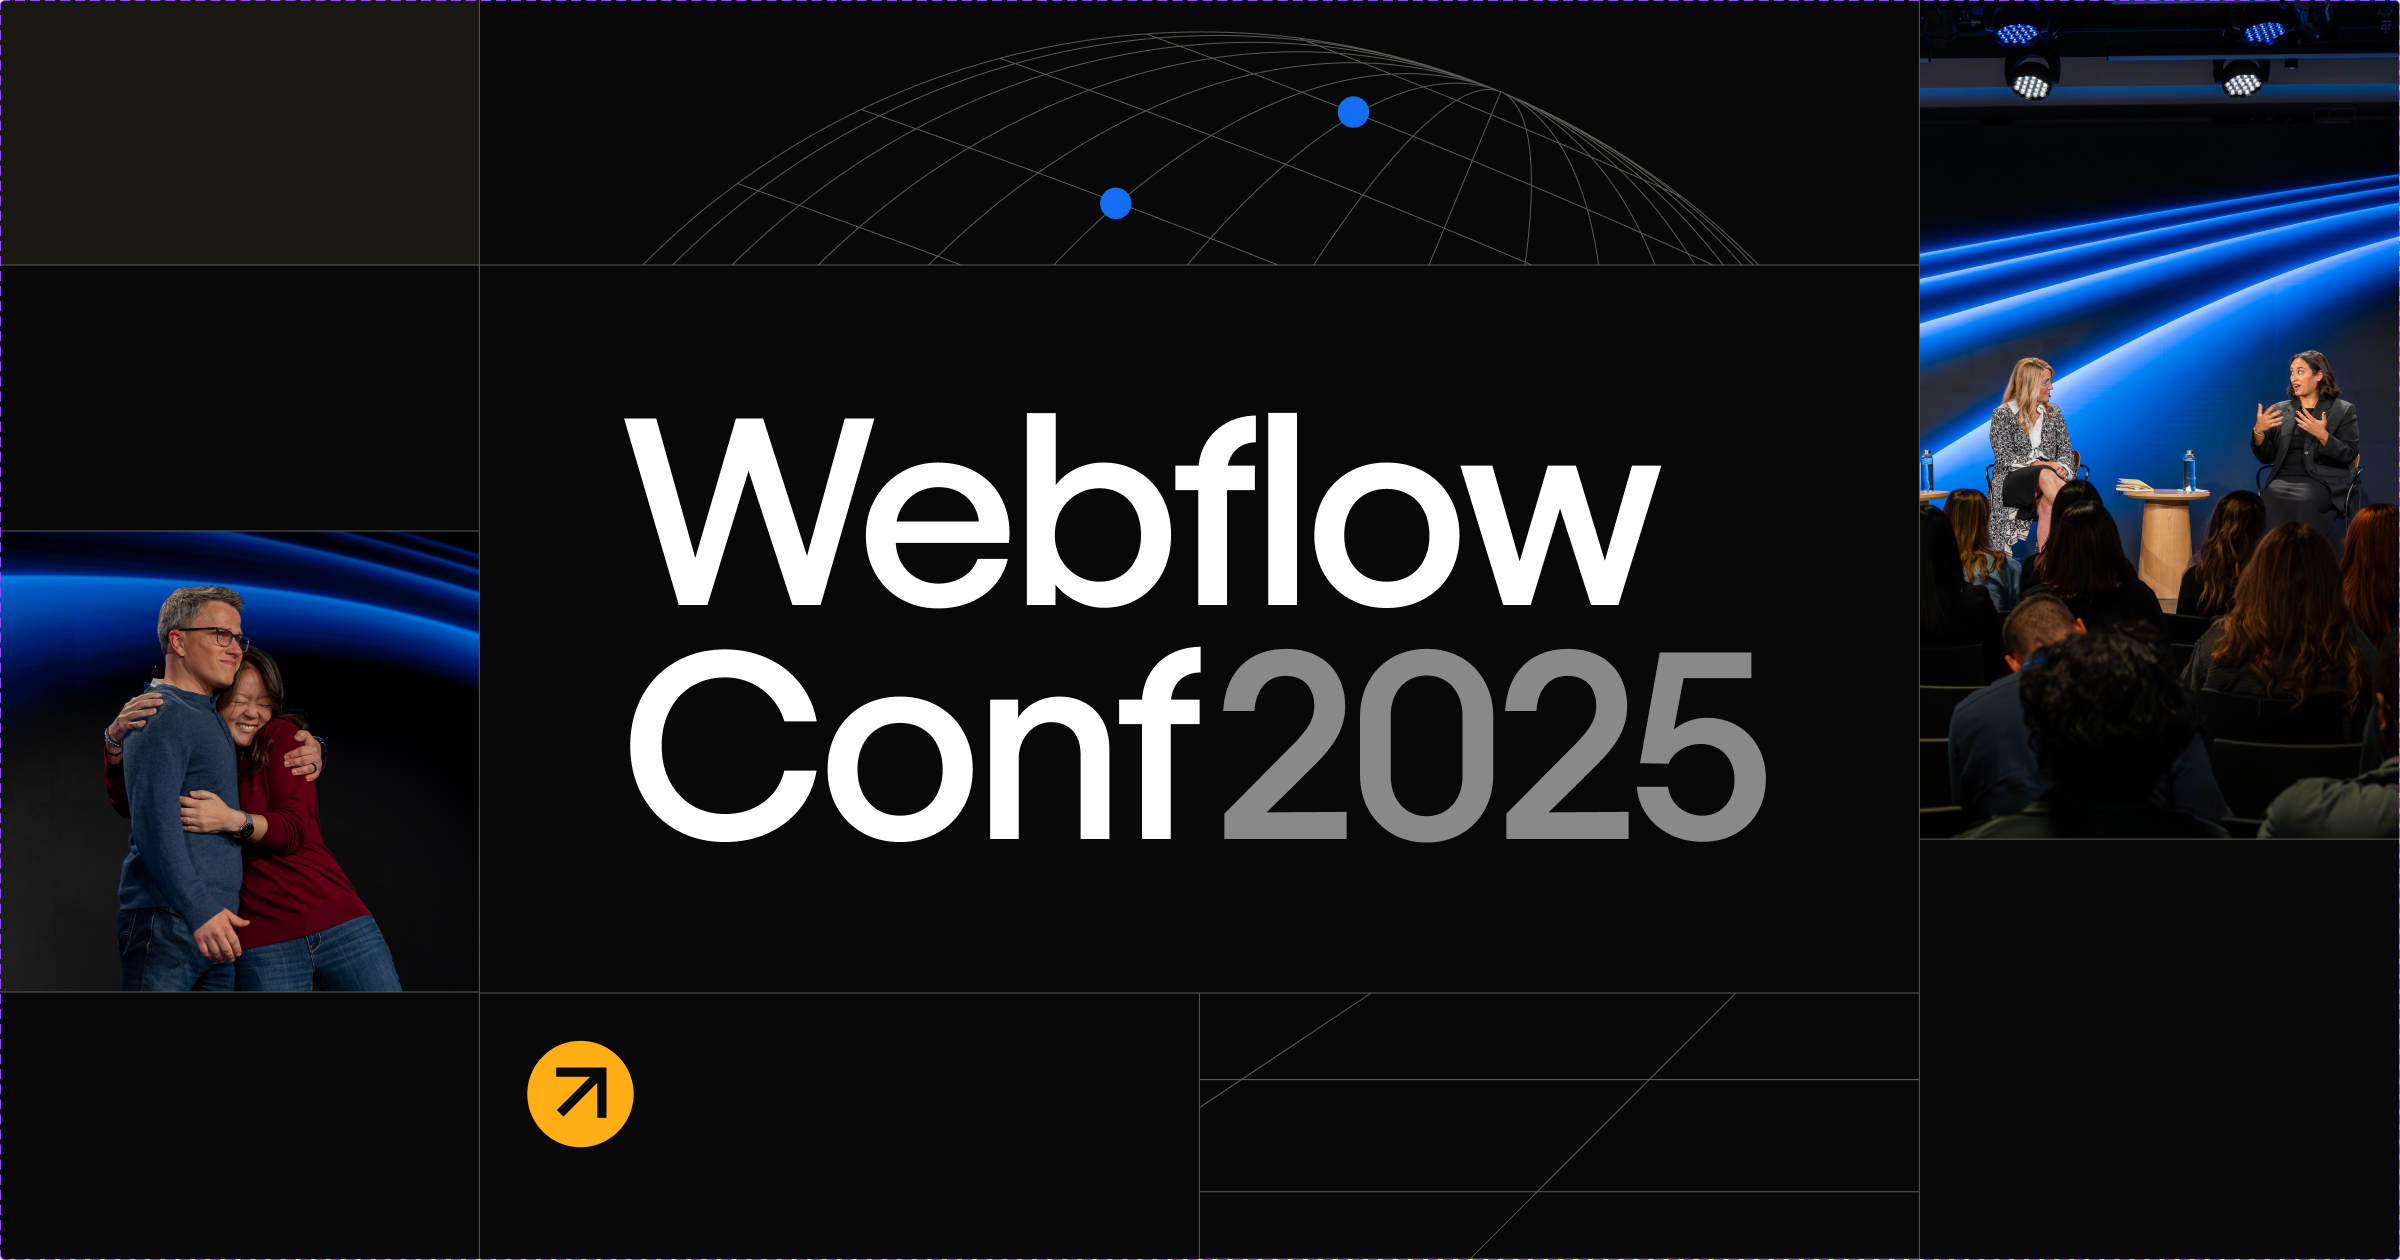
Why you should attend Webflow Conf 2025
An interview with past attendees on why Webflow Conf is a unique industry event and what they are looking forward to the most at this year's event.
The art of optimizing conversions for growth
Learn how to maximize the untapped potential of your existing website visitors and turn them into your most powerful revenue source.
Introducing Webflow Cloud: Bring full-stack web apps to your website experience
Introducing Webflow Cloud: Bring full-stack web apps to your website experience
Webflow Cloud leverages our native hosting infrastructure to empower developers to deploy full-stack web applications and dynamic web experiences on Webflow.

Design systems: What it is, examples, & how to create one
Learn everything you need to know about design systems to fully utilize them and build more consistent on-brand experiences.

How growth marketers can boost conversions with a modern CMS
Growth marketers face unique challenges with traditional content management systems. Learn what it takes to thrive in your role with a modern CMS like Webflow.
Webflow makes GSAP 100% free — plus more exciting updates
Discover exciting updates to GSAP — supported by Webflow — plus product enhancements and more.

How we built Webflow's AI-powered website optimization solution
Engineering for speed, scalability, and accuracy

The next generation of CMS: A Website Experience Platform
Content management systems are changing. Our Website Experience Platform was designed to empower businesses to optimize teams, resources, and time-to-market.
Webflow Conf 2025 registration is now open
We’re so excited to connect with our global community once again at Webflow Conf this September, and registrations are now open.
%202.png)
Webflow named a HubSpot Essential App for Marketers in 2025
Learn more about this continued recognition, and discover how marketing teams can start unlocking greater power with Webflow and HubSpot.

Scaling Webflow projects: Lessons from 100+ builds
Best practices in scalability and efficiency for agencies
Choosing a modern enterprise CMS — the options and how to evaluate them
Choosing a modern enterprise CMS — the options and how to evaluate them
Looking for an enterprise CMS in 2025? Here’s your guide to the different options available, and how to choose the best one for your company.

Get ready for new ways to learn and test your skillset with Webflow University
Get ready for new ways to learn and test your skillset with Webflow University
Webflow University is launching new opportunities to learn and showcase your Webflow knowledge.

Website analytics 101: A quick start guide to driving better website performance
Website analytics 101: A quick start guide to driving better website performance
Unlock the power of website analytics to drive better decisions and boost conversions.

What is a content management system?
Learn about content management systems (CMS) in 2025, and how they power modern businesses with the tools they need to create and publish content online.
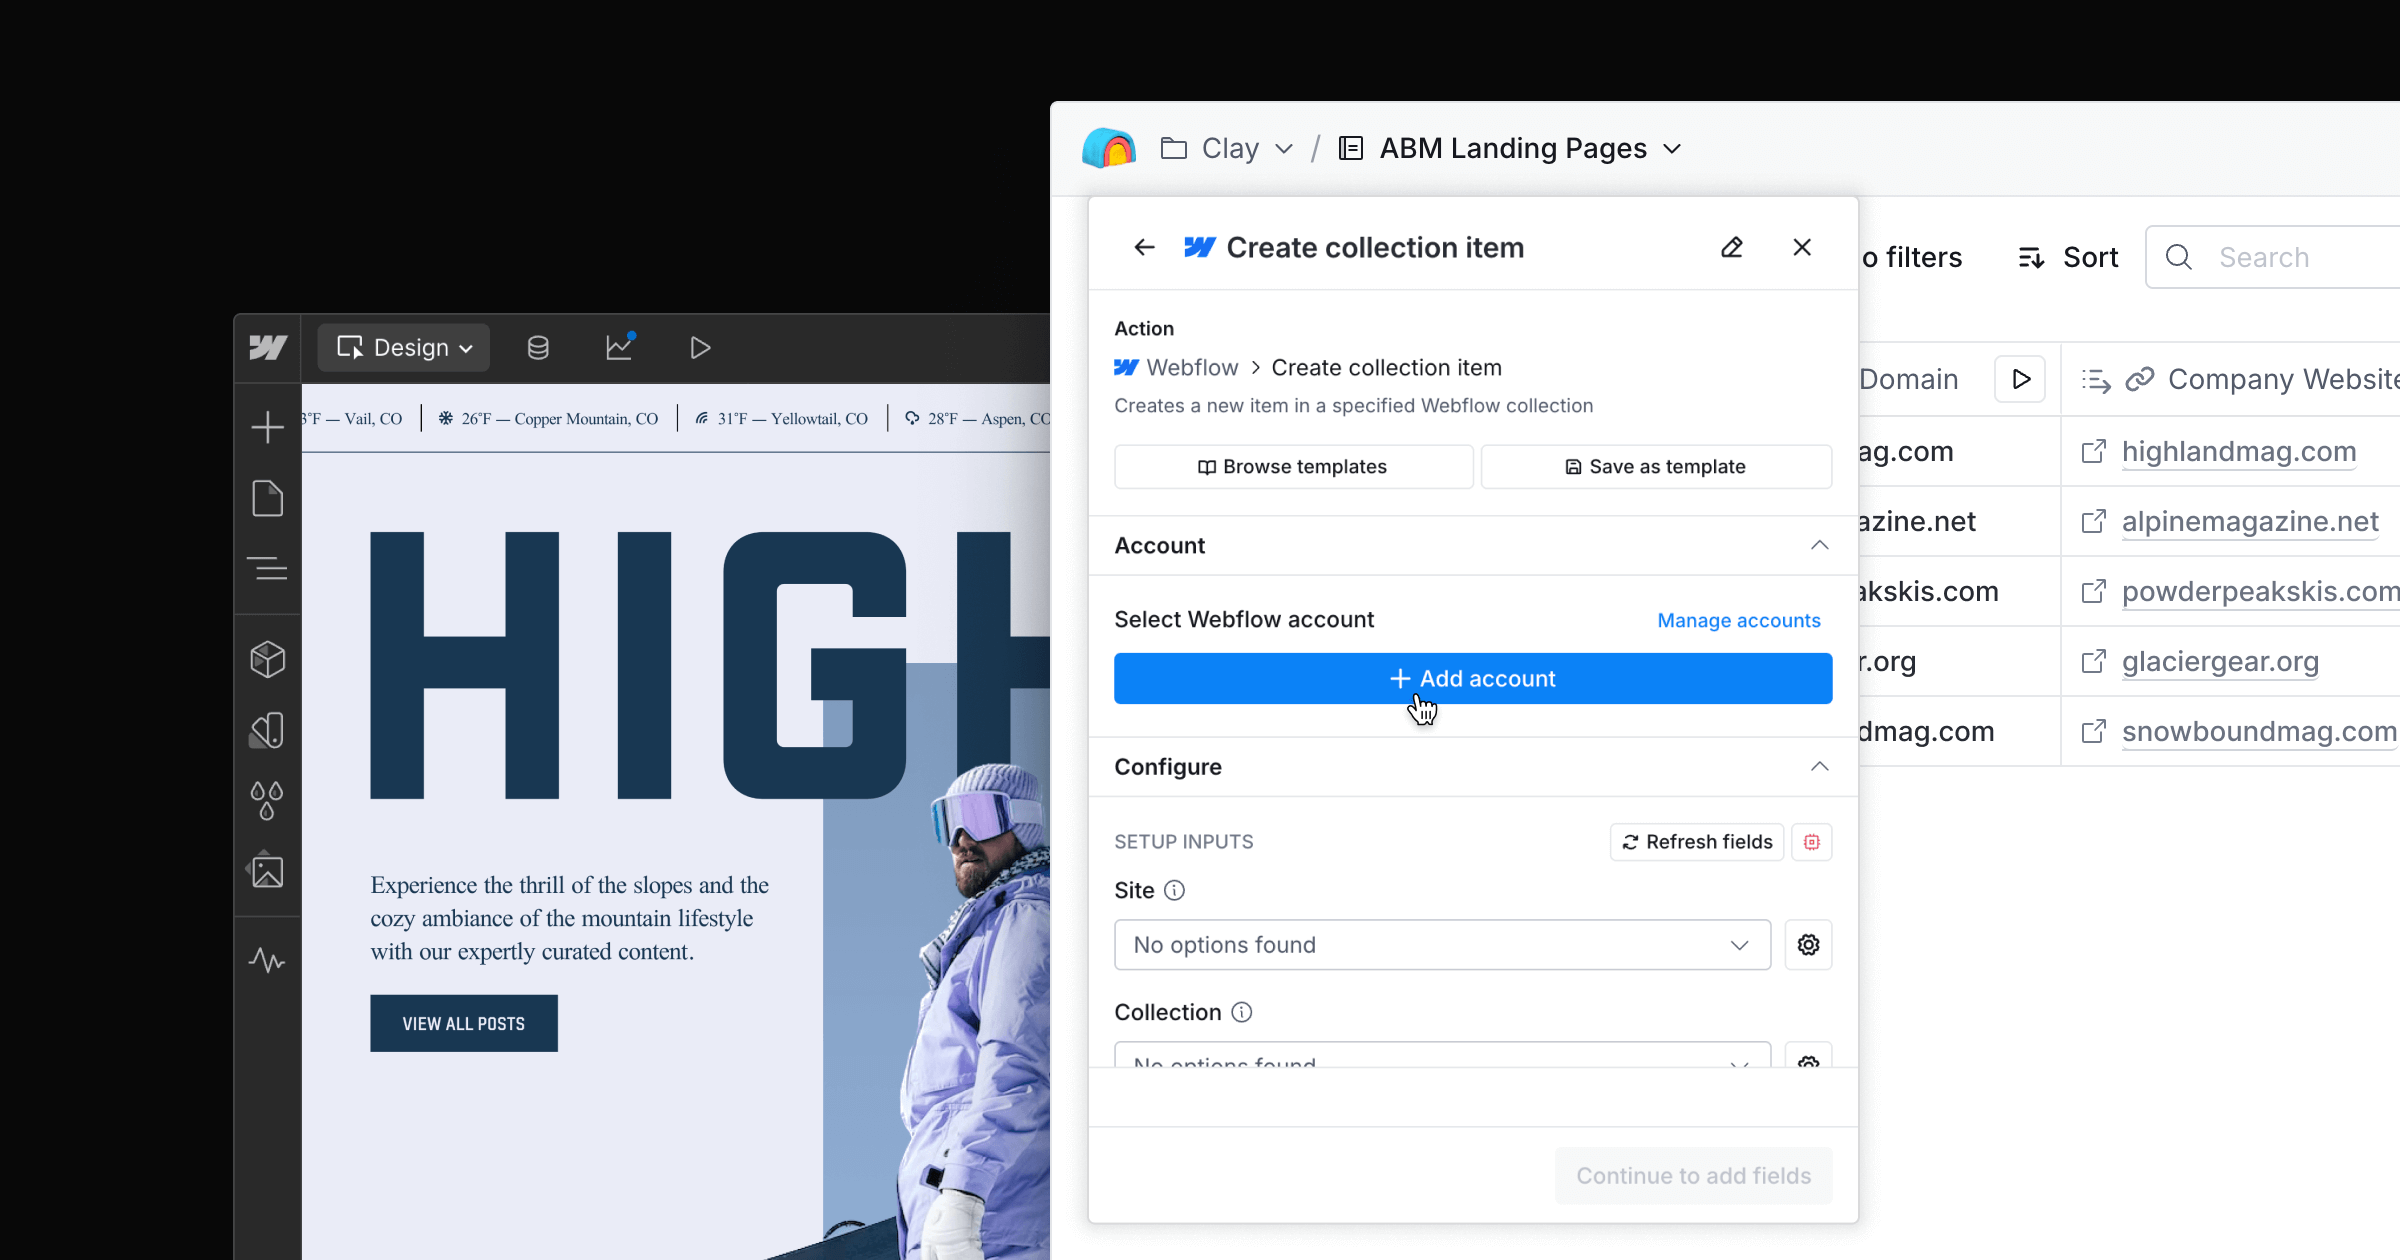
Streamlining marketing workflows: Clay and Webflow join forces
Learn how to create personalized ABM landing pages in seconds

Maximize affiliate revenue: Proven affiliate revenue strategies in the AI age
Maximize affiliate revenue: Proven affiliate revenue strategies in the AI age
Want to boost affiliate earnings? Explore how AI tools, automation, and smart strategies are reshaping affiliate marketing, and how to stay ahead.

Webflow named a Strong Performer in The Forrester Wave™: Content Management Systems, Q1 2025
Webflow named a Strong Performer in The Forrester Wave™: Content Management Systems, Q1 2025
Learn how we believe the CMS market is shifting.

Codemods and large-scale refactors at Webflow
How we used codemods to update 20,000 lines of code without regressions

Tips for integrating an enterprise website tech stack
How today's marketing teams can leverage composable solutions to build the website tech stacks they need to deliver powerful user experiences.

Scale your design system to multiple sites with Shared Libraries
Webflow Shared Libraries unifies your design system across multiple sites — driving consistency, efficiency, and a cohesive visual identity for your brand.

7 tips for building customer trust with your website
Learn how to build customer trust with your website through security features, accessibility, transparency, and design that puts users first.

11 best fonts for web design
Choosing the right font is vital for great web design. These 11 popular fonts are loved by designers because they balance visual impact and versatility.

Understanding visual trends with AI: How we analyze web design at scale
Understanding visual trends with AI: How we analyze web design at scale
How we developed an in-house AI-powered classifier to uncover trends in Webflow sites
.jpg)
Showcase your design skills and land more projects with Dribbble and Webflow
Showcase your design skills and land more projects with Dribbble and Webflow
Introducing our partnership with Dribbble, the leading platform for designers, now connecting Webflow experts with brands looking for top web design talent.
Homepage optimization strategies: Best practices for modern websites
Proven techniques to enhance user experience, optimize conversions, and maximize engagement on your homepage.

7 tips for building winning websites
Discover top tips from web design and agency leaders on how to develop a sustainable framework for building successful websites that deliver measurable results.

How to create high-converting product pages through strategic testing
Learn how to improve your product pages through data-driven experimentation, testing strategies, and how Webflow Optimize can help you scale your program today.

How top marketers turn website data into actionable strategies
Learn how leading marketers use website analytics to make strategic decisions, balance data with creativity, and drive business outcomes.

Meet Adrian Rosenkranz, Webflow’s new Chief Revenue Officer
Learn about our new CRO and how he sees the future of web development.

Maintaining brand consistency at scale with design systems in Webflow
Big-picture guidance and tactical best practices on building, implementing, and maintaining a design system within Webflow.

Website migration: A complete guide for agencies
Learn effective site migration strategies from top Webflow Partners, including processes, SEO techniques, and client stories for a smooth platform transition.
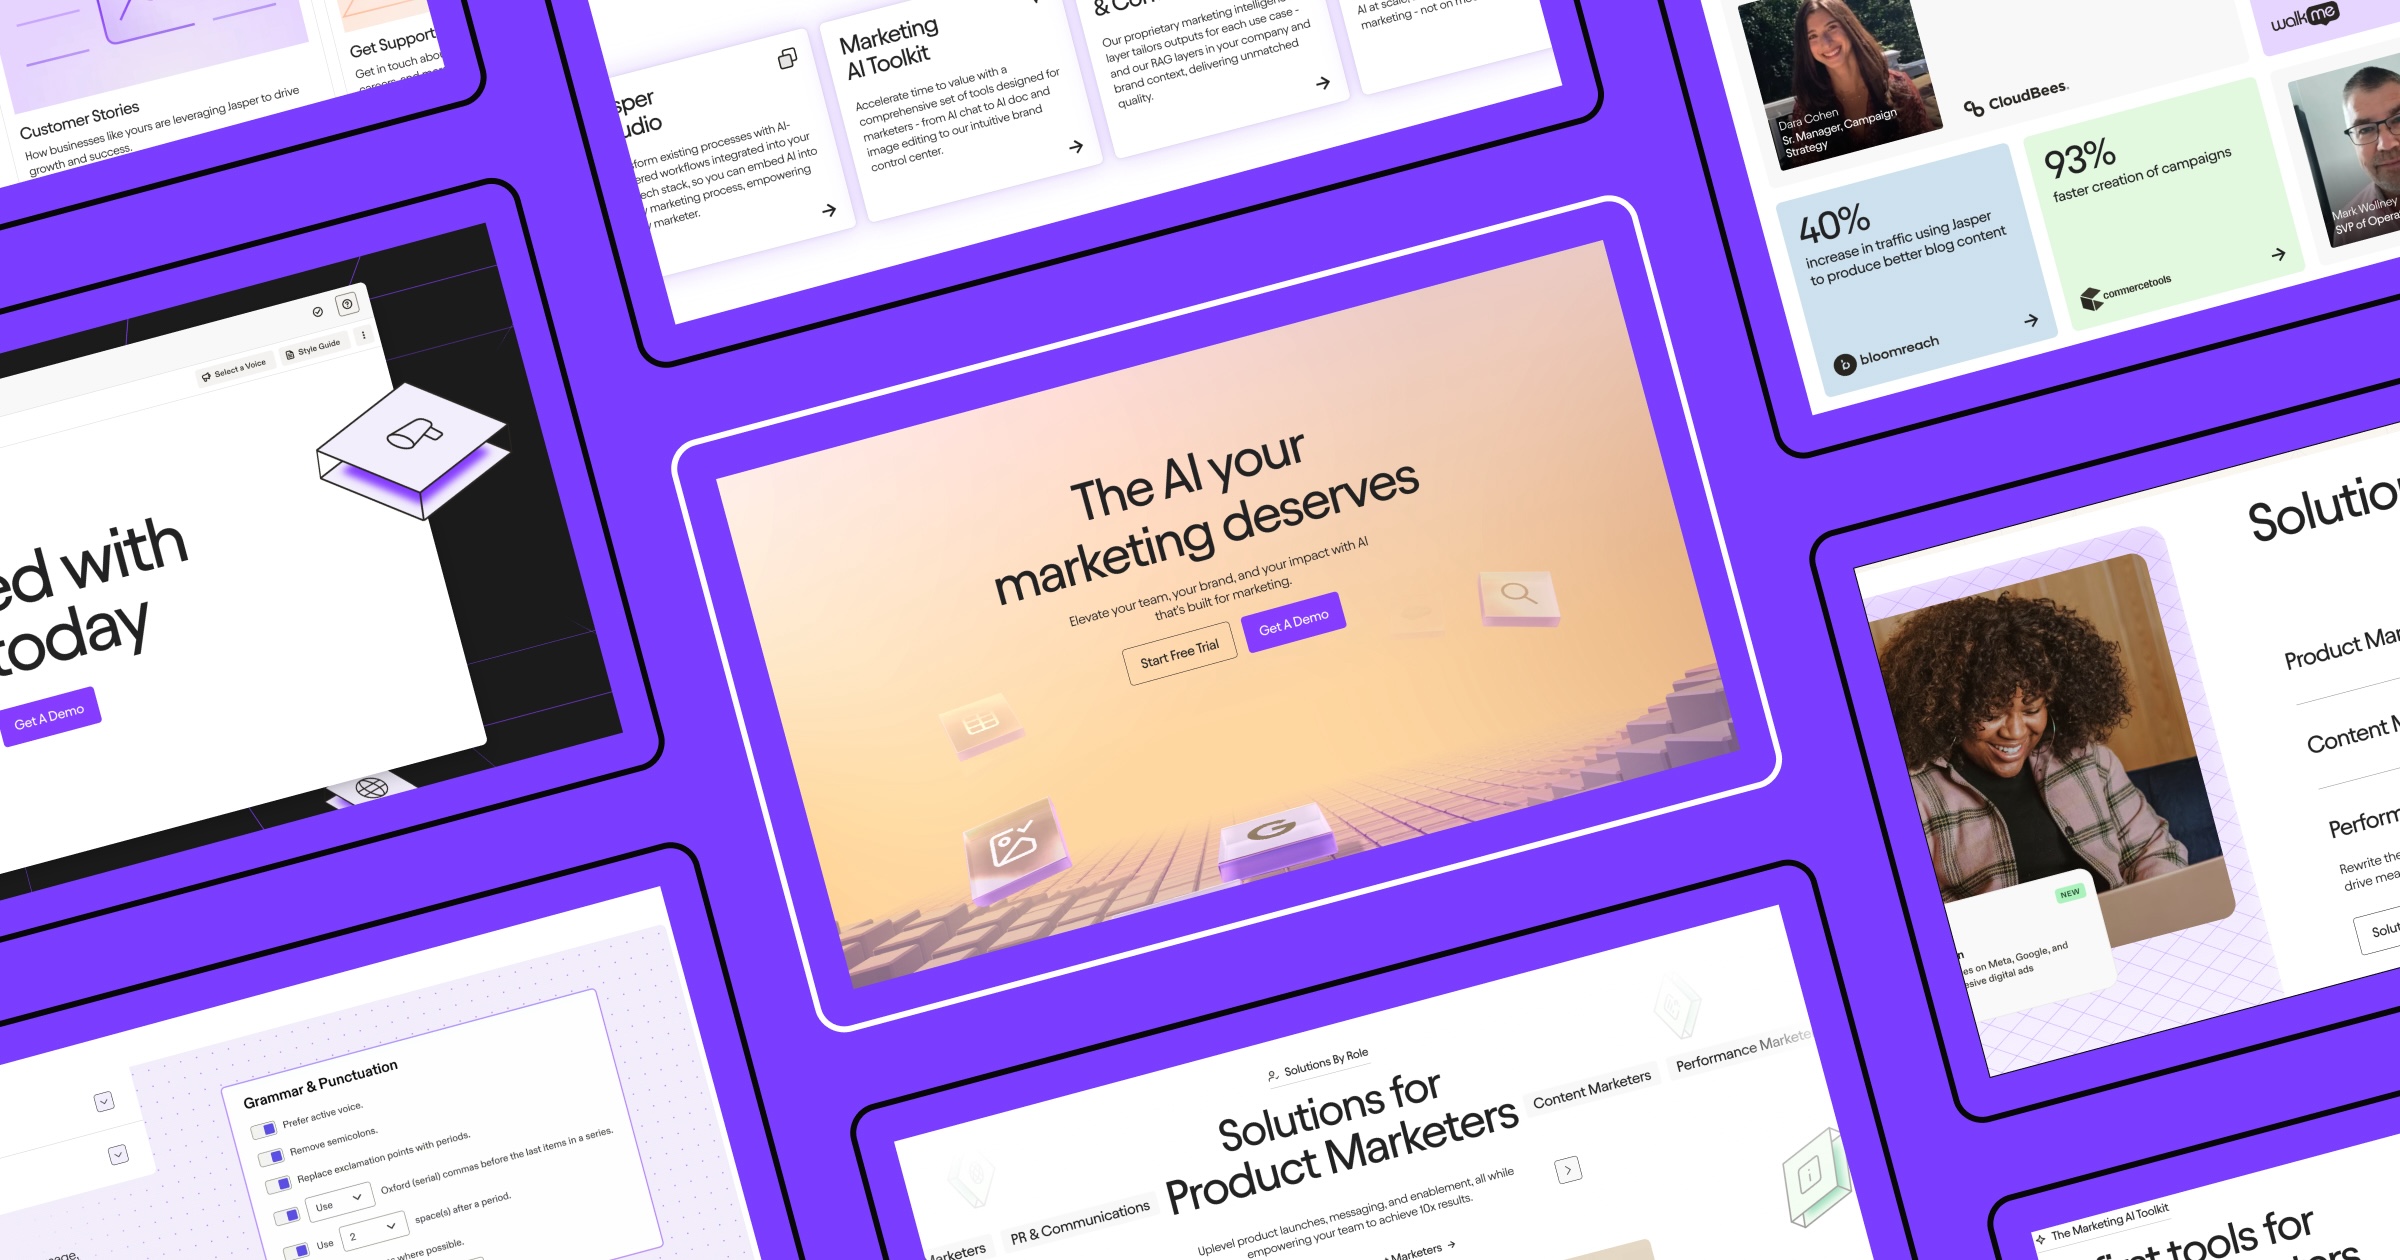
Pushing the boundaries of enterprise website design and development
How OFF+BRAND. reimagined storytelling, interactivity, and collaboration to redesign the Jasper website.

From pixels to personalization: The future of design
Learn how to use technology to create experiences that are more anticipatory, personal, and genuinely human than ever before.

The best data visualization tools for valuable insights
Discover data visualization tools for transforming data into actionable insights that help you optimize your business and website performance.
.png)
Best-in-class commerce: create unique shopping experiences for customers with Stripe
Best-in-class commerce: create unique shopping experiences for customers with Stripe
With the Stripe App for Webflow, add secure checkout links, easily manage products and inventory, and accept a variety of payment methods for business success.
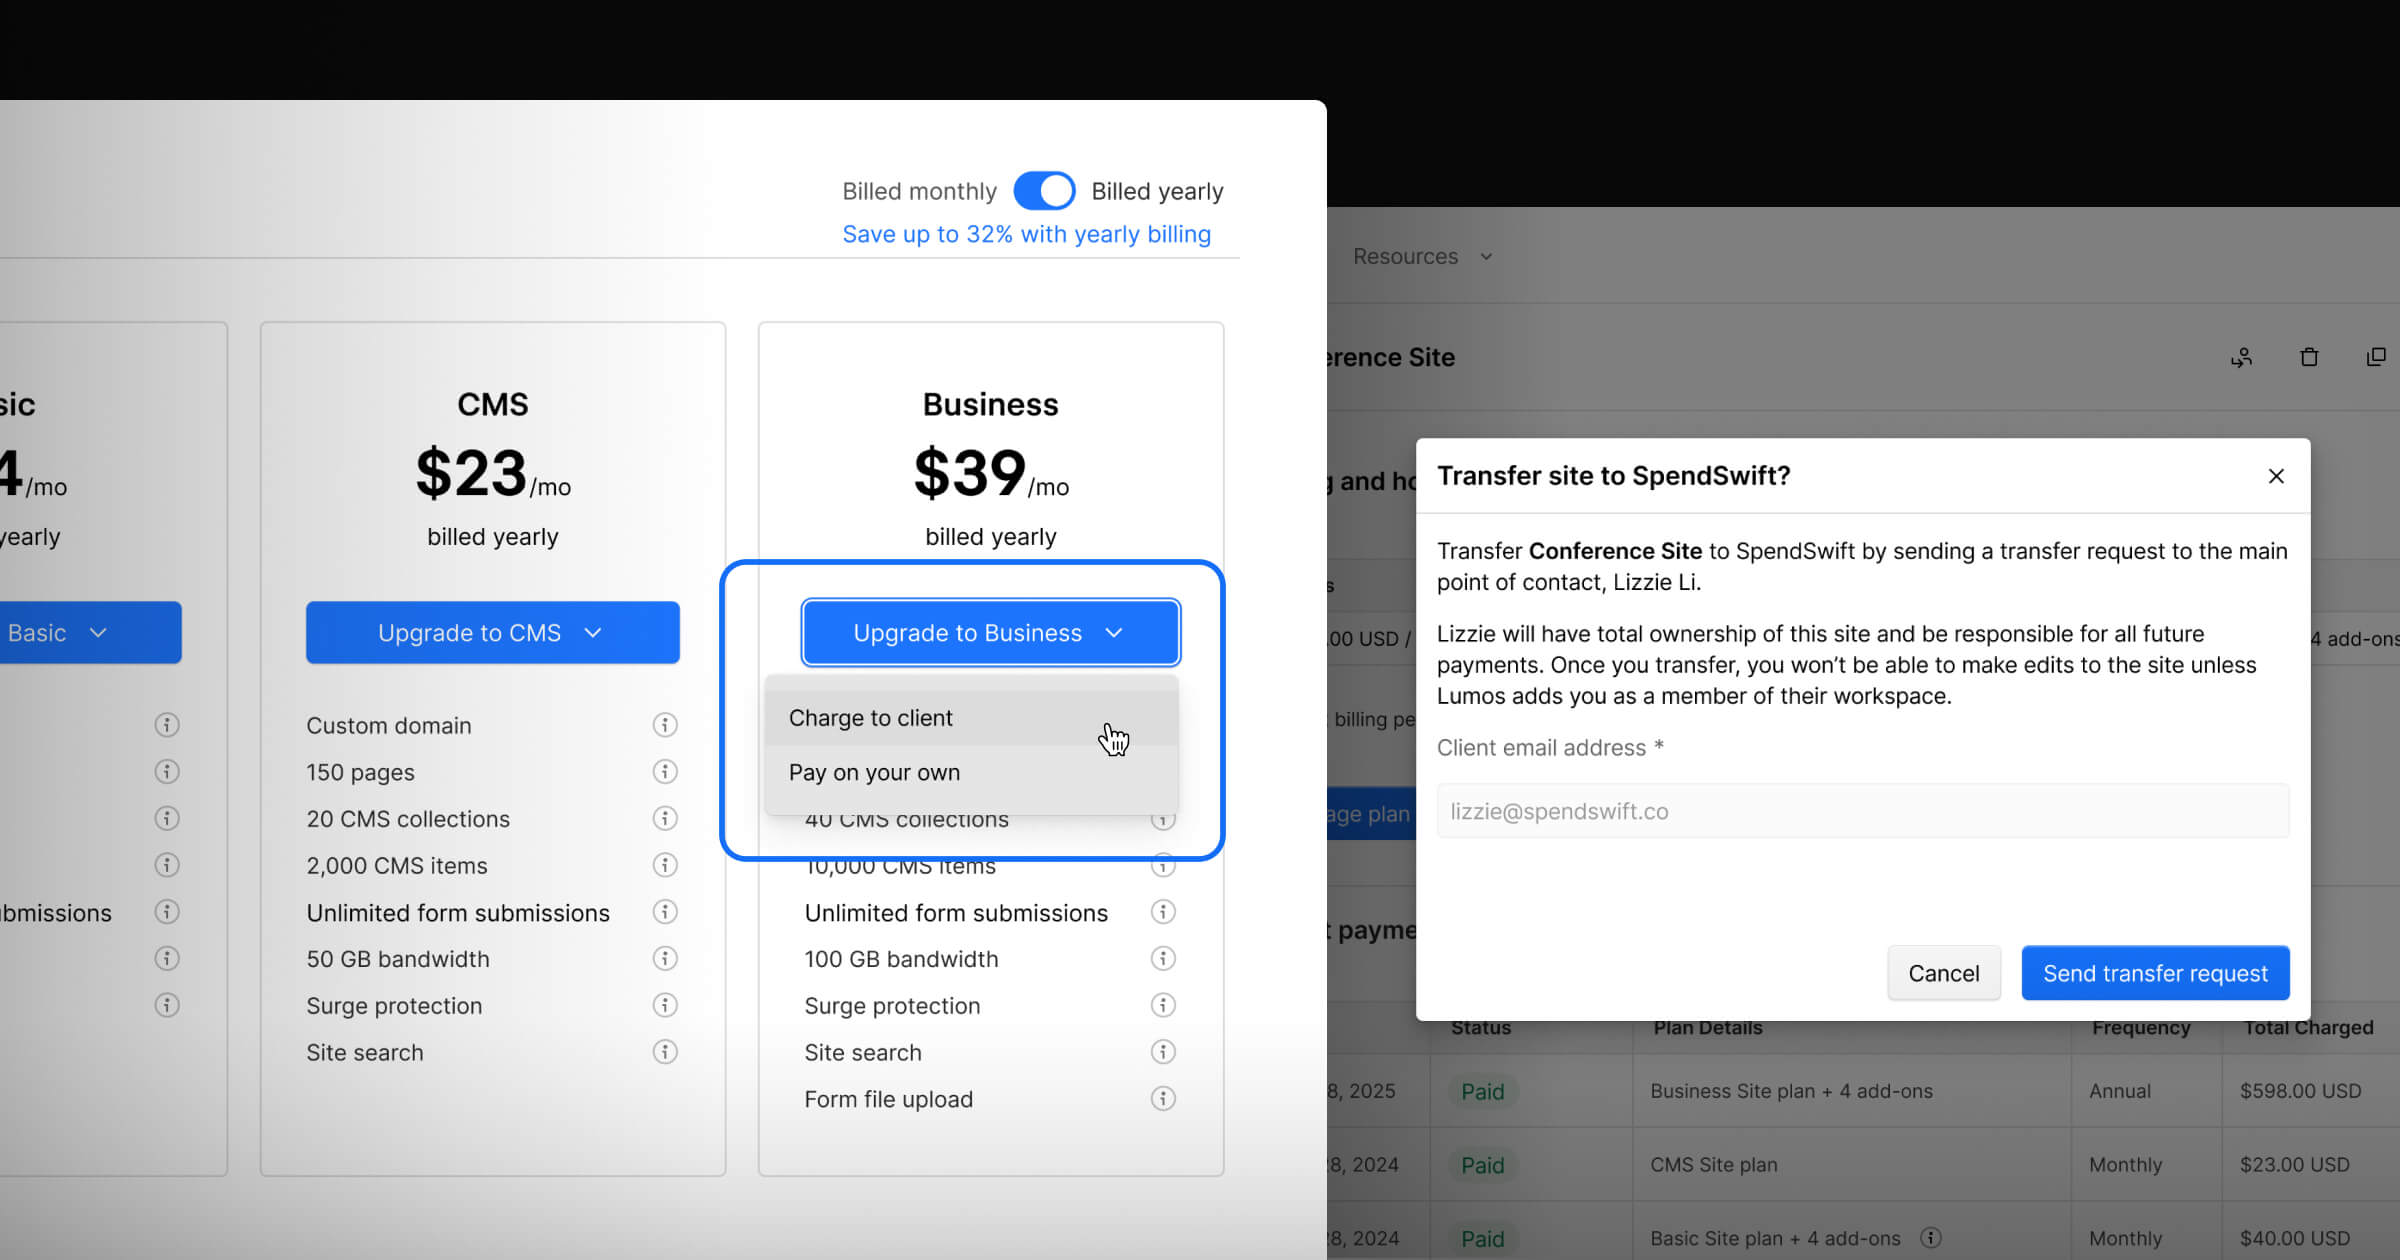
Simplify client management with client payments
Learn more about the new product investments that allow agencies and freelancers to streamline and centralize client management workflows in Webflow.

How to personalize the B2B customer lifecycle
Learn how to implement effective personalization strategies across every stage of the B2B customer lifecycle. Discover practical tactics that drive conversion.
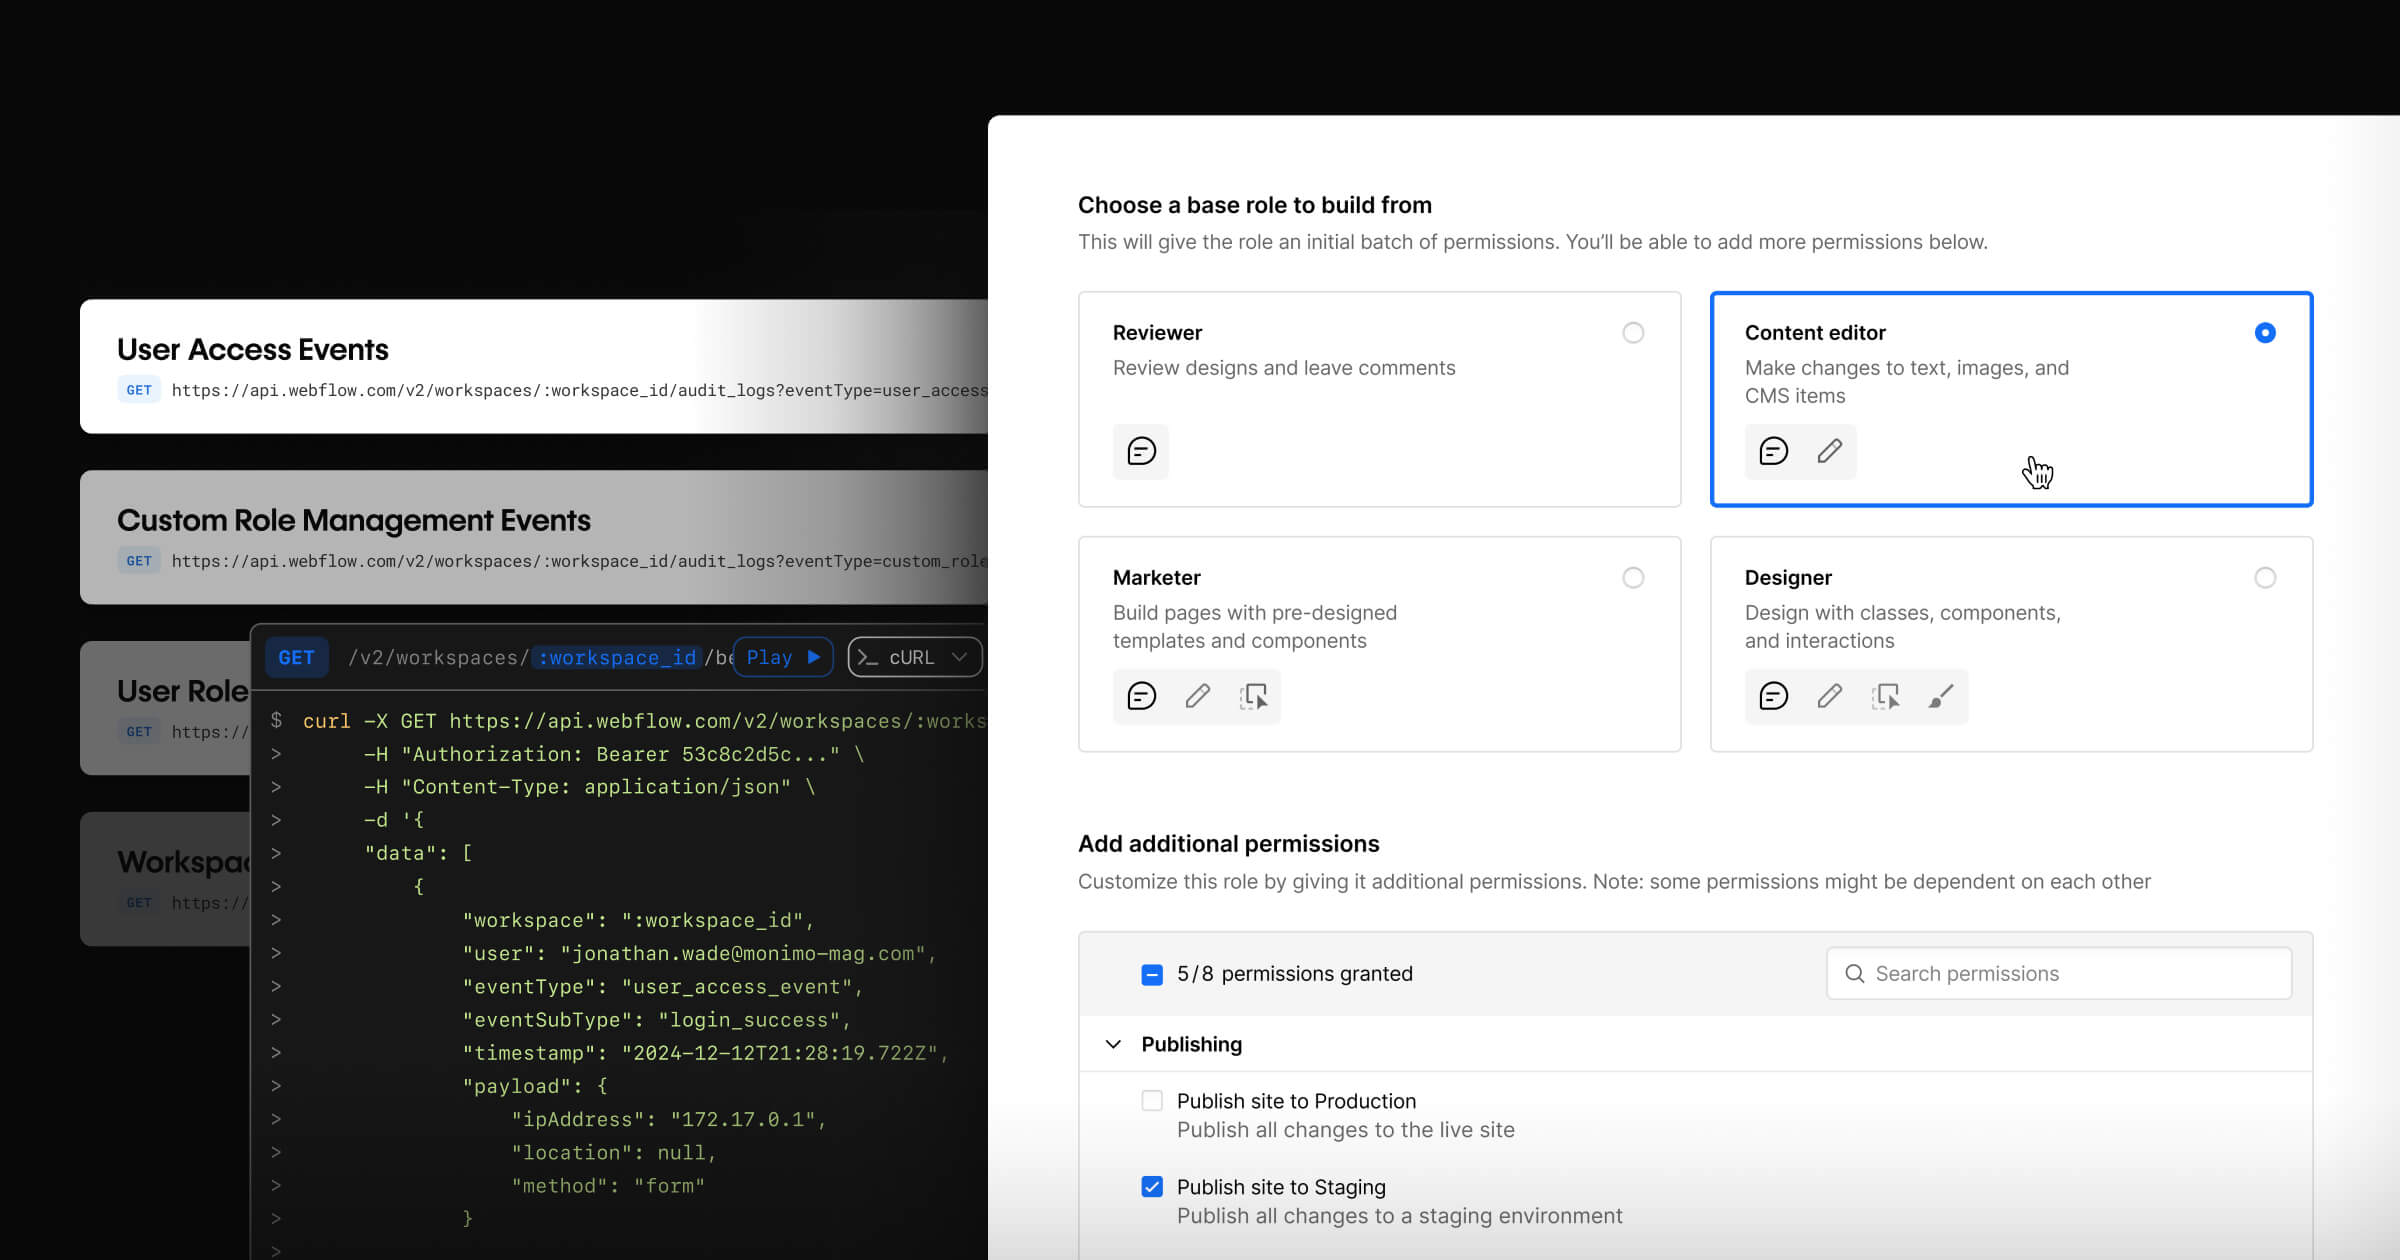
Webflow Enterprise Winter Release
Introducing custom roles and an audit log API on Webflow Enterprise to bolster governance and control for professional web teams.

How to successfully launch and drive adoption for Webflow Apps
As a developer, learn strategies to make your App more visible and appealing to customers to drive installs and grow usage.

The future of SEO: How to navigate the changing search landscape
Learn about the latest changes in SEO, including content quality, AI, and UX best practices.
The framework for attracting (and keeping) dream clients in 2025 and beyond
The framework for attracting (and keeping) dream clients in 2025 and beyond
Build a strategic approach to growth makes doing your best work with clients easier.

12 tactics to boost website growth in 2025
Explore a dozen proven strategies for creating the most value from your website proven by Webflow development agency, MakeBuild.


Actionable tips for building a stronger client-agency partnership
A look at how Beqi and OpenPhone successfully built a powerful collaboration framework to build a lasting partnership.

6 web design trends to watch in 2025
From the nostalgia and light effects to AI, here's a roundup of leading web design trends to look out for in 2025.

Pricing and product updates reflecting our shift to the Website Experience Platform
Pricing and product updates reflecting our shift to the Website Experience Platform
As part of the steps to being an integrated Website Experience Platform, we’re announcing updates to our pricing and product strategy.

Beyond customer acquisition: The role of personalization in customer retention
Beyond customer acquisition: The role of personalization in customer retention
How to apply personalization strategies to retain customers and lower acquisition costs

The future of CMS: AI-driven, dynamic experiences, and digital ecosystems
Forrester Research reveals the future of CMS: individualized experiences, AI-powered content, and ecosystem thinking to drive transformation.

AI traps: Lessons from launching Webflow's AI Assistant
Shipping useful AI products requires avoiding constant temptation.
-o.webp)
Enhancing workflows: expanding the power of automation with Zapier
Automate your work and have more time for what matters most using the new Zapier App to connect Webflow with thousands of popular tools and services.

Accelerating web optimization through psychology
How Vanta's Director of Web Strategy applies psychological principles and user intent data to drive remarkable results in web optimization.
Making the Webflow Dashboard 20% faster by moving to server-side rendering
Making the Webflow Dashboard 20% faster by moving to server-side rendering
How Webflow migrated its dashboard to server-side rendering and decreased load times by 20%

The path to satisfaction: The future of AI-driven customer support
Learn how integrating your Webflow site with AI-powered customer support tools can help grow your business and transform customer experiences.

How 8020 built a world-class digital experience for Huberman Lab with Webflow
How 8020 built a world-class digital experience for Huberman Lab with Webflow
How 8020 and Double Up transformed Huberman Lab's digital presence—doubling search engagement and boosting conversions by 266% using Webflow.

Website collaboration: the key to agility and conversion
Learn how website collaboration can unlock opportunities for increased speed to market and a higher conversion rate.

How to strike a balance between website personalization and privacy
Build a trusting, loyal customer base with privacy-centric personalization techniques.
%20(1).png)
That’s a wrap on Webflow Conf 2024
From San Francisco to London and online, here’s a full recap of all the fun of Webflow Conf 2024 from wherever you joined us.

Make data-driven decisions with Webflow Analyze
Webflow Analyze is now available, giving you a native, unified view of user behavior so you can make data-backed decisions that improve site performance.

Performance branding: merging data and creativity to drive measurable results
Performance branding: merging data and creativity to drive measurable results
Learn how performance branding blends brand-building with data-driven strategies to elevate your website, amplify awareness, and drive measurable results.
.jpg)
Marketer’s guide to always-on website optimization
How to build a consistent and results-driven web marketing machine
Highlight your work and attract new opportunities with Upwork and Webflow
Highlight your work and attract new opportunities with Upwork and Webflow
Introducing our partnership with Upwork, the world’s work marketplace that’s creating new opportunities for Webflow Certified Partners.

How leading companies optimize their websites to drive conversions and revenue
How leading companies optimize their websites to drive conversions and revenue
A closer look at how three leading organizations used Webflow Optimize to test faster, learn sooner, and launch winning websites.

Webflow acquires the GreenSock business, the company behind GSAP, to bolster animations for its Website Experience Platform
Webflow acquires the GreenSock business, the company behind GSAP, to bolster animations for its Website Experience Platform
Webflow announces the acquisition of the GreenSock business, the company behind GreenSock Animation Platform (GSAP).

AI and the future of the web
How Webflow is thinking about the future of the web in the age of AI.

Webflow is the first Website Experience Platform (WXP)
As the first Website Experience Platform, Webflow empowers modern marketing teams to visually build, manage, and optimize stunning websites that scale.
Everything we launched at Webflow Conf 2024
A recap of everything we announced at Webflow Conf 2024 to help teams build, manage, analyze, and optimize websites.
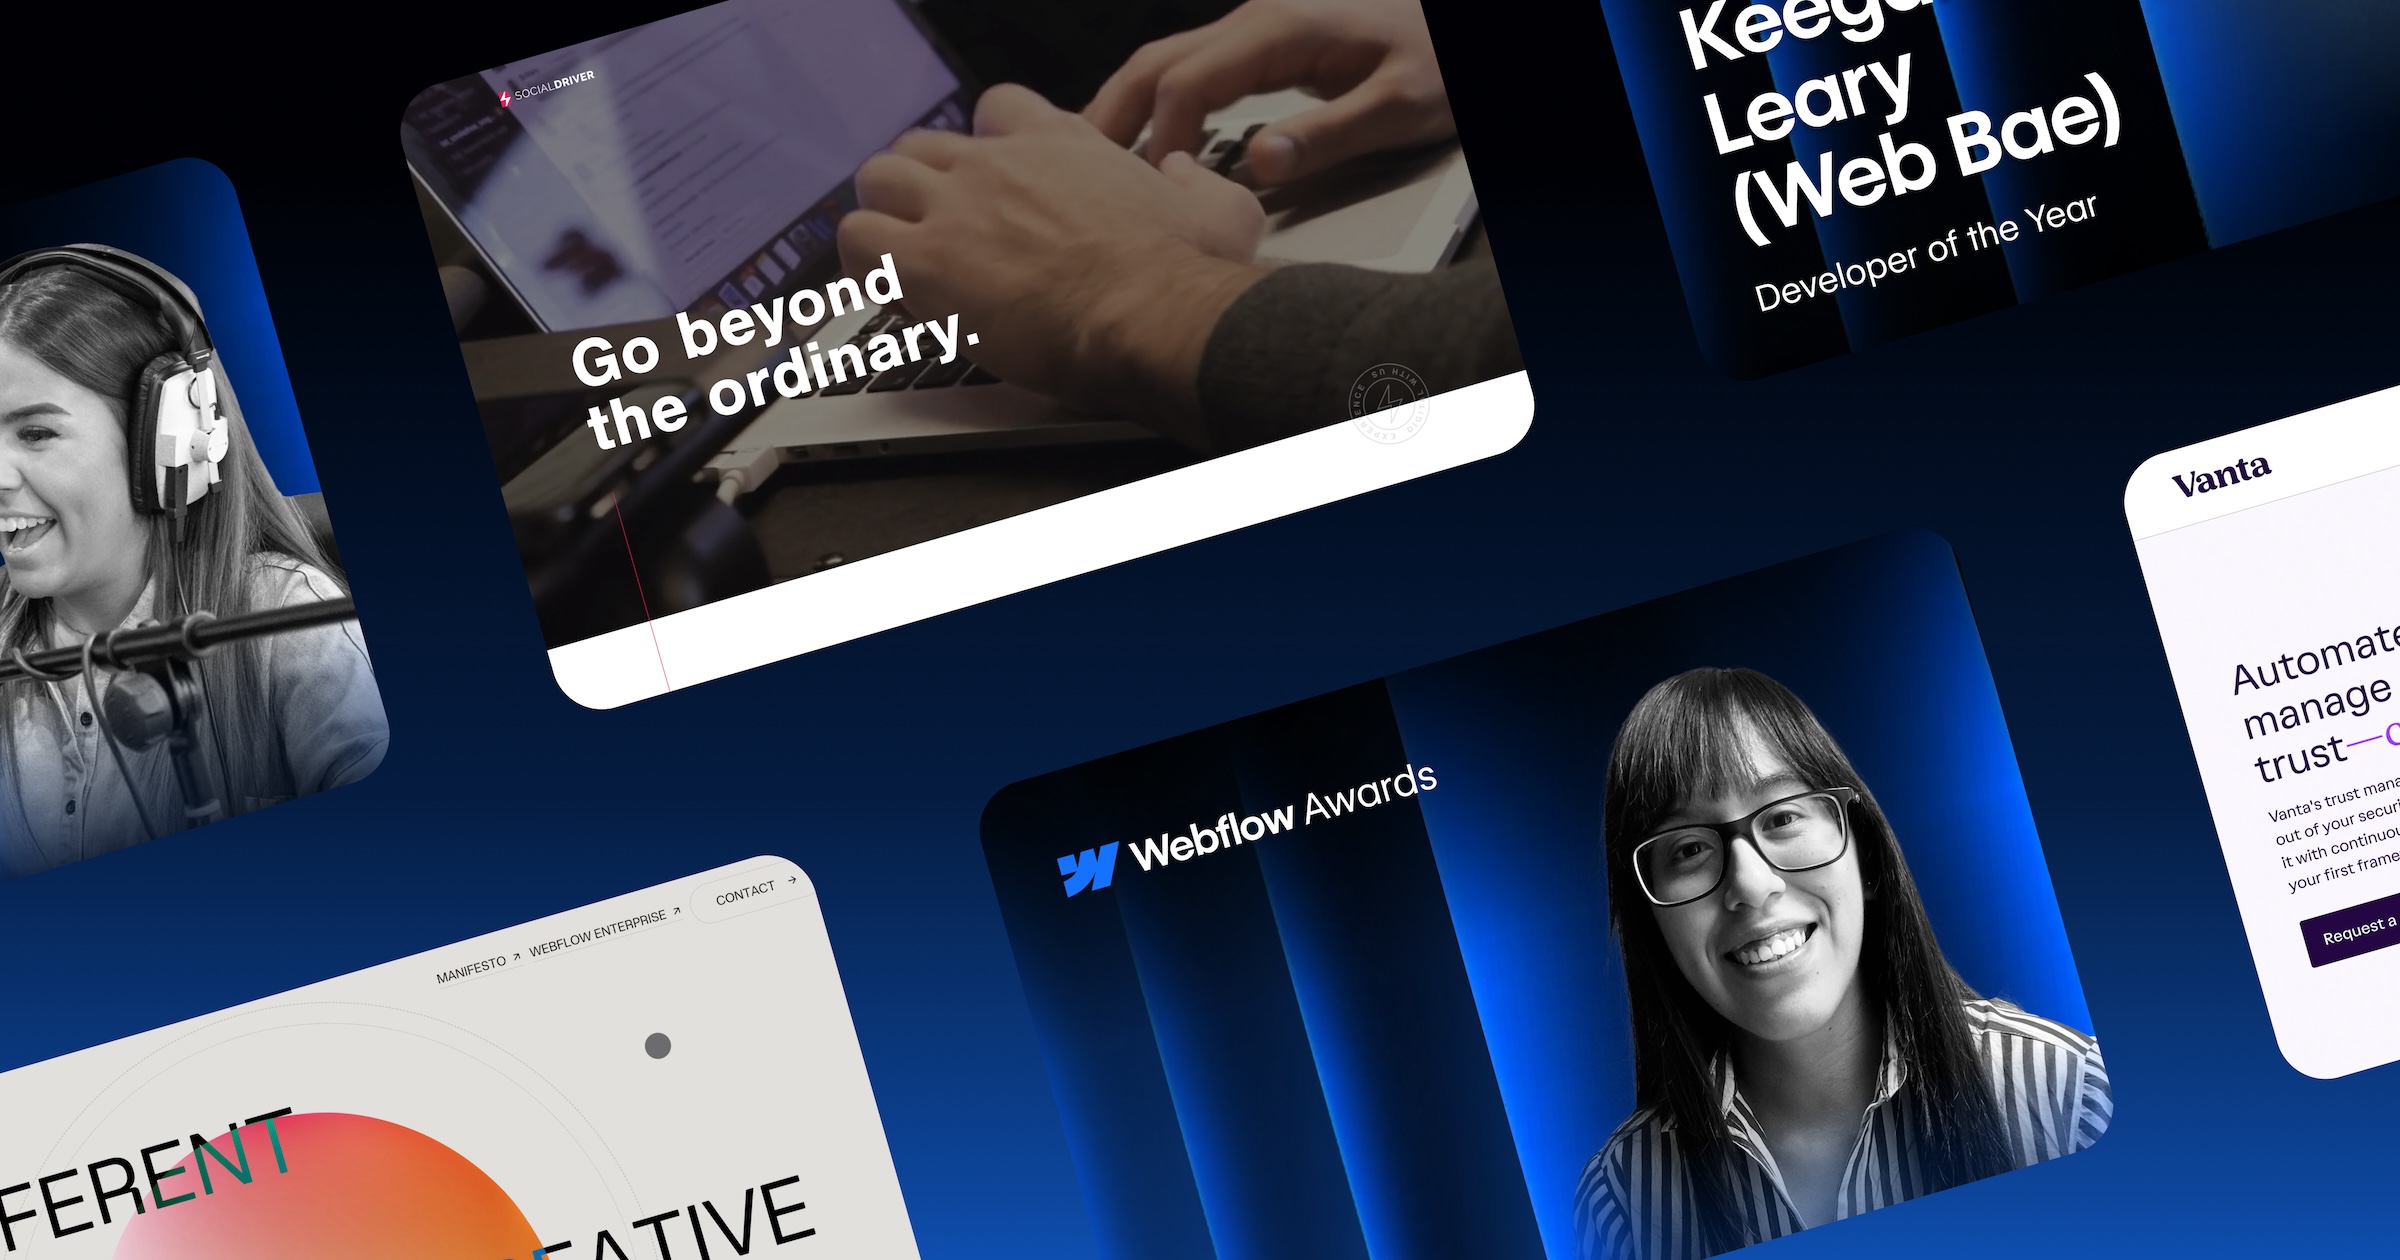
Announcing the 2024 Webflow Awards winners
Celebrating our customers, community, and partners who bring some of the most creative and technically-impressive projects to life everyday in Webflow.

Why every digital creator needs a powerful website
Tips from a website expert helping creators around the world build digital empires.

Essential security practices for building a Webflow App
Essential security best practices for Webflow App developers looking to safeguard user data, enhance their app's reputation, & stay ahead of potential threats.

Get ready for Webflow Conf 2024
A quick rundown on everything you need to know before our online, San Francisco, and London events.
.jpg)
Forrester study: Webflow delivered a 332% ROI over three years
Explore the top findings of the Total Economic Impact™ study from Forrester Consulting, commissioned by Webflow.

How to build a team that supports a personalized B2B buyer journey
Create a winning website marketing strategy by bringing together these key players and skill sets.

Mastering AI quality: How we use language model evaluations to improve large language model output quality
Mastering AI quality: How we use language model evaluations to improve large language model output quality
Learn more about how Webflow mastered AI quality.

Powering Webflow Apps: How we built Designer APIs - Part 2
Learn about the driving force behind our Designer Extension Apps.
.jpg)
A better site experience
In our ebook, learn how to approach your next website redesign – from collaboration and trust-building to finding the right tools.
Get started for free
Try Webflow for as long as you like with our free Starter plan. Purchase a paid Site plan to publish, host, and unlock additional features.
Transforming the design process at


